

Send Files to Titan Flow Process
Business Background
Titan Flow equips your business with the benefit of receiving files as an input parameter to be pushed to the storage service provider of your choice.
Titan Solution
- Titan Flow allows your product to send multiple files to various preferred storage services such as Salesforce, an external storage system, a custom API Service, and more.
- Titan allows for multiple files to be uploaded to the web project.
How to Guide
If you have a Web project where a user can upload file/s, it could be pushed to Salesforce or to external storage (such as Amazon S3, Google Drive, or OneDrive) or sent to an external custom API using Titan Flow.
If, for instance, you have a file upload input field on a web page and you have a button that invokes a Titan Flow that will receive the uploaded file and push it to your selected file storage integration or your custom API service.
Prerequisite:
Create a Titan Flow project that will receive files as an input parameter such as storing your file to your preferred storage service or external API service.
Prerequisites:
Add the Flow to a button
- Click the + icon to open the list of elements.
- Click-and-drag a button element to the canvas.
- Add input fields, like an upload file element.
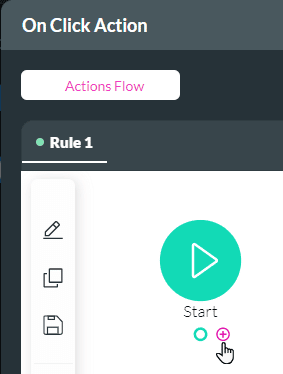
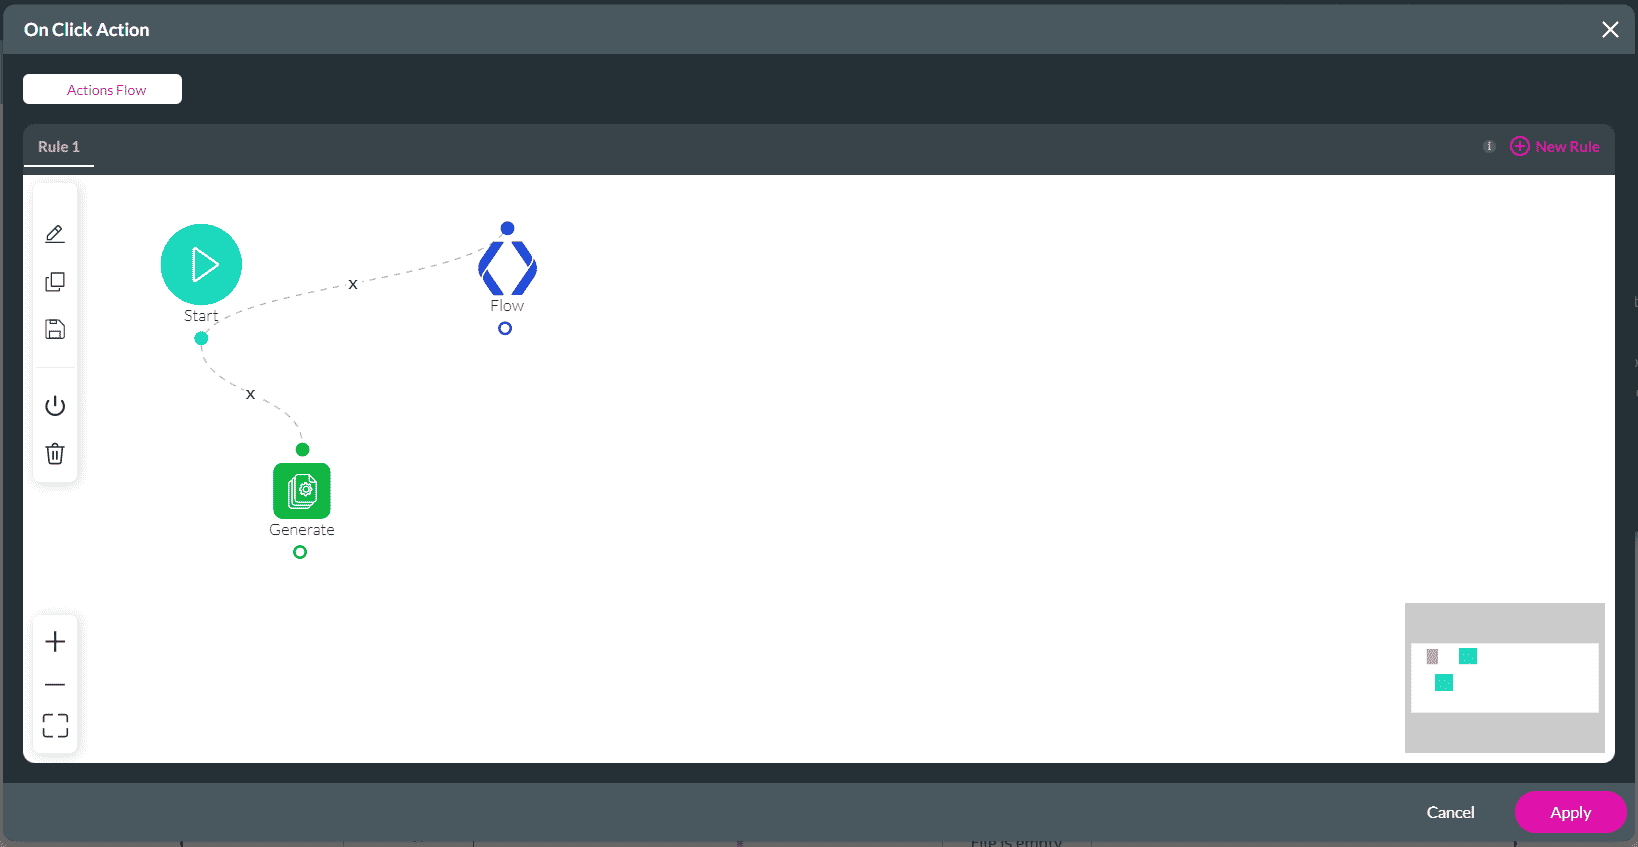
- Click the On Click action icon for the button. The On Click action screen opens.

- Click the + icon next to Start. The Add Node screen opens.
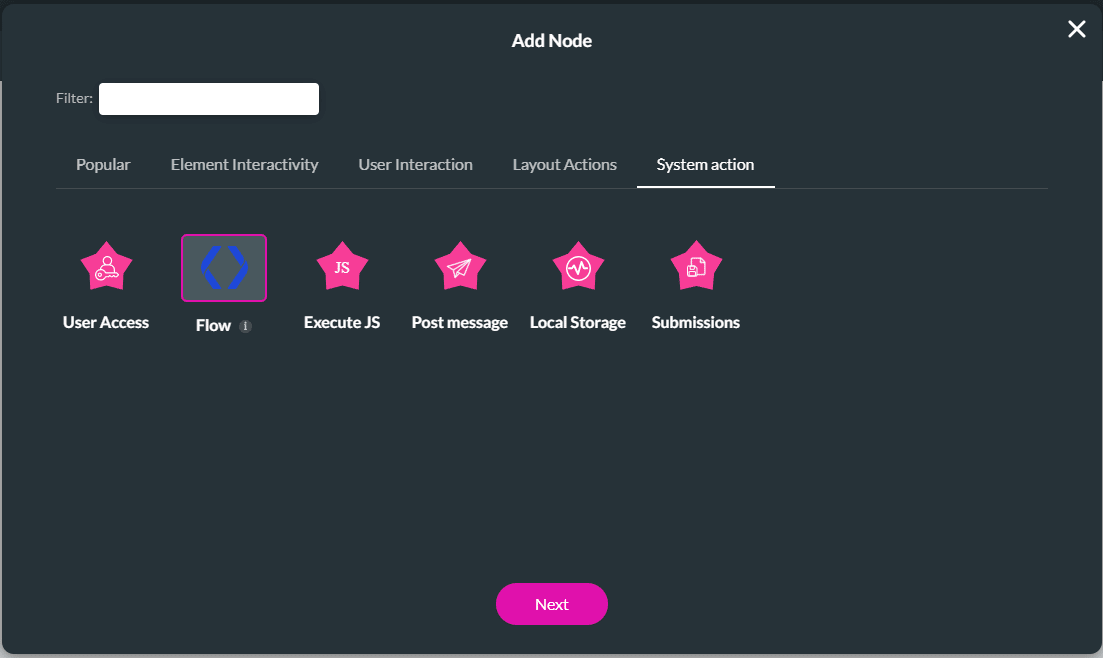
- Under System Actions, select the Flow option.
- Click the Next button. The Add Node/Flow screen opens.
- Select the Flow project you created from the drop-down list. This Flow will be activated.

- Click the Configure Parameters button and configure the custom parameters that you set up in Flow. These parameters will be passed to the web project.
- Set the Static or Field parameters.
- For Static, enter the parameter name, for instance, a RecordID.
- For Field, select from the drop-down list. These are the dynamic parameters of the project.

Make sure to map your file upload input fields to the Titan Flow file custom variables in this example.
Add the dynamic fields for file 1 and/or file 2. These map to the file input fields on the web project.

- Configure the required parameters.
- Click the Apply button.
- Click the Next button.
- If necessary, type a unique name in the Tag field and click the Insert button.

- Click the Apply button.
The Flow will be invoked when the user uploads files and clicks on the button.