

Configure the Capture Widget
Business Background
Add a media file from a desktop or mobile device using Titan Web.
Titan Solution
You can use the camera capabilities of a desktop or mobile device to capture a media file and push it to Salesforce.
How to Guide
Capture a media file
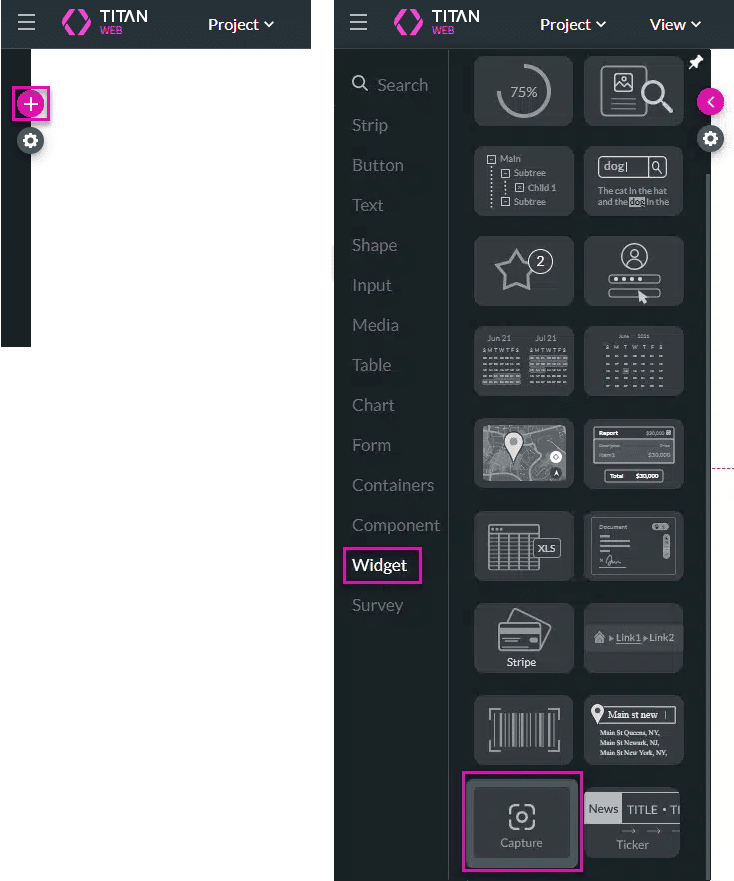
- Select the + icon to add an element.
- Under the Widget option, drag-and-drop the Capture widget to the canvas.
- Click the Capture widget’s Gear icon. The Capture Settings screen opens.
- Under Content, use the radio buttons to select one of the media types:
- Image
- Video
- Audio

- Change the default icons if necessary. Select here for more information.
The webpage in this example looks as follows:

Push the captures to Salesforce
- Open the Project settings by clicking on the Gear Icon.
- Select the Salesforce Action option. The Salesforce Integration screen opens.
- Select the Push option.
- Create a new Salesforce integration by clicking the Create New button, or edit an existing integration by clicking the Edit icon. The Map Salesforce fields screen opens.
- Under Object Settings, use the drop-down list to select the file object in Salesforce, for instance, Content Version. You can search for “file” to get the correct object.
- Use the drop-down list to select the action, for instance, Create.

- Under Mapping, search for the Version Data Salesforce field and map it to the Capture element.

- Click the Apply button.
- On the Salesforce Integration screen, click the Close button.
- On the Add Node/Salesforce Action screen, click the Push action from the drop-down list and click the Next button.

- If necessary, add a tag and click the Save button. The Salesforce node is added to the On Click screen.
- Click the Apply button.
- Save and Preview the project.
Use on desktop devices
Note:
The user must allow Titan to use their camera and microphone.
- Open the project link on a desktop device.
Add an image
- Click the option to add an image. The Capture Image screen opens. You should see the view from your device’s camera.

- Click the Take a Picture button. The Take a Picture button changes to a Retake button.
- If you are not satisfied, select the Retake button to retake the picture.
- If you are satisfied with the image, select the Apply button.
Add video
- Click the option to add a video. The Capture Video screen opens. You should see the view from your device’s camera.

- Click the Start Recording button. The button changes, and the counter displays the number of recorded seconds.

- Pause icon
- Stop icon
- Counter
- Restart icon
- Click the Stop icon to end the recording.
- If you are not satisfied with the video recording, select the Restart icon to restart the recording.
- If you are satisfied with the video recording, select the Apply button.
Add audio
- Click the option to add an audio clip. The Record Sound screen opens.
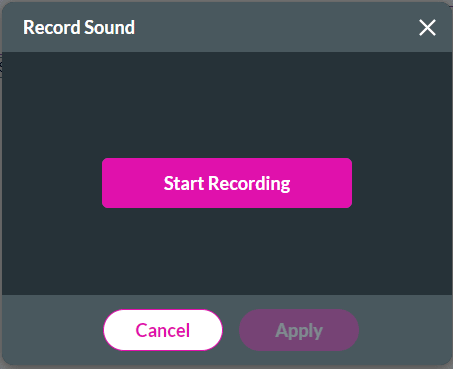
- Click the Start Recording button. The button changes, and the counter displays the number of recorded seconds.
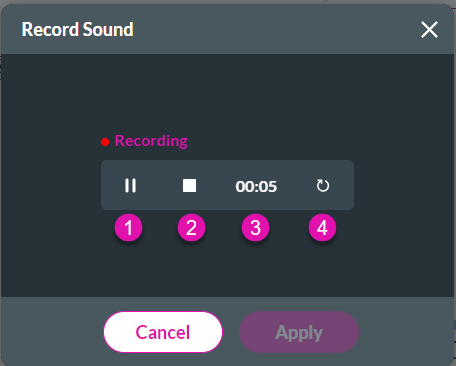
- Pause icon
- Stop icon
- Counter
- Restart icon
- Click the Stop button to end the recording.
- If you are not satisfied with the audio recording, click the Restart icon to restart the recording.
- If you are satisfied with the audio recording, click the Apply button.
The captures are added to the webpage:

Hidden Title
Was this information helpful?
Let us know so we can improve!
Need more help?
Book Demo