

Image Compression
Business Background
The Image Compression option is available on the File Upload element. Use the Image Compression tool to minimize uploaded image sizes to best suit your business needs with Titan Web.
How to Video
- 0:02 An introduction to Setting Image Compression.
- 0:16 Navigate to Index Settings.
- 0:24 We show you how to enable Image Compression.
- 0:27 Learn how to Configure Image Compression settings.
- 1:06 Preview the updated project.
How to Guide
- Click the + icon to open the list of elements.
- Select the Input option from the list.
- Click-and-drag the File Upload element to the canvas.
- Click the File Upload settings Gear icon. The File Upload settings screen opens.
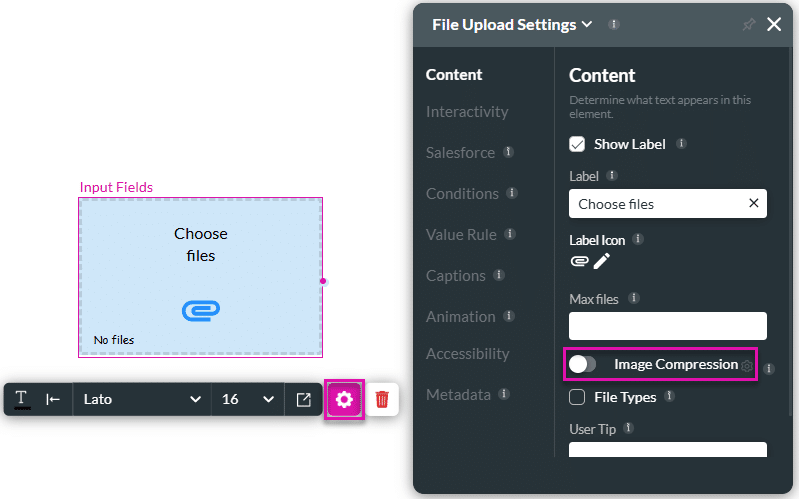
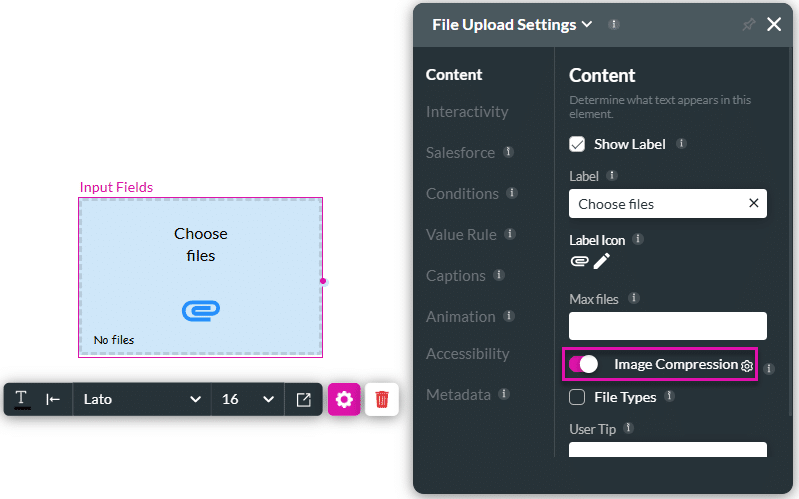
- Use the toggle switch to enable the Image Compression button.
- Select the Image Compression settings Gear icon. The Configure Image Compress screen opens.
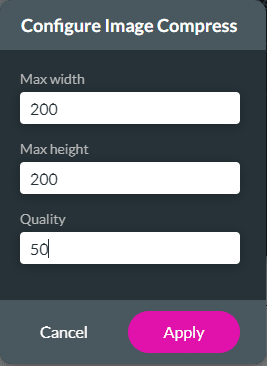
- Configure the image compression as follows:
- Set the Maximum width value, for instance, 200.
- Set the Maximum height value, for instance, 200.
- Set the Quality, for instance, 50. The quality size is between 1 and 100.
- Click the Apply button.
Hidden Title
Was this information helpful?
Let us know so we can improve!
Need more help?
Book Demo