

Document Access – Dynamic
Business Background
Create a contract with single or multiple predetermined signers using the robust Titan signing process together with static data or dynamic Salesforce data.
Titan Solution
Using Titan Sign, tailor-made for Salesforce, automate signing processes for your clients. Automatically sync data with Salesforce in real-time, using zero code.
How to Guide
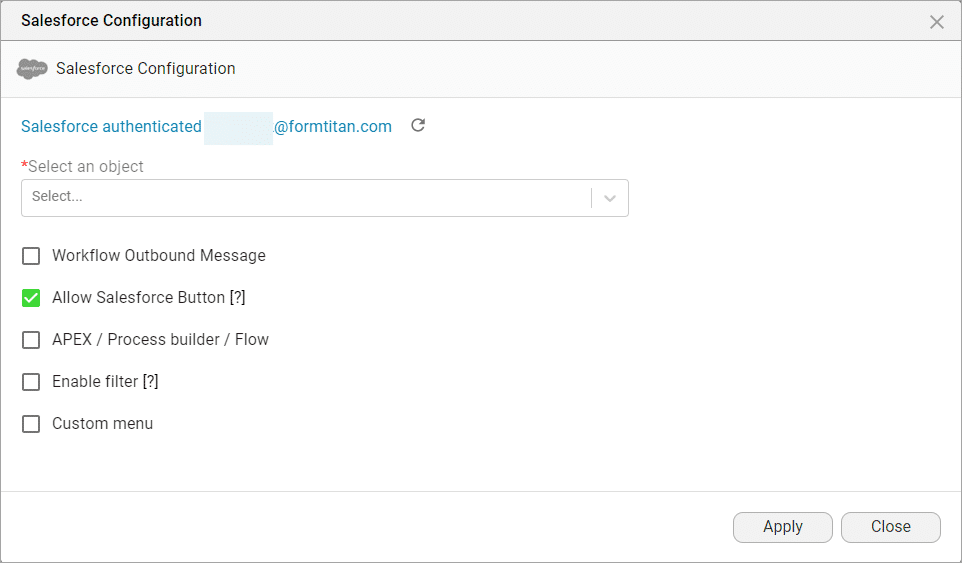
- Click the Settings option and then the Document access option.
- Click the Dynamic radio button and then the Salesforce Configuration button. The Salesforce Configuration screen opens.

- Select the Salesforce object from the drop-down list.
- This is the object from which the signing process will be triggered.
- For example, if you want to send the document to your contacts, select Contacts from the list.
- Click in the checkboxes as necessary:
Note:
- Allow Salesforce button: When you enable this option, the project will be visible in the projects list if you initiate the process from an FT Document Generation button or from Titan Sign Wizard.
- AEPX/Process builder/Flow: Click in this checkbox if you wish to initiate the project from an APEX, Process builder, or Flow.
- Enable filter: Click in this checkbox if you want to add a filter. The project will be relevant to the Salesforce records corresponding to this filter.
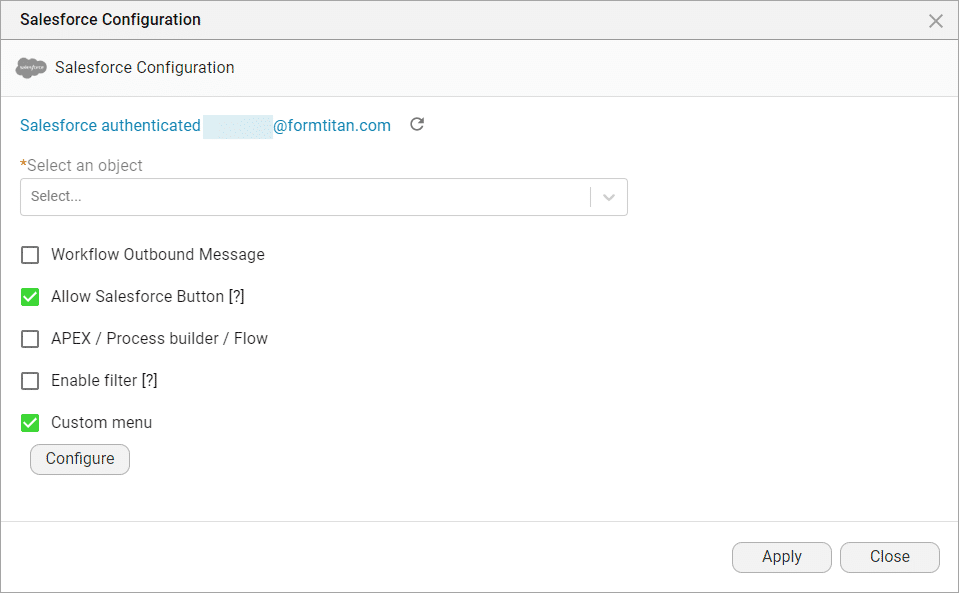
- Custom menu: Configure custom menus. The following options are available:
- Sign
- Sign and Send
- Download
- View
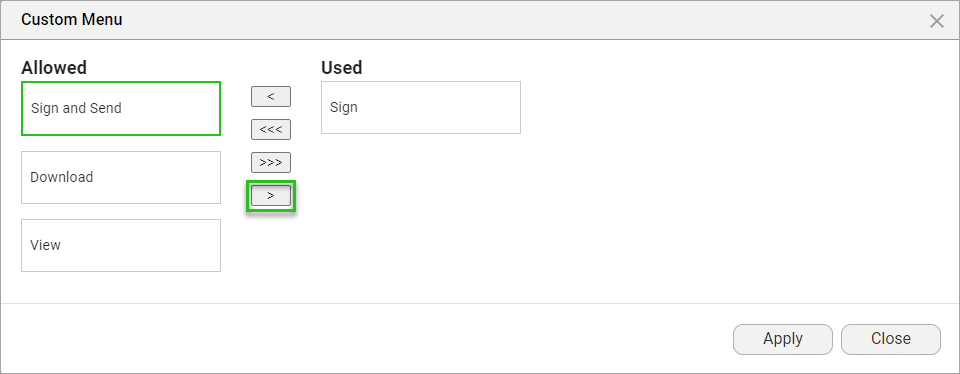
- Click an option in the Allowed column on the left and click the > button to move the option to the Used column.
- Alternatively, click the >>> button to move all the Allowed options to the right.
- Click on the Apply button.
Note:
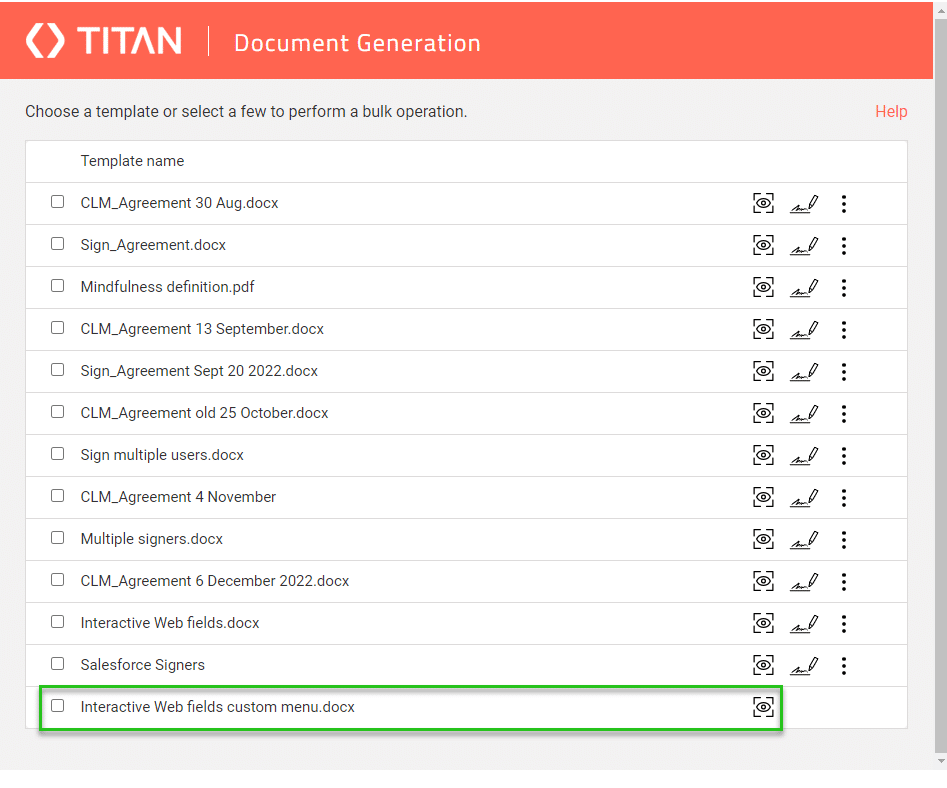
Only the custom button is added to the FT Document Generate button.
- Click the Apply button on the Salesforce Configuration screen.
Note:
You also need to set up the collaborator permissions. Click here for more information.
Interested in the Titan/Salesforce Integration? Try Titan Forms for Salesforce
Hidden Title
Was this information helpful?
Let us know so we can improve!
Need more help?
Book Demo