

Collaborator Permissions
Business Background
Collaborators can access certain projects in Salesforce and edit the documents using various options, such as deleting or adding text, changing colors, or adding images or tables. Collaboration is fully flexible, and collaborators can be added as part of the CLM journey. You can set permissions per document.
Titan Solution
Titan CLM lets you give permissions to the person who initiates the process (this person may have no relation to a collaborator or the owner).
How to Video
- 00:00 An introduction on how to manage collaborator permissions.
- 0:19 See how to assign collaborators to Salesforce users.
- 1:27 Watch how to assign collaborators to Salesforce profiles.
- 2:15 Learn about Salesforce permission sets.
How to Guide
Path:
Use this path to navigate to the Users tab:
Titan Dashboard > My Account > Users
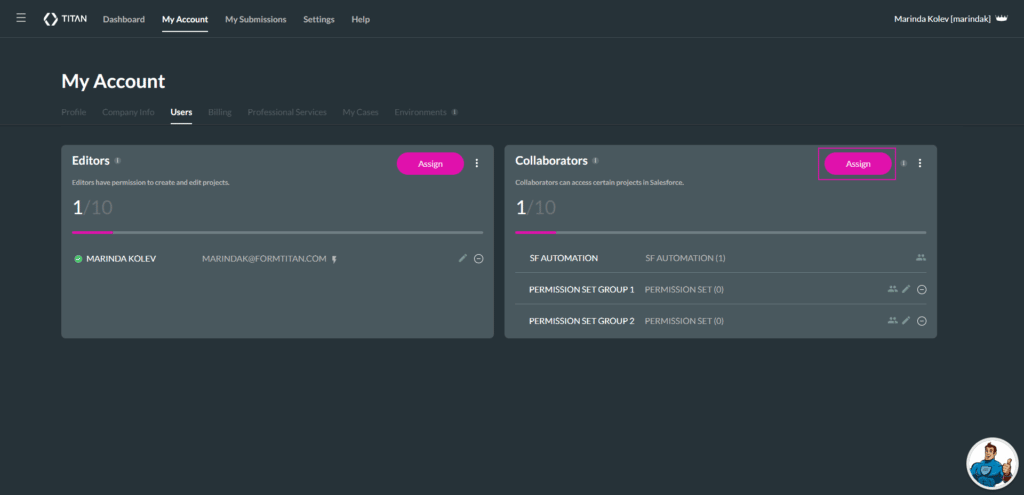
- On the Titan Dashboard, select the My Account option and then the Users option.
- Under Collaborators, select the Assign button.
- Add collaborators as follows:
- Define permissions for the project as follows:
Add a collaborator
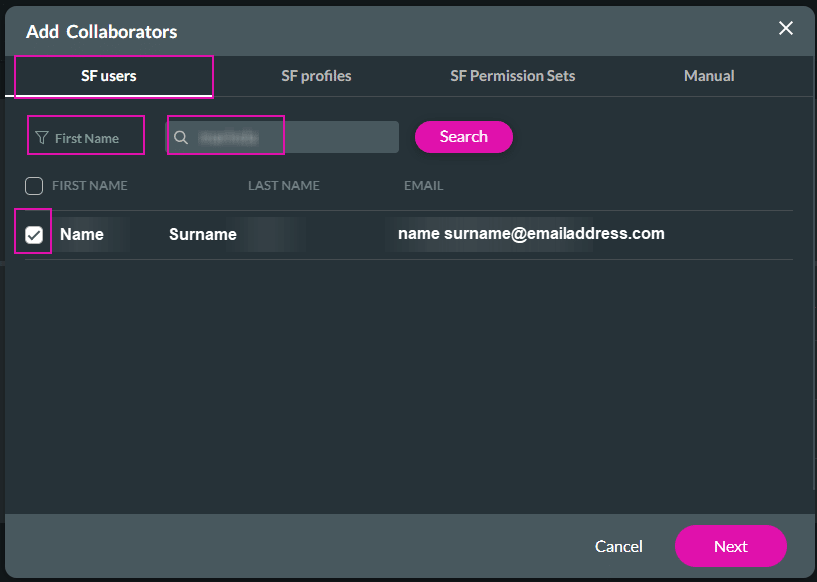
Salesforce users
- On the SF users tab, select the drop-down list to filter the users, for instance, First Name.
- Type a search term in the Search field to search for a user and select the Search button.
- Select the checkbox with the Salesforce user.
- Select the Next button to set the permissions.
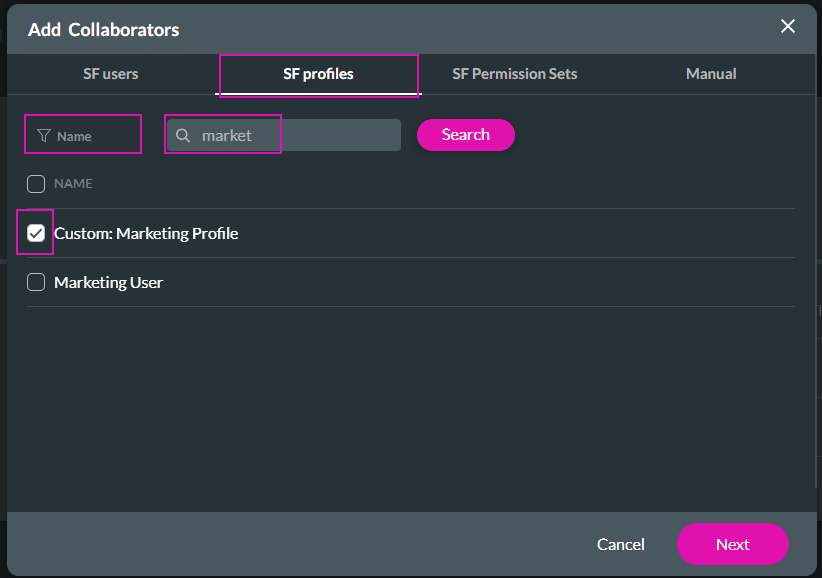
Salesforce profiles
- On the SF profiles tab, click on the drop-down list to filter the profiles, for instance, Name.
- Type a search term in the Search field to search for a profile and select the Search button.
- Select the checkbox with the Salesforce profile.
- Select the Next button to set the permissions.
Salesforce permission sets
- On the SF Permissions Sets tab, click on the drop-down list to filter the permissions sets, for instance, Name.
- Type a search term in the Search field to search for a permissions set and select the Search button.
- Select the checkbox with the Salesforce permissions set.
- Select the Next button to set the permissions.

Set the permissions
- On the Forms tab, select the forms that the collaborator will be able to submit by selecting the checkbox next to each form’s name.
- As an alternative, select the Submit checkbox to select all the forms.

- On the Sign tab, select the documents that the collaborator will be able to sign and/or void by selecting the checkbox next to each form’s name.
- As an alternative, select the Sign and/or Void checkbox to select all the documents.

- On the Sign Wizard tab, select the Enable checkbox to provide access to the Sign wizard.
- Type a descriptive name in the Name field to describe who is given permissions, for instance, Buyers.
- Select the Finish button.

The collaborator is added to the list, and the counter increases per collaborator added.

Hidden Title
Was this information helpful?
Let us know so we can improve!
Need more help?
Book Demo