

Online Editor
Business Background
Allow various collaborators to provide input and make edits or comments to the contract, with a few clicks.
Titan Solution
- Track the progress of your document in Salesforce from start to finish.
- Use the different online editor tools to comment or edit the contract safely and securely.
How to Video
Video Coming Soon!
How to Guide
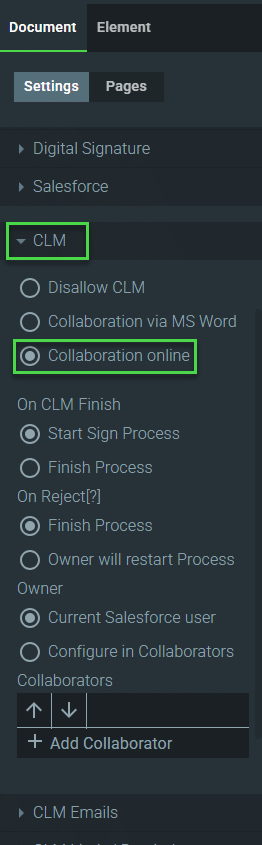
Note:
Make sure that the Collaborate online radio button was selected:
On the CLM project > Document > Settings > CLM
The document is displayed on the browser, and a collaborator can edit and/or add comments and/or sign (if enabled) on the browser.
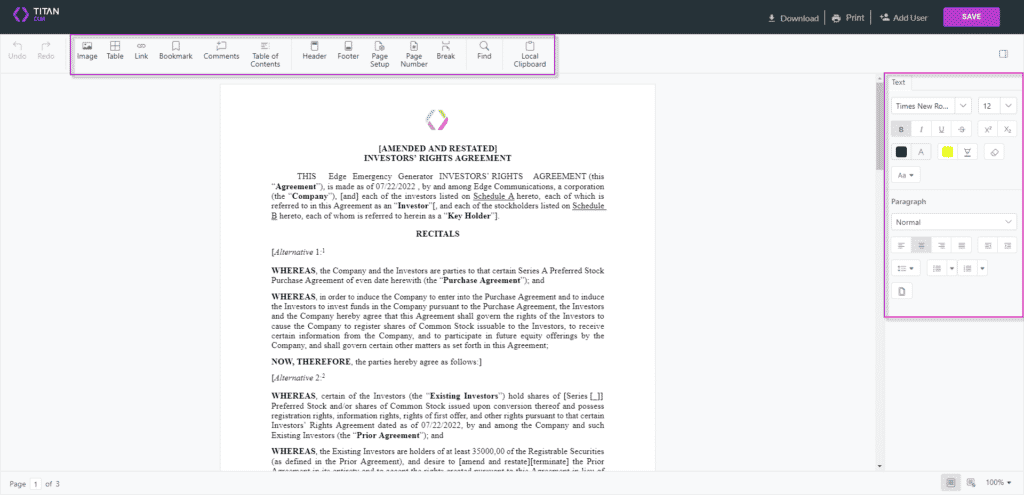
Use the Top Toolbar
- Place the cursor on a specific place in the document.

- Click on an option to insert it at that position.
- Use the options in the toolbar to make changes. For instance, you can do the following:
- Insert an Image: Click on the Image option to open the Upload from computer popup. Click on the popup to upload the image from the computer.

- Insert a Table: Click on the Table option to open the Insert Table popup. Enter the number of columns and rows and insert the table.

- Insert a Link: Click on the Link option to open the Insert Hyperlink popup. Complete the fields to insert a hyperlink.

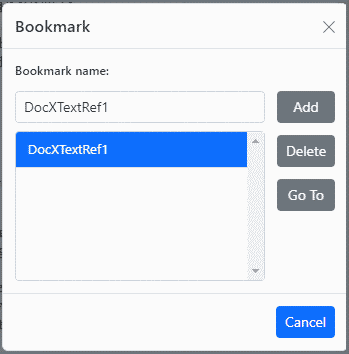
- Add a Bookmark: Click on the Bookmark option to open the popup. Complete the fields to add a bookmark.
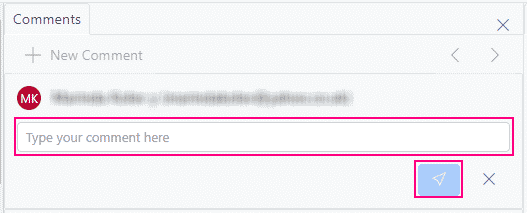
- Add Comments: Click on the Comment option to add a comments field on the Comments tab. Type the comment in the field and click on the Save icon.
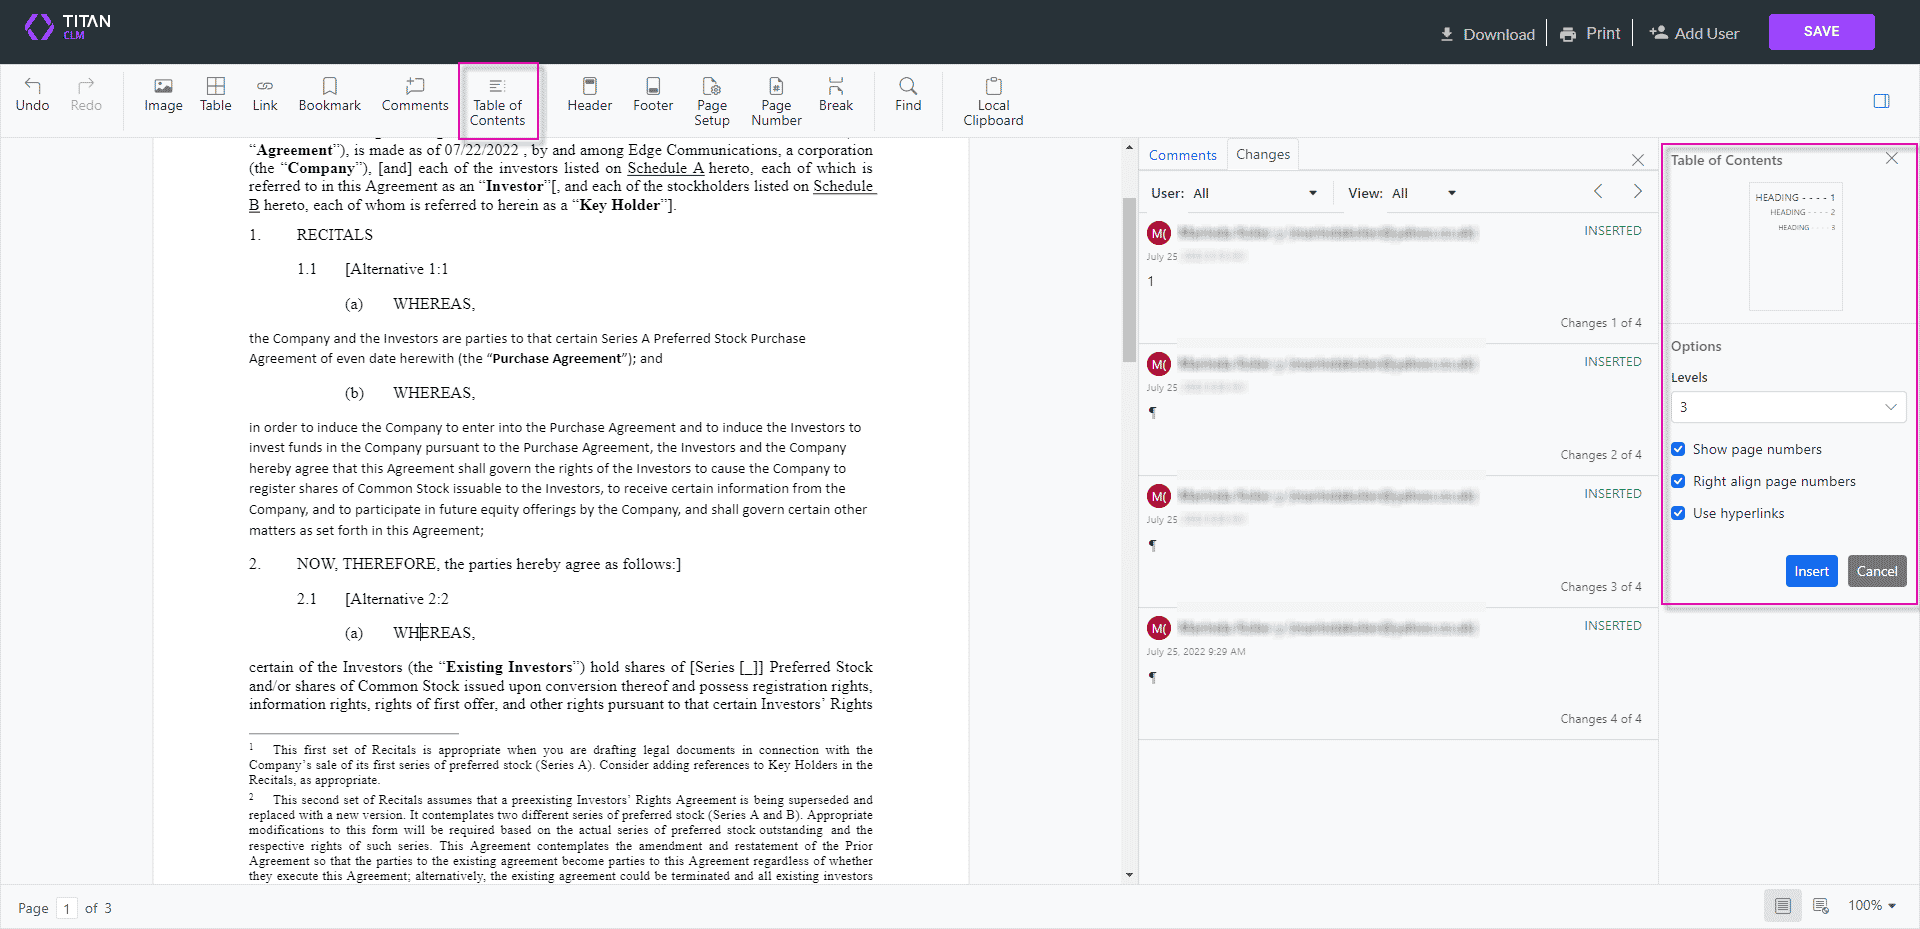
- Insert a Table of Contents: Click on the Table of Contents option to open the Table of Contents option on the right of the screen. Select the levels. Do as follows to insert a table of contents:

- If Heading styles were not configured in the original template, highlight the heading you want to change.
- Use the formatting tools and select the Heading style from the Paragraph drop-down list.
- Do this for all the headings you want to add.

Note:
These changes are not tracked on the Changes tab.
- Place your mouse cursor at the position where you want to add the table of contents.
- Click on the Table of Contents option on the toolbar and use the Table of Contents wizard on the right of the screen to set up the table of contents.
- Select the number of levels.
- Select the following using the checkboxes:
- Show page numbers
- Right align page numbers
- Use hyper links
- Click on the Insert button.
Note:
The table of contents is added and there is tracking of the changes that were made under the Changes tab.
- Insert a header or footer: Do as follows to insert a header or footer:
- Click on the Header or Footer option on the toolbar and use the Header & Footer wizard on the right of the screen to set up the header and/or footer.
- Select the following using the checkboxes, if necessary:
- Different First Page
- Different Odd and Even Pages
- Set the position of the header from the top.
- Set the position of the footer from the bottom.
- Type a new header or footer, or for instance, insert an image, link, or bookmark.

- Use the Page Setup wizard to change the page setup; for instance, the following can be changed.
- Margins: change the top, bottom, left, or right margins as well as the portrait or landscape orientation.
- Paper: change the width and height as well as the page size.
- Layout: select different odd and even pages or a different first page.

- Use the Page Number option to add page numbers. Open a header or footer, place the cursor in the header or footer and click on the Page Number option.
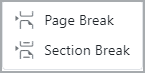
- Use the Break option to add a page break or a section break.
Use the Text Formatting and Styling Options
These options are on the right of the screen.
Note:
Changes made using the text formatting and styling options are not added to the change tracking.
- Use the format styling on the right of the screen to change font formatting, for instance:
- Font type and size
- Bold, italics, underline, or strikethrough
- Superscript or subscript
- Font color or text highlight
- Use the format styling on the right of the screen to change paragraph formatting, for instance:
- Alignment
- Indent
- Line spacing
- Bullets or numbers
- Page borders

Hidden Title
Was this information helpful?
Let us know so we can improve!
Need more help?
Book Demo