

Recipients
Business Background
You can automate signing processes and speed up contract approvals in minutes. Sync all data with Salesforce in real time using zero code.
Titan Solution
- Use Titan CLM, our contract lifecycle tool tailor-made for Salesforce, to automate signing processes and speed up contract approvals.
- The CLM wizard lets you seamlessly add and manage recipients to sign the contract.
How to Video
Coming Soon.
How to Guide
Note:
Prerequisite:
- Make sure you have completed the Sign Project setup process before proceeding.
- Add a source document.
- Edit or add collaborators.
Note:
The settings made in the CLM Wizard override the settings made in the Titan CLM project.
The Titan CLM project is not affected by the CLM Wizard changes.
You can edit the following:
Note:
A color code is assigned to each signer. This color code is used when interactive fields are added.

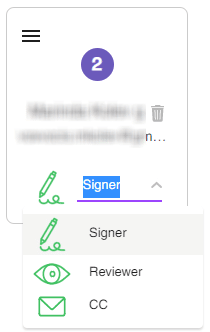
Edit existing recipients
- Click on the drop-down arrow to open the list.
- Select a type from the drop-down list. Click here for more information.
- Signer – this person must sign the document. A copy of the signed document will be sent at the end of the process
- Reviewer – this person will receive a copy of the document to review and will not receive a copy of the signed document.
- CC – This person will receive a copy of the signed document.
Note:
There must be one signer.
You can drag and drop signers to change the order if necessary. You can delete a signer if required by clicking on the Delete icon.
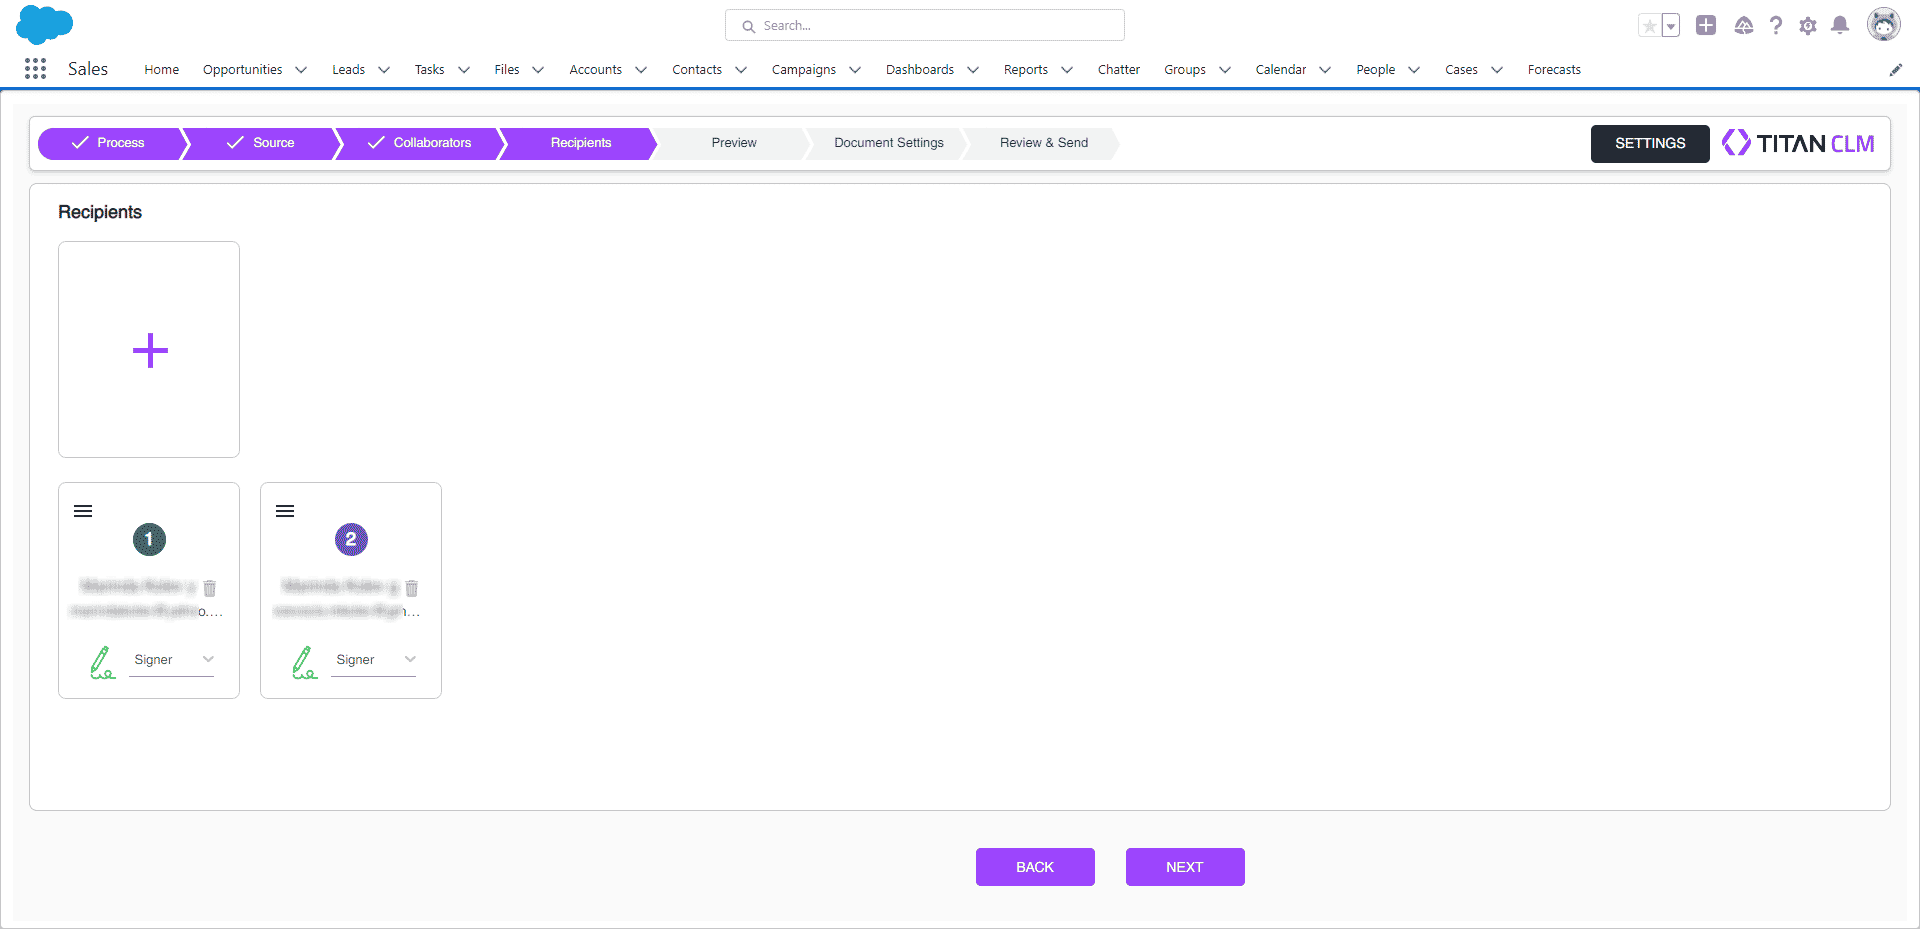
- Click on the Next button. The Preview screen opens.
Add recipients from Salesforce
Note:
From Salesforce is the default option.
You can add Users, Leads, or Contacts.
- Click the + sign.
- Add a search term or part of a term in the field. If results are found, a drop-down list will be shown.
- Select the option from the drop-down list. The signer is added automatically.
- Do this until you have added all the required signers.
- Use the drop-down list to select a role for each signer. “Signer” is the default.

- Click on the Next button. The Preview screen opens.
Add external recipients
- Click on the + sign.
- Click on the External Recipients tab.
- Add the first name, last name, and email address in the fields.
- Click on the Add button. The recipient is added.
- Do this until you have added all the required signers.
- Use the drop-down list to select a role for each signer. “Signer” is the default.
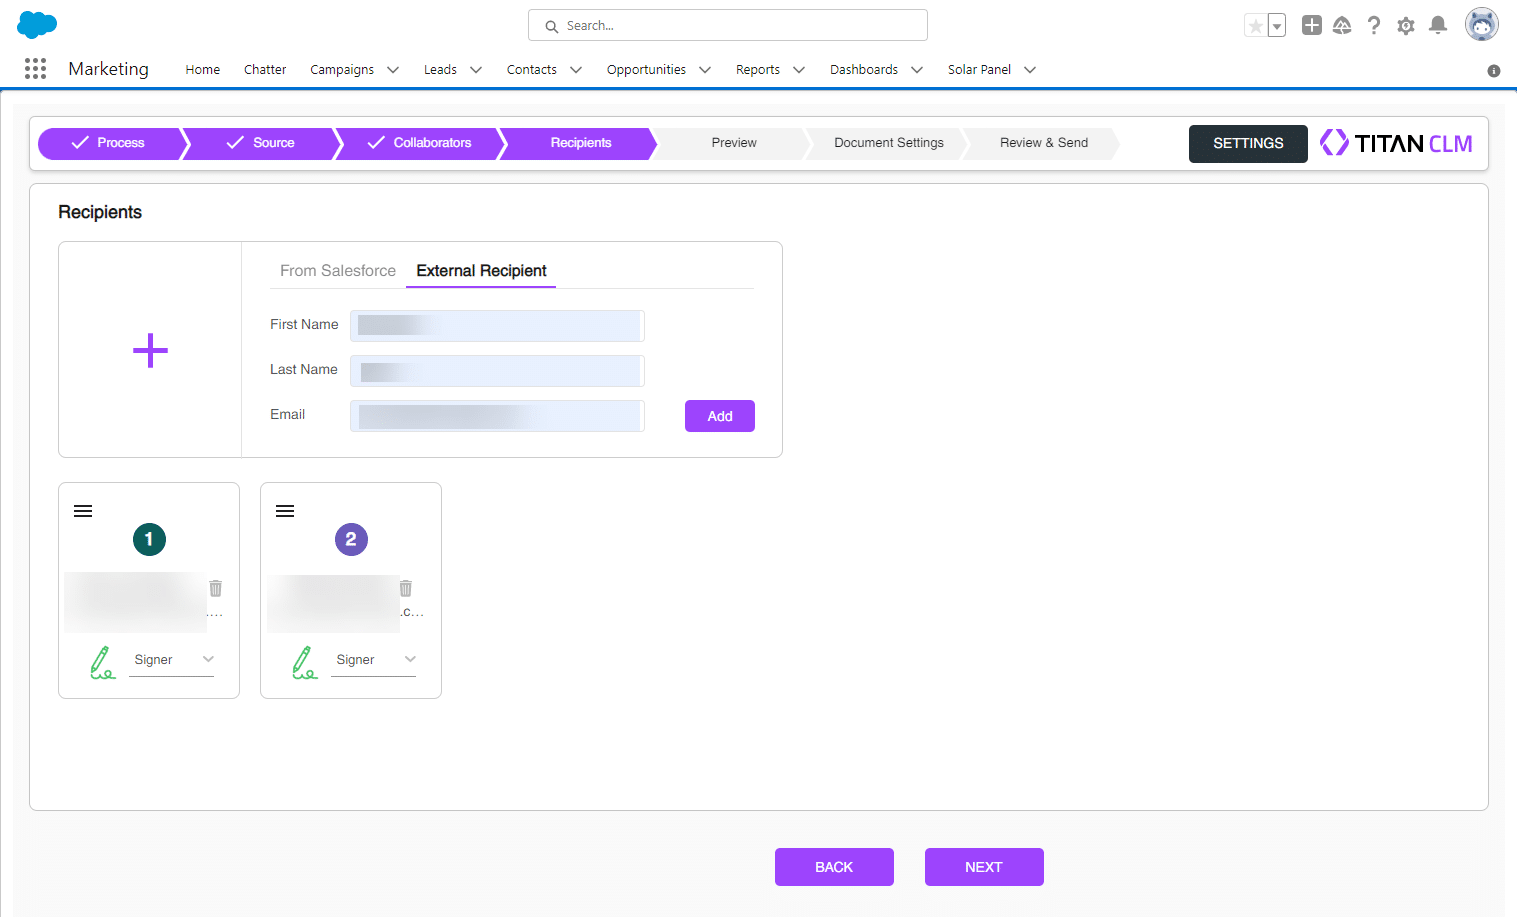
- Click on the Next button. The Preview screen opens.
Hidden Title
Was this information helpful?
Let us know so we can improve!
Need more help?
Book Demo