

Use the Generate File Flow in Titan Web
Business Background
Send audit files to an external cloud storage service.
Titan Solution
You can use a Titan Generate File Flow with Titan Web to send your audit files to any storage location supported by Titan, such as Amazon S3, Google Drive or Box.
You can use this feature together with disabled integration and account logs.
How to Guide
Note:
Prerequisite:
- Create variables to store the error messages.
- Configure the Generate File node in Titan Flow to generate the error message and push it to an external cloud storage services such as Amazon S3, Google Drive or DropBox.
- Browse back to the Titan Web project. In this example, the project has the following elements:
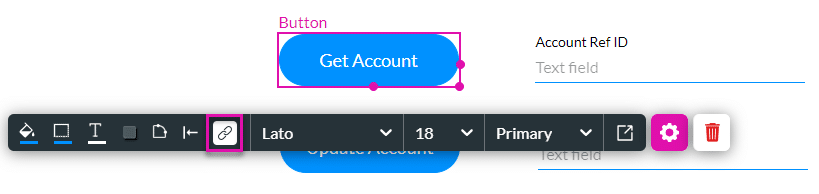
- A Get Account button will populate the Account Ref ID and Account Name fields.
- An Update Account button will update the Salesforce account.
- Configure an On Click Action on the Get Account button.
- Configure a Salesforce integration that gets account information.

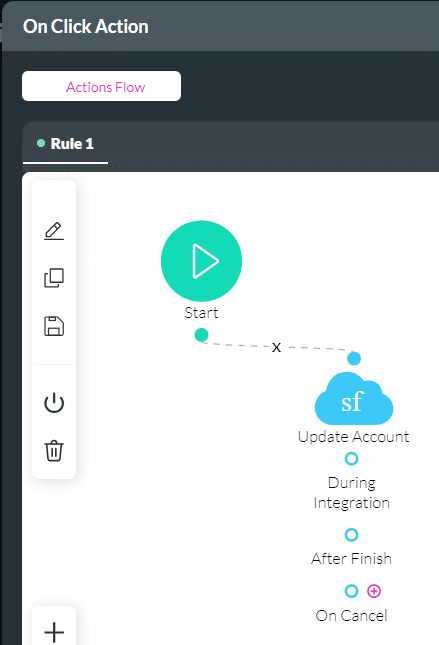
- Configure an On Click Action on an Update Account button.

- Add a Salesforce action Push to update the account information.
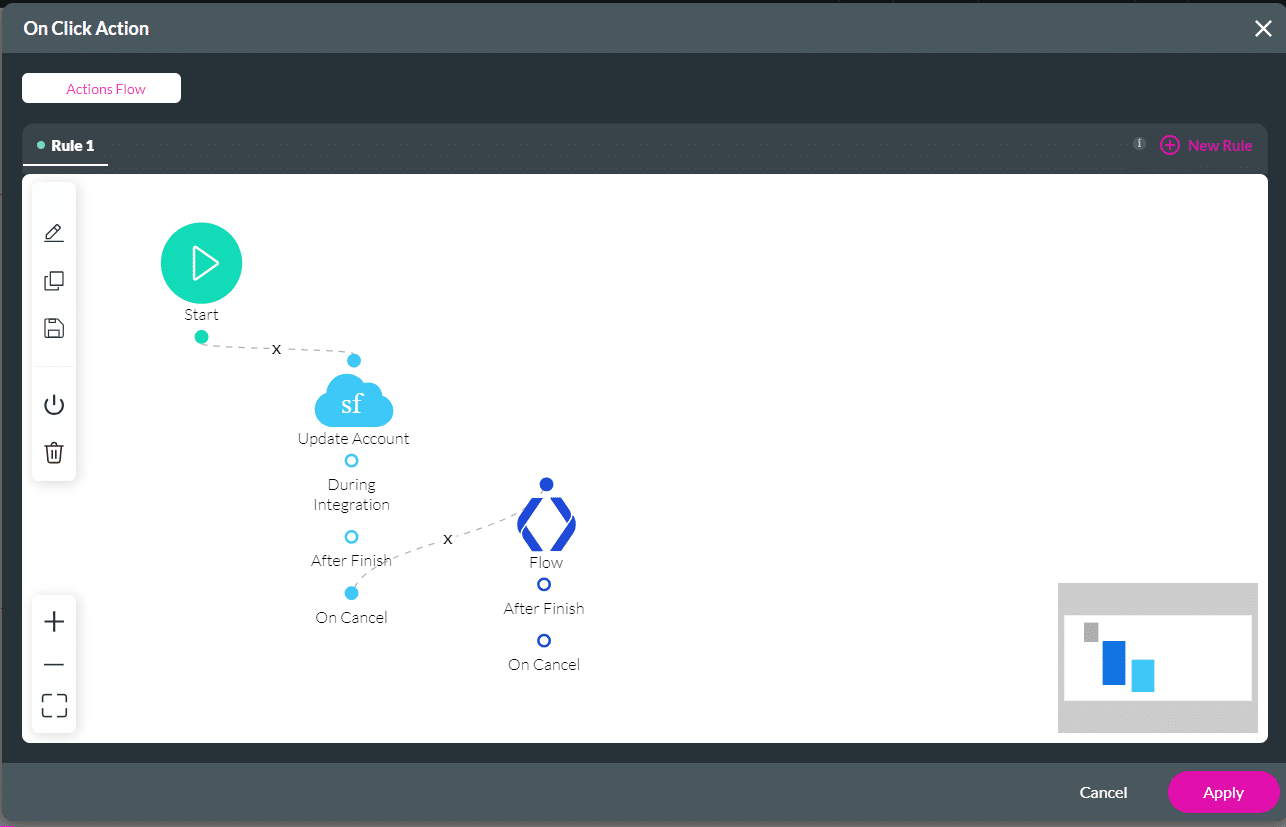
- Click the + icon next to the After Finish Salesforce action.
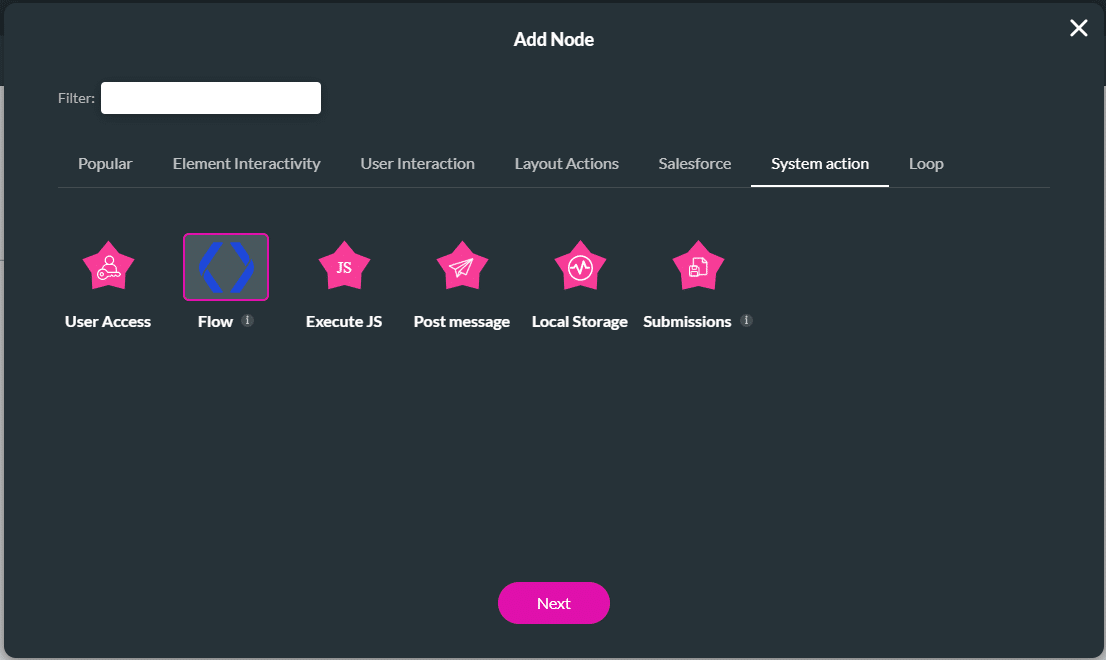
- Select the System action tab and click the Flow option.
- Click the Next button.
- Use the drop-down list to select the Titan Flow project that you configured in the prerequisite.
- Click the Configure Parameters button. The Add Node/Flow screen opens.

- Use the drop-down list to select the variable.
- Click the Apply button on the Configure Parameters and then on the Add Node/Flow screens.

- Add a tag and click the Insert button.
- Click the Apply button.
Example: Trigger the error message
- Make sure that the Debug option is on.
Path:
Project Settings > Tools > Debug Mode toggle switch.
- Save and Preview the project.
- Click the Get Account button. The information is shown in the fields.

- Change the Account Ref ID to an invalid number and click the Update Account button.
- Click the Debug Mode button on the web page. You will see the error message.

The error message is also sent to the configured external cloud storage service using the same value as seen in the image above.
Hidden Title
Was this information helpful?
Let us know so we can improve!
Need more help?
Book Demo