

Configure Salesforce Integrations
Business Background
Use Configure Salesforce Integrations to link your input fields to Salesforce data, this syncs the data to update/retrieve Salesforce records directly.
How to Video
- 0:02 An introduction to Configuring Salesforce Integrations.
- 0:22 Navigate to the Index Settings.
- 0:40 Learn about Configuring Salesforce Integrations.
How to Guide
- Click the + icon to open the list of elements.
- Select the Input option from the list.
- Any input that has the Salesforce option can be used.
- Click-and-drag any input element to the canvas.
- Click the Element settings Gear icon. The Element settings screen opens.
- Select the Salesforce option.
- Click the Configure Integrations button.

Create a Push
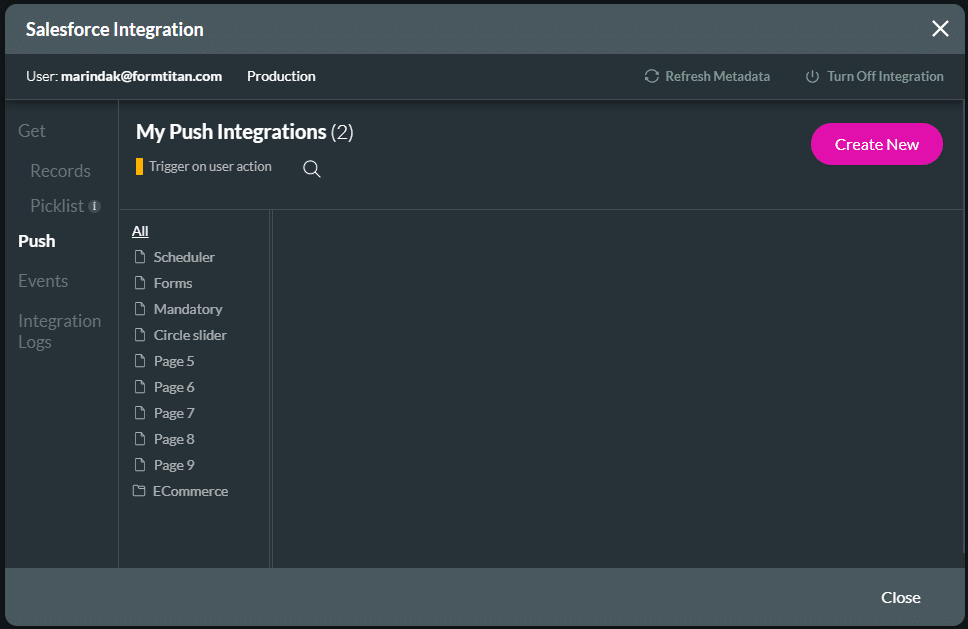
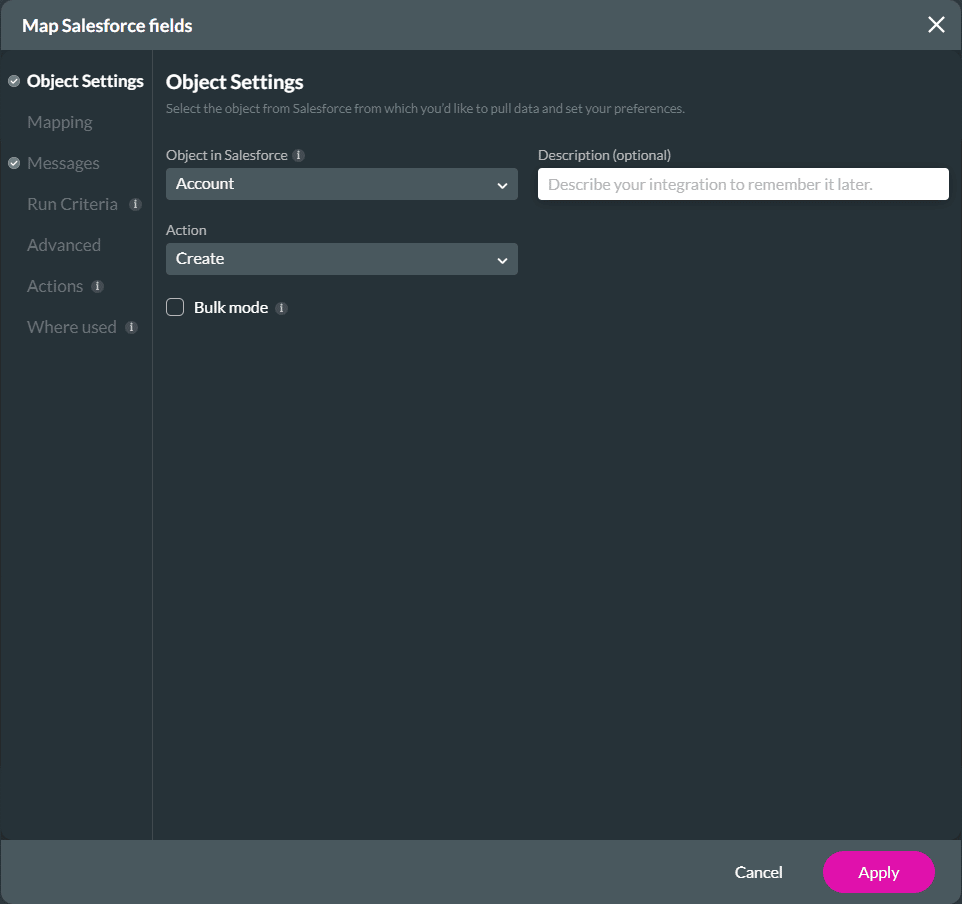
- Select the Push option and click the Create New button. The Map Salesforce fields screen opens.
- Select the Object in Salesforce drop-down list, for instance, Contact, to identify your recipient.
- Select the Action drop-down list to specify what you want to do, for instance, if you want to create, update, find or delete an object. In this article, we used the create option example.
- Add a description if necessary. This is not a mandatory field. The description is used for internal needs. It describes the goal of the data from and to Salesforce internally.
- Click the Apply button.
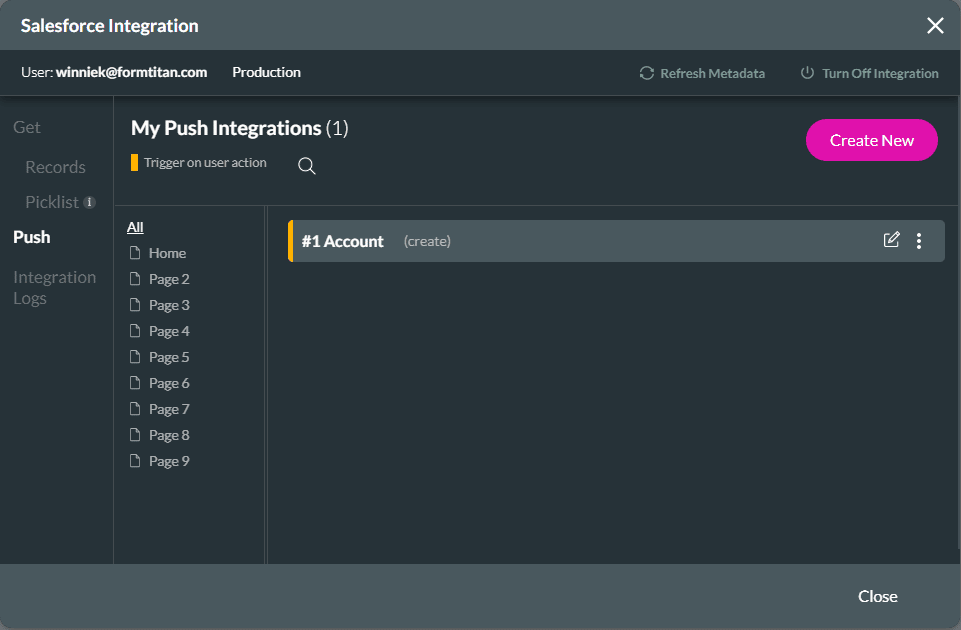
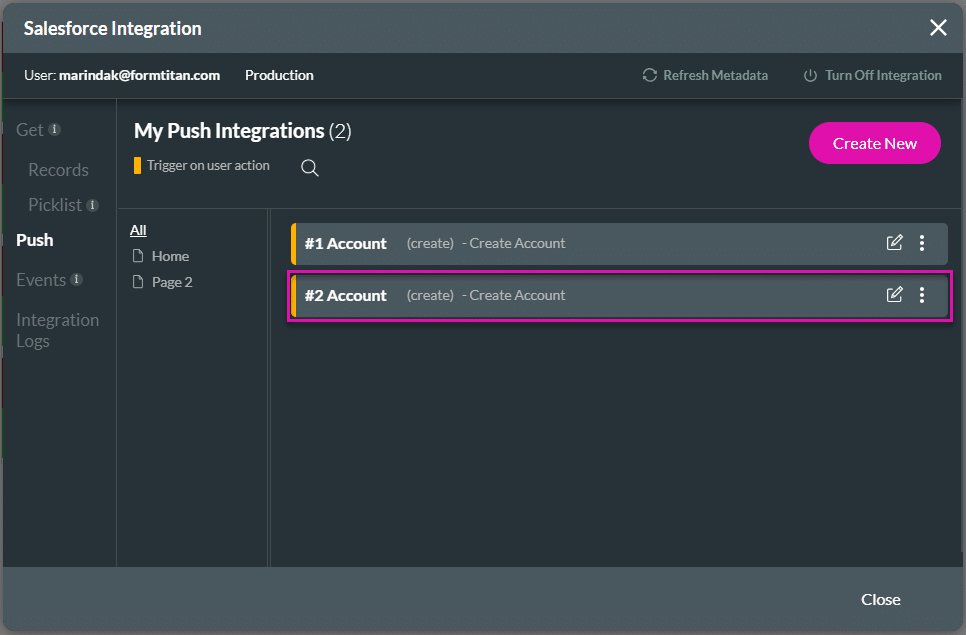
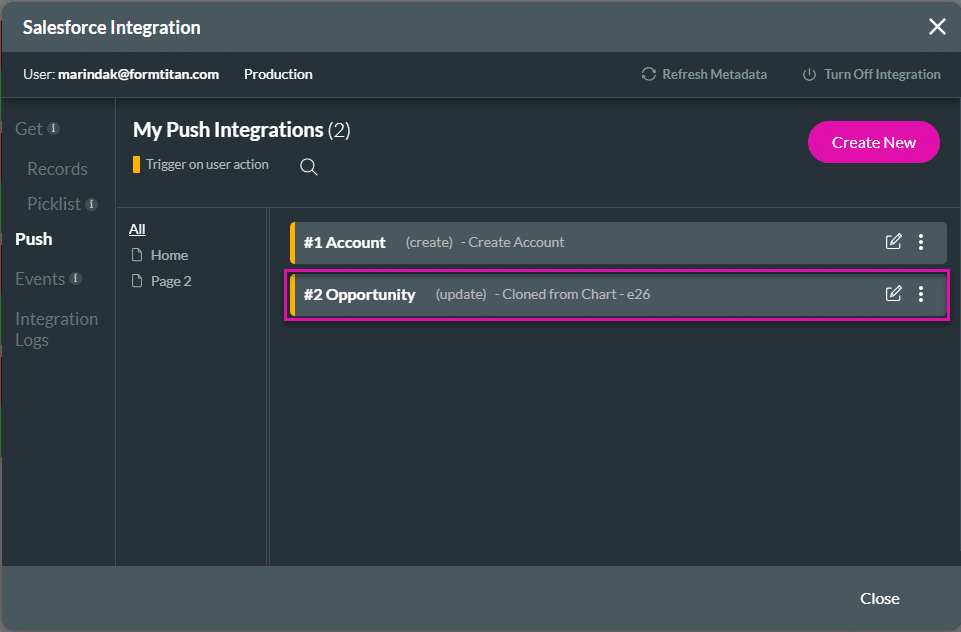
The Push will show on the Salesforce Integrations screen.
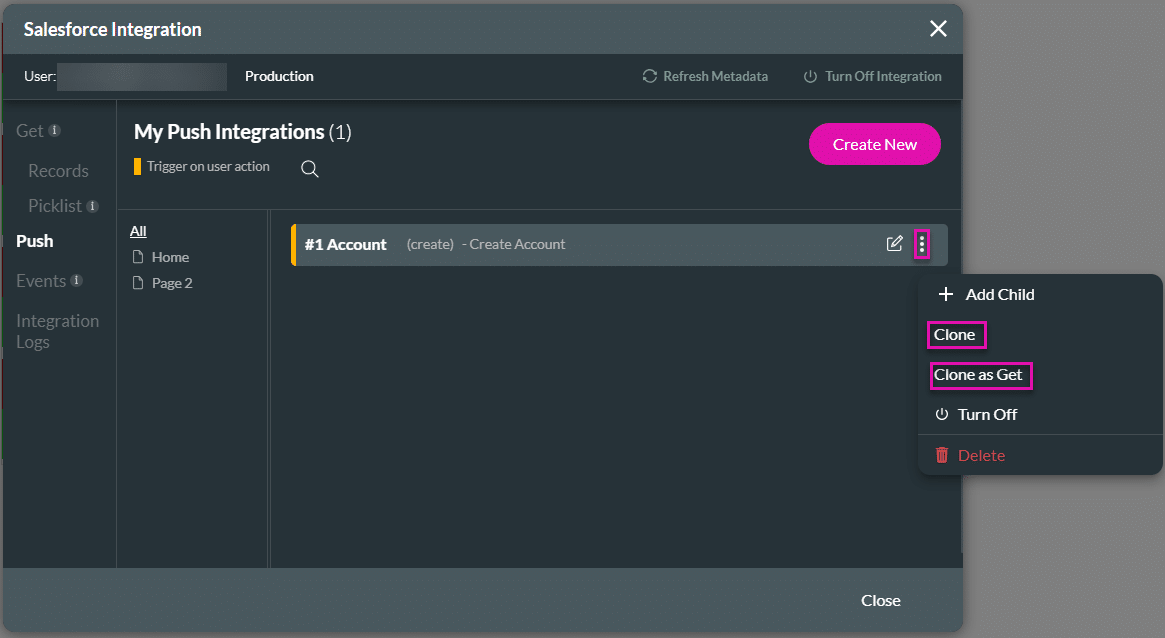
- Click the Kebab icon to clone the Push integration. This lets you re-use an existing Salesforce action, saving time and effort.
- Clone
- Clone as Get
Please note that conditions are not cloned.
The cloned integration is added underneath the Push integrations with an incremental number.
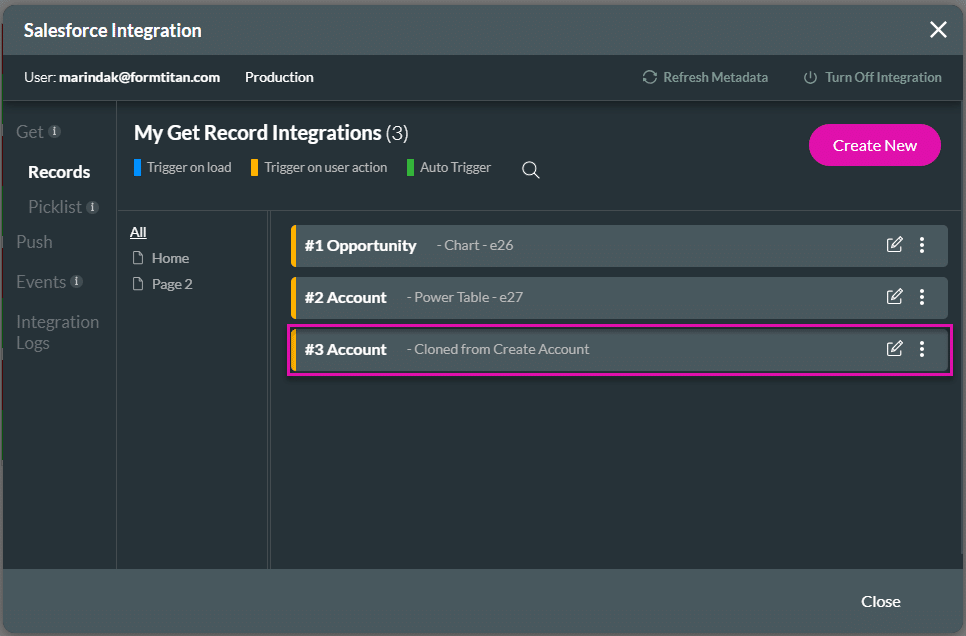
The Push integration that is cloned as a Get is added to the Get integrations list.
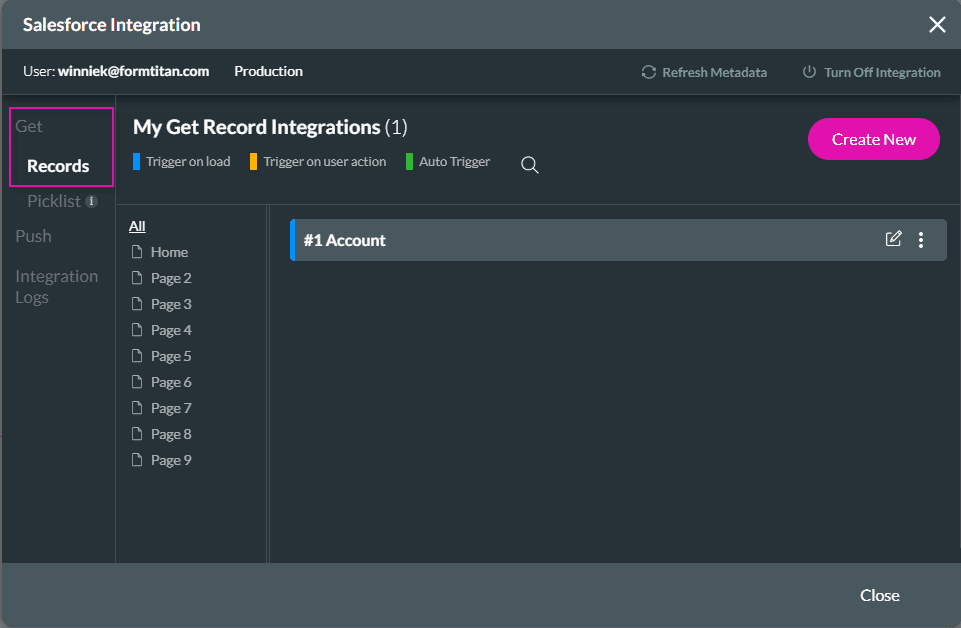
Create a Get
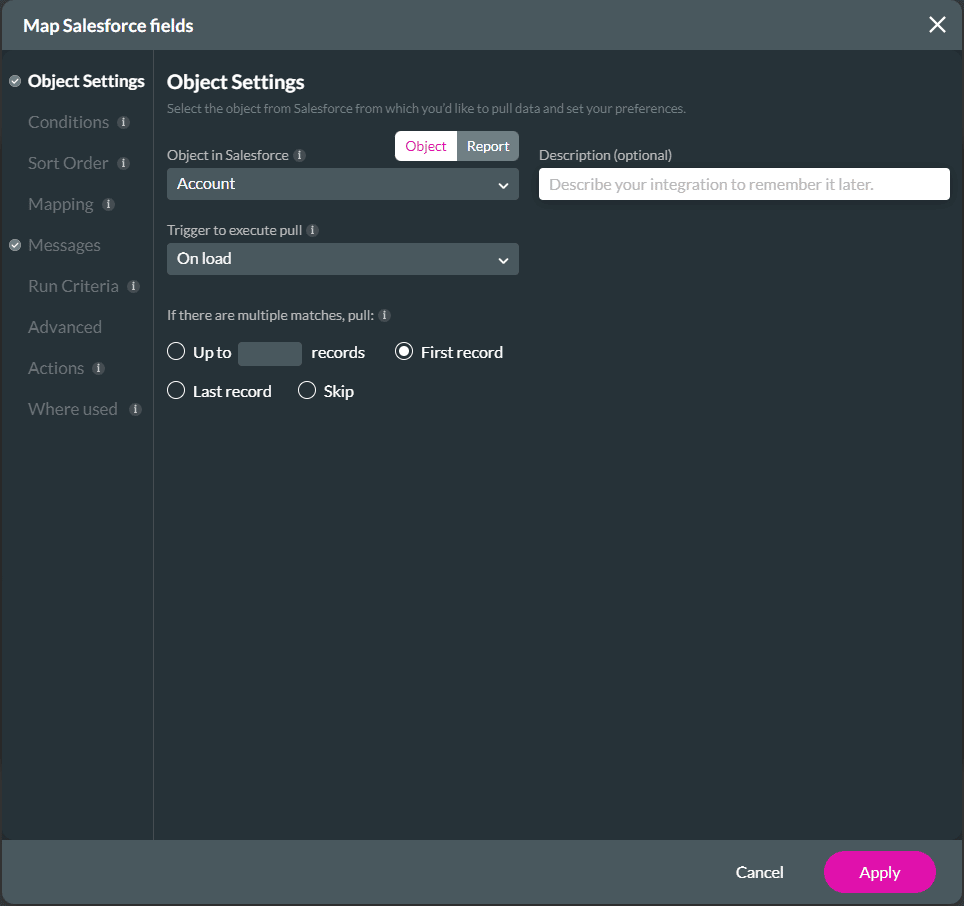
- Make sure that the Get > Records option is open and click the Create New button. The Map Salesforce fields screen opens.
- Select the Object in Salesforce drop-down list, for instance, Contact, to identify your recipient.
- Select the Trigger to execute pull drop-down list to specify what you want to do, for instance, if you want to pull when content is loading or according to your action. In this article, we used the on-load option example.
- If necessary, type any description in the field. This is not a mandatory field. The description is used internally to describe the scope of the action.
- Click the Apply button. The created Get will show on the Salesforce Integration screen.
- Click the Kebab icon to clone the Get integration. This lets you re-use an existing Salesforce action, saving time and effort.
- Clone
- Clone as Push
Please note that conditions are not cloned.

The cloned integration is added underneath the Get integrations with an incremental number.
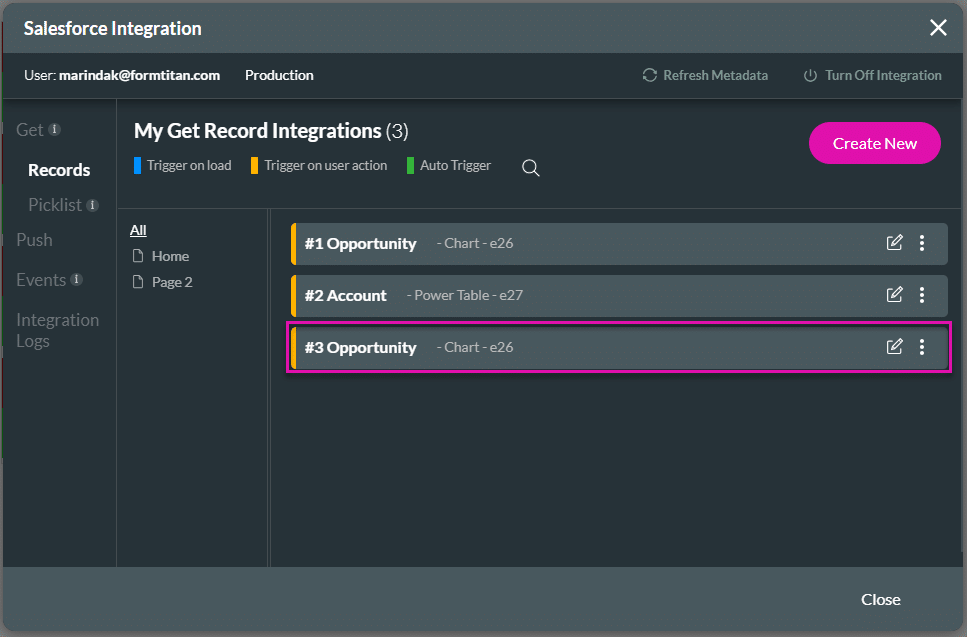
The Get integration that is cloned as a Push is added to the Push integrations list.
The created Get and Push will show under the Salesforce option on the Settings screen of an element.
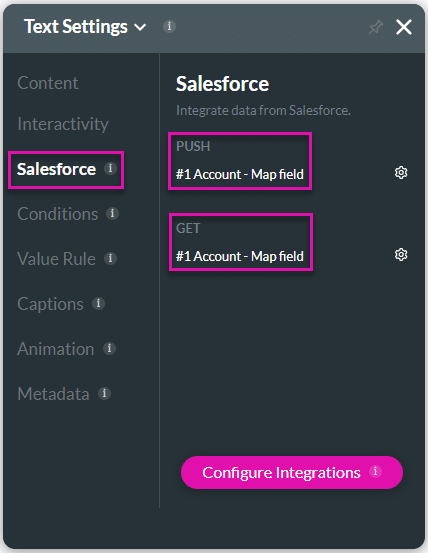
Use the Push or Get Gear icon as a shortcut to edit mapping.
