

Configure Salesforce Integrations – Push DocGen Files
Business Background
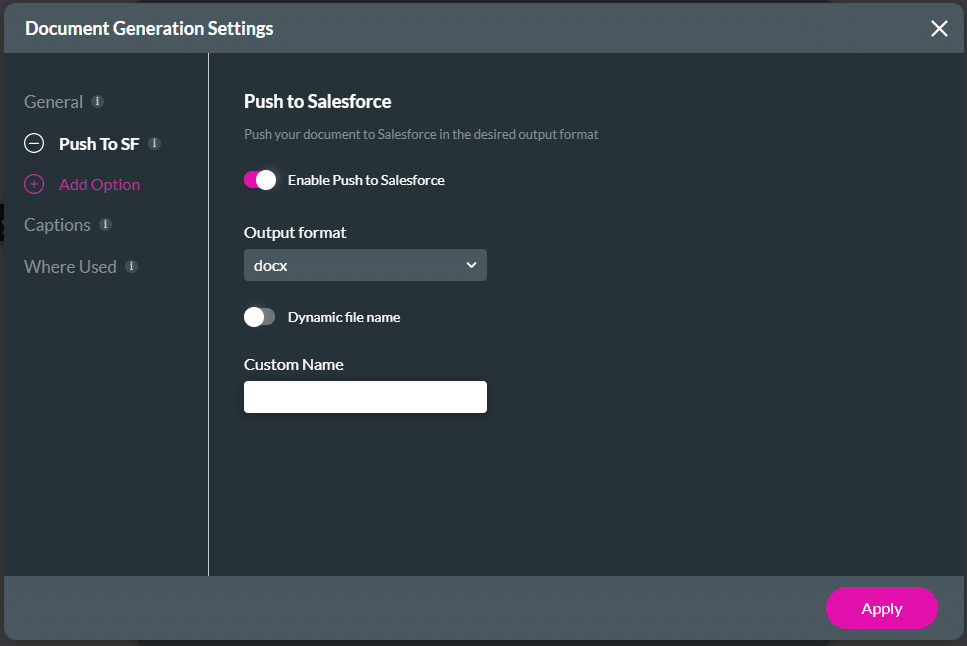
Use Configure Salesforce Integrations to push files to Salesforce.
How to Guide
Note:
- Click the + icon to open the list of elements.
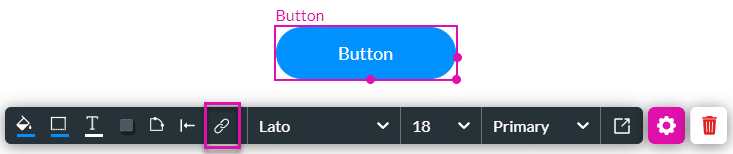
- Select the Button option from the list.
- Click-and-drag a button element to the canvas.
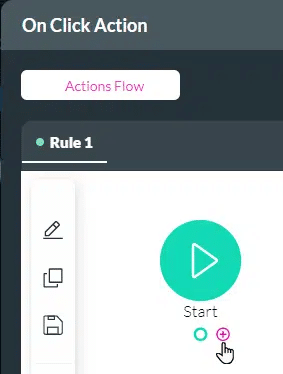
- Click the On Click Action icon. The On Click Action screen opens.
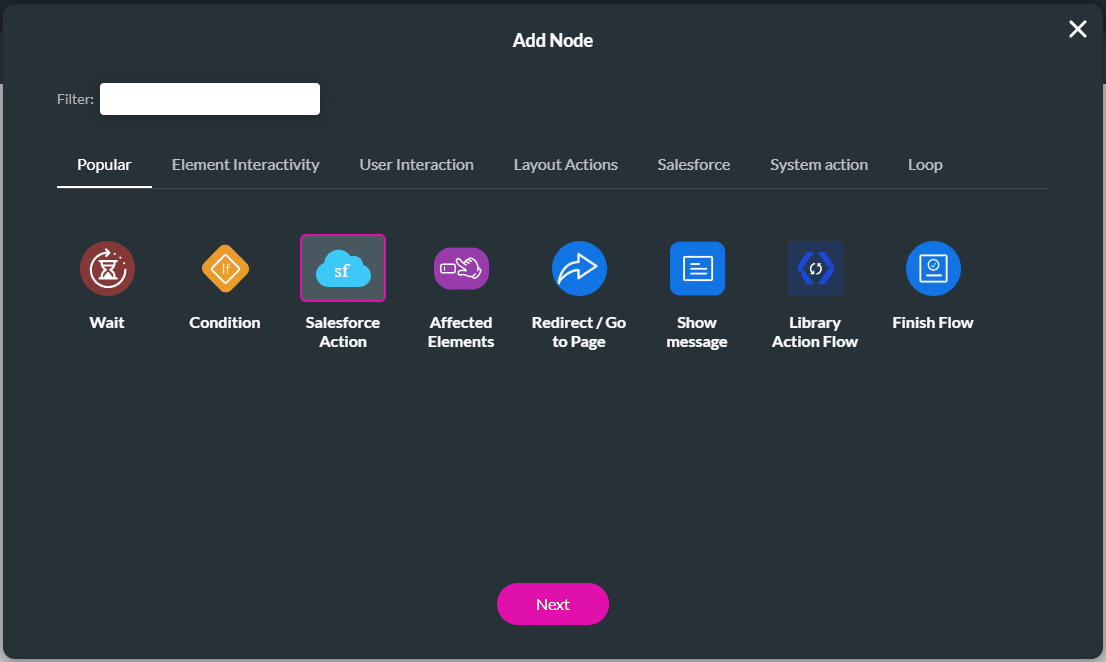
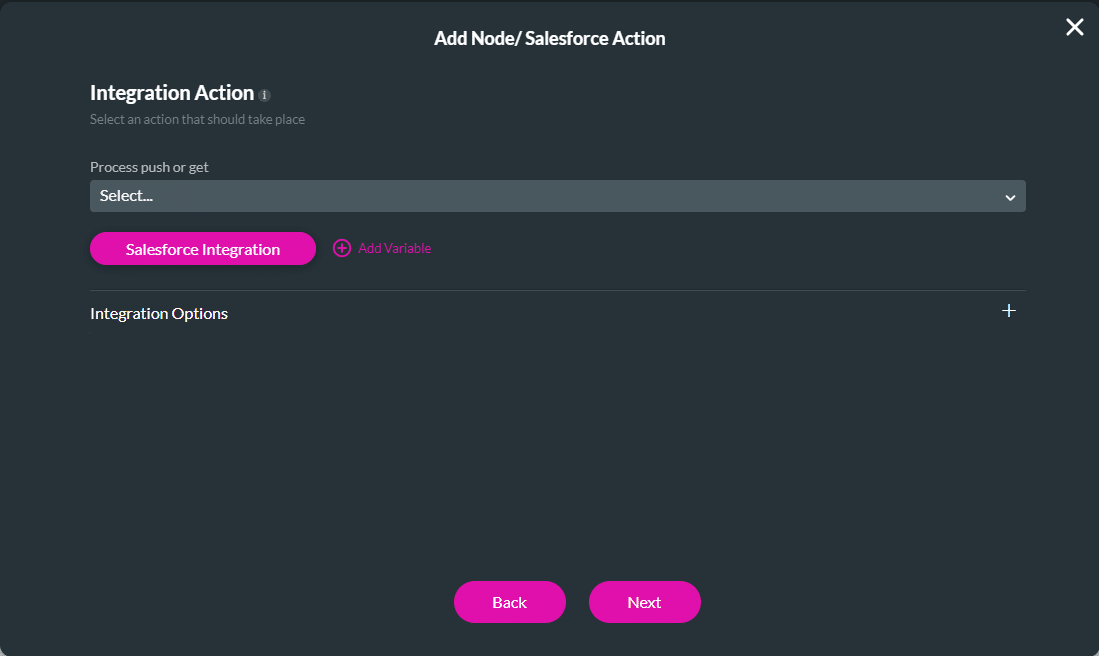
- Click the + icon. The Add Node screen opens.
- Click the Salesforce Action option and click the Next button.
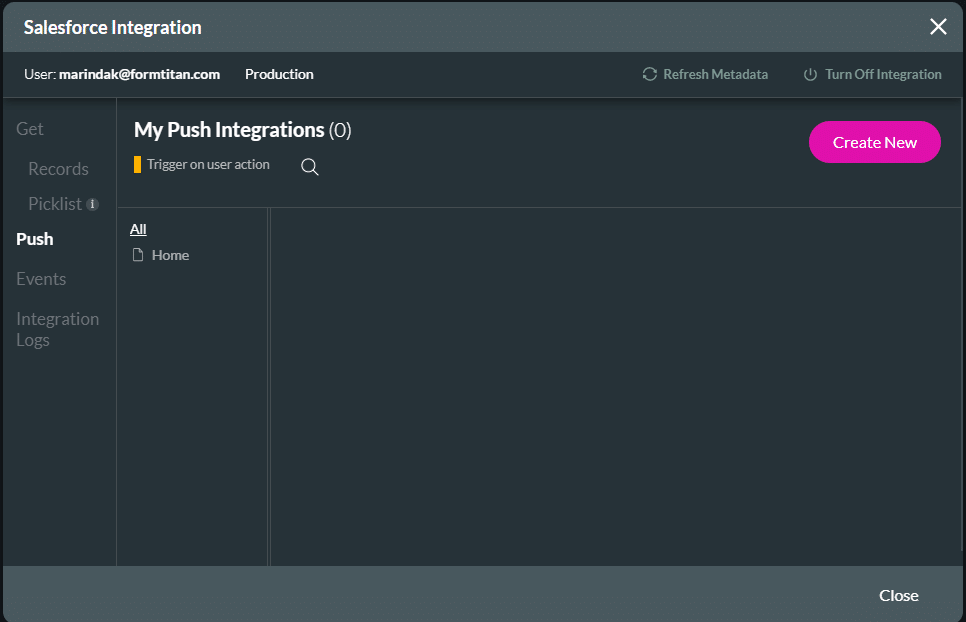
- Click the Salesforce Integrations button. The Salesforce Integration screen opens.
- Click the Push option and click the Create New button.
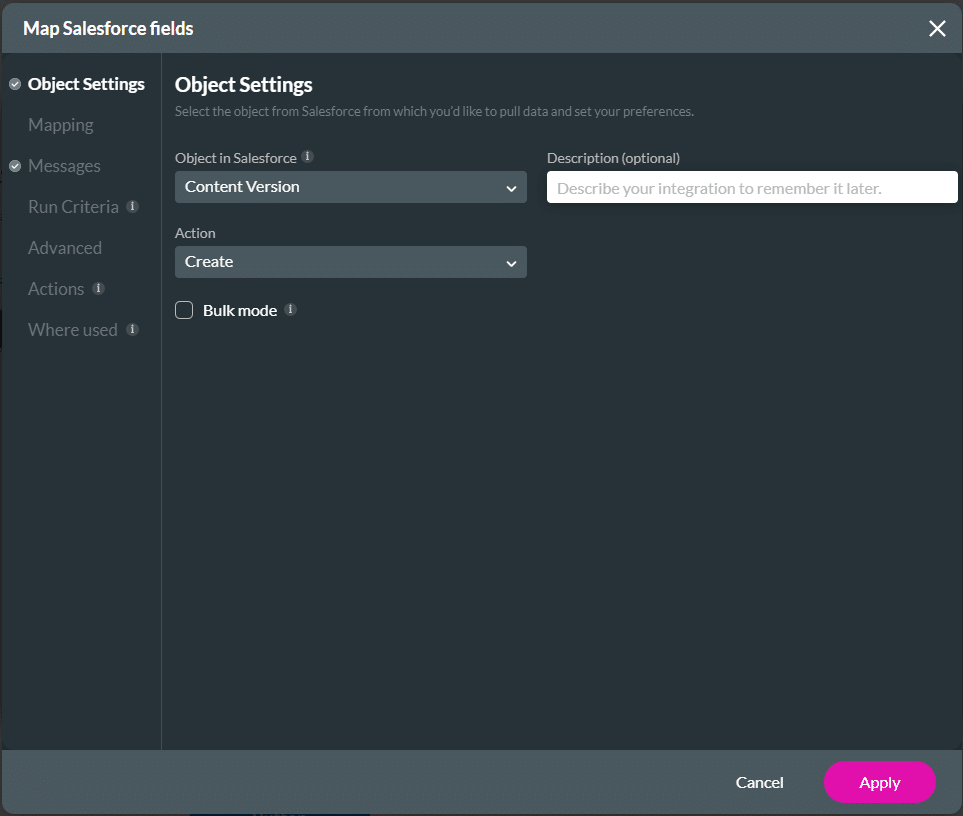
- Select the Content version from the Object in Salesforce drop-down list.
- Select the Action drop-down list, for instance, Create.
- Add a description if necessary. This is not a mandatory field. The description is used for internal purposes. It describes the goal of the data from and to Salesforce internally.
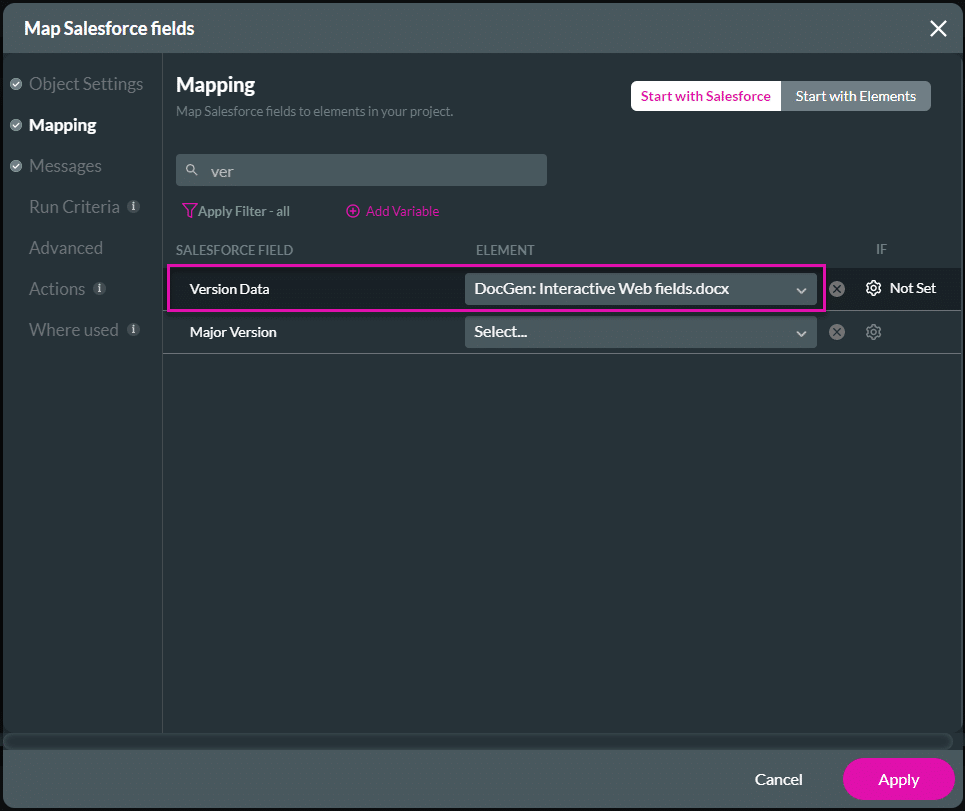
- Click the Mapping option.
- Search for “version” and map the Version Data by selecting the document generation template from the list.
- Search for “title” and map the Title of the document.
- Select the document name from the drop-down list.
- Alternatively, select Other from the drop-down list and add a title in the field.

- Search for “first” and map the First Publish Location ID if you want to associate the document with a record.
- Select Other from the drop-down list and add the record ID in the field.
- Alternatively, select a field or variable on your project that holds the record ID from the drop-down list.
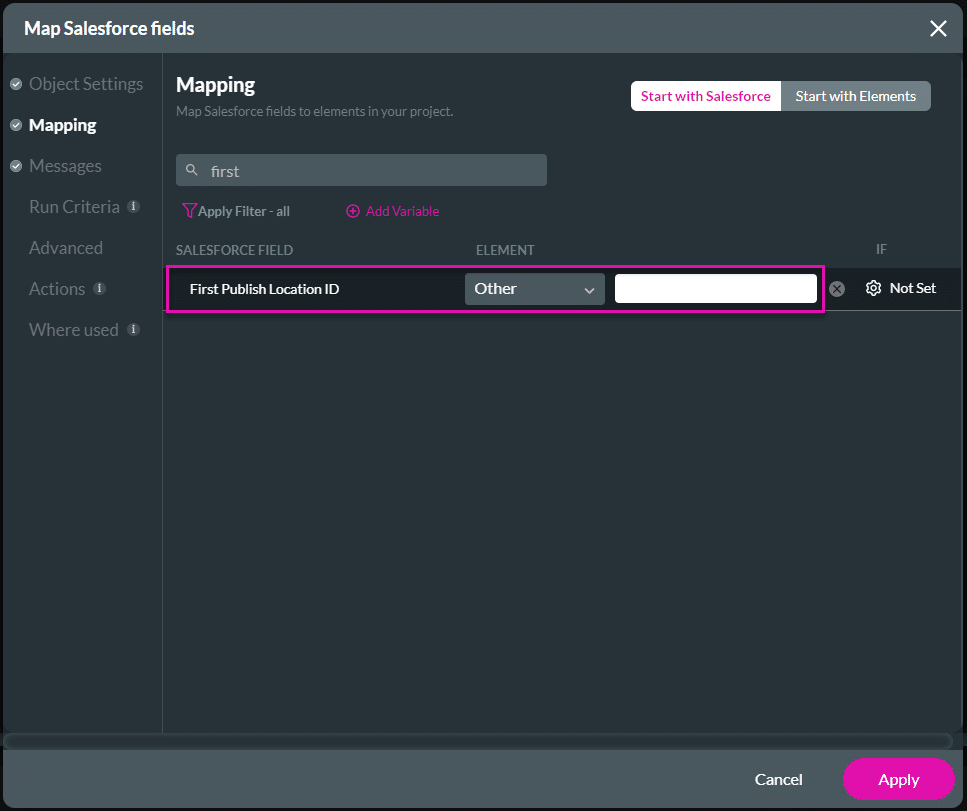
- Click the Apply button.
- Click the Close button on the Salesforce Integration screen.
- Use the drop-down list to select the Push and click the Next button.
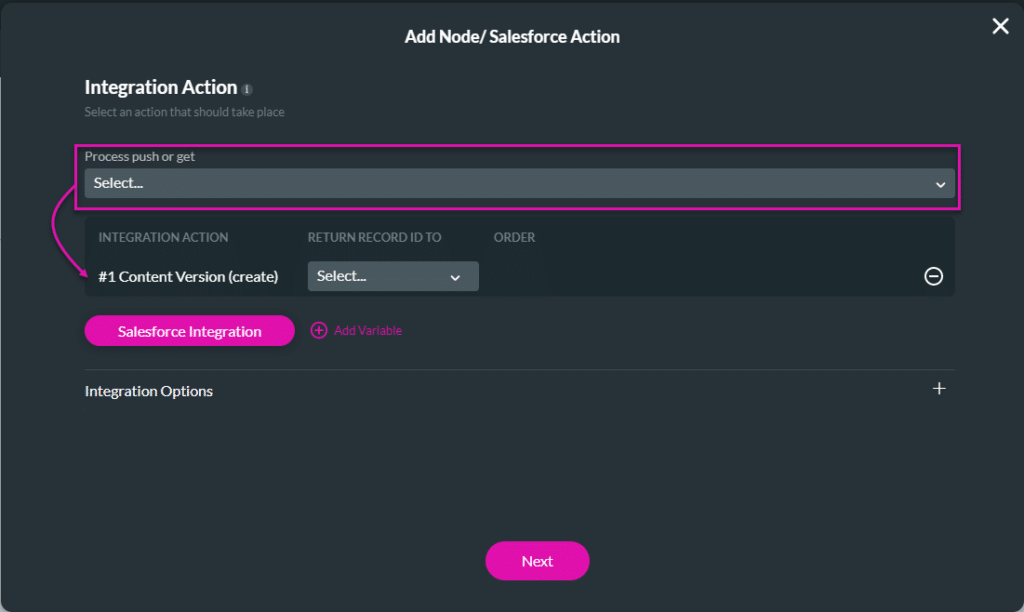
- Add a tag if necessary and click the Insert button. The Salesforce integration is added to the screen
- Click the Apply button.

Hidden Title
Was this information helpful?
Let us know so we can improve!
Need more help?
Book Demo