

Configure Salesforce Integration with Platform Events
Business Background
Use the customizable Salesforce Platform Events functionality to track and respond to large volume data changes and events in near real-time. The Event-Driven Architecture in Salesforce lets you create more resilient and scalable integrations for an infinite number of use cases compared to the point-to-point model. The Salesforce Event Bus lets events be published and subscribed to by different systems, applications, or components within the platform. This enables near real-time integration and communication between different parts of the Salesforce ecosystem.

Publishers create events with information about a specific action or change within the Salesforce environment. Subscribers can then subscribe to these events and receive near real-time notifications whenever an event they are interested in is triggered. Examples of events are when a new lead is created or a case is updated.
Titan Solution
Salesforce Platform Events has been integrated with Titan systems. Our customers can track and publish changes in data, workflows, or custom business processes in near real-time to enable them to work with an event-driven model.
- Use the Events in Titan’s Salesforce integration to automate and streamline your business processes, enable near real-time updates, and improve data accuracy.
- Use Pub/Sub API as a gRPC API from Salesforce to publish platform event messages and get final publish results. gRPC is an open-source Remote Procedure Call (RPC) framework that enables connecting devices, mobile applications, and browsers to backend services.
Events can be published and subscribed to:
- Publish: an event message with a payload is sent to an event topic. Registered subscribers will receive event messages whenever events are published.
- Subscribe: people subscribe to receive event messages.
How to Guide
For more information on Salesforce Events, please refer to the following Salesforce resources:
Prerequisite:
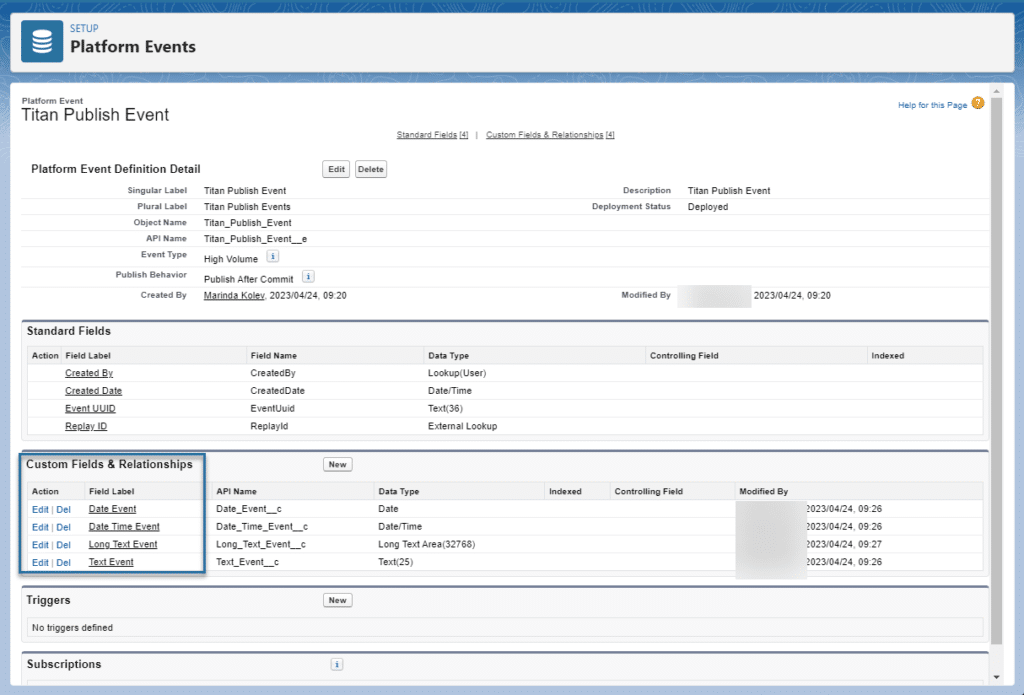
Create a new event in Salesforce and make sure to add the custom fields and relationships, for example:
With Titan, you can do the following:
- Open Project Settings by clicking the Gear icon.
- Select the Salesforce option.
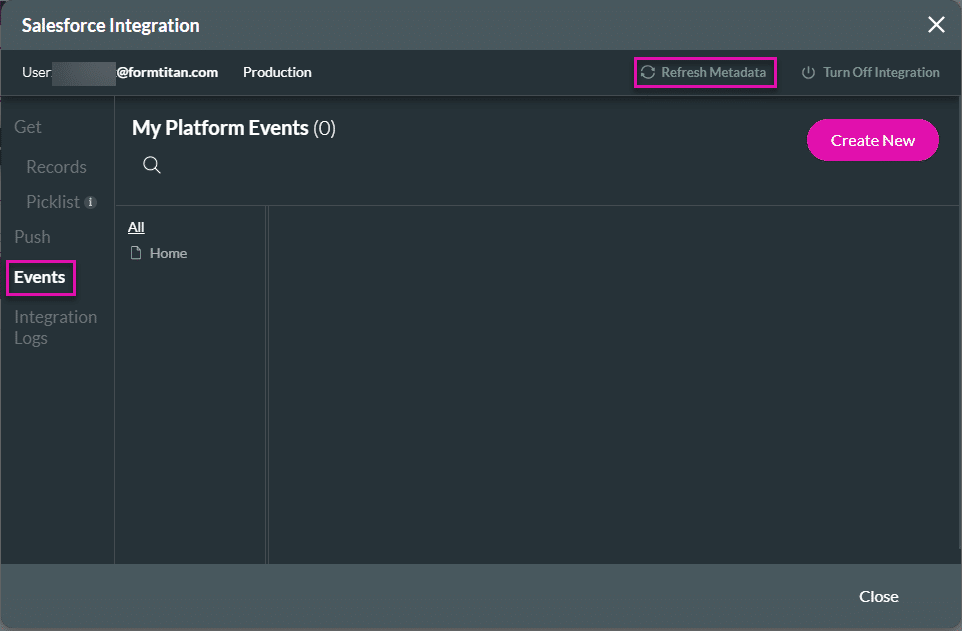
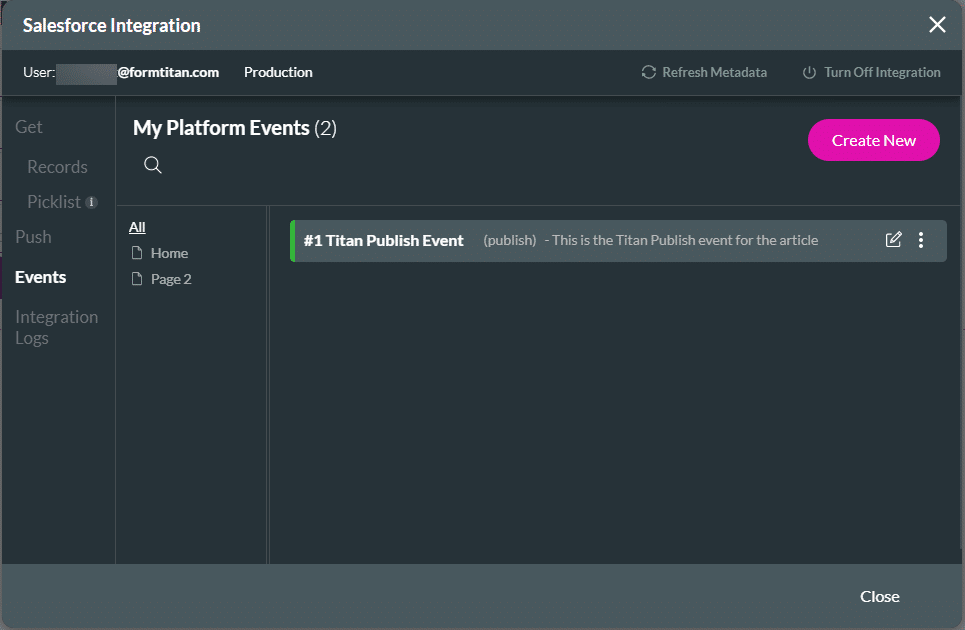
- Click the Refresh Metadata button to ensure you have the latest data from Salesforce.
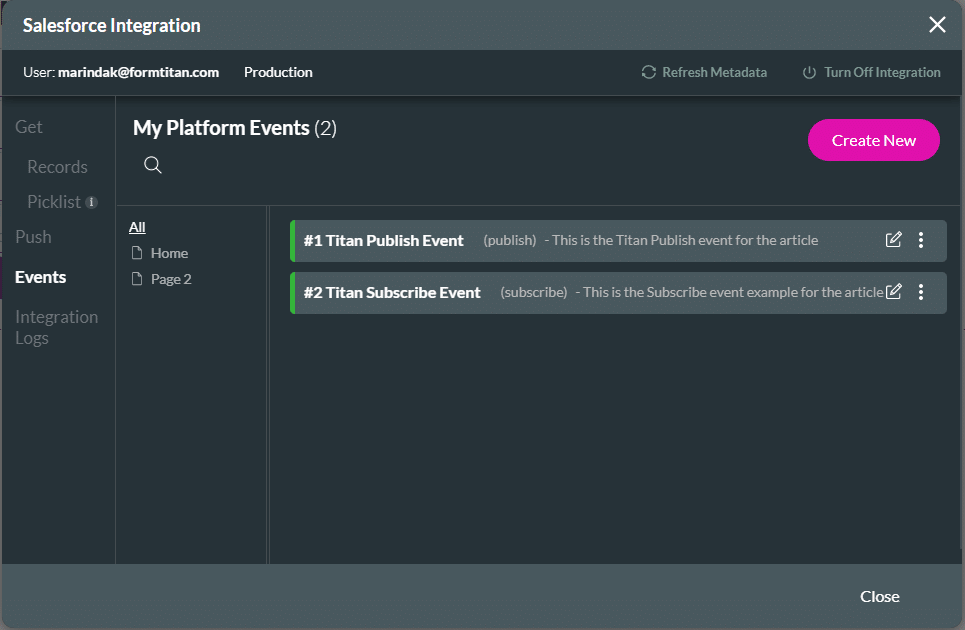
- Select the Events option and click the Create New button.
Publish
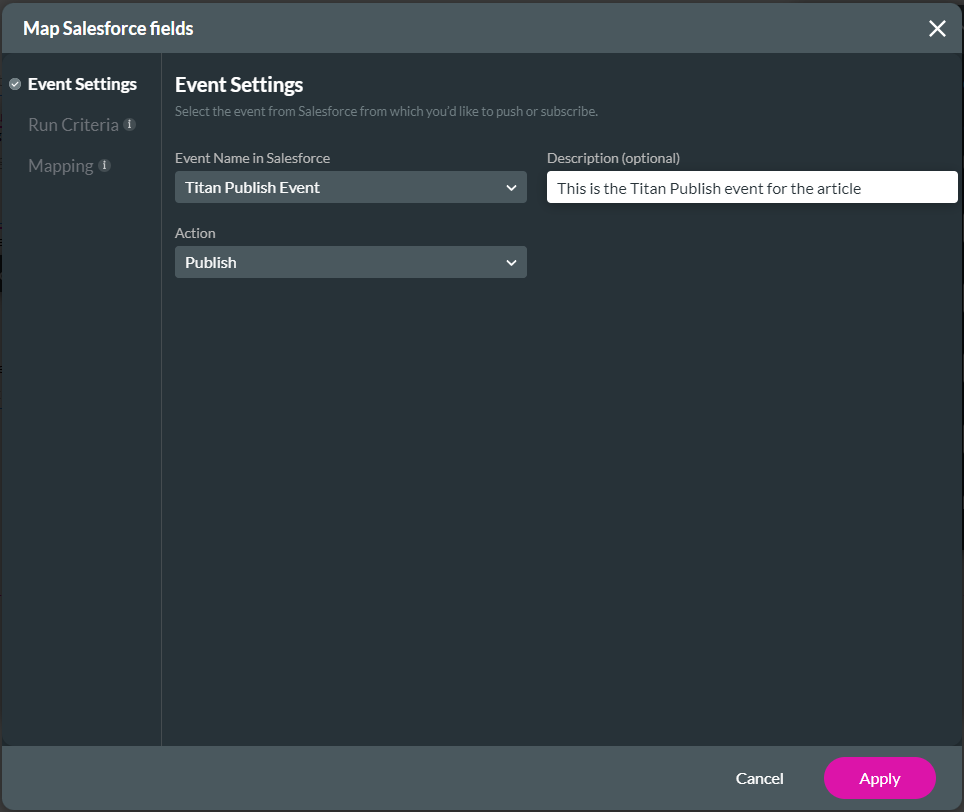
- Use the drop-down list to select the event name in Salesforce.
- The event options you created in Salesforce are available in the drop-down list.
- Make sure that the action is Publish.
- Add a description in the field. This description is later used to identify the event.
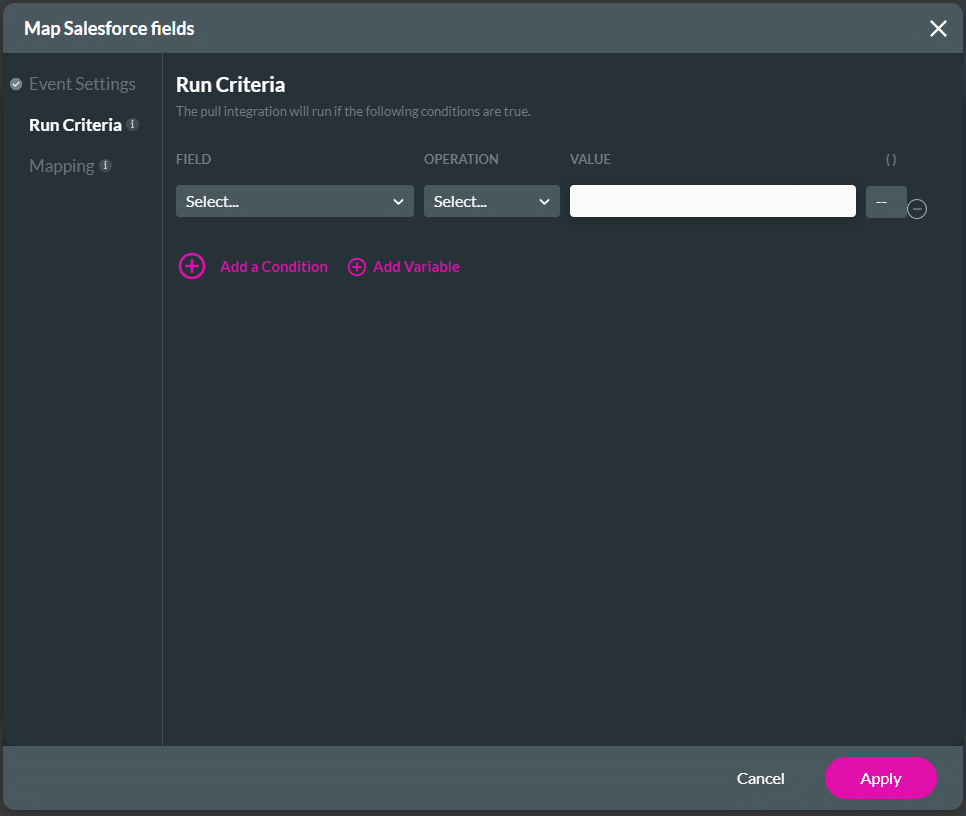
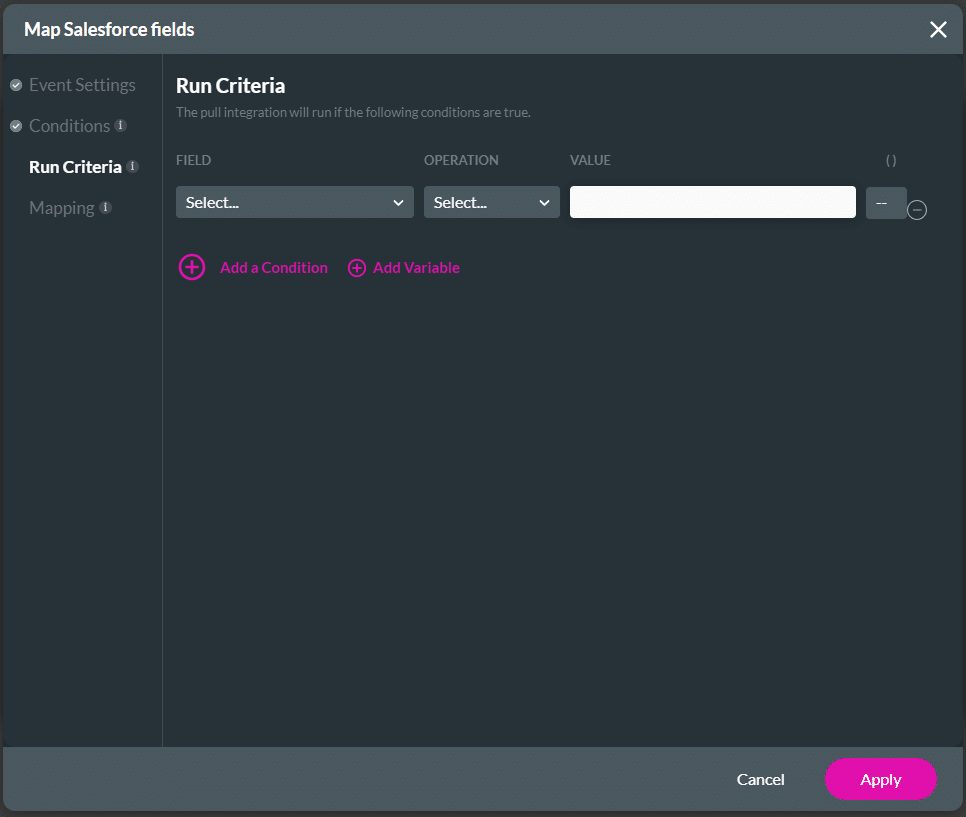
- Click the Run Criteria option if necessary and configure the relevant run criteria.
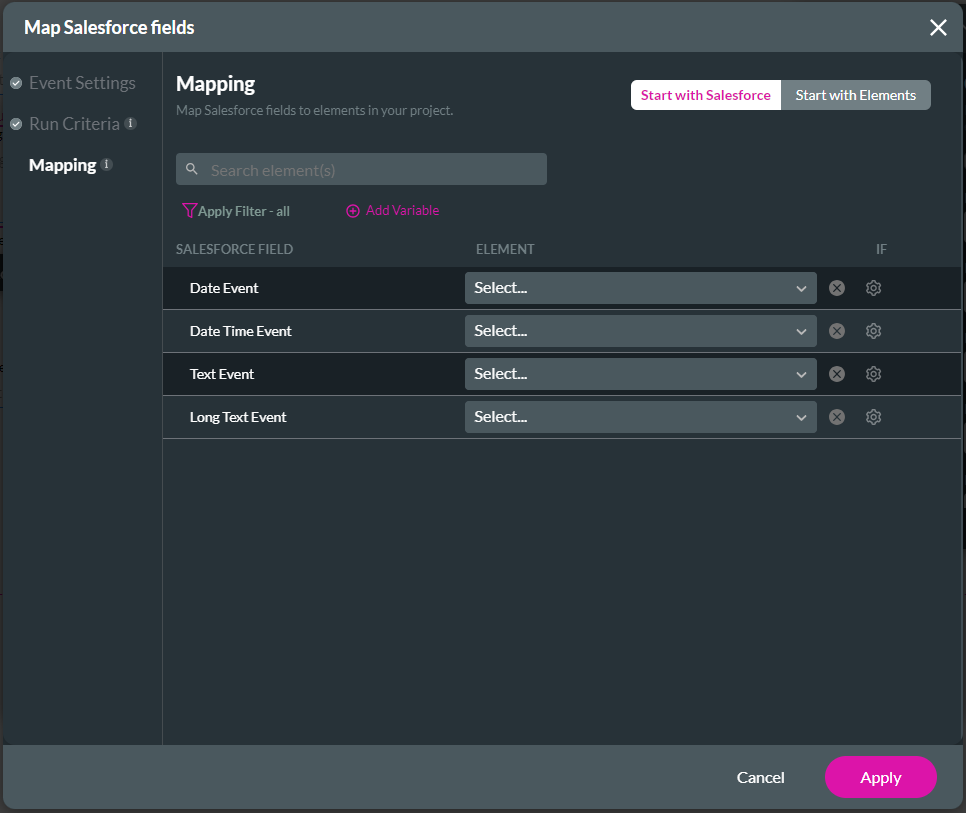
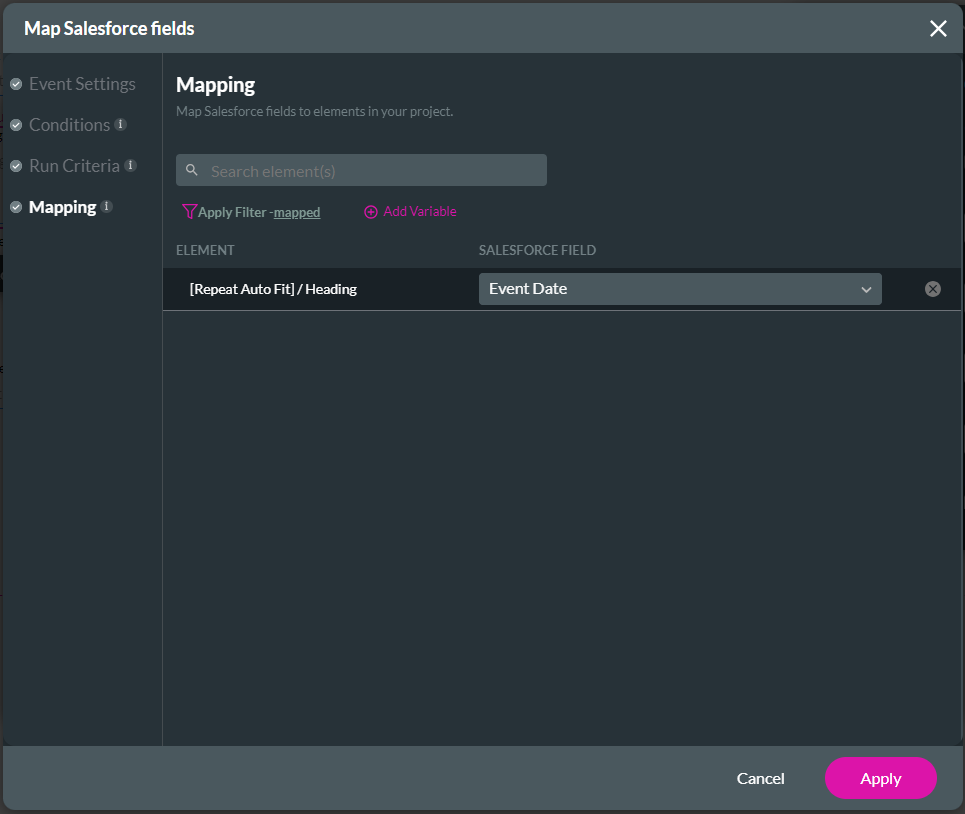
- Click the Mapping option.
- Map the payload that will be sent with the publish event.
- The options for the Salesforce Fields list are the custom fields and relationships you added to the Salesforce Platform Event.
- Click the Apply button.
- Click the Close button on the Salesforce Integration screen.
Subscribe
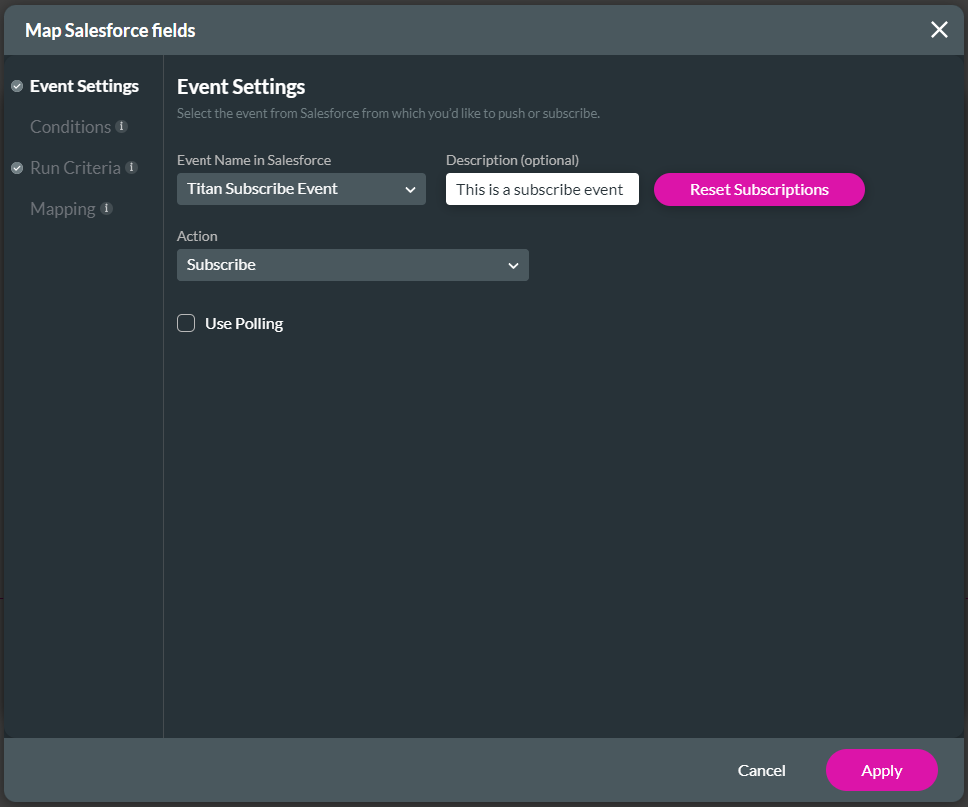
- Use the drop-down list to select the event name in Salesforce.
- The event options you created in Salesforce are available in the drop-down list.
- Use the Action drop-down list to select Subscribe.
- Click the Use Polling checkbox to enable the option, if necessary.
- Click the Reset Subscription button to reset the event subscription.
- Please note that all open subscriptions will be deleted and restarted once users resubscribe.
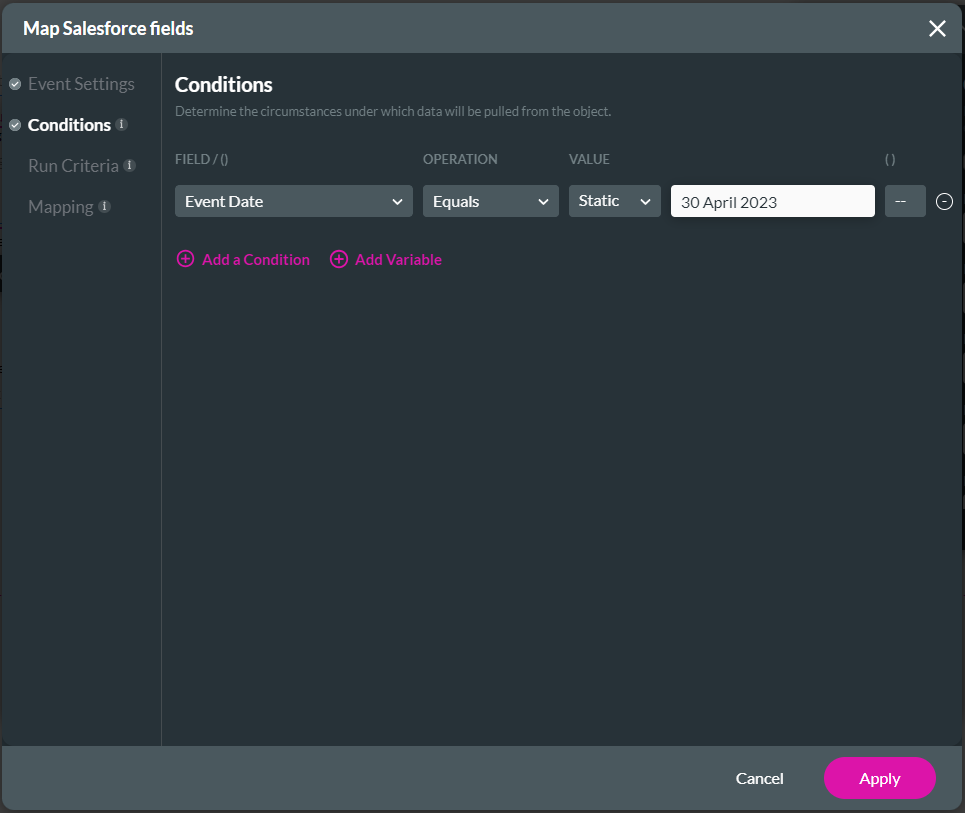
- Click the Conditions option.
- Use the drop-down lists to configure the conditions to see only the event messages applicable to you.
- Click the Run Criteria option if necessary and configure the relevant run criteria.
- Click the Mapping option.
- Use the drop-down lists to configure the mapping.
- The options for the Salesforce Fields list are the custom fields and relationships you added to the Salesforce Platform Event.
- Click the Apply button.
- Click the Close button on the Salesforce Integration screen.
Run the event
- Add a button element to the project or create a condition.
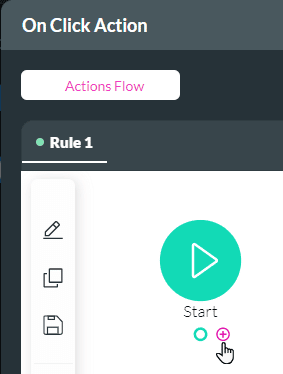
- Click the On Click Action icon to open the On Click Action screen.

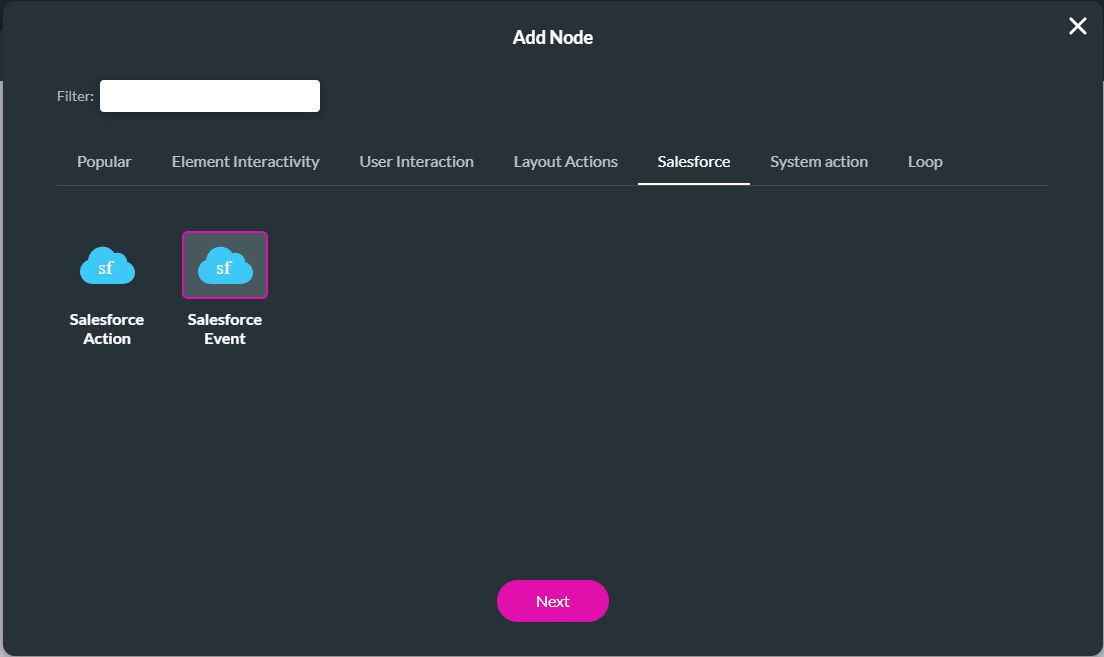
- Click the + icon. The Add Node screen opens.
- Under Salesforce, click the Salesforce Event option and click the Next button. The Add Node/Salesforce Event screen opens.
- Select the event and click the Next button.

- If necessary, type a tag and click the Insert button. The Salesforce Event is added to the On Click Action screen.

Learn more about Titan for Salesforce.