

Learn about Account Logs
What can you learn from Account Logs?
Gain insight into every event that occurs in Titan. Logs are kept for every interaction made with the product. The logs are stored by date and the subject displays a brief overview of the event. Detailed information is stored in the specific event log.
How to Video
Video Coming Soon!
How can you view Account Logs?
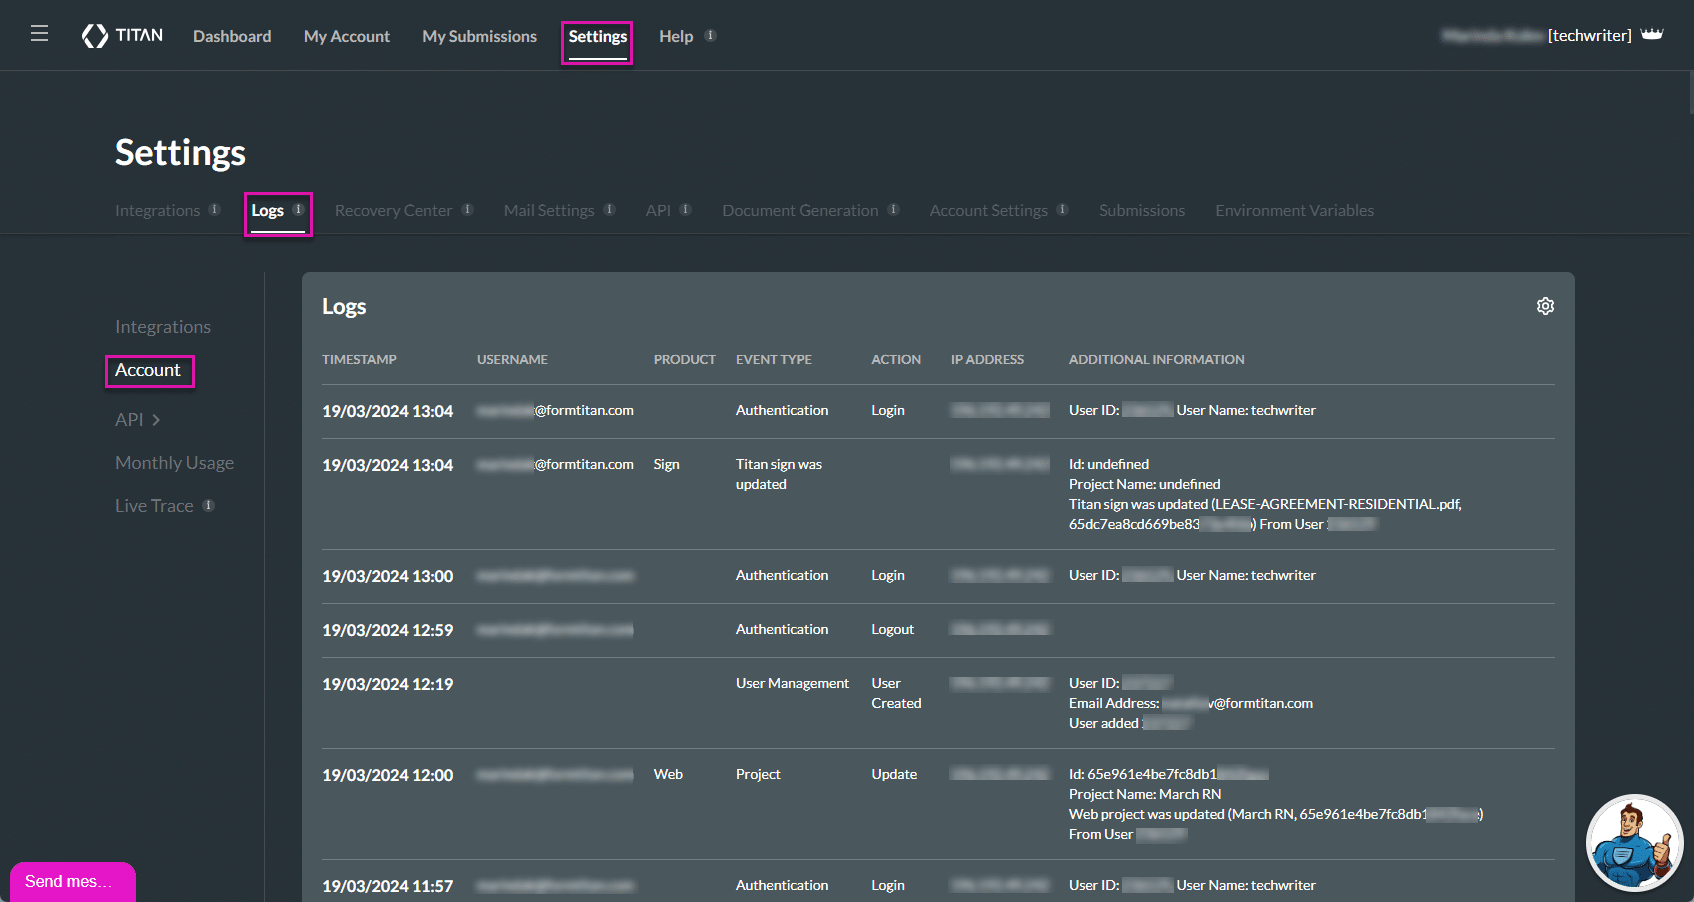
- Click the Settings tab and navigate to the Logs subtab.
- Select the Account option. A list of logs is shown.
- Track and view the account changes made on your account:
- The date and time (timestamp) of the event.
- The username of the person who did the action.
- The product where the action occurred, for instance, Sign or Web.
- The event type that occurred, for instance, Authentication or User Management.
- The action that occurred, for instance, Login, Update, or User Created.
- The IP address where the change was made.
- The additional information column gives a brief overview of the event. For some actions, such as project update and sign-in, the project ID, user ID and/or user name are given.
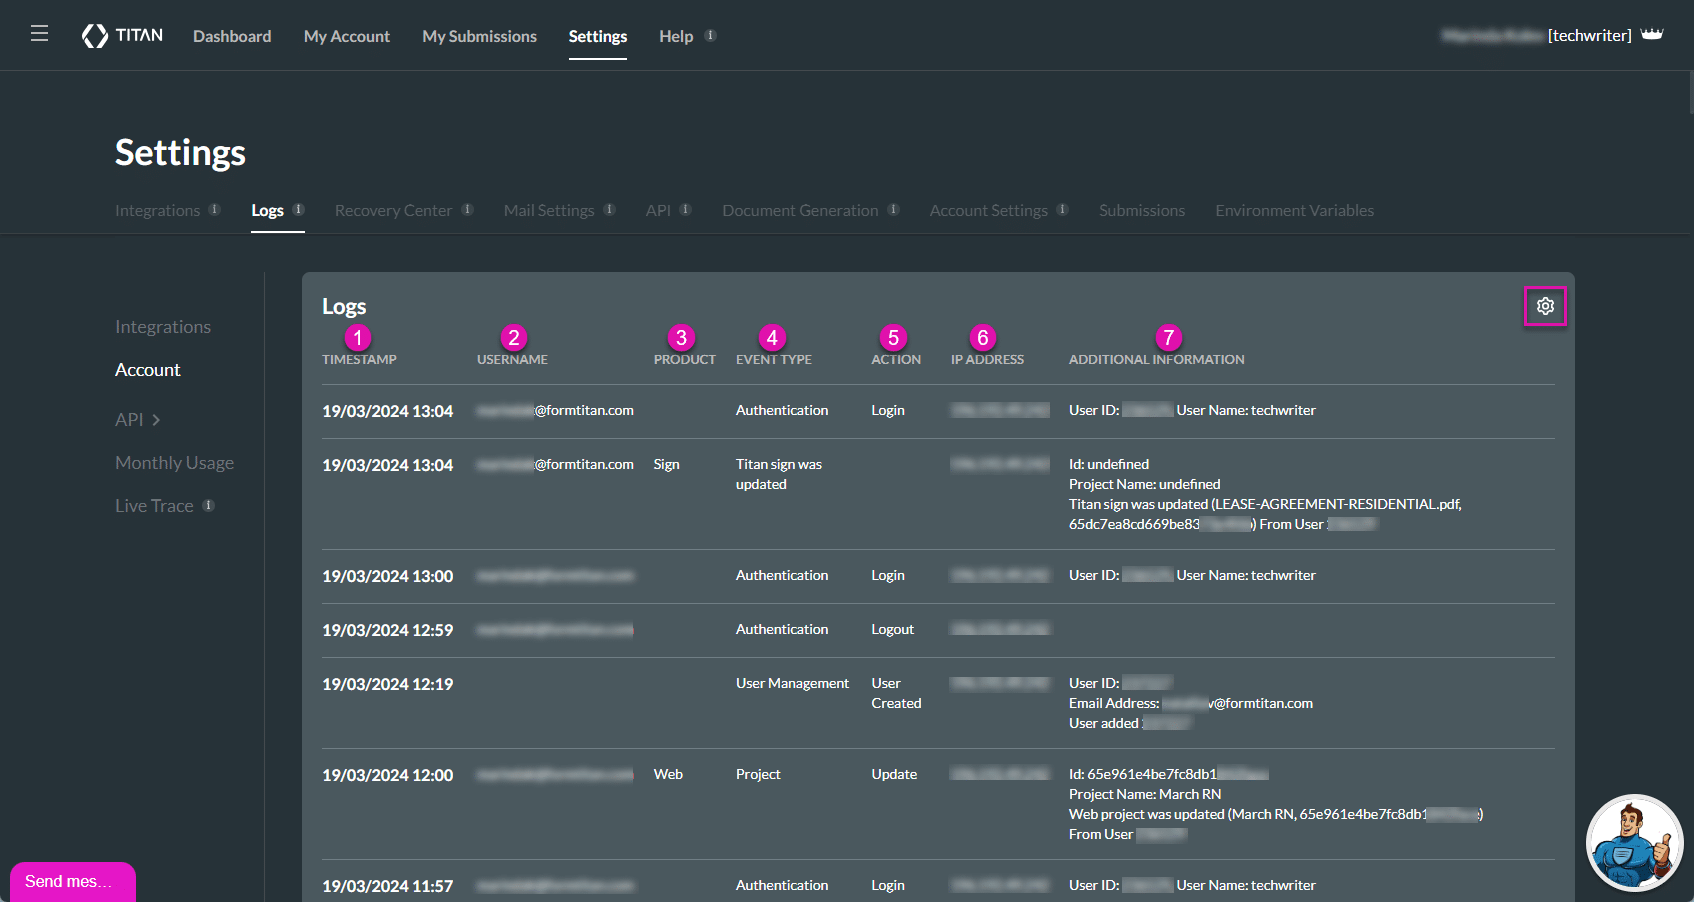
- Click the Gear icon to open the Log Settings screen.
Note:
If necessary, you can disable the account logs. You can also push the logs to the Titan Dashboard and/or external services in the format that you need.
- Click the Disable Account Logs checkbox.
- A confirmation message is shown: “Disable Account Logs? Are you sure? No integration logs will be stored in the system.”
- Click the Yes button to confirm.
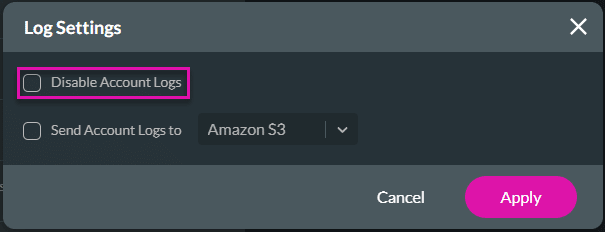
- Click the Send Account Logs checkbox to send the logs to an external location. The screen expands.
- Use the drop-down list to select the external location:
- Amazon S3
- Type the mandatory bucket name and path to folder in the fields.
- Salesforce APEX
- Type the mandatory class name in the field.
- Amazon S3

- Click the Custom Content checkbox. The screen expands.
- Type the custom JSON in the field to change or update the format of the file being sent.
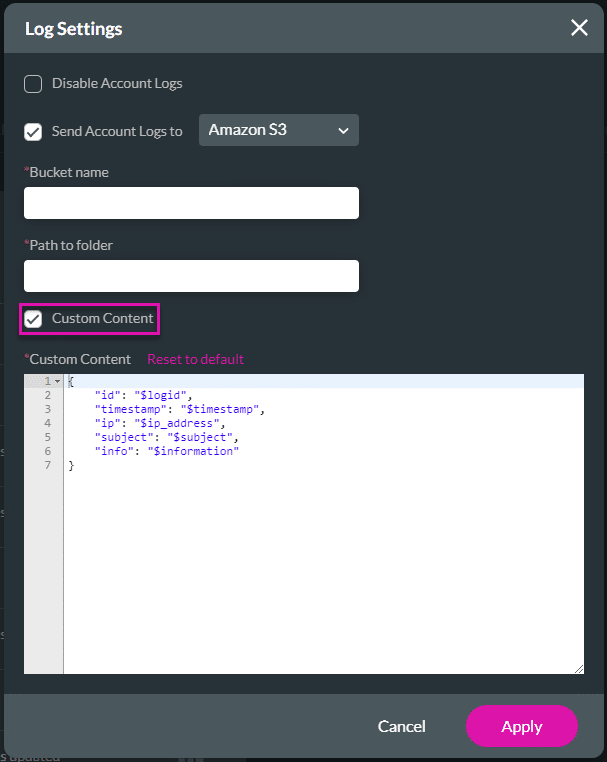
- Click the Apply button.
Hidden Title
Was this information helpful?
Let us know so we can improve!
Need more help?
Book Demo