

SmartV Registration
Business Background
New users can create a profile (sign up) on your Salesforce with your Titan project. The registration will create a record in Salesforce. This record will be added to the main object that you chose when setting up the Login page and will, by default, give access to the registered user.
You can set up registration approval in Salesforce so the user doesn’t have immediate access to their record.
Titan Solution
Titan lets you add a registration page to your project, with which guest users can add themselves to Salesforce.
How to Guide
- Configure the Login screen.
- Configure the Condition screen.
- Configure the Authentication screen.
- Configure the Profile screen.
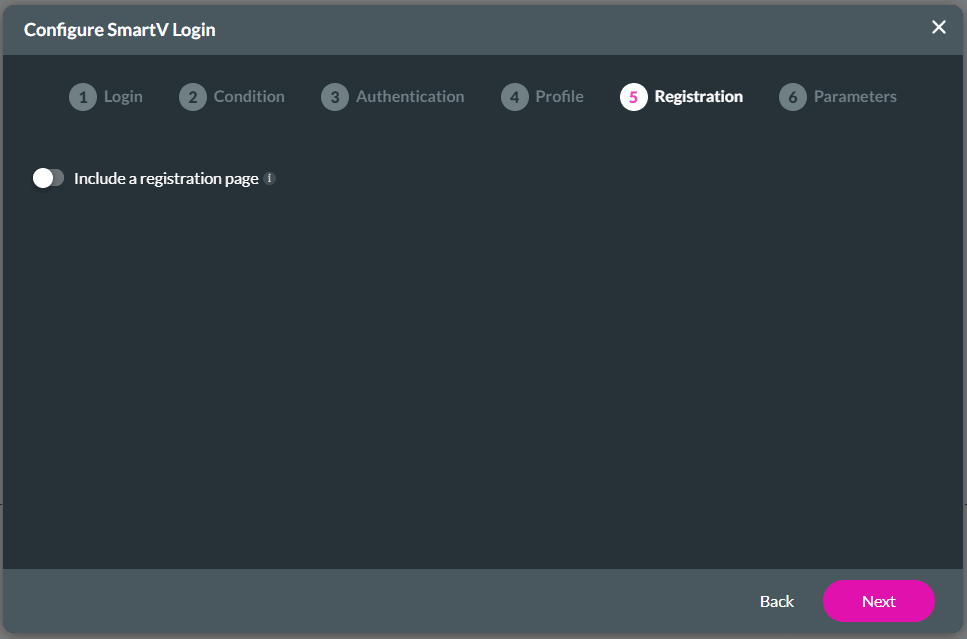
It is optional to add a registration page. You may choose to skip this screen by clicking on the Next button.
- Use the Include a registration page toggle switch to enable it. This will create a registration page where the user can register on the website.
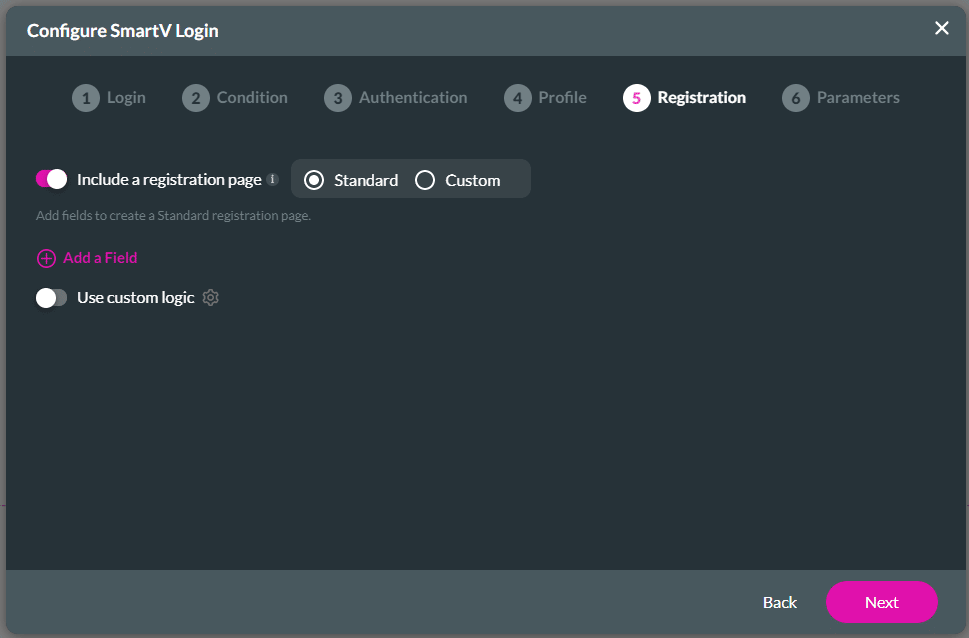
- The default option is the Standard registration page. The data entered on this page will automatically be sent to Salesforce and will create a new record.
- You have to add custom logic to configure which data must be sent to Salesforce. For instance, you can create a contact and an account and link the contact to the account.
- As an alternative, you can add a Custom registration page. You can redirect the user to a custom registration page in your project.
- It is suggested that you add a variable on the custom registration page.
- The data entered on a custom registration page is not automatically sent to Salesforce.
- The default option is the Standard registration page. The data entered on this page will automatically be sent to Salesforce and will create a new record.
Use a standard registration page
The standard registration page looks like this, depending on the fields that were selected:

- Click the Add a Field option.
- You can add as many fields as you need.
- The fields are linked to the Salesforce object that you selected on the Login screen.
- Click the Kebab button next to a field. A pop-up menu opens.
- Click a radio button to make a selection:
- Updateable: The record in the object can be updated. Mandatory: The field on the registration page has to be completed before the user can save the page. For instance, the last name field in Salesforce is mandatory.
- Delete: Click the Delete option to delete the field from the registration page.
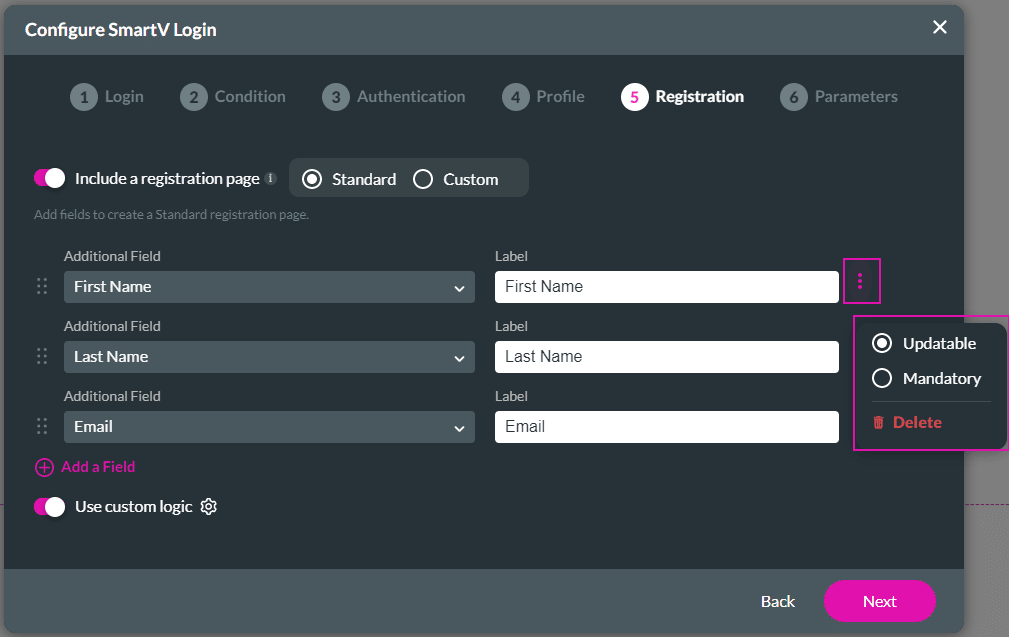
- If needed, use the Use custom logic toggle switch to switch it on.
When you use custom logic, the default logic of the standard registration page is disabled automatically and you have to configure the logic that you need.
For instance, in this example, the Salesforce object “Contact” was selected on the Login page. If you do not add custom logic, you can only select fields linked to the Contact object on the Registration page.
When you add custom logic, you can configure any logic, for instance, you can create a contact and an account and link the contact to the account.
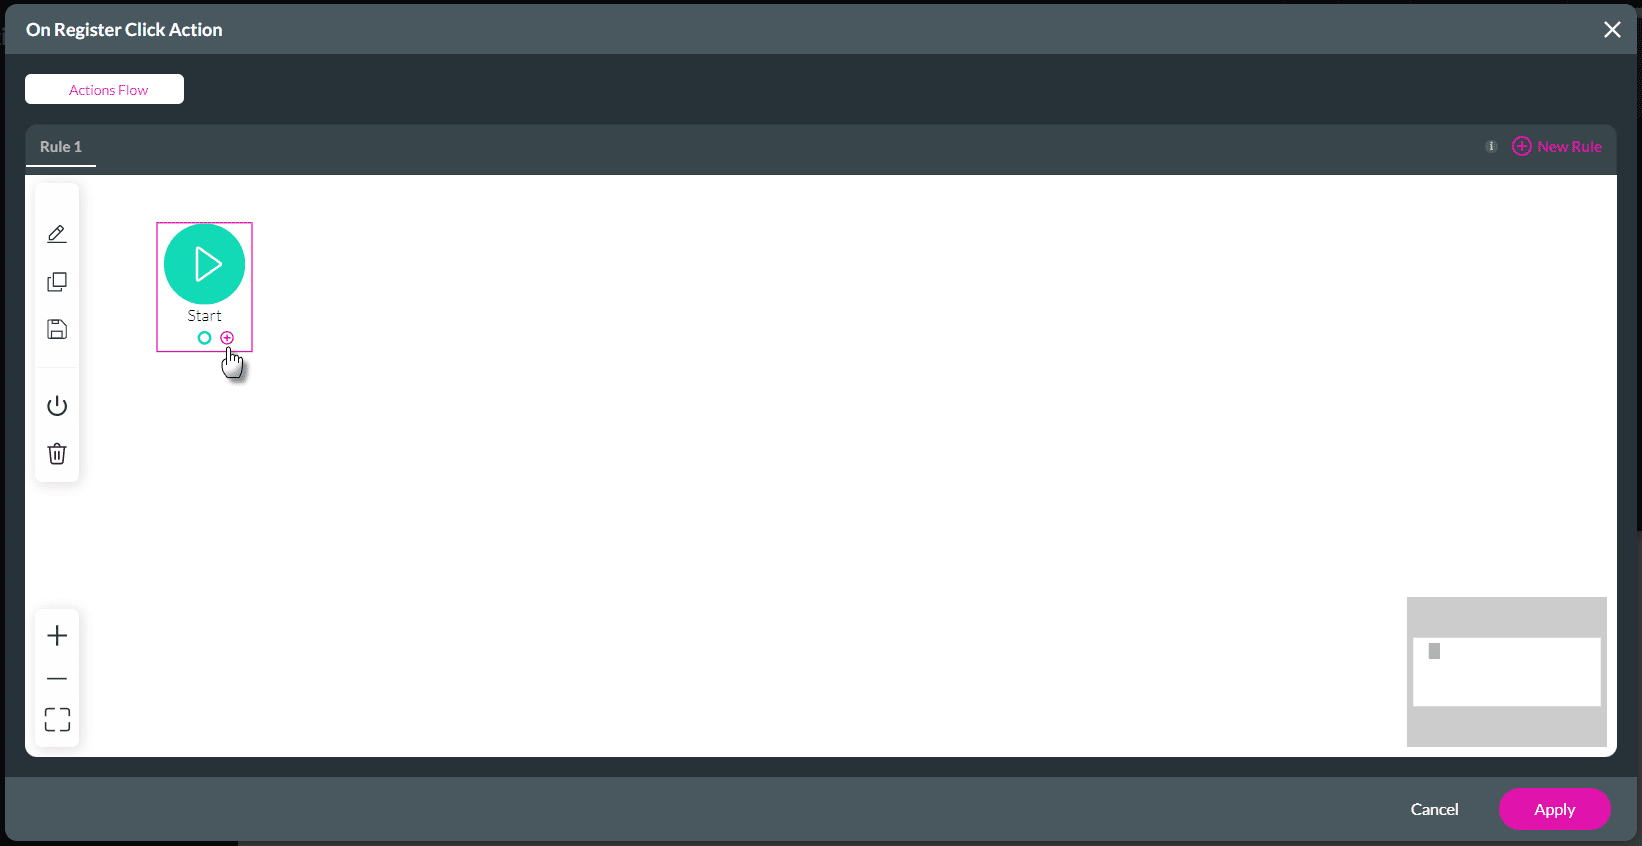
- Click the Gear icon to configure custom logic. The On Register Click Action screen opens.
- Click the + icon to configure an on-register click action. The Add Node screen opens.
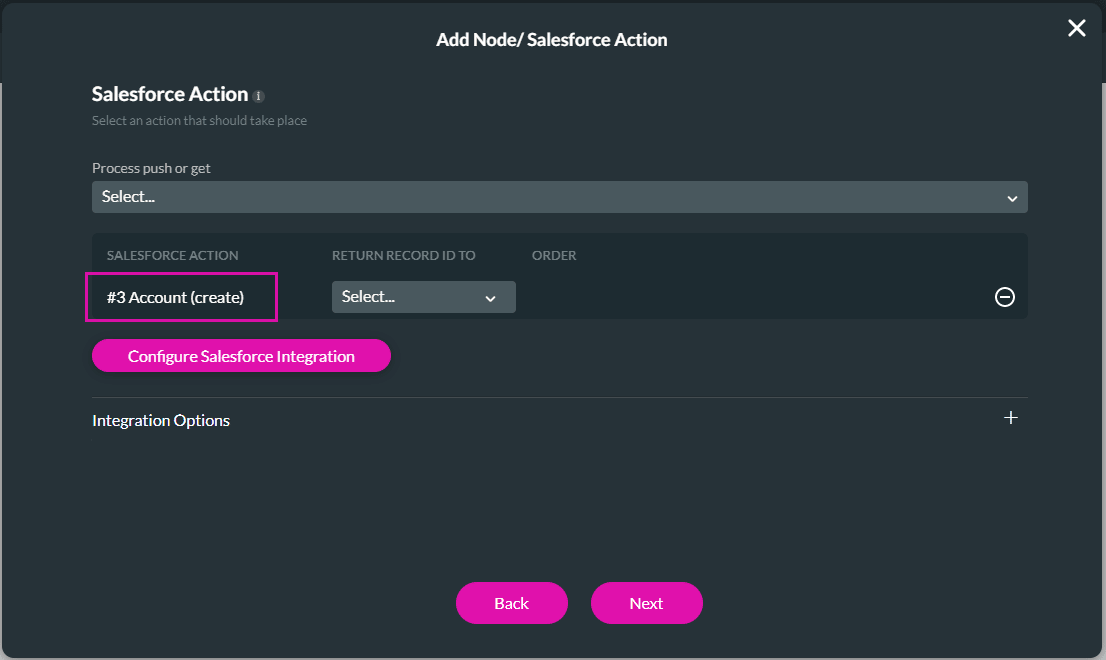
- Click a node to select it, for instance, Salesforce Action and click the Next button. The Add Node/Salesforce Action screen opens.
- Click the Configure Salesforce Integration button.
- Under Push, click the Create New button. The Map Salesforce fields screen opens.
- Select the Object in Salesforce, for instance, Account, and then select the Action, for instance, Create.
- Under Mapping, map the SmartV element. These elements come from the attributes that you added to the standard registration page.
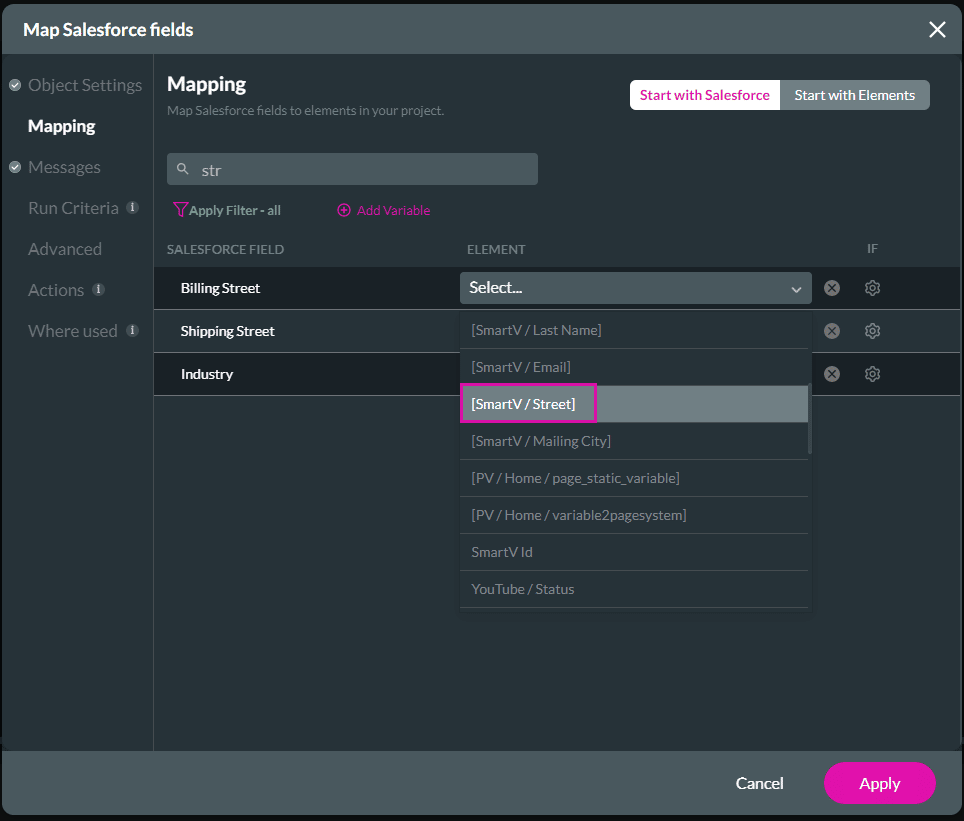
- Complete the configuration and click the Apply button.
- Click the Close button on the Salesforce Integration screen.
- Use the drop-down list to select the Salesforce push you just created and click the Next button.
- Add a tag if necessary and click the Insert button.
- Click the Apply on the On Register Click Action screen.
- Click the Next button. The Parameters screen opens.
Use a custom registration page
Prerequisites:
- Make sure that you have created a custom registration page in your project: Web Project main menu > Pages drop-down > Add New Page
- Rename page: Web Project main menu > Pages drop-down > Kebab icon next to new page > Page Name
- Add elements to the page, for instance, a form with input elements and a file upload element.
- Add variables to the page: Web Project main menu > Pages drop-down > Kebab icon next to custom registration page > Configure Actions > Static option >Add a Static variable
The custom registration page could look like this in the Titan Web builder:

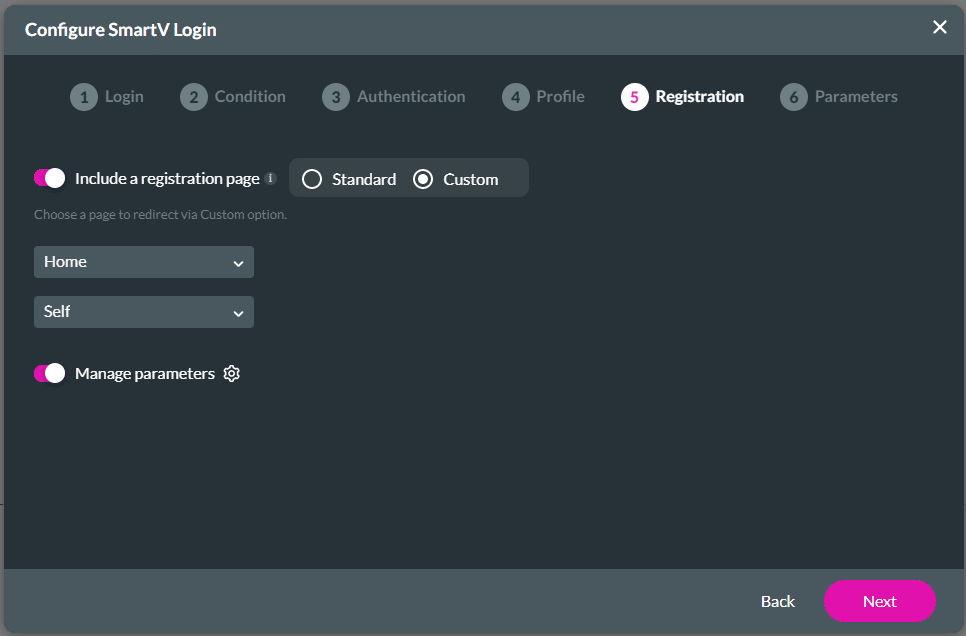
- Click the Custom radio button.
- Use the drop-down list to select the custom registration page on the web project. The user will be redirected to this page to register.
- Use the drop-down list to select one of the following to choose the method that the redirect page will open:
- Self: The custom registration page will open in the same page as it was selected. This is the default option.
- Parent: The custom registration page will open in the parent page.
- Blank: The custom registration page will open in a new tab or window.
- Modal: The custom registration page will open in a modal.
- Top: The custom registration page will open in the full body of the window.
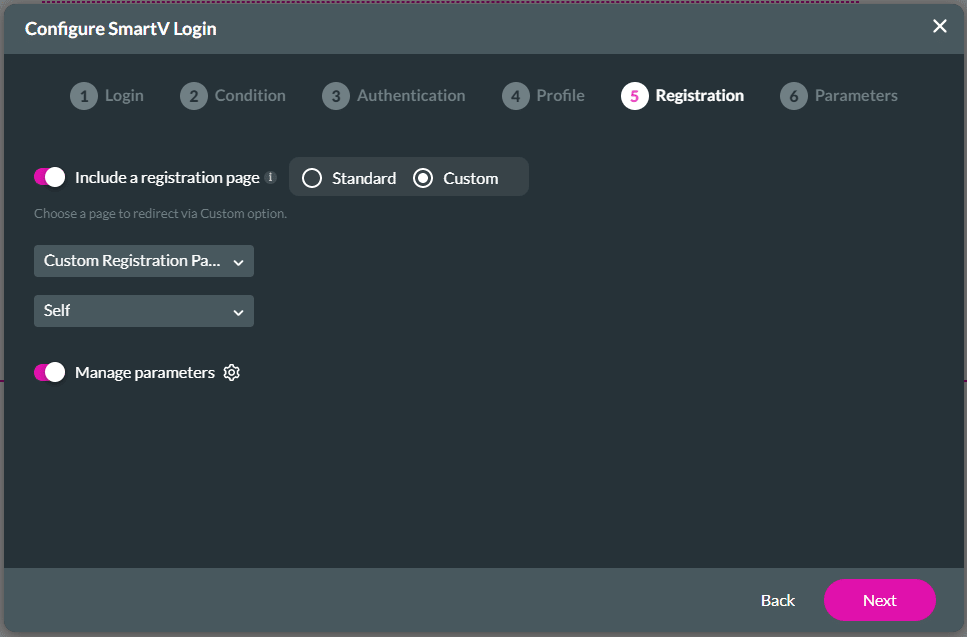
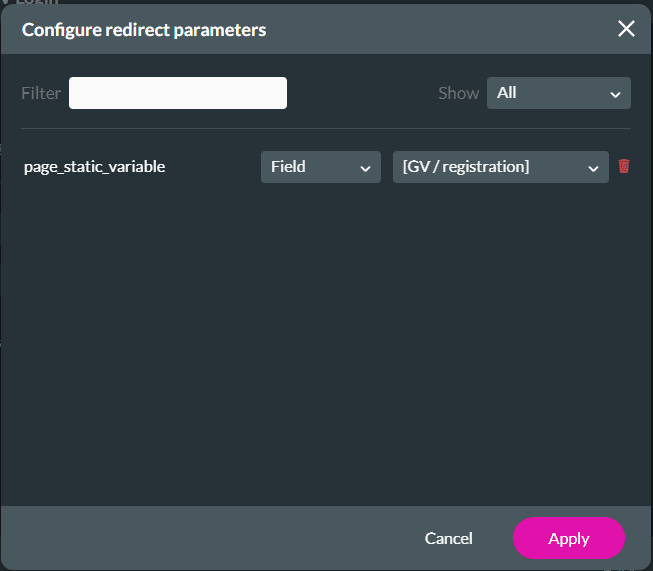
- If needed, use the Manage parameters toggle switch to switch it on.
- Click the Gear icon to configure parameters.
- Use the drop-down list to select the variable on the page that you are redirecting to.
- The variable can be Static or a Field.
- Click the Apply button.
- Click the Next button. The Parameters screen opens.