

Logo or Profile Picture
Business Background
Personalize your web projects with a custom logo or profile picture.
Titan Solution
Titan lets you personalize your web projects with a custom logo or profile picture in a few clicks with no coding. Add a custom logo or profile picture to differentiate your projects and users from others.
Titan is linked directly to Salesforce, all images are synced from Salesforce, and any changes are synced to Salesforce.
How to Guide
Personalization allows you to add a logo or profile picture to a project.

Add a logo or profile picture to the header
- Navigate to Titan Web Application.
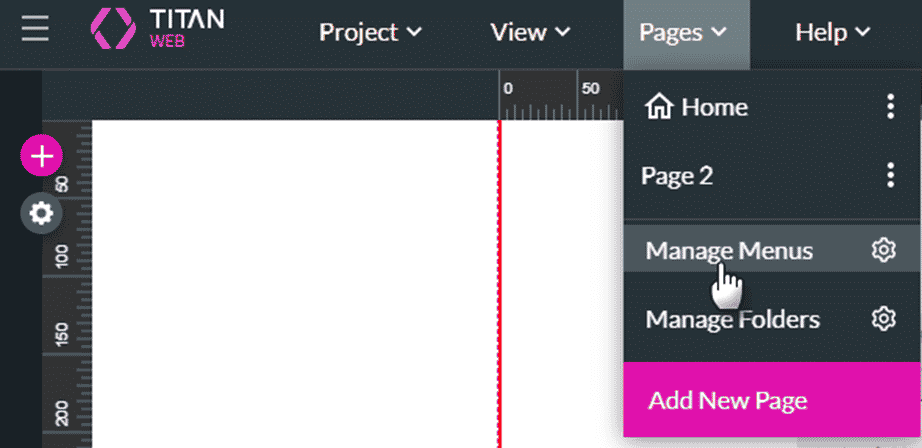
- Select the Manage Menus option under Pages on the Web project. The Site Menus screen opens.
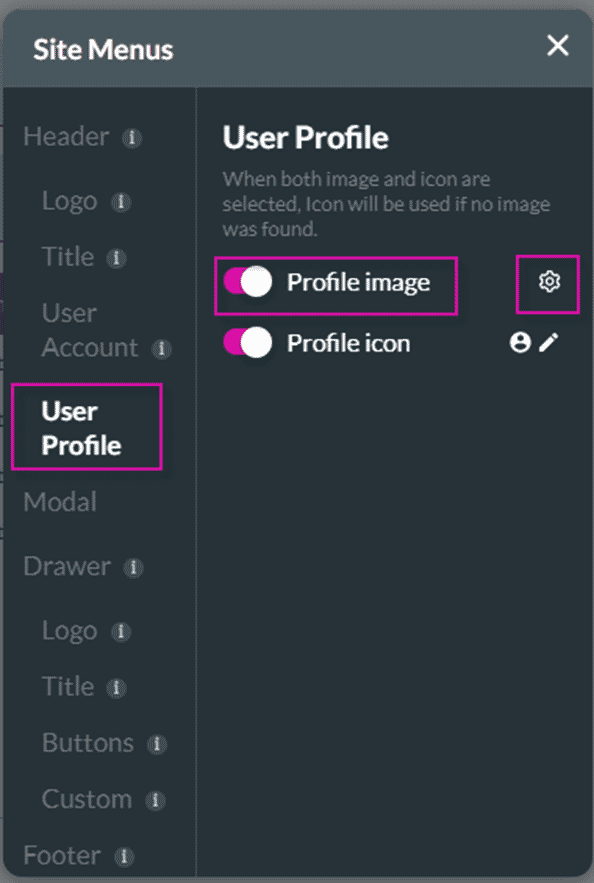
If both options have been selected, the profile image will be used as the default. If the profile image cannot be found (for instance, the field in Salesforce is empty), then the profile icon will be used.
- Use the toggle switch to enable the profile image and, if necessary, the profile icon.
- Click the Profile Image Gear icon to configure the profile image. The Profile Image screen opens.
- Select the option from the drop-down list, for instance, Rich Text Field or Image URL.
- Click the Apply button and close the Site Menus screen.
- Preview the project.

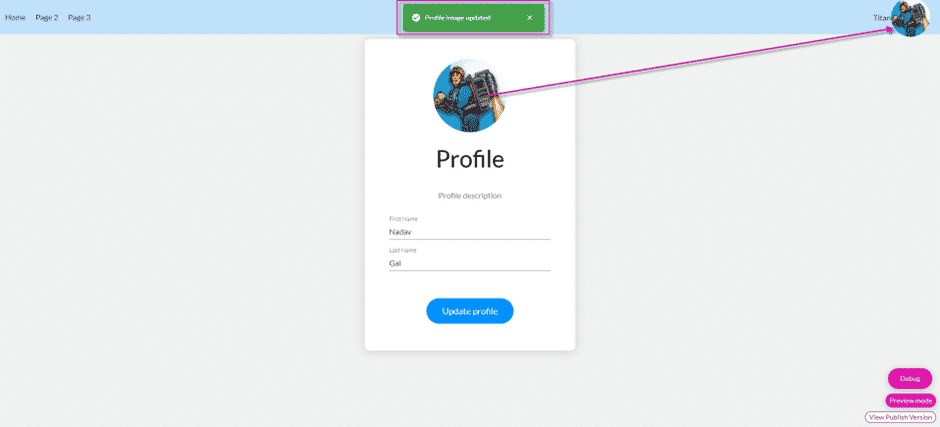
The profile picture is shown in the header at the top right of the page.

Show the profile picture on the profile page
Prerequisite:
If you want a user to be able to show and edit the profile picture, the option Include a profile page on the SmartV wizard must be enabled.
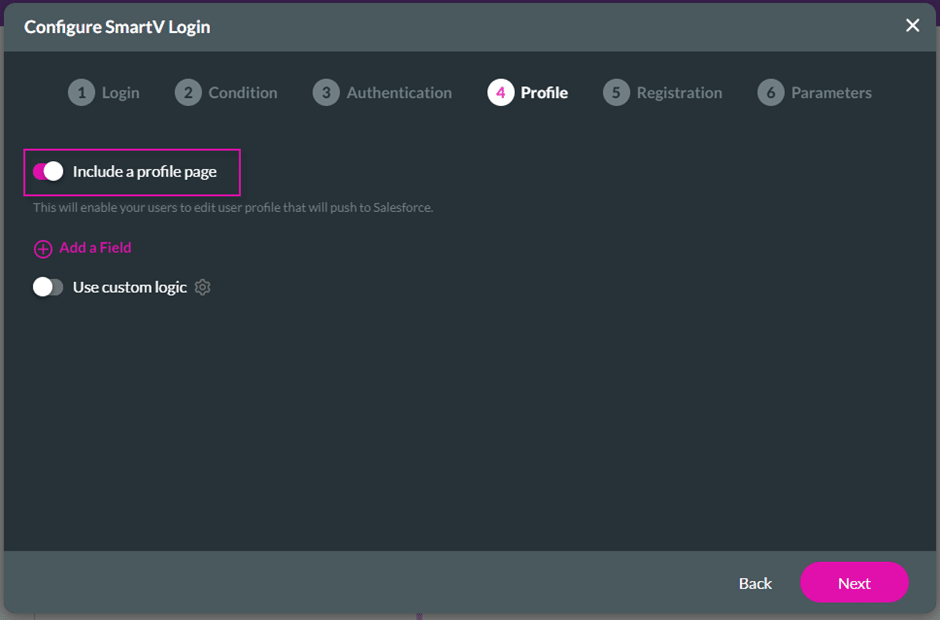
Include a profile page enabled
- Click the profile picture on the web page. A menu option opens.
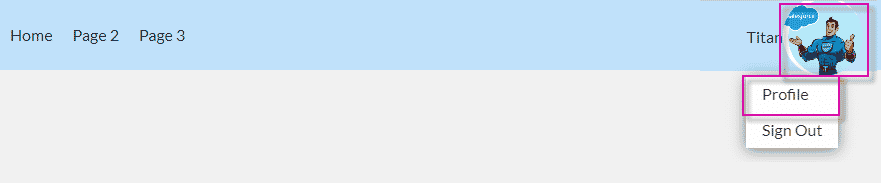
- Select the Profile option. The profile screen with the profile picture opens.
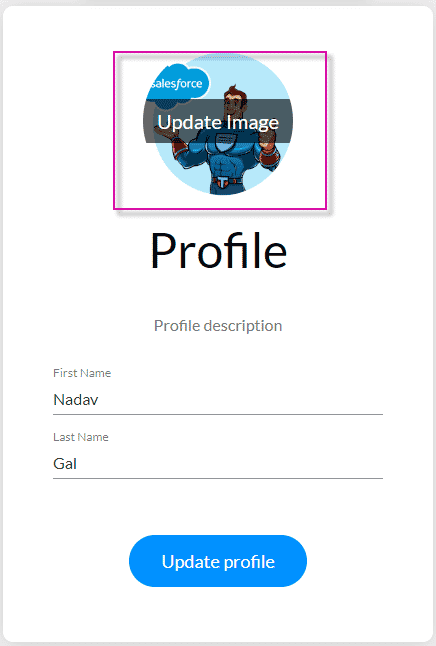
- Click the Update Image option. The Update profile image screen opens, where you can click-and-drag a file or upload a file.
- Select the Update Profile button on the Update profile image screen to update the profile picture.
The changed picture will be updated in Salesforce.
Style the Update profile image screen
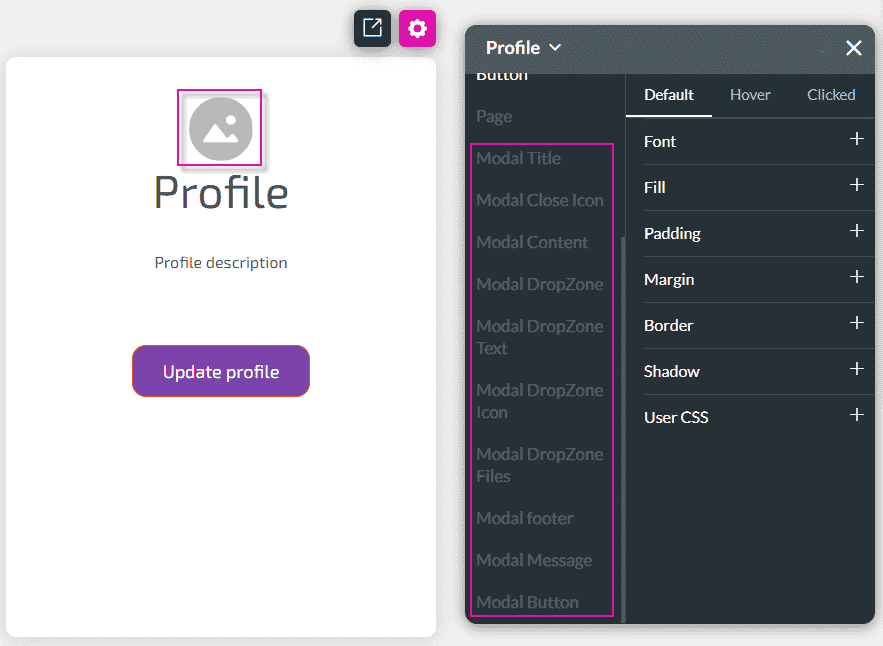
Use the styling options to style the Update profile image screen. Compare the following two images:

The image on the right has been styled using some of the options.