SmartV Access Control
Business Background
To control the access permissions on your project for different users, you need to set up and manage different roles for these authenticated users.
Titan Solution
Titan lets you set up and manage permissions with a few clicks and no code. You can control any data, action, or element on the project that the user interacts with.
Read more on our best practice advice: How to maximize access control in Titan Web.
How to Guide
Prerequisites:
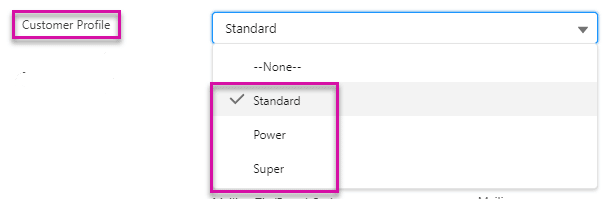
1. Make sure you have role fields defined on the object that you use to authenticate users with in Salesforce. For instance:
2. Make sure that Access Control has been enabled and configured. Click here for more information.

3. Select the field in Salesforce where you defined the different roles. Click here for more information.
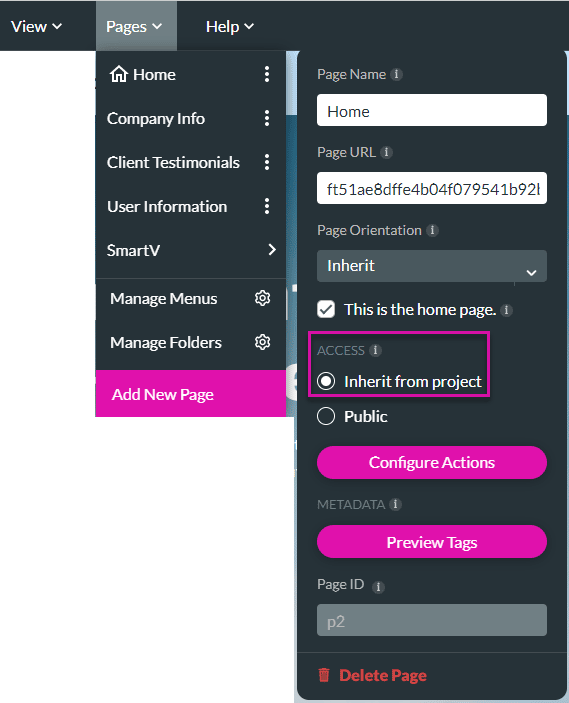
4. Make sure the page access setting is Inherit from project. Click here for more information.
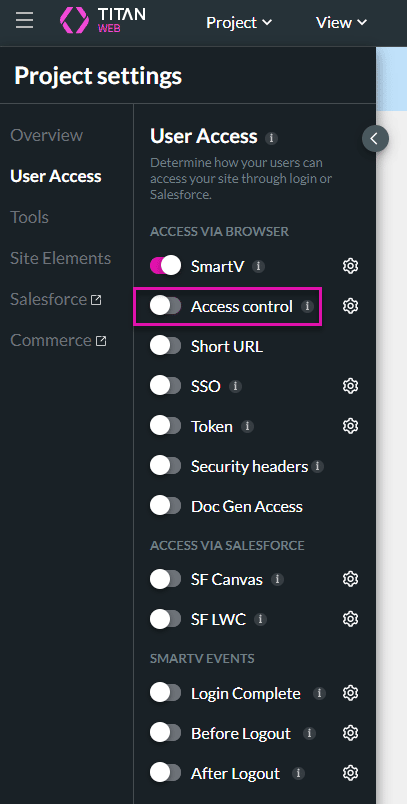
- Click the Gear icon to open the Project settings screen.
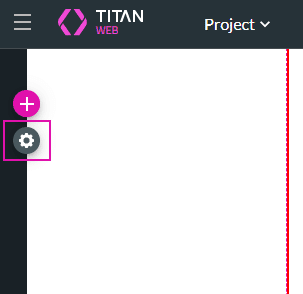
- Select the User Access option.
- Use the toggle switch to enable the Access Control. The Access control screen opens.
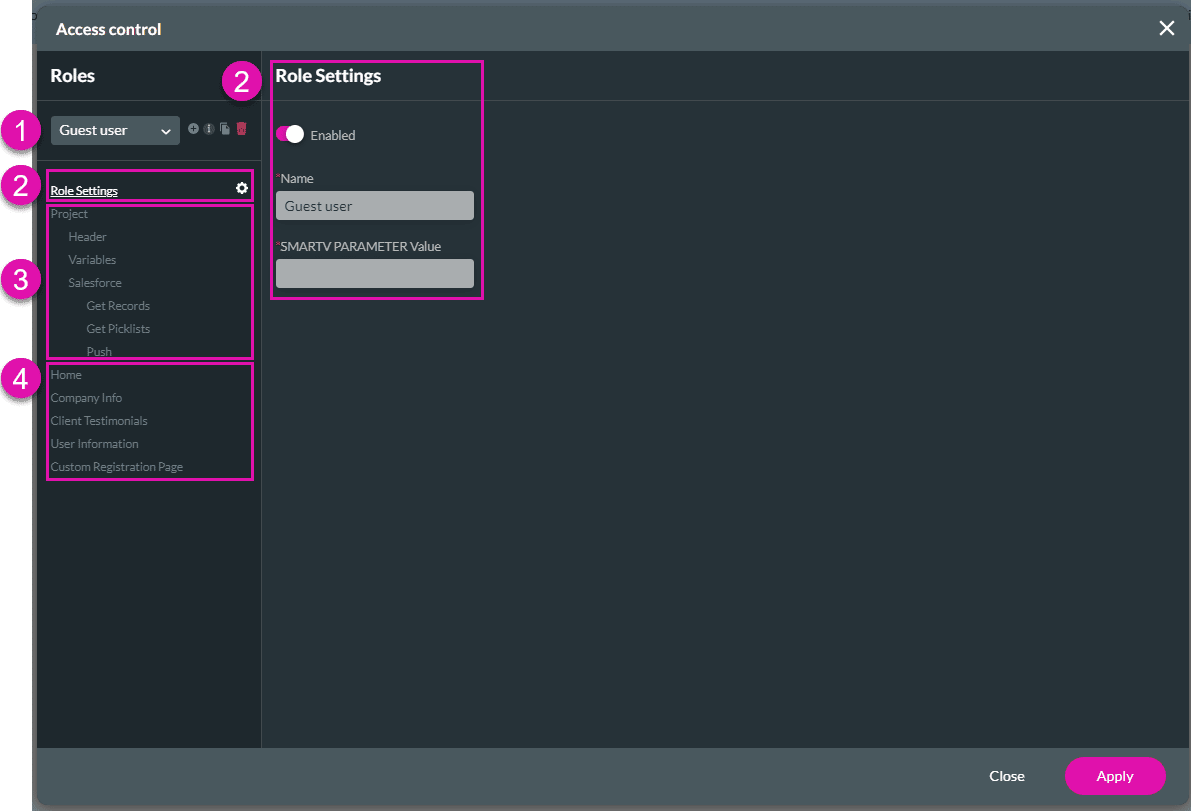
Just a quick overview of this screen:
| Number | Access Control screen | Description |
|---|---|---|
| 1 | Roles | Use the drop-down list to select a user, for instance: – Guest user: This user hasn’t logged in yet. – Fallback Role: this is the standard role, unless they are one of the roles that you have configured in Salesforce, for instance:
|
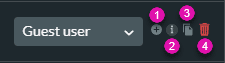
| 1. Add a user. 2. Link to the support video. 3. Copy a user. 4. Delete a user. | |
| 2 | Roles Settings | The right side of the screen is populated based on what you select on the left side of the screen. In this example, the Role Settings have been selected. |
| 3 | Project | Select options under Project to configure the access control for the elements and page rules. The right side of the screen changes when you select an option under Project. Configure the Salesforce access control under the Salesforce option. |
| 4 | Pages | Select Page options to configure the access control for the elements and page rules. The right side of the screen changes when you select a Page option. |
Add a user and configure access control
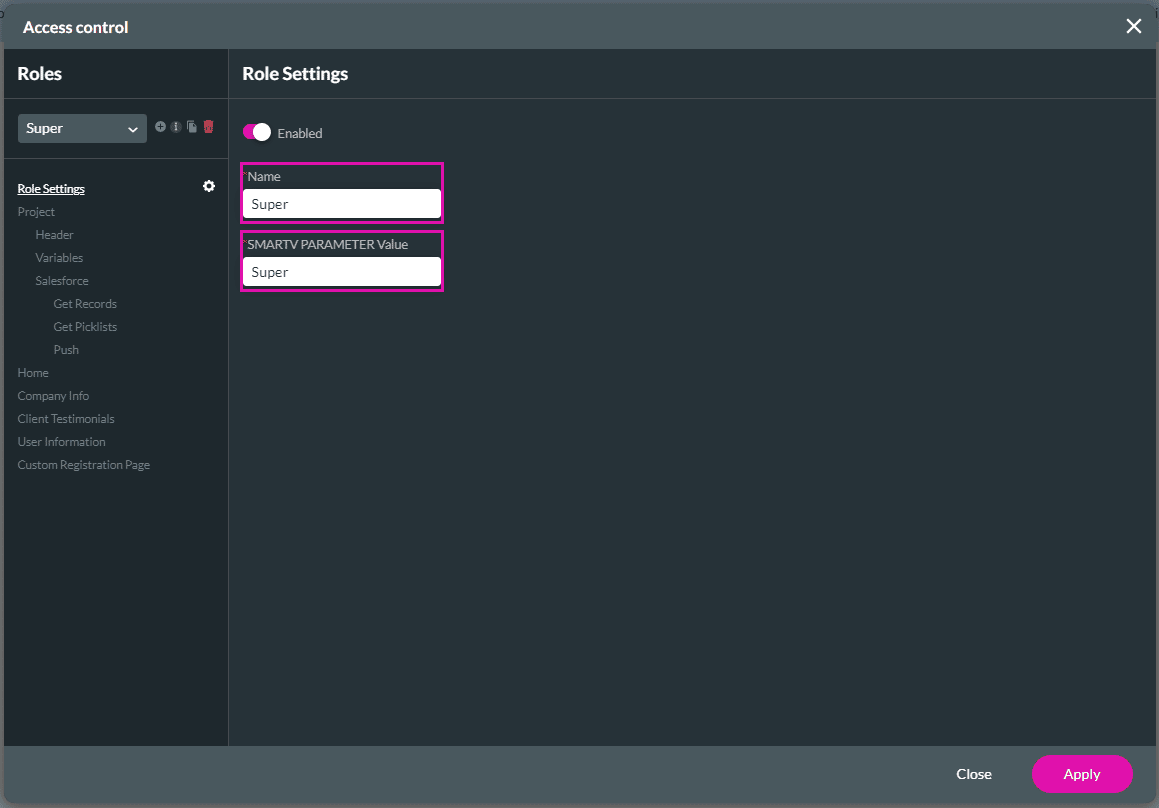
- Click the + icon to add a new role.

- Add the name and the SmartV Parameter Value in the fields. The value must be unique for each role.
- Select a Project option on the left of the screen to set the access control for the role, for instance, Header. The Header elements are shown in the Elements column, and you can select the visibility of an Element rule. The visibility can be as follows:
- Default
- Hidden
- Select the element in the Element column (if there are many) and click the Hidden radio button to hide that element on the webpage for this specific role.

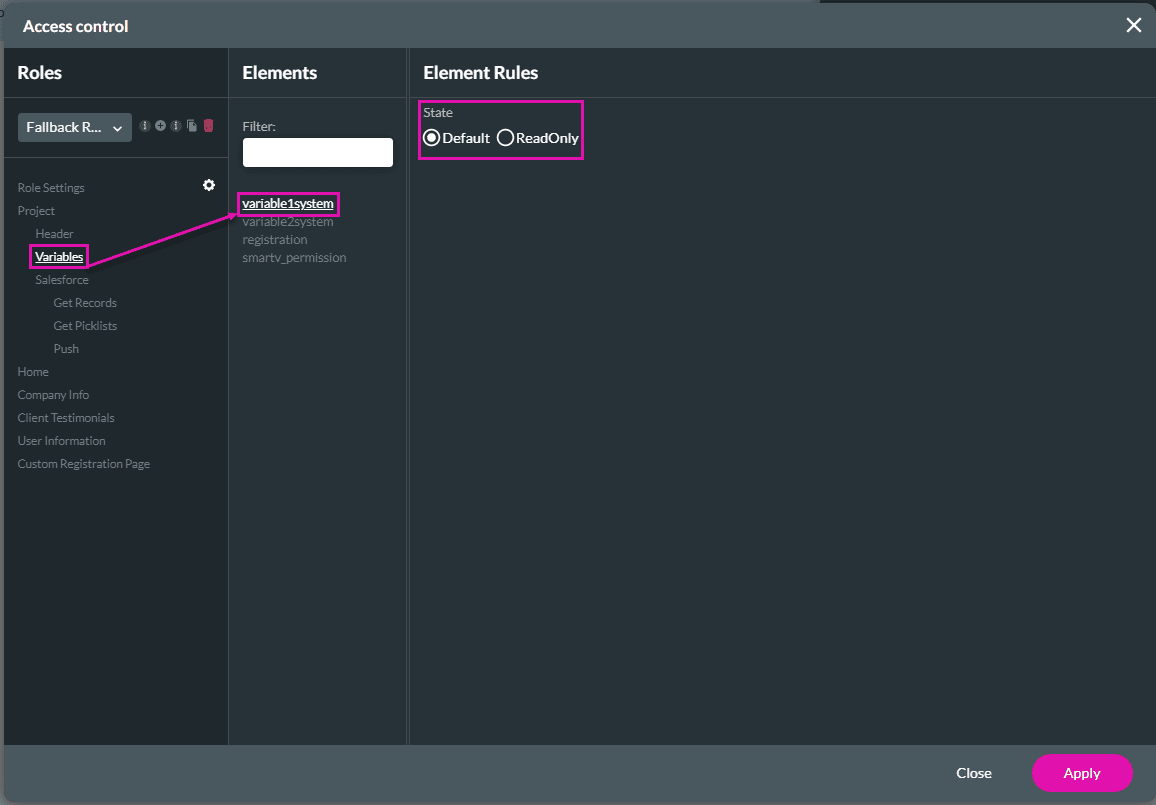
- Select a Project option on the left of the screen to set the access control for the role, for instance, Variables. The Variable elements are shown in the Elements column, and you can select the state of an Element rule. The state can be as follows:
- Default
- ReadOnly
- Select the element in the Element column (if there are many) and click the ReadOnly radio button to make that element read-only on the webpage for this specific role.
- Select a Project option on the left of the screen to set the access control for the role, for instance, Salesforce > Get records. The Salesforce Get is shown in the Salesforce column, and you can select the status of a Salesforce rule. The status can be as follows:
- Default
- Disabled
- Select the Salesforce Get in the Salesforce column (if there are many) and click the Disabled radio button to disable that Salesforce object on the webpage for this specific role.
- If the Salesforce Get is disabled, no information from Salesforce will be shown on the webpage.

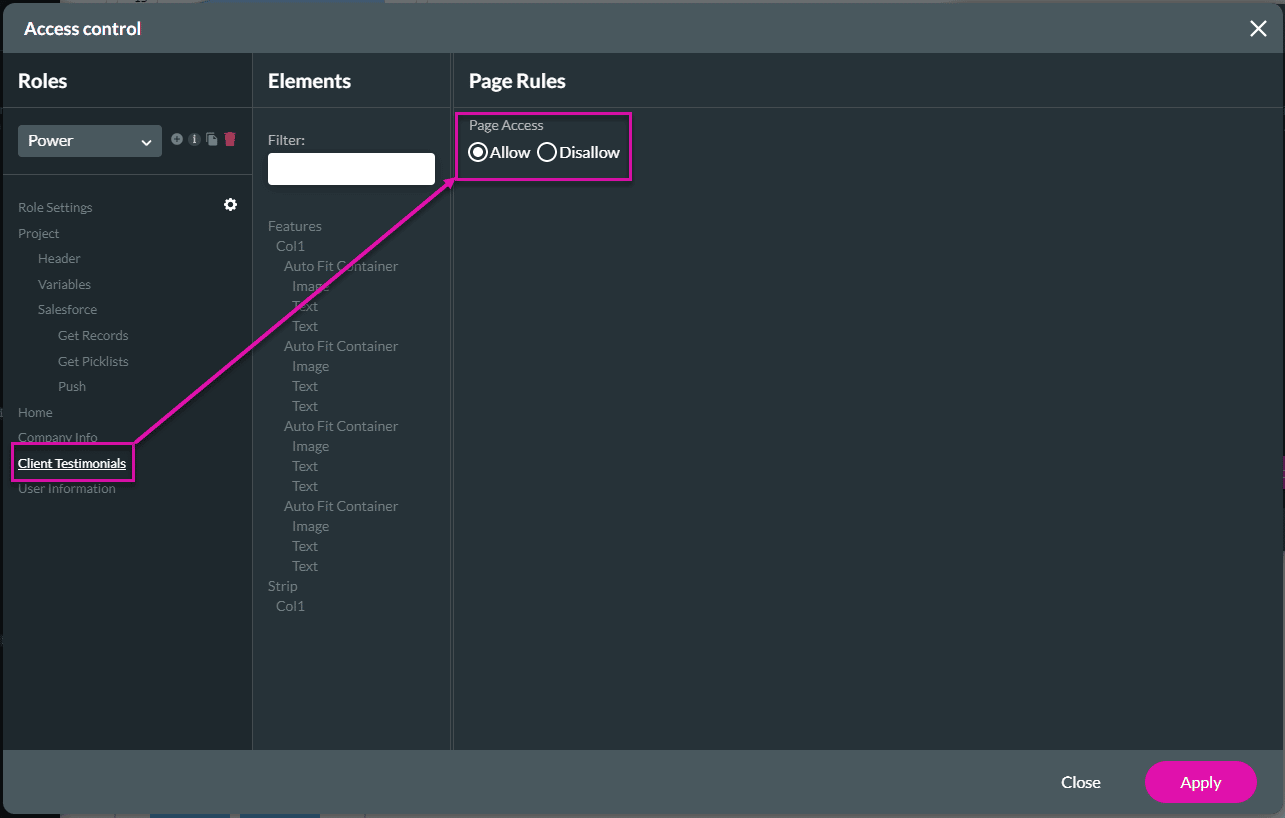
- Select a page on the left of the screen. The elements are shown in the Elements column, and you can select the page access of a Page Rule. The status can be as follows:
- Allow
- Disallow
- If needed, select the elements in the Elements column.
- Click the Disallow radio button to hide that page for this specific role.
- Select a page on the left of the screen.
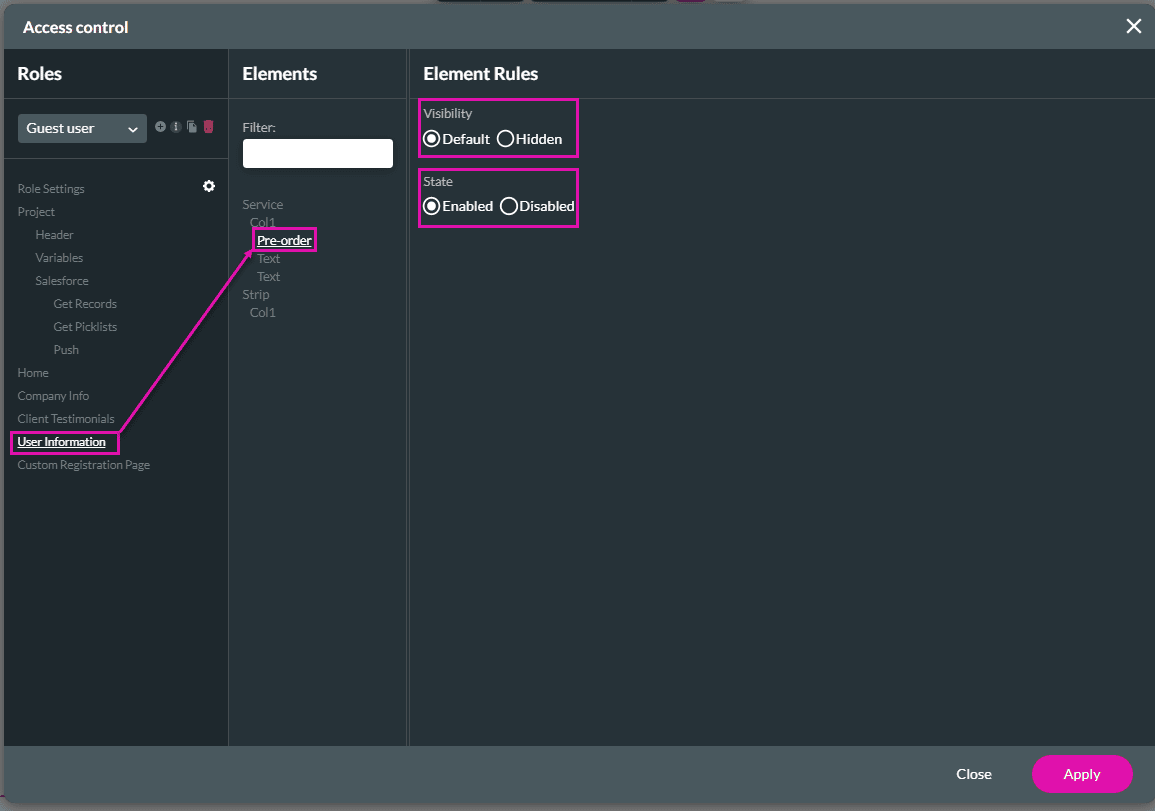
- Select an element in the Elements column. You can select the visibility or the state of an Element rule.
- The visibility can be as follows:
- Default
- Hidden
- The state can be as follows:
- Enabled
- Disabled
- The visibility can be as follows:
- Click the Hidden radio button to hide the element on the webpage for this specific role.
- Click the Disabled radio button to disable the element on the webpage for this specific role.
If users try to open a page that has been disallowed, they will see the message below:

- Repeat the steps for all the pages for which you want to configure the access control.
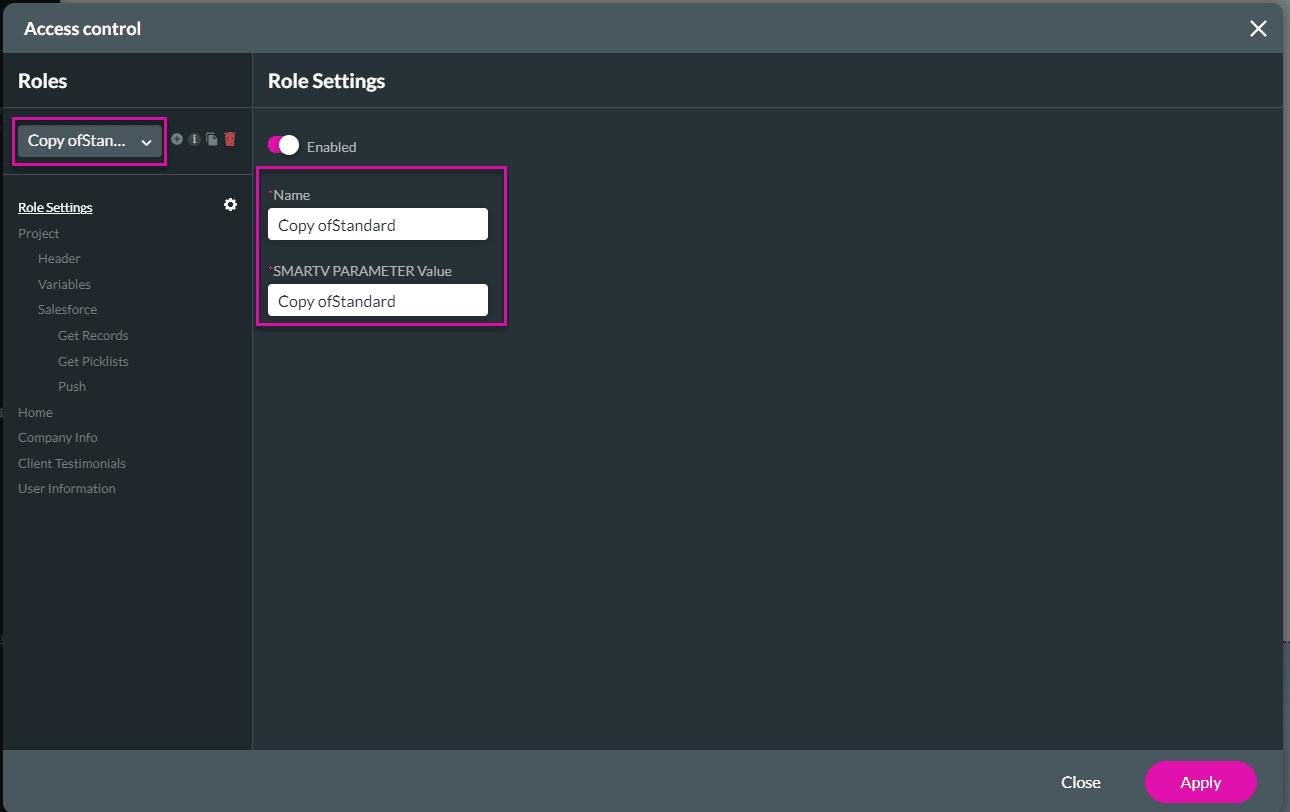
Copy a user
- Click the Copy icon to copy an existing role. The copied role has the same settings as the original role.

- Change the name and any of the role settings required.
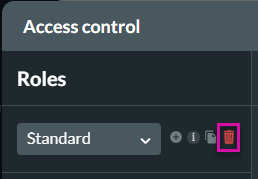
Delete a user
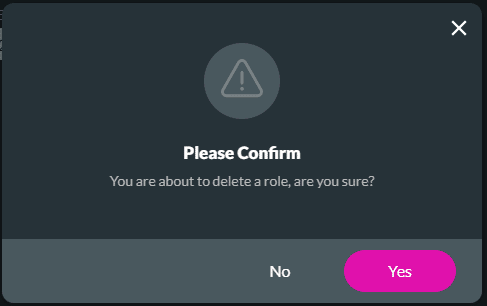
- Use the drop-down list to select a role and click the Delete icon to delete the role.
- Click the Yes button to confirm that you want to delete the user. The user is deleted.