

Document Generation Node
Business Background
Streamline and automate the creation of various types of documents, such as contracts, proposals, invoices, reports, and letters, automatically based on predefined templates and data inputs.
Titan Solution
With Titan Web, you can add an on-click action to trigger document generation using a template from a Web project or a Titan Sign project.
How to Guide
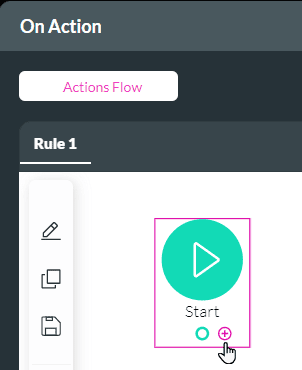
- Add an element with which you can trigger an on-click action, such as a button.
- Click the On Click Action icon.

- Click the + icon. The Add Node screen opens.
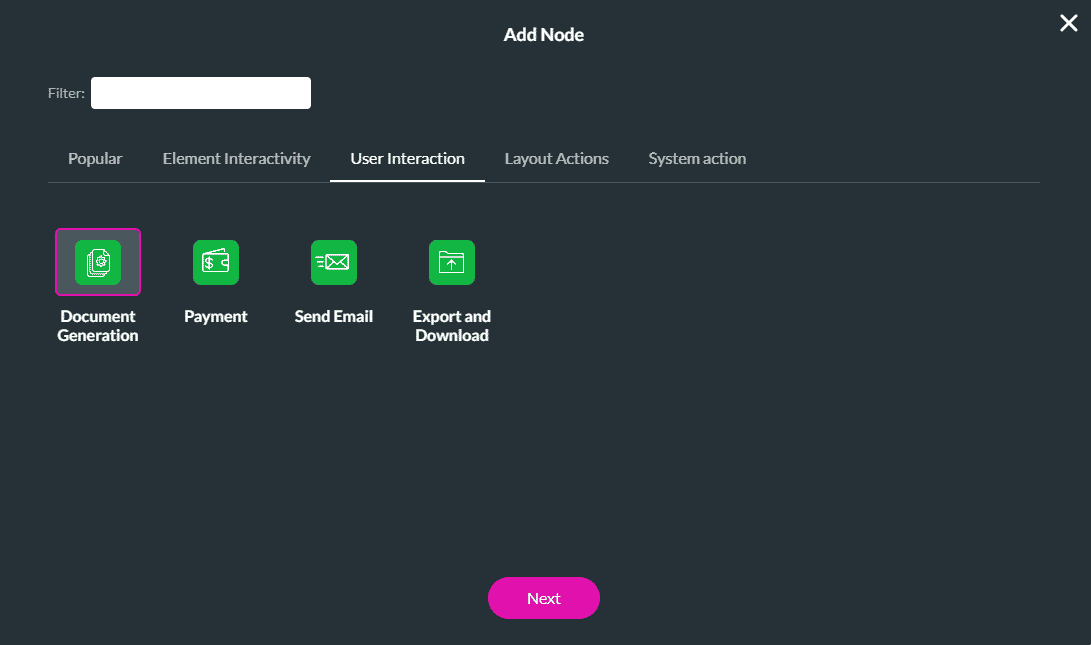
- Select Document Generation under the User Interaction tab and click the Next button.
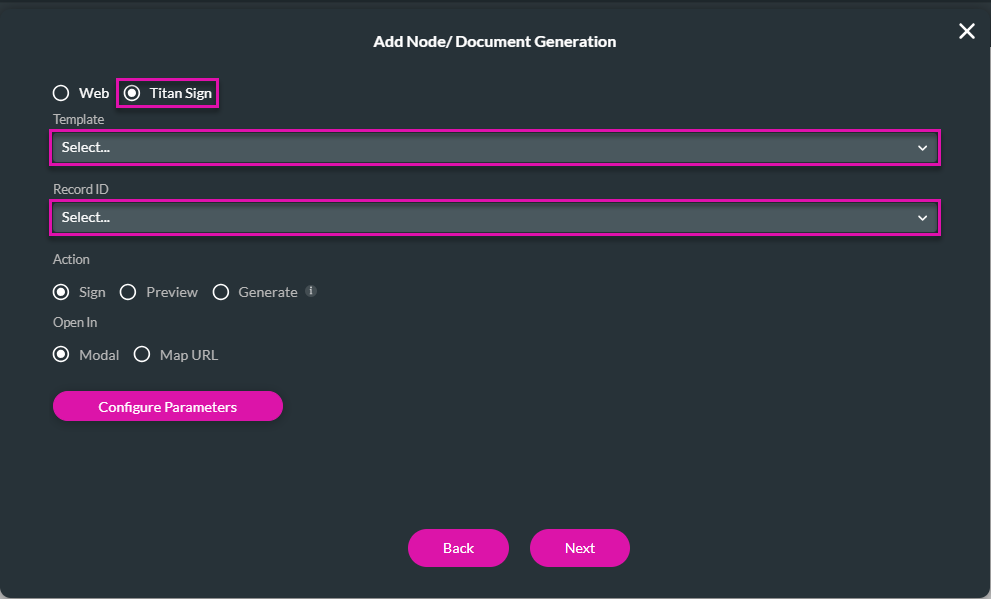
- Use the radio button to select either Web (default option) or Titan Sign.
Use Titan Web
- Use the drop-down lists to select the template and the action.
- Click the Next button.

- Click the Next button.
- Change the tag if necessary and click the Insert button. The Document Generation node is added.
Use Titan Sign
- Use the drop-down lists to select the template and the record ID. The record ID populates the Sign project and triggers the signing process.
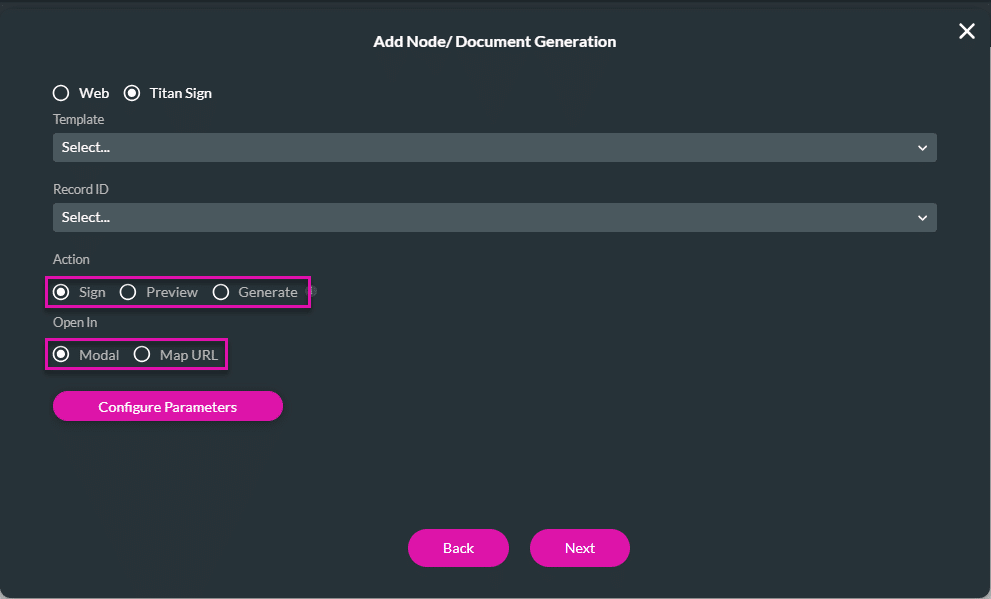
- Use the radio buttons to select the following:
- Action:
- Sign: The end user becomes the first signer to sign the document.
- Preview: The signed document can only be previewed and sent on in the signing process.
- Generate: This starts the signing process without previewing the document. The document is sent to the first signer configured in the Titan Sign product.
- Open In (only available for Sign and Preview actions):
- Modal: The document is opened in a modal where the user can sign or preview it.
- Map URL: Get the URL for the Titan Sign document as a variable and redirect the user, for instance, by sending an email.
- Prerequisite: Add a custom variable.
- Use the drop-down list to select the URL to map to.
- Action:
- If you want to pass values from Titan Web to Titan Sign for Sign and Preview actions, click the Configure Parameters button when the Open in Modal option was selected.
- There must be interactive input fields in the Sign project when you use this option.
- For instance, these fields can be populated from the Web project or with data that can be sent to Salesforce.
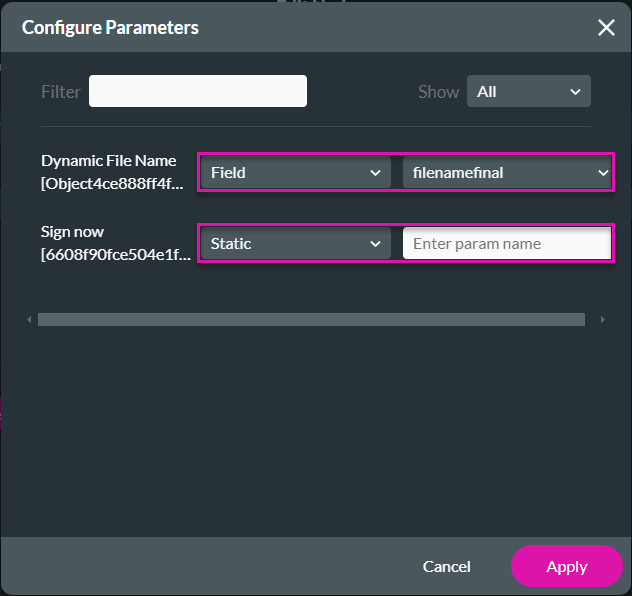
- Click the Configure parameters button.
- Static: Type the name in the field.
- Field: Use the drop-down list to select the parameter. This must be a global variable.
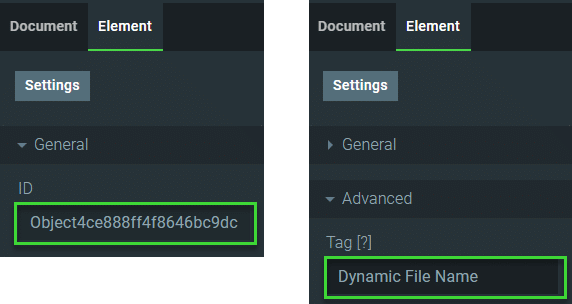
The interactive input fields (with their field IDs) in the Sign project are listed on the left of the Configure Parameters screen.
- Click the Apply button.
- Click the Next button.
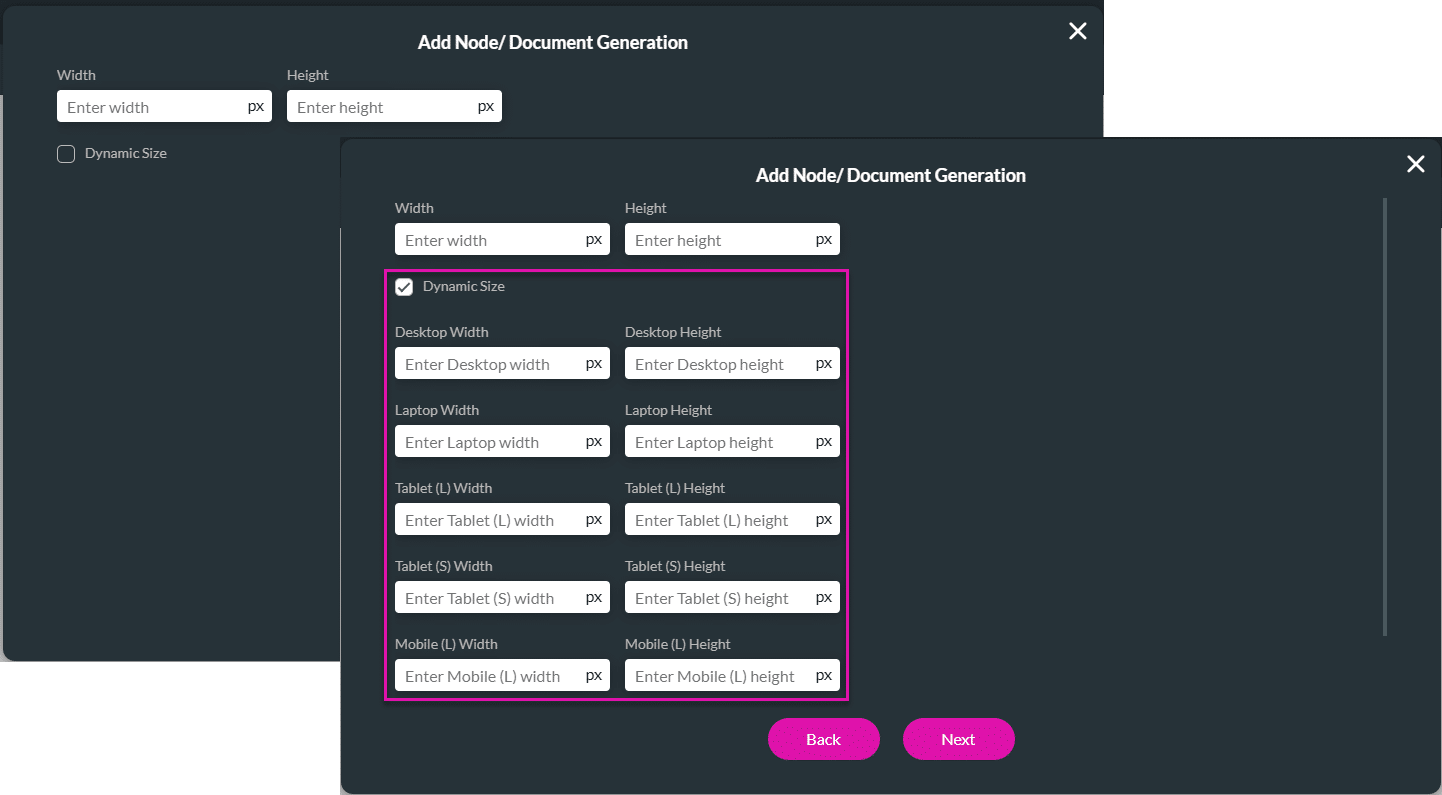
- Configure the size for Titan Sign (sign action only).
- Enter the width and height. The options include px, em, rem, or %.
- Alternatively, use the Dynamic Size checkbox to configure the size for different device layout options.
- Desktop
- Laptop
- Tablet (L)
- Tablet (S)
- Mobile (L)
- Mobile (S)
The em unit is relative to the font size of the parent element. For example, if a parent element has a font size of 16 pixels (16px), 1em is equal to 16px. If a child element within the parent is set to 2em, it will have a font size of 32px (2 * 16px).The em unit cascades, so if the child element has its own child element with a font size of 1em, it will be 32px (1 * 32px).
The rem unit, which stands for “root em,” is relative to the font size of the root element (<html>). This means that 1rem is equal to the font size of the root element. By default, the font size of the root element is typically 16px, so 1rem is equivalent to 16px. Unlike em, the rem unit does not cascade, so a child element set to 2rem will always be 32px (2 * 16px), regardless of its parent’s font size.
- Click the Next button.
- If necessary, change the automatically generated tag and click the Insert button. The node is added to the screen.
- Click the Apply button. The Document Generation node is added.
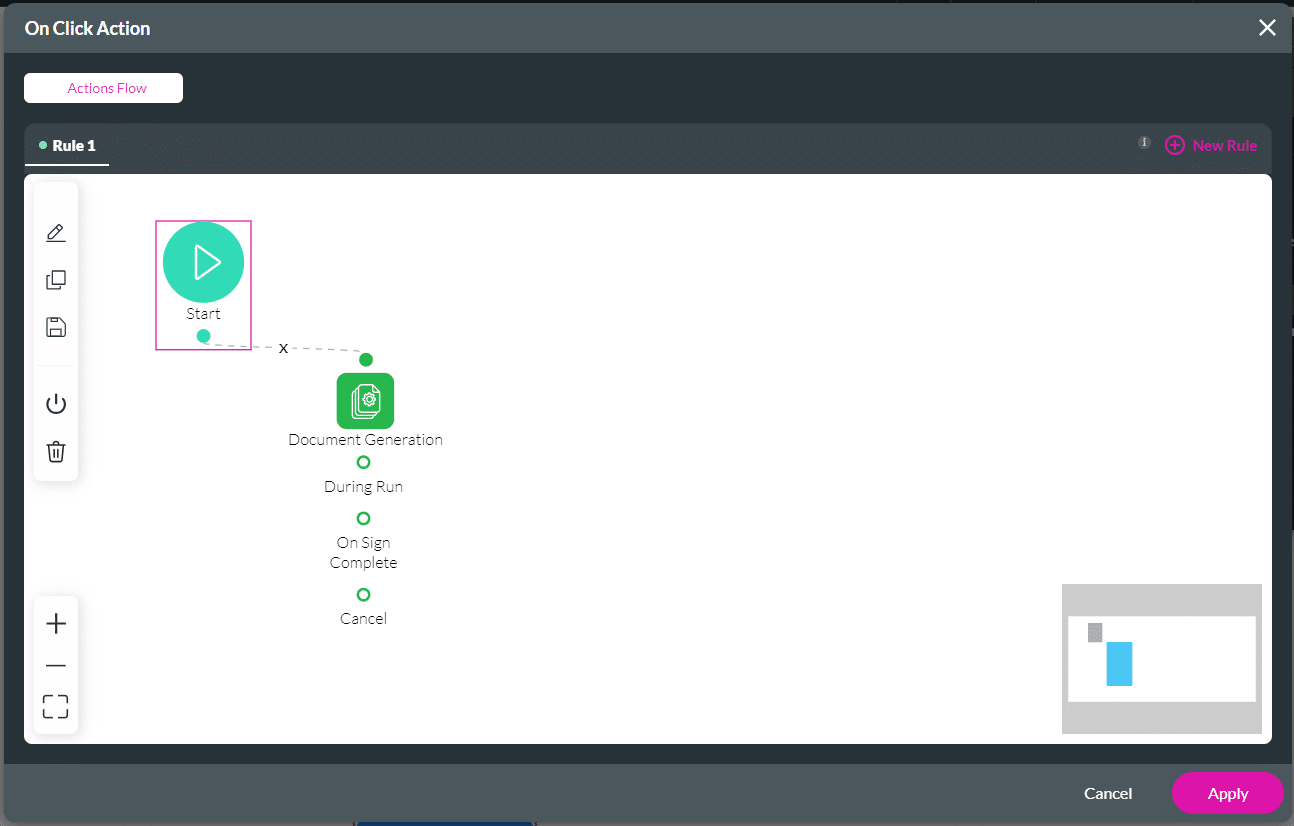
You can configure more nodes to be triggered during Run, On Sign Complete, and Cancel, for example.
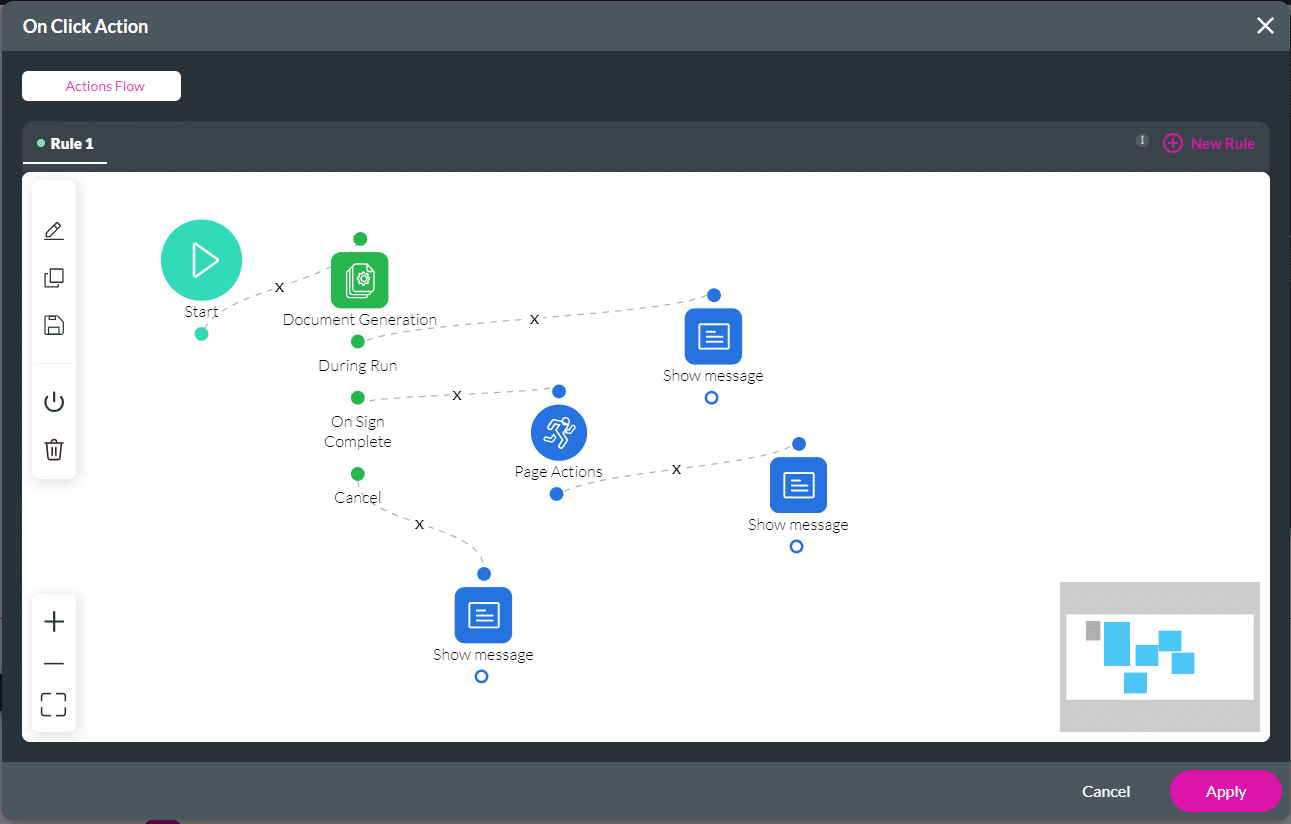
Check out our article on Configuring Actions for Document Generation.