

SmartV Authentication – Sign In using Google
Business Background
“Sign In using Google” is an authentication method that allows users to access third-party websites or applications with their Google account credentials. Instead of creating a new username and password, users can simply log in with their existing Google account, making the sign-in process faster and more convenient.
Titan Solution
“Sign In using Google” is a convenient feature integrated into Titan’s SmartV functionality. It allows users to log in to Titan projects with their Google account credentials. This feature offers several advantages:
- Simplified Login Experience: Users can access Titan projects with just a few clicks using their existing Google account, eliminating the need to create and remember another set of login credentials.
- Enhanced Security: Google’s authentication mechanism adds an extra layer of security through robust authentication protocols and Google’s account protection features.
- Single Sign-On (SSO) Capability: If users are already logged into their Google account, they can seamlessly access Titan projects without entering credentials again, streamlining the login process.
- Trust and Familiarity: Many users trust Google’s authentication system due to its widespread use and familiarity, which enhances user confidence and adoption.
How to Guide
You must do the following:
Configure Google People API
- Create or open the project to which you will add the SmartV. You will copy and paste the project URL into the Google People API’s Authorized redirect URI field.
- Make sure that you have a custom alphanumeric field on the Salesforce object where the Google Identity will be stored.
- This field will be populated with each user’s Google ID so SmartV can uniquely identify users accessing the Titan Web project.
- When the SmartV Registration Page is enabled, Titan creates a new Salesforce contact using the user’s email. Registration will fail if a contact with the same email already exists in Salesforce.
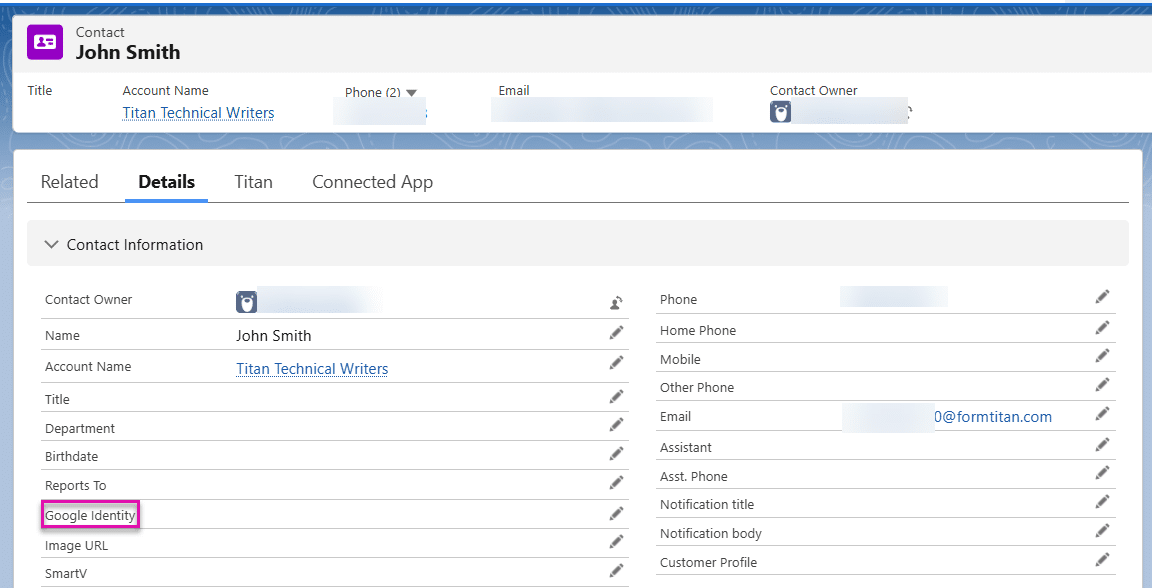
If the Google Identity field in the Salesforce record (for instance, Contact) is empty, the user will not be able to use the Google Sign In to do SmartV authentication.
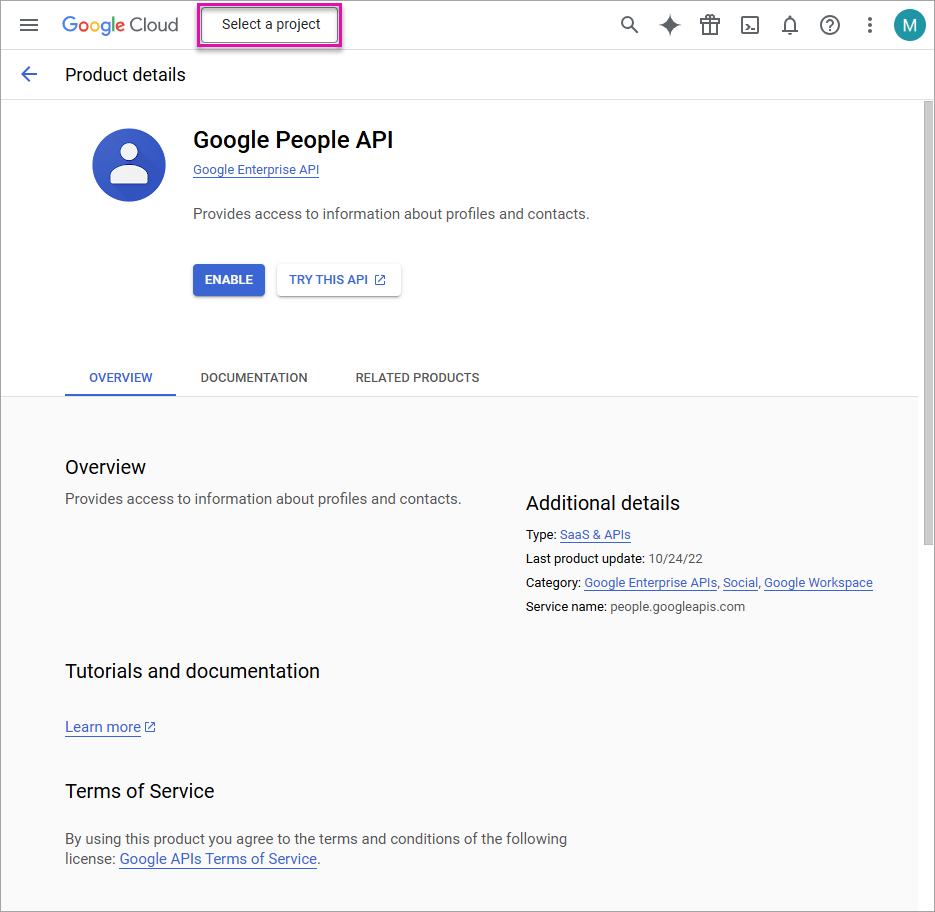
- Configure the Google People API.
- Click the Select a project button.
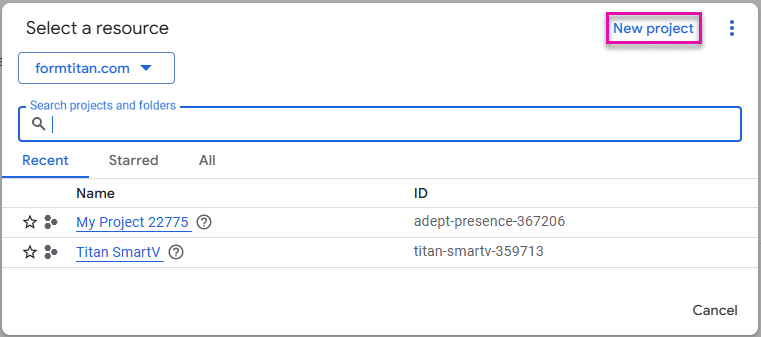
- Click the New project option.
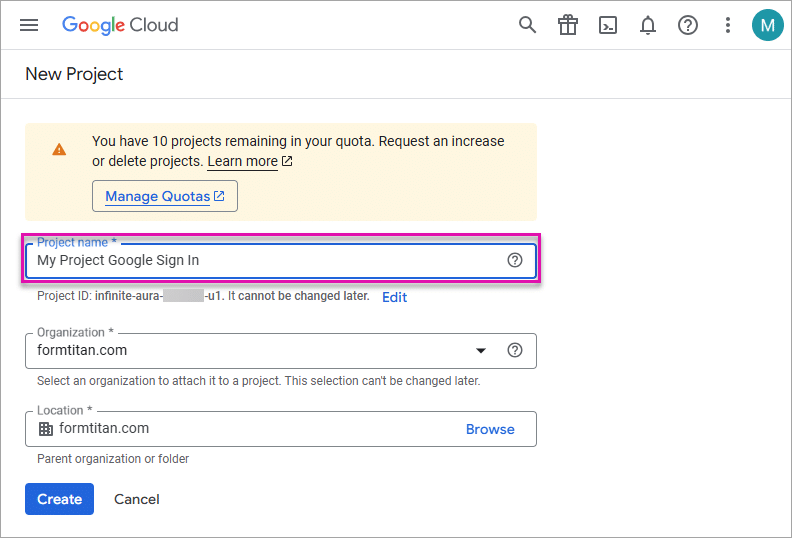
- Type a project name in the field. The other fields are populated automatically.
- Click the Create button.
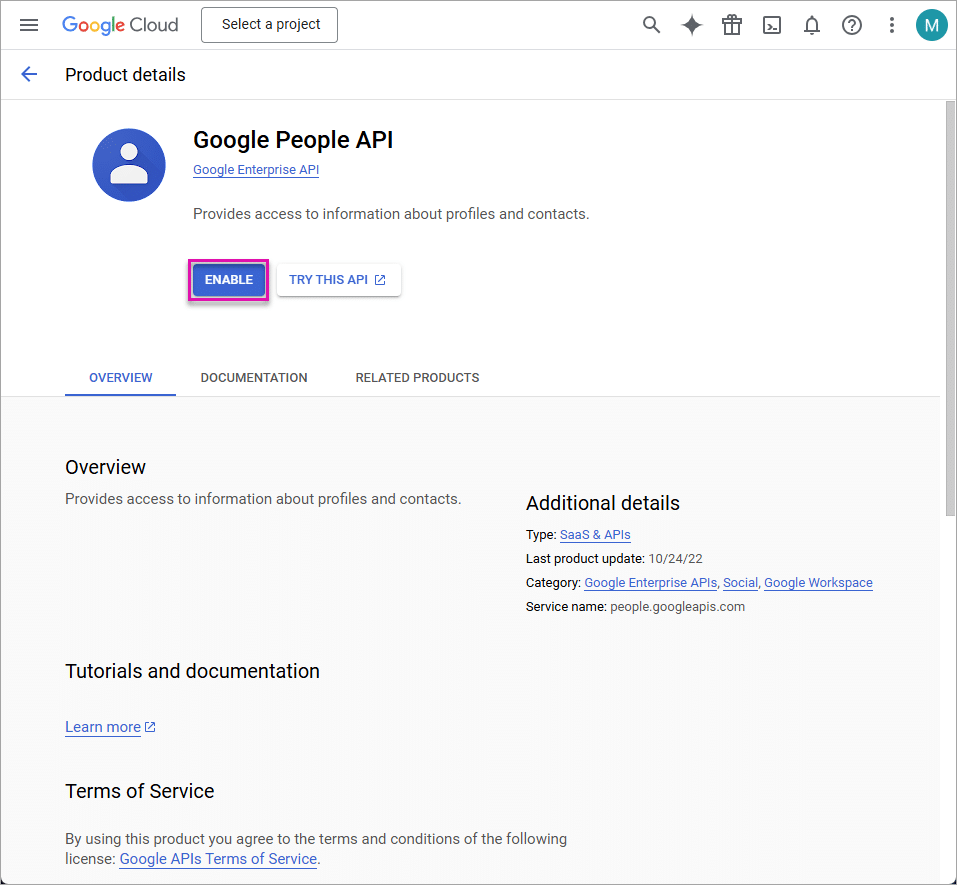
- Click the Enable button.
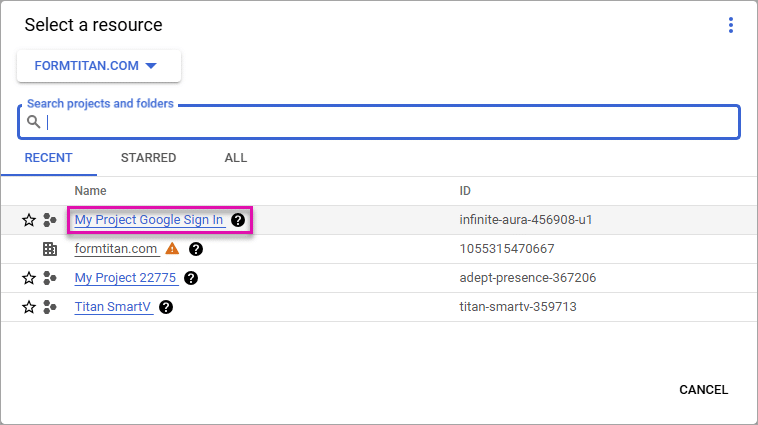
- Click the project to select it. The page loads automatically.
- Click the Credentials option.

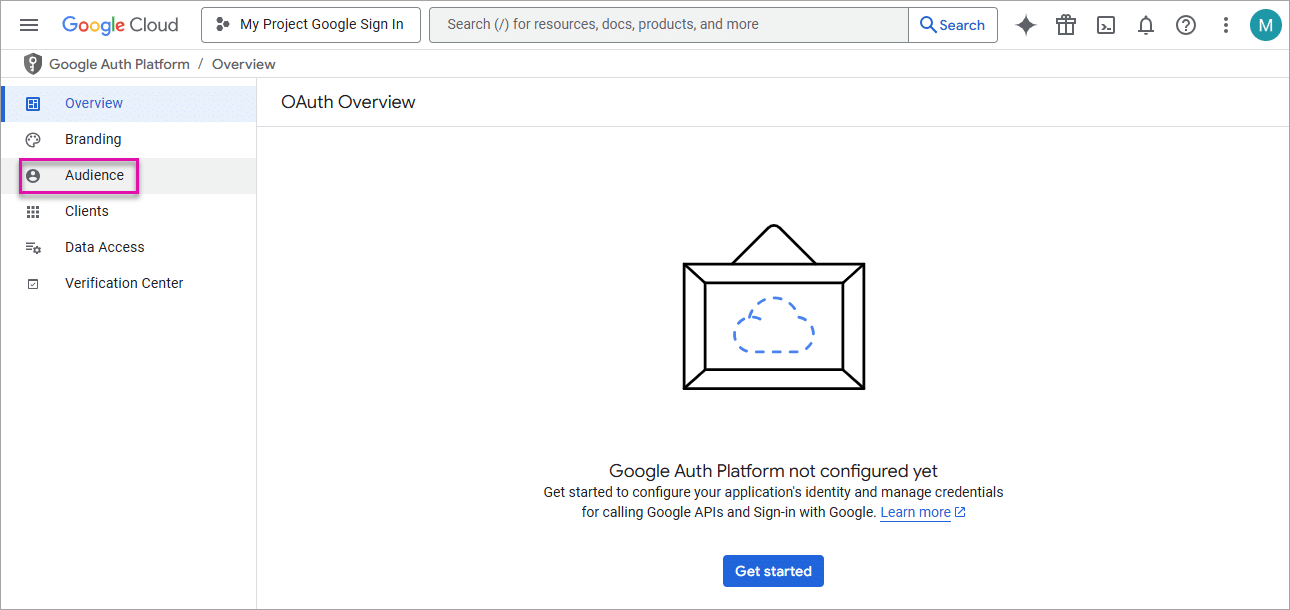
- Click the Audience option.
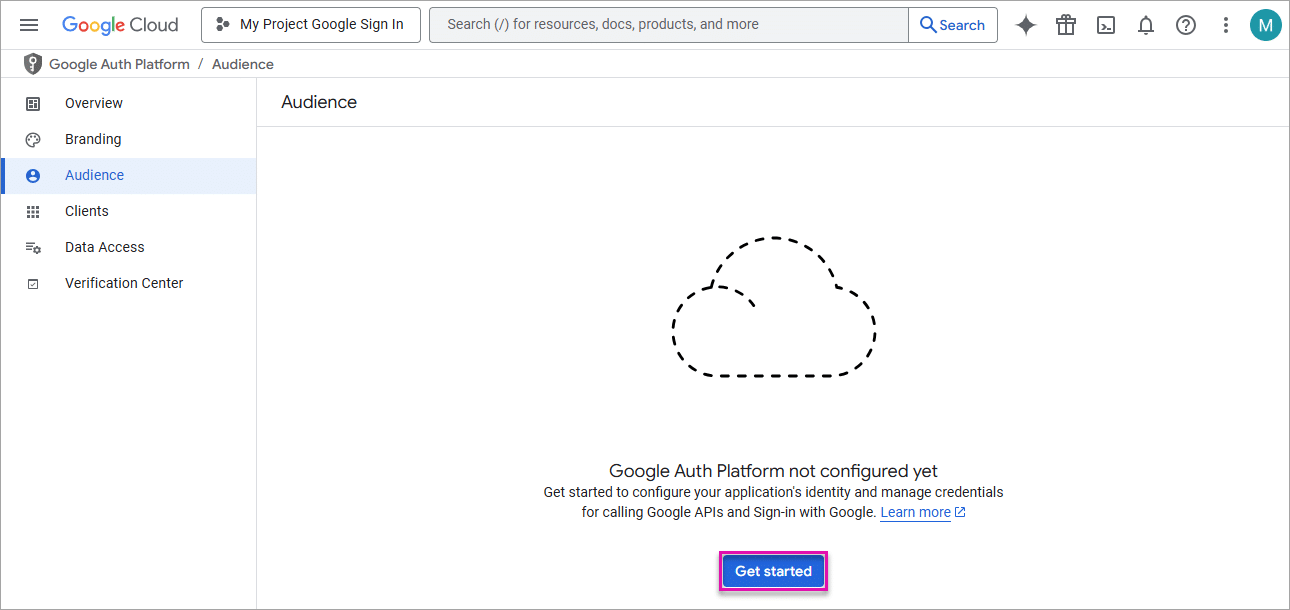
- Click the Get started button.
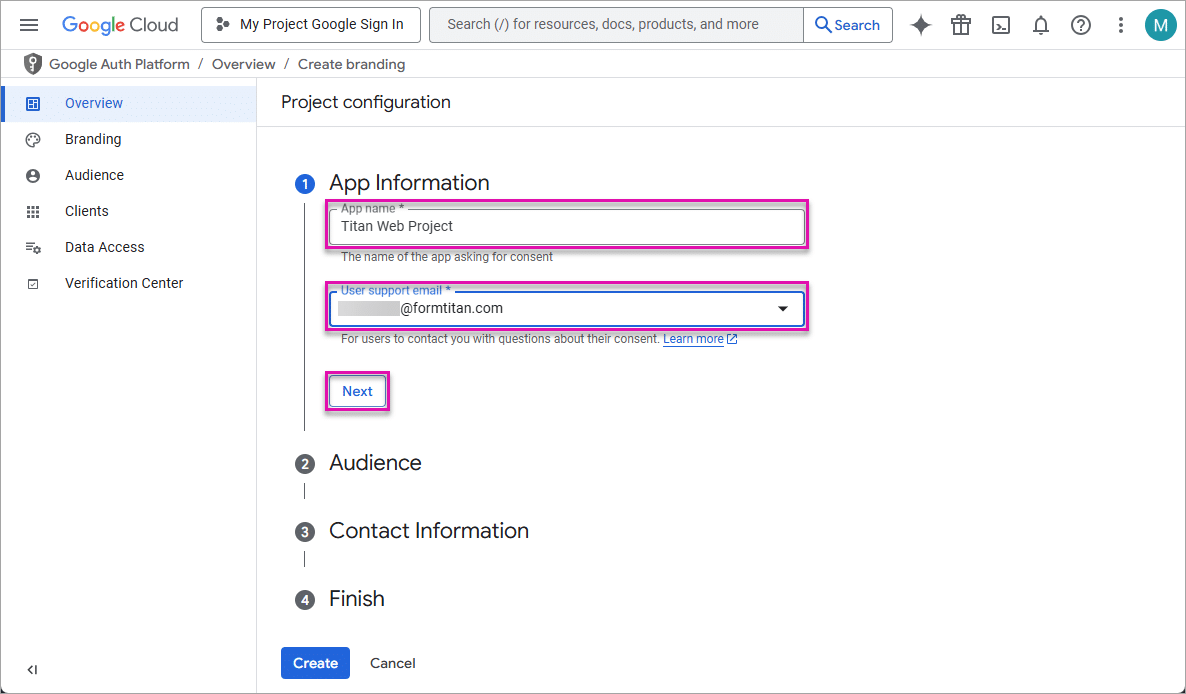
- Type an app name in the field and select the user support email from the drop-down list.
- Click the Next button.
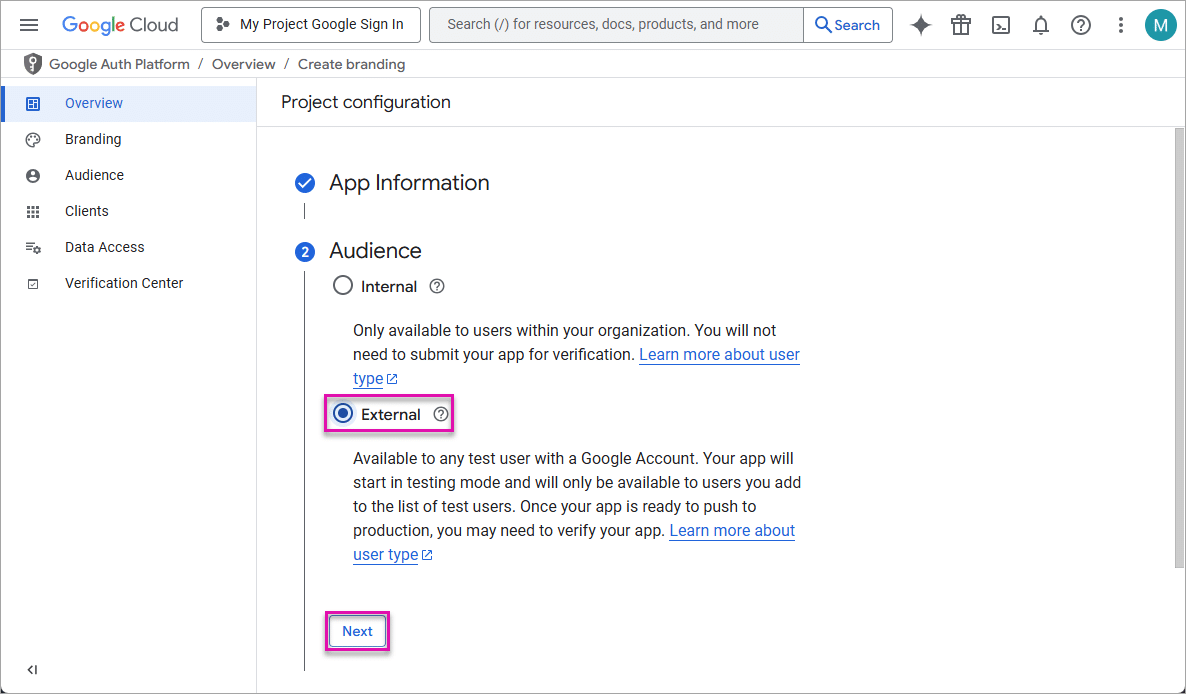
- Select the External radio button.
- The login method will be available to any test user with a Google Account. Your app will start in testing mode and will only be available to users you add to the list of test users. Once your app is ready to push to production, you may need to verify your app.
- Click the Next button.
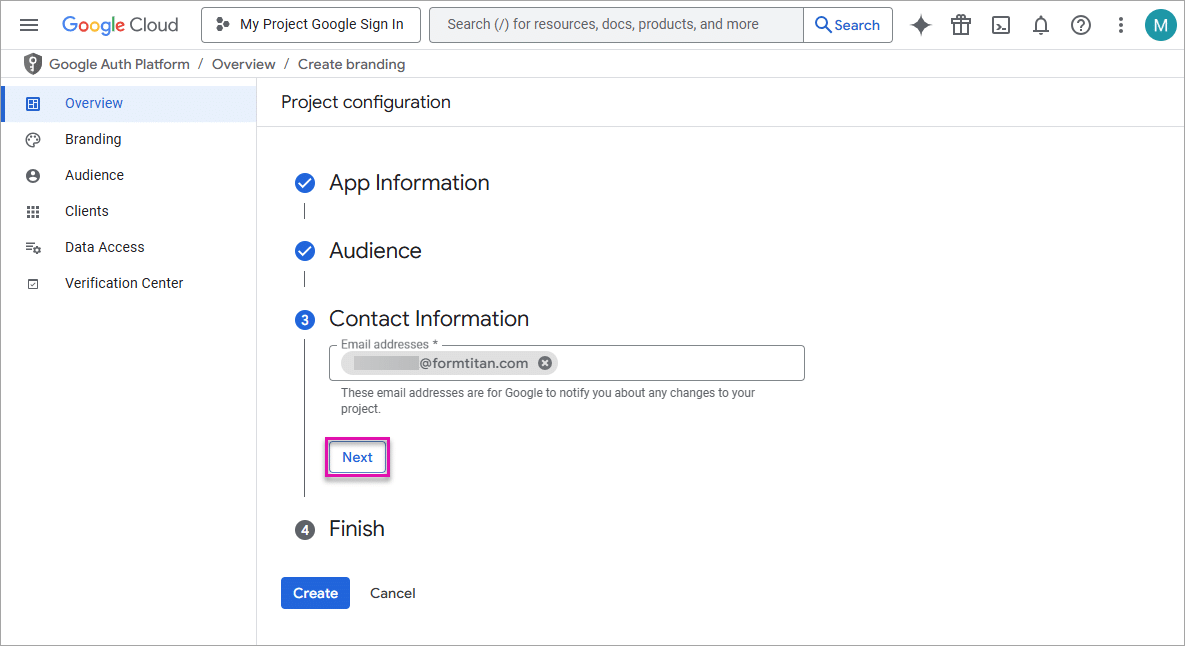
- Type an email address and click the Next button.
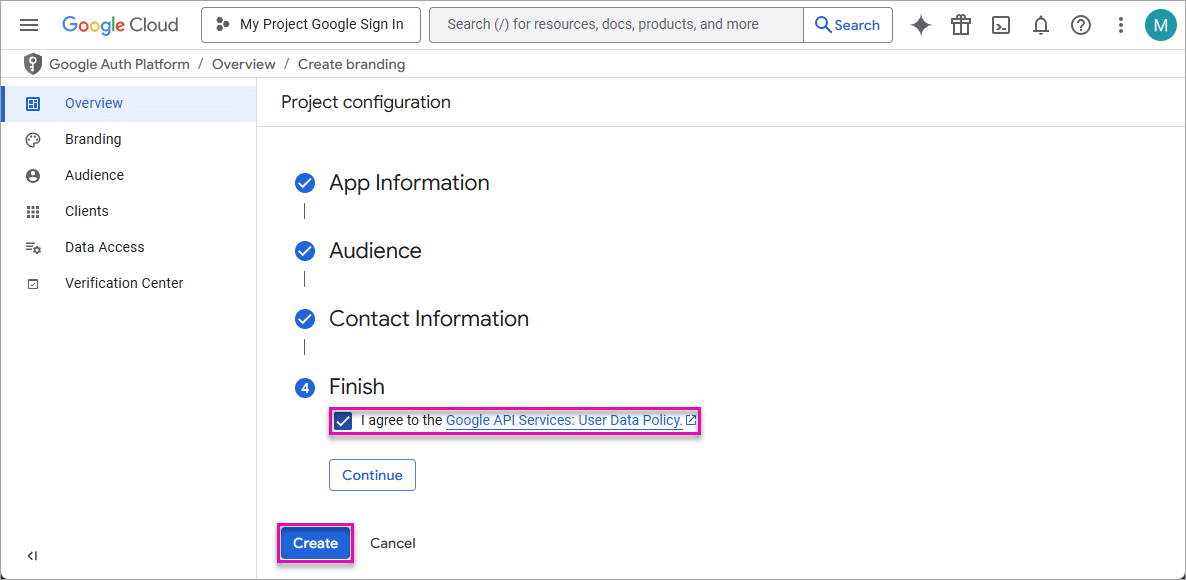
- Click the checkbox to agree to the Google API Services: User Data Policy and then click the Create button.
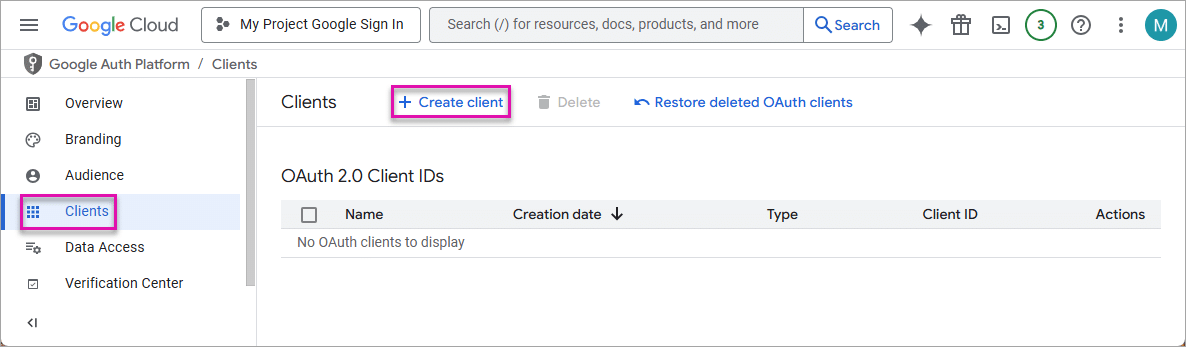
- Click the Clients option and click the Create client option.
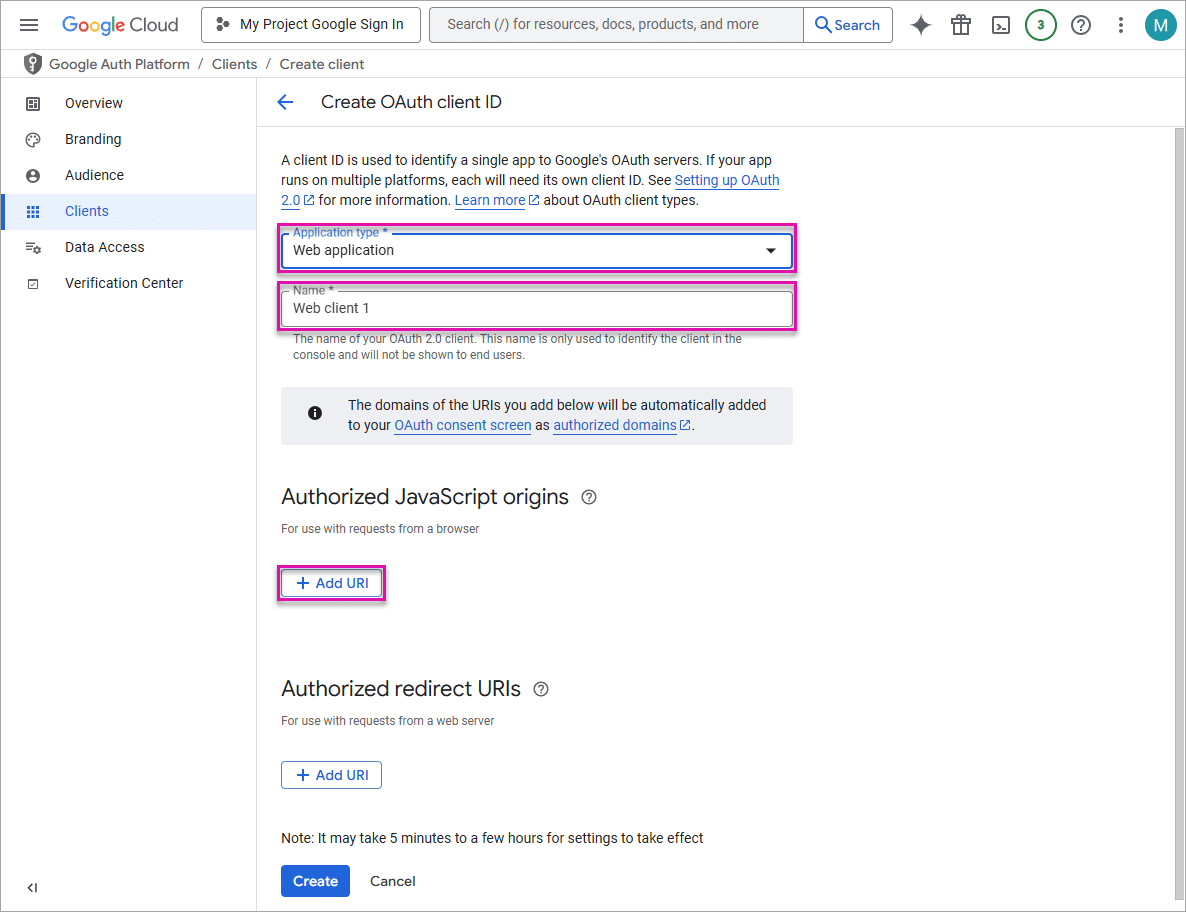
- Use the drop-down list to select the Web Application option.
- Type a name in the field.
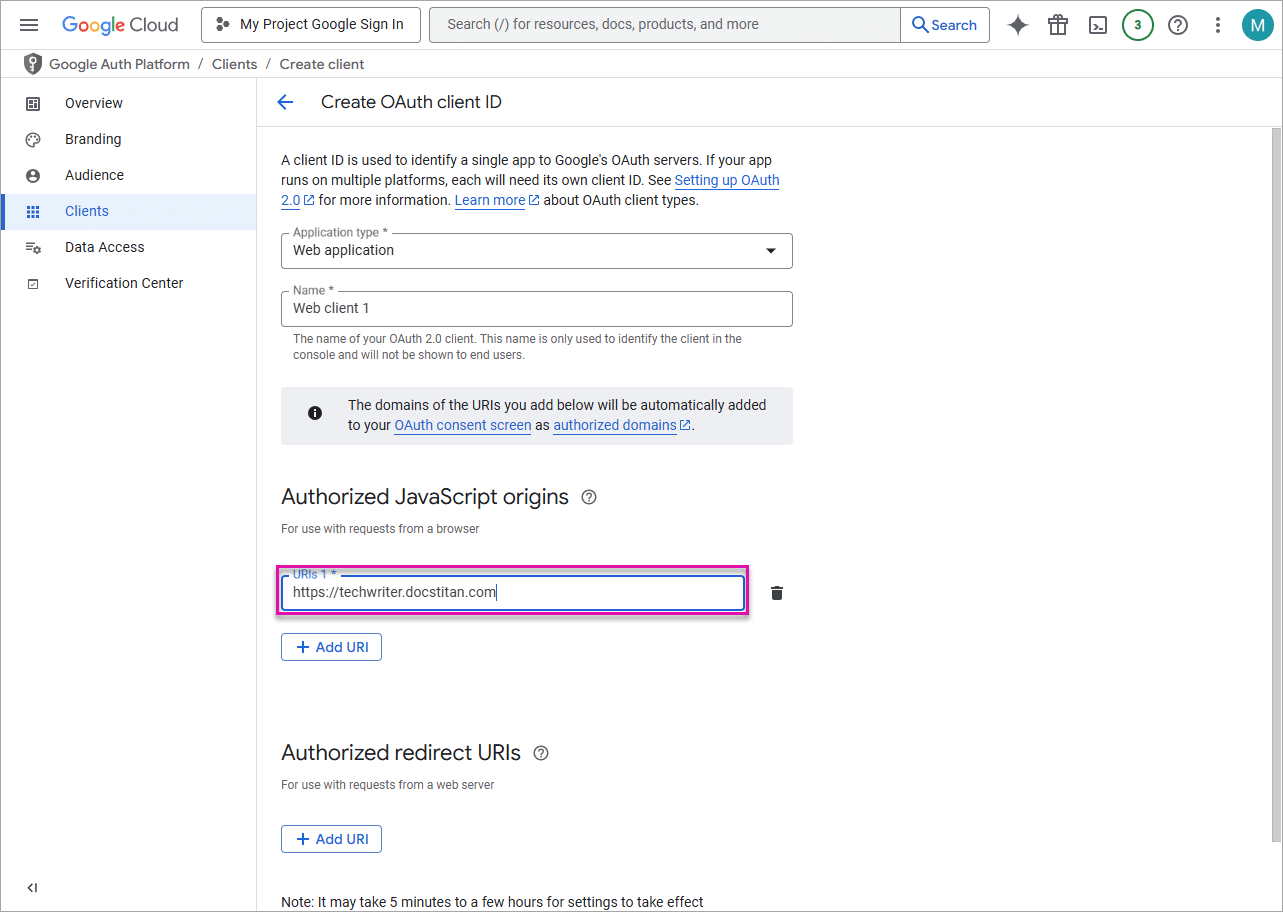
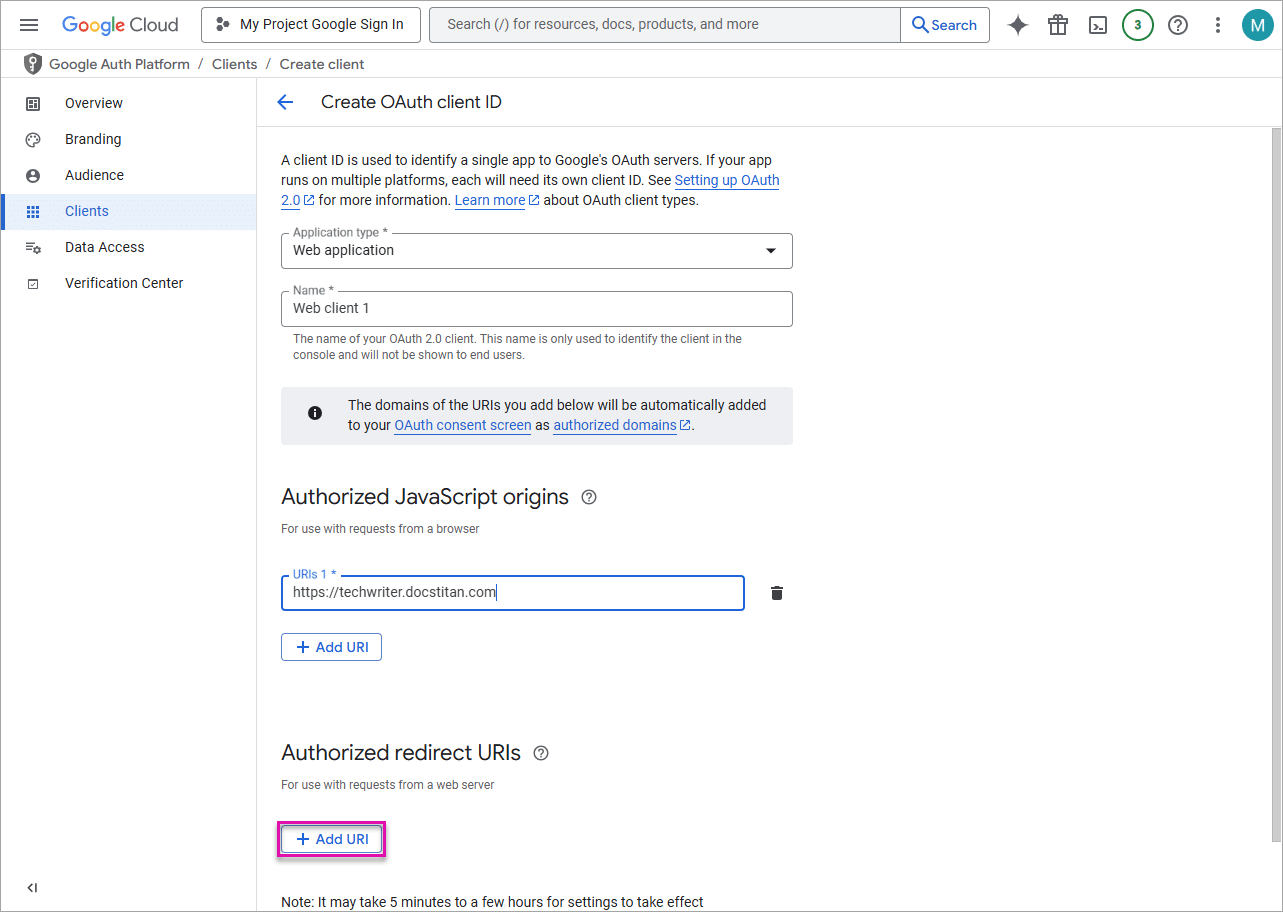
- Click the Add URI button to add the authorized JavaScript origin.
- Type or paste your Titan account domain in the field.
You can find the account domain under the My Account > Company Info tab on the Titan Dashboard. 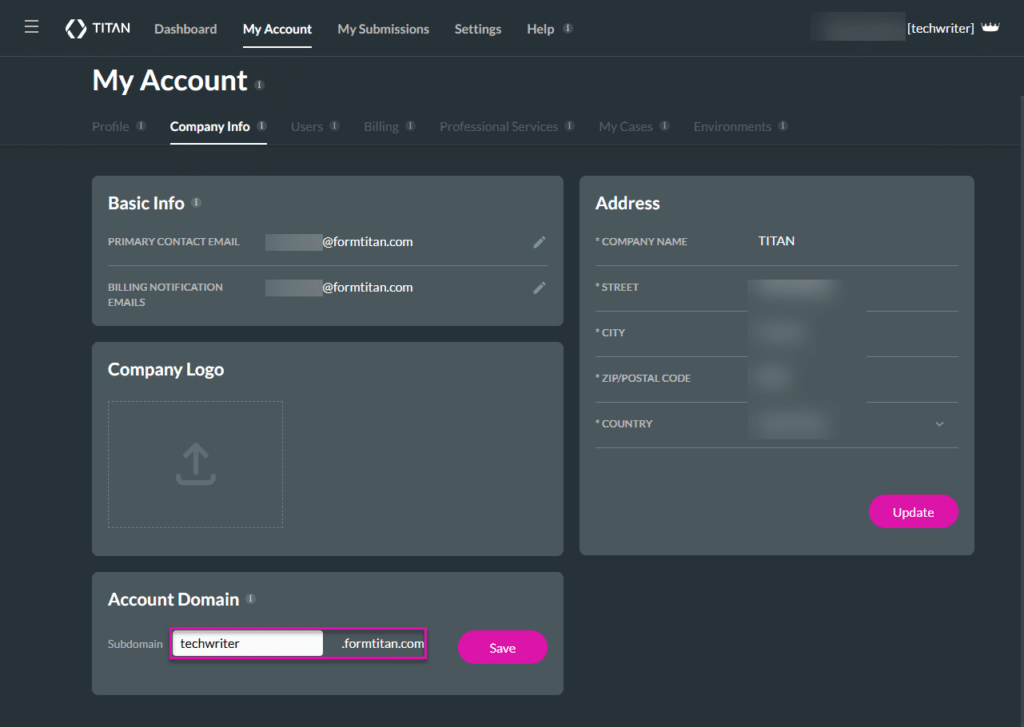
Alternatively, copy the account domain from a Titan project.

- Click the Add URI button to add the authorized redirect URI.
- Paste the SmartV project URL in the field and click the Create button.
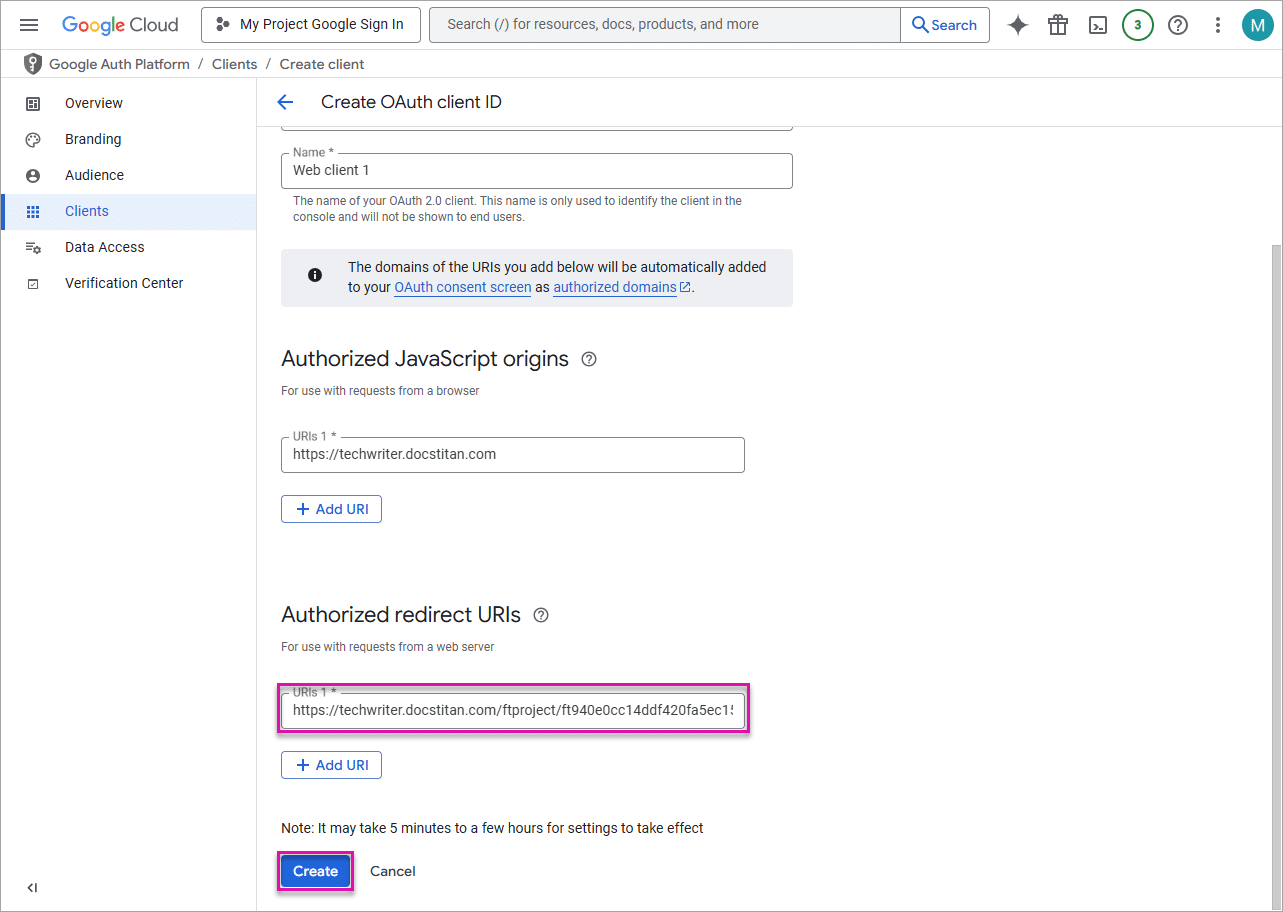
It may take 5 minutes to a few hours for the settings to take effect.
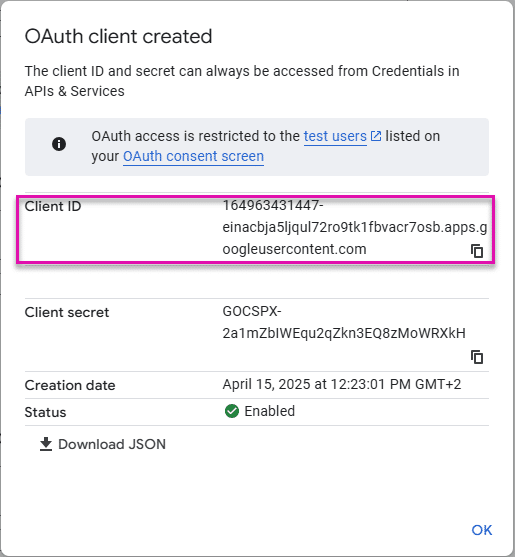
- Copy the Client ID.
Configure the SmartV in Titan Web
- Configure the Login screen.
- Select the Salesforce object.
- Select the value (required) and the email address (optional).
- Click the Next button. The Condition screen opens.
- Configure the Condition screen.
- It is optional to add conditions. You may choose to skip this screen by clicking the Next button. The Authentication screen opens.
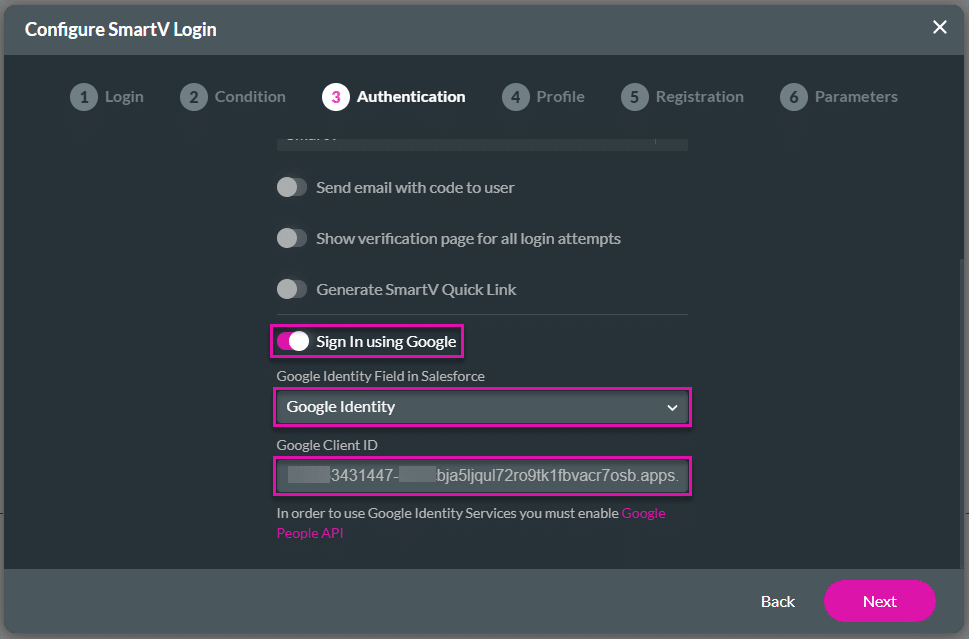
- Use the toggle switch to enable the Sign In using Google option.
- Use the drop-down list to select the GoogleID field. This field is on the Salesforce object where the Google ID will be stored.
- Add the Google Client ID.
- Click the Next button. The Profile screen opens.