

Button Group – Static Value
Business Background
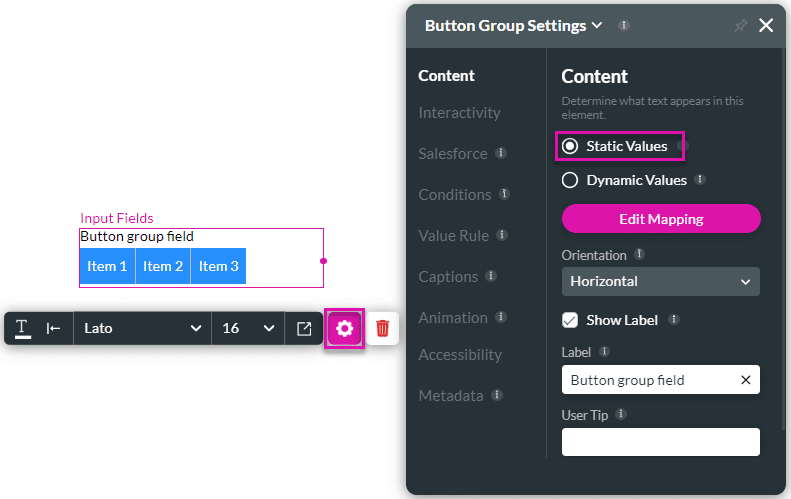
Change the static value mapping of the button group after you add it to the Web project. Use static values to set pre-defined labels, values, and/or descriptions. These values are set on a project level and are not pulled from Salesforce.
How to Guide
The Edit Mapping option for static values is available for the button group elements.
- Click the + icon to open the list of elements.
- Select the Input option from the list.
- Click-and-drag the Button Group element to the canvas.
- Click the Button Group Gear icon to open the Button Group Settings screen.
- Click the Edit Mapping button to add mapping for the Static Values. The Configure items screen opens.
- Learn more about Dynamic Values.
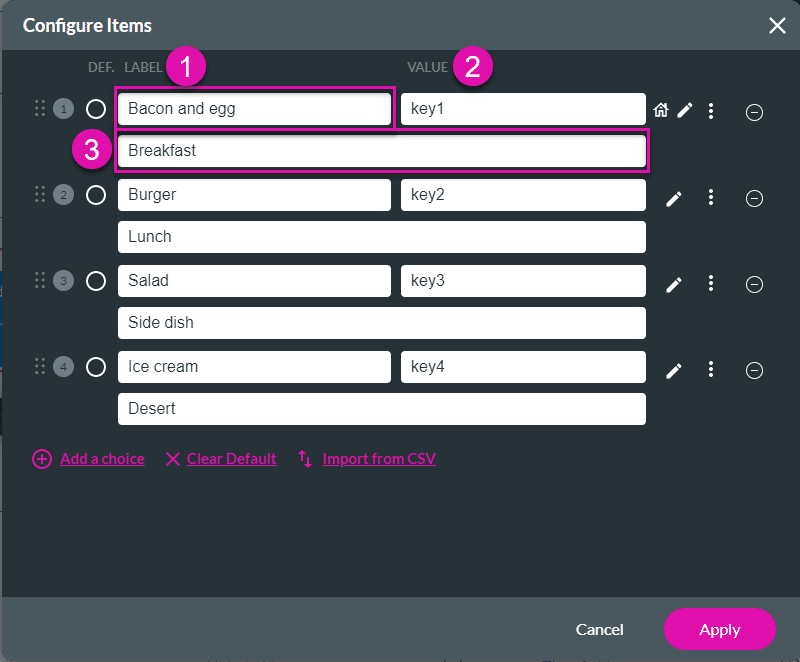
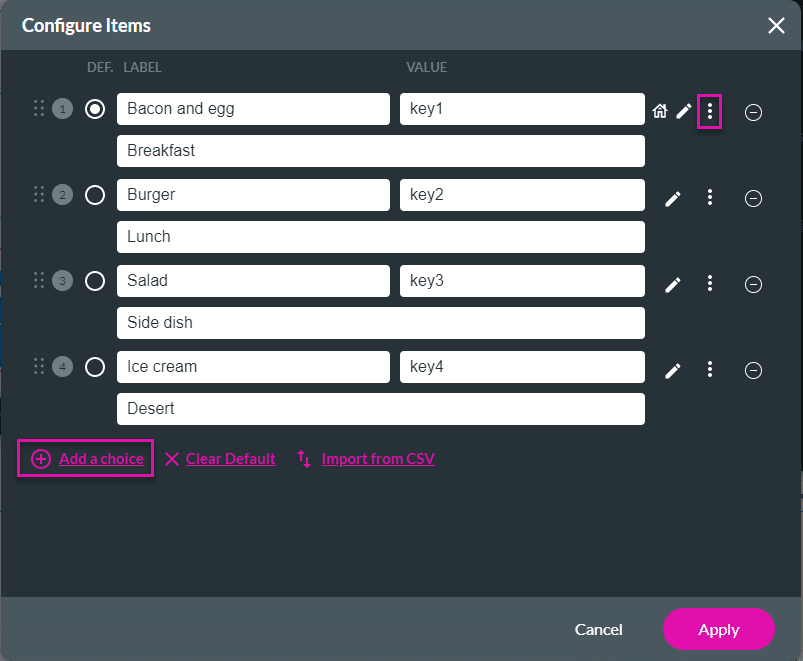
- Type the names of the buttons in the Label fields.
- The label (1) is presented to the user, and the value (2) is not shown.
- Labels and values can be the same or different.
- When you push data to Salesforce, you can decide to push the label or value.
- Type a description (3) underneath the Label if necessary. This is added information to the label.
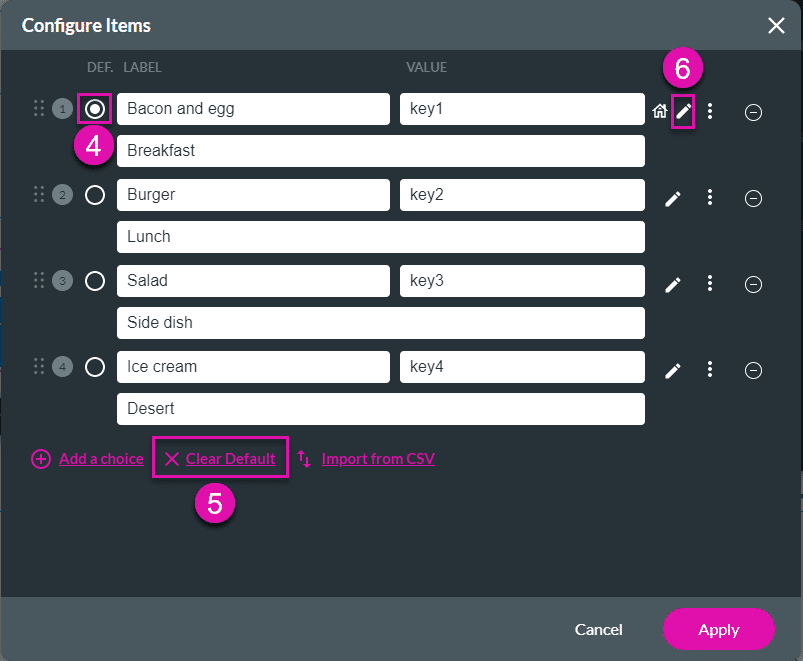
- If necessary, select the Default radio button (4) to set a label as a default. This option is optional.
- The option selected as default is automatically selected, but the user can change the selection.
- Click the Clear Default option (5) to clear the default.
- Click the Edit icon (6) to add icons to the button. The Icons screen opens.
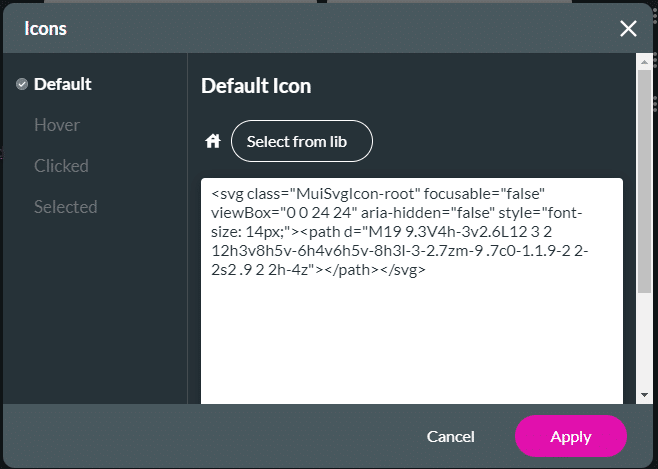
- Add an icon for the button statuses as necessary:
- Default: This is the default state of the button.
- Hover: When a user hovers with the mouse over the button.
- Clicked: When the button is clicked.
- Selected: When a user selects a button.
- To add an icon to a button status, click the status on the left and click the Select from Library button. The Select Icon screen opens.

- Configure any icons for the button’s state.
- Click the Apply button on the Select icon screen.

- Click the Apply button on the Icons screen when you have configured the icons where needed.
- Repeat the steps for each button status as necessary.
More options on the Configure Items screen
- Click the Kebab icon to open the options when necessary.
- On Click action: Click this option to configure an on click action.
- Clone: Click to make an exact copy of a button.
- Click the Add a choice option to add more buttons, if necessary.
- Repeat the steps as necessary for all the buttons.
- Click the Apply button.
The following example shows icons for the different states.

Hidden Title
Was this information helpful?
Let us know so we can improve!
Need more help?
Book Demo