Source
Description
Use Titan CLM, our contract lifecycle tool tailored for Salesforce, to automate signing processes and speed up contract approvals. The CLM wizard lets you seamlessly add a source document using three different methods.
How to Guide
Prerequisite:
Make sure you have completed the Sign Project setup process before proceeding.
The settings made in the CLM Wizard override the settings made in the Titan CLM project.
The Titan CLM project is not affected by the CLM Wizard changes.
- Click a Salesforce object, such as Opportunities.
- Initiate the Titan Wizard.
- Click the CLM option and click the Next button.

There are three methods you can use:
Only one file can be used in CLM.
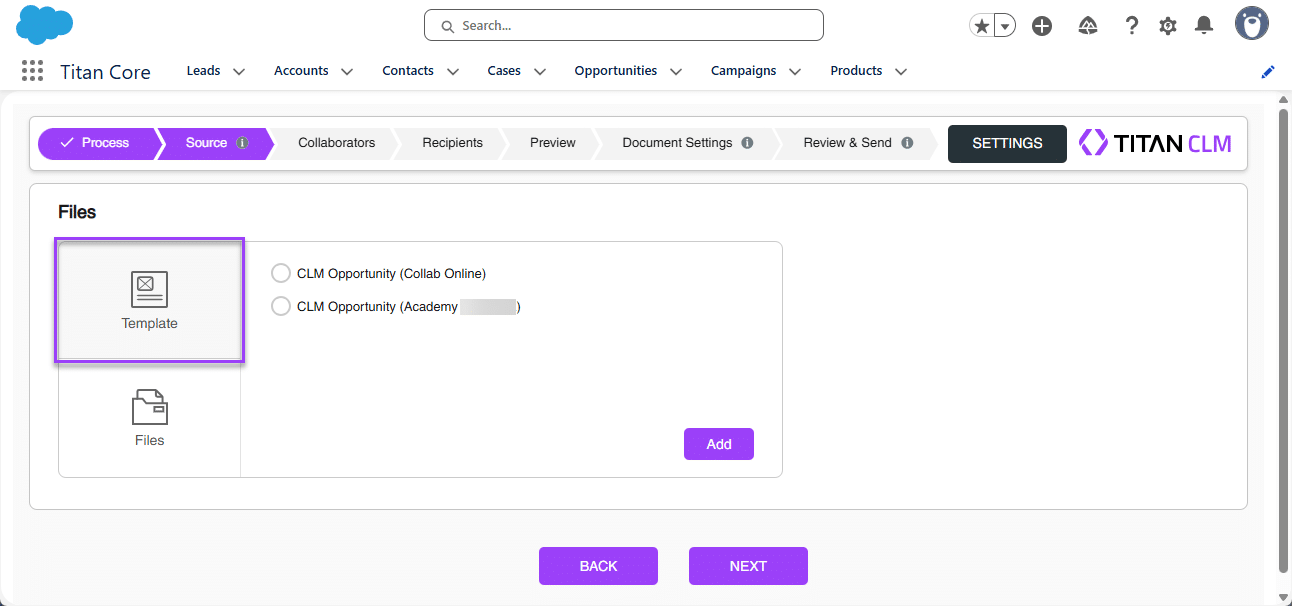
Use a Template
All the interactive fields, collaborators, signers, and project definitions that were added to the template using the Titan Word add-in are compatible with the wizard.
This is the default option.
- Select an option by clicking the radio button.
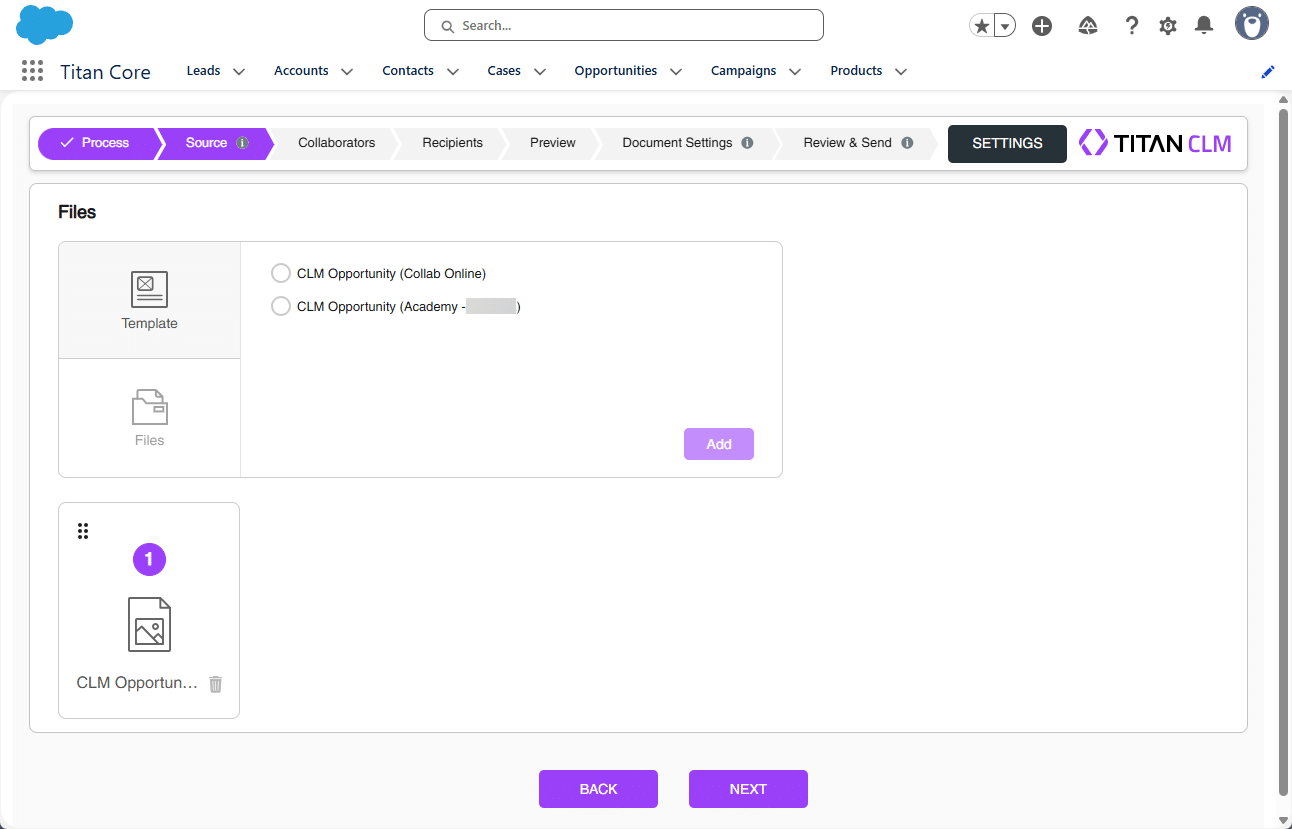
- Click the Add button. The template is added.
- Click the Next button. You will see the following message: “Preparing your document, please wait.” The Collaborators screen opens.
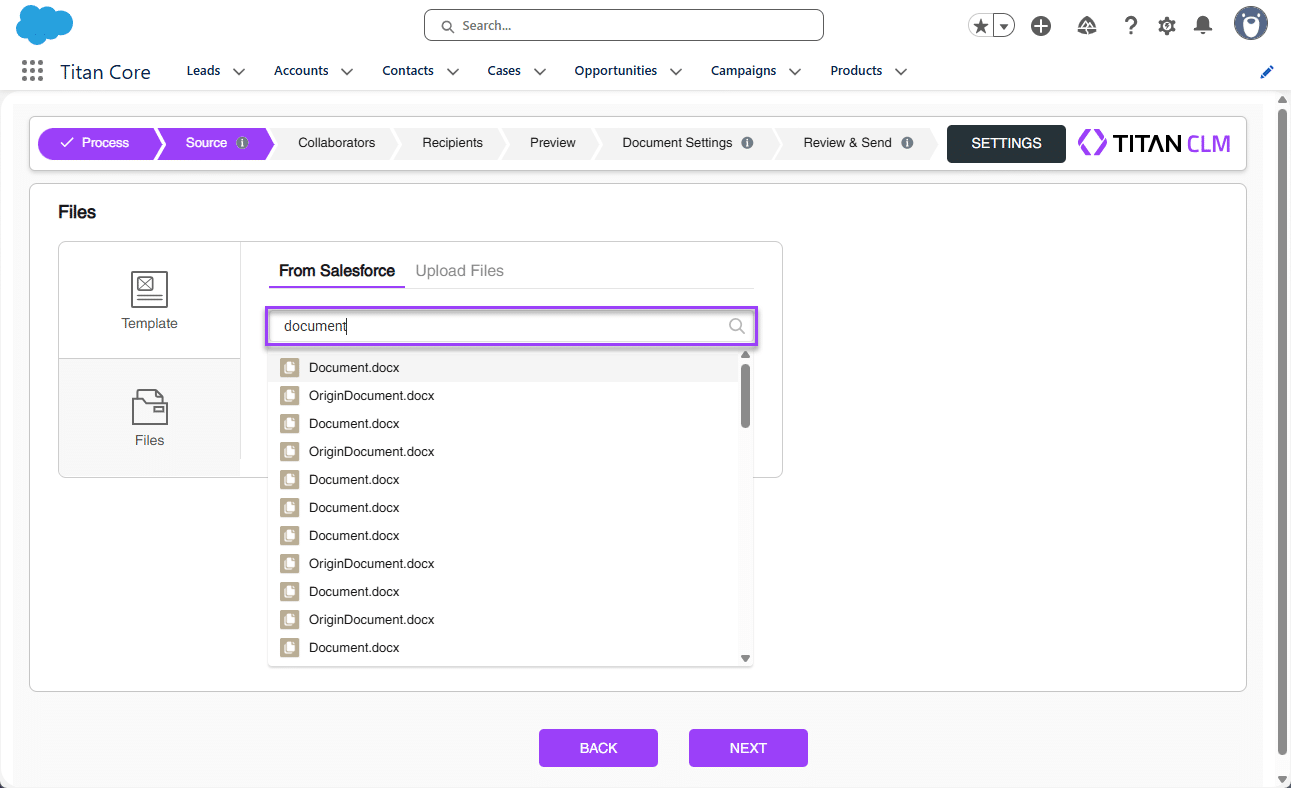
Use a File from Salesforce
- Click the Files option.
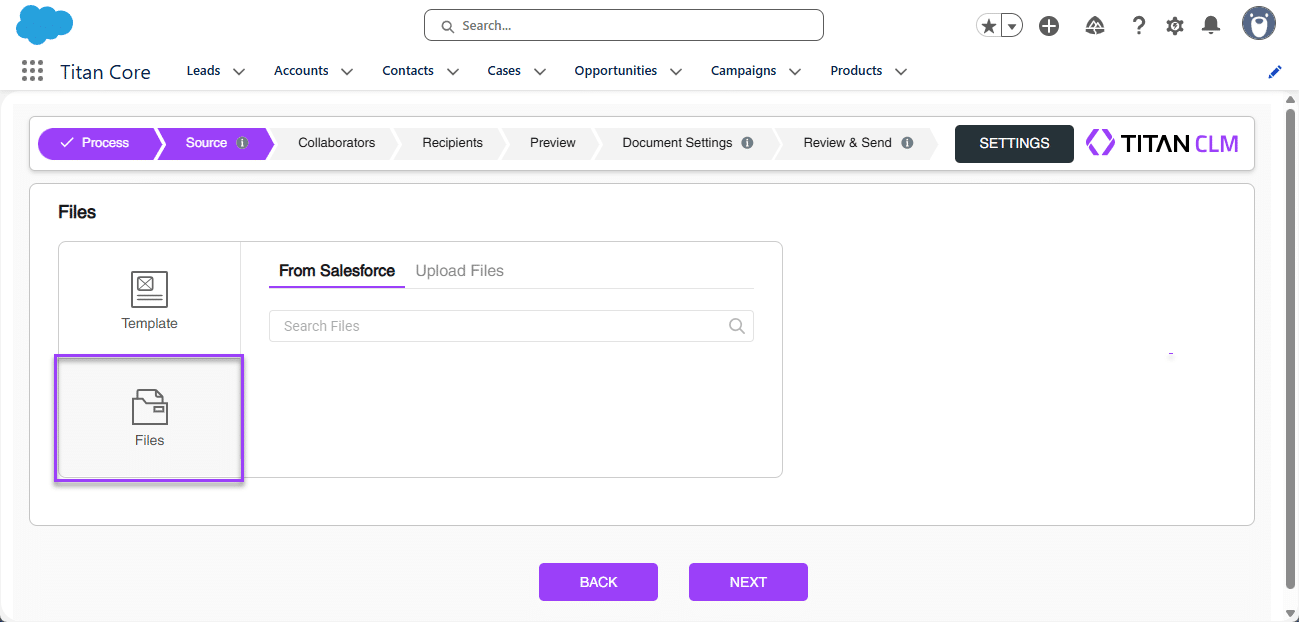
Salesforce file is the default option.
- Add a search term or part of a term in the field. If results are found, a drop-down list will be shown.
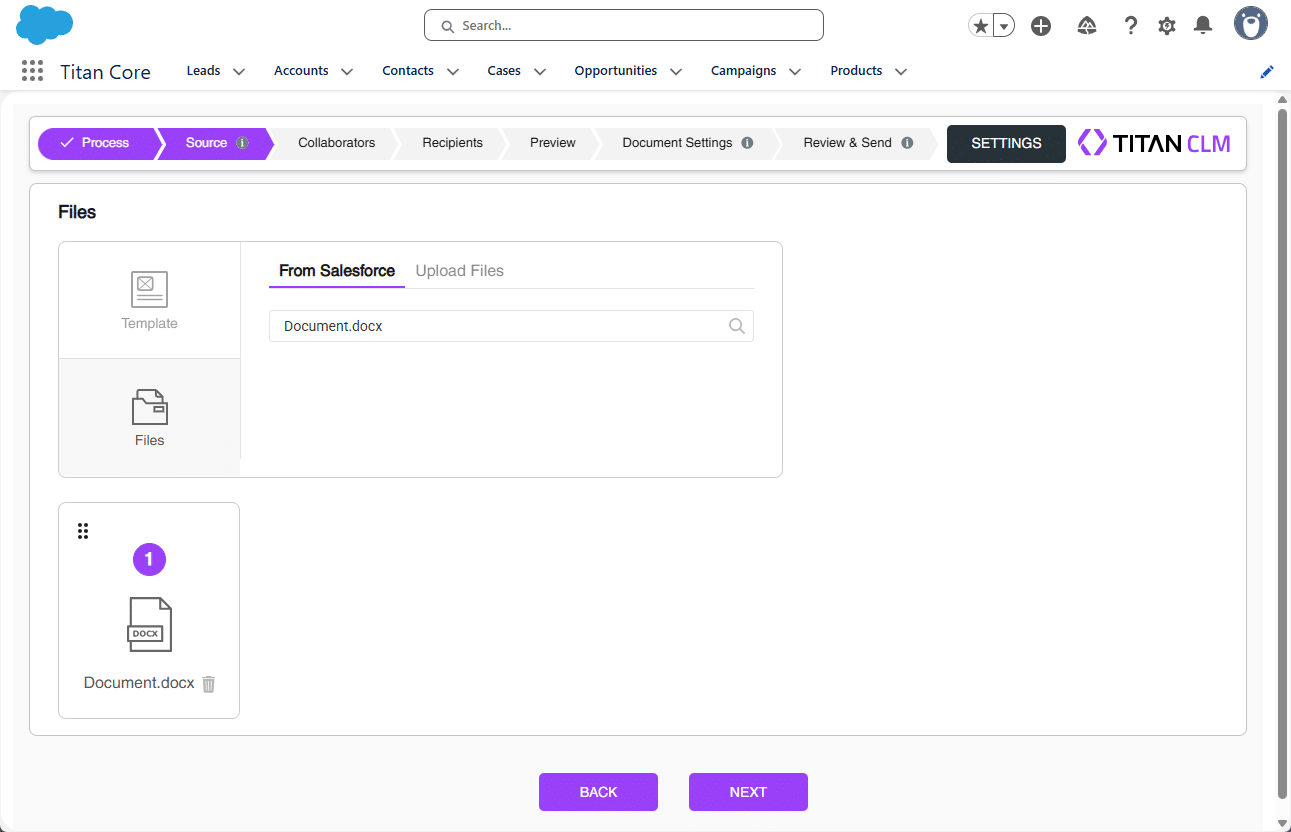
- Click an option to select it. The file is added.
- Click the Next button. You will see the following message: “Preparing your document, please wait.” The Collaborators screen opens.
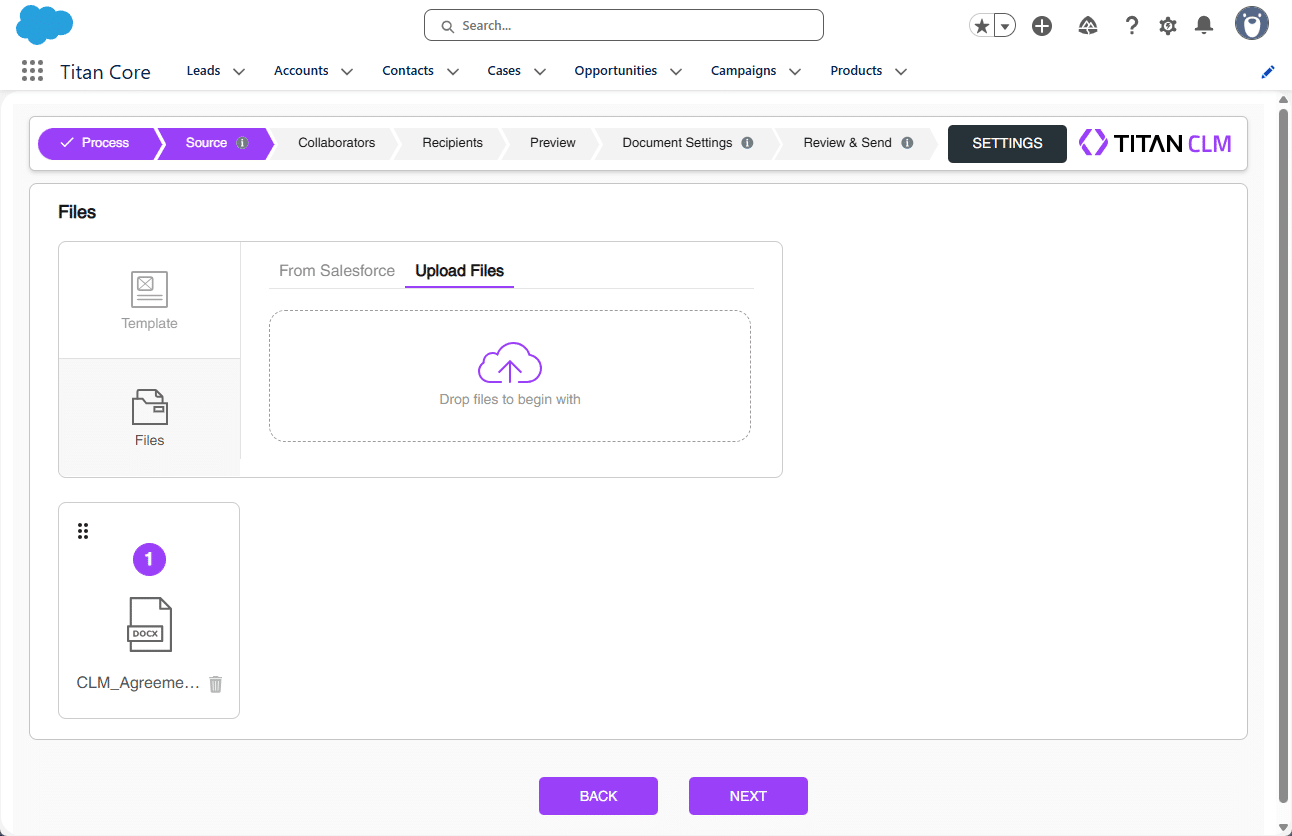
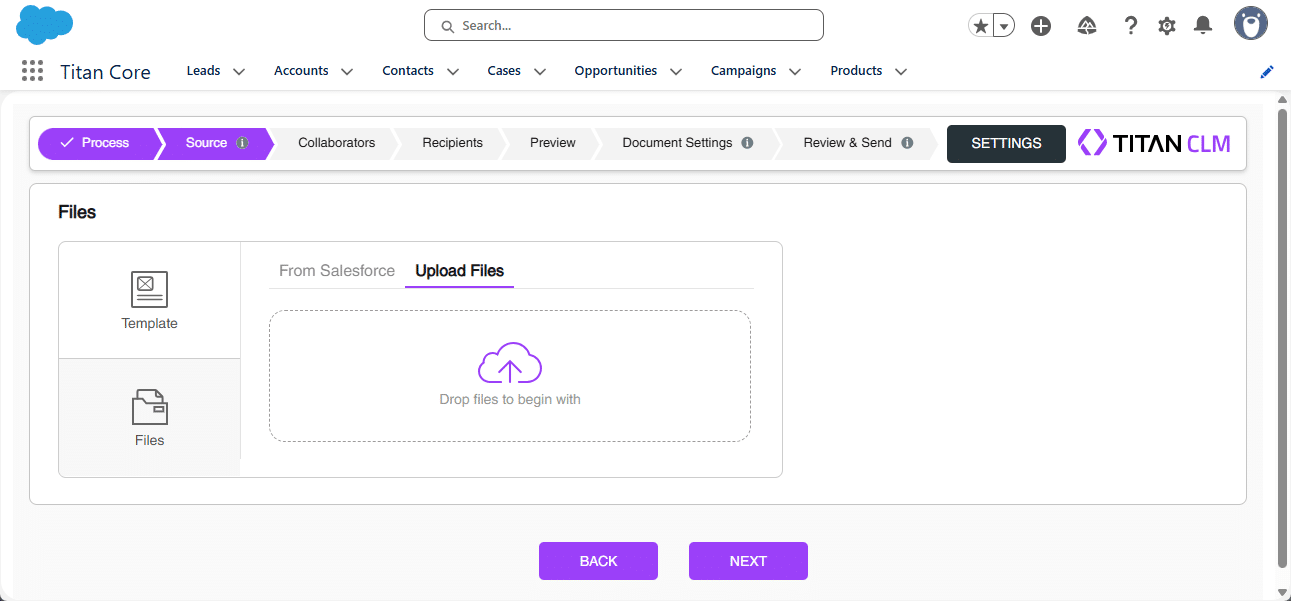
Upload a File
Files with interactive fields are not supported, and you will see the following error: “Titan Document Template is not supported. Please reach out to your Titan admin for that.”
- Click the Upload Files tab.
- Drag a file to the block, or click in the block to upload a file.
- Browse to the file on your computer and select the file. The file is added.
- Click the Next button. You will see the following message: “Preparing your document, please wait.” The Collaborators screen opens.