

Edit Mapping for Animation
Business Background
Change the mapping of the animation element after you have added it to the Web project.
How to Guide
The Edit Mapping option is available for animation elements.
- Click the + icon to open the list of elements.
- Select the Media option from the list.
- Click-and-drag the Animation element to the canvas.
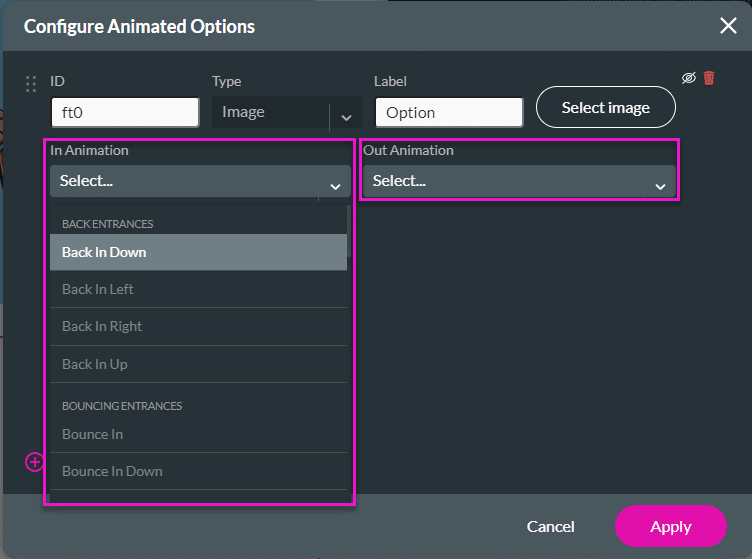
- Click the Animation element’s Gear icon and click the Edit Mapping button. The Configure Animated Options screen opens.

Add image item
- Click the Add Image Item option to add an image item.
- Click the Select Image button.


- Use the drop-down lists to select the following:
- In Animation
- Out Animation
- Click the Add Image Item option to add an image item.
- Repeat the steps to add animation.
- Repeat the steps until you have all the images required.
- Click the Apply button.

Add an SVG item
- Click the Add SVG item option. The Add SVG Content screen opens.

- Add the SVG content and click the Apply button.

- Use the drop-down lists to select the following:
- In Animation
- Out Animation

Hidden Title
Was this information helpful?
Let us know so we can improve!
Need more help?
Book Demo