

Push Notifications
Business Background
Do you need to send clients messages even when users are not actively using your website? You can send web push notifications that are displayed as pop-up alerts on the user’s screen and can be used to promote new content, special offers, or other updates.
Titan Solution
With Titan, you can push web notifications to a client’s device when certain conditions are fulfilled, with no code, and in a few clicks. For instance, whenever a contact updates their details in Salesforce, you can send a notification confirming that the update was made.
Web push notifications will only be sent when the user has given permission.
How to Guide
Prerequisite:
The custom field in Salesforce that will be updated with the hash value must be able to contain at least 1500 characters.
When enabling the Push Notification, a hash value (ft-webPush) is created in Salesforce. The hash is the current instance of the device and browser using Titan Web.
Create a web push notification in your Titan Web project
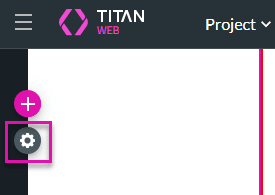
- Click the Gear icon to open the Project settings.
- Use the toggle switch to enable Push Notification. The option ft_webPush is now available to map to a Salesforce field. You can push ft_webPush to any object in Salesforce.

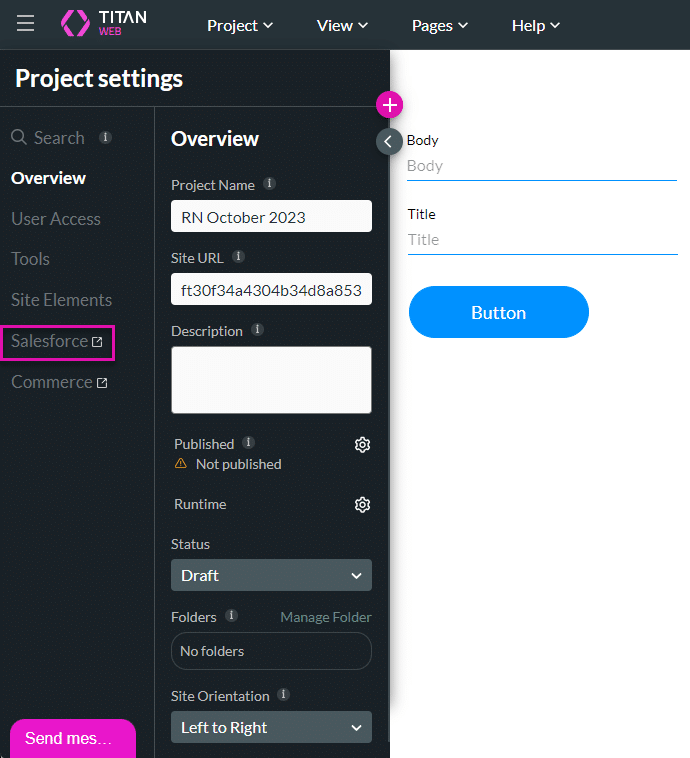
- Click the Salesforce option. The Salesforce Integration screen opens.
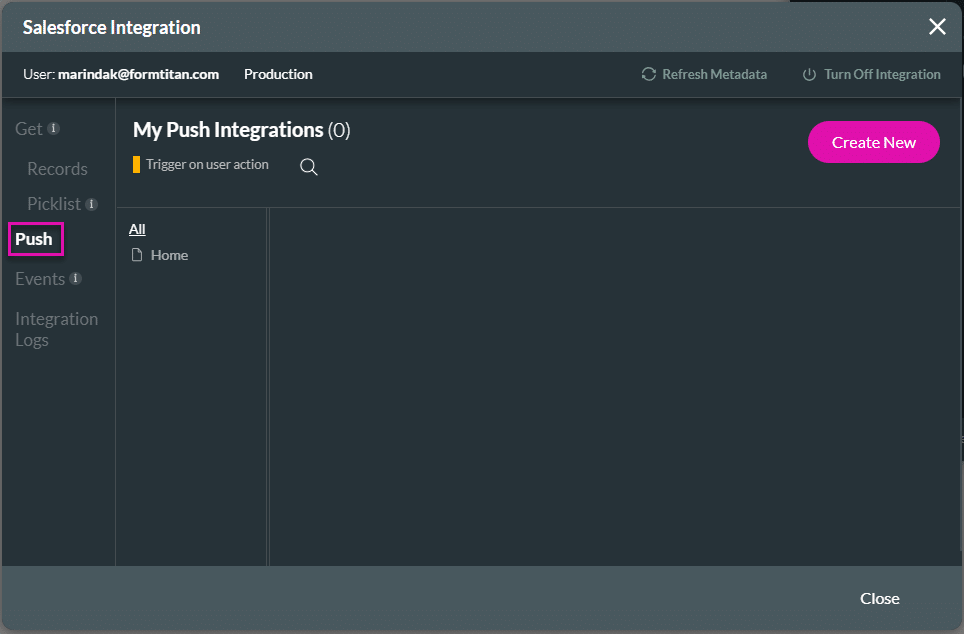
- Click the Push option and then click the Create New button.
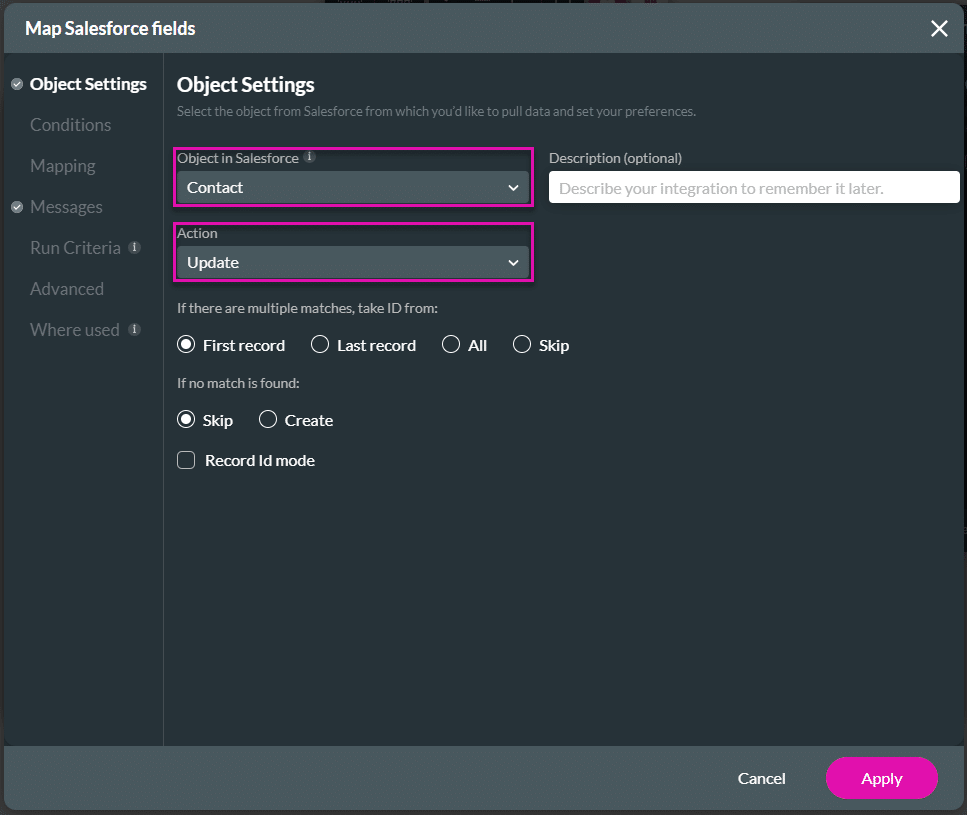
- Use the drop-down list to select the object in Salesforce.
- Use the drop-down list to select the action, for instance, Update.
- Configure the condition as required.
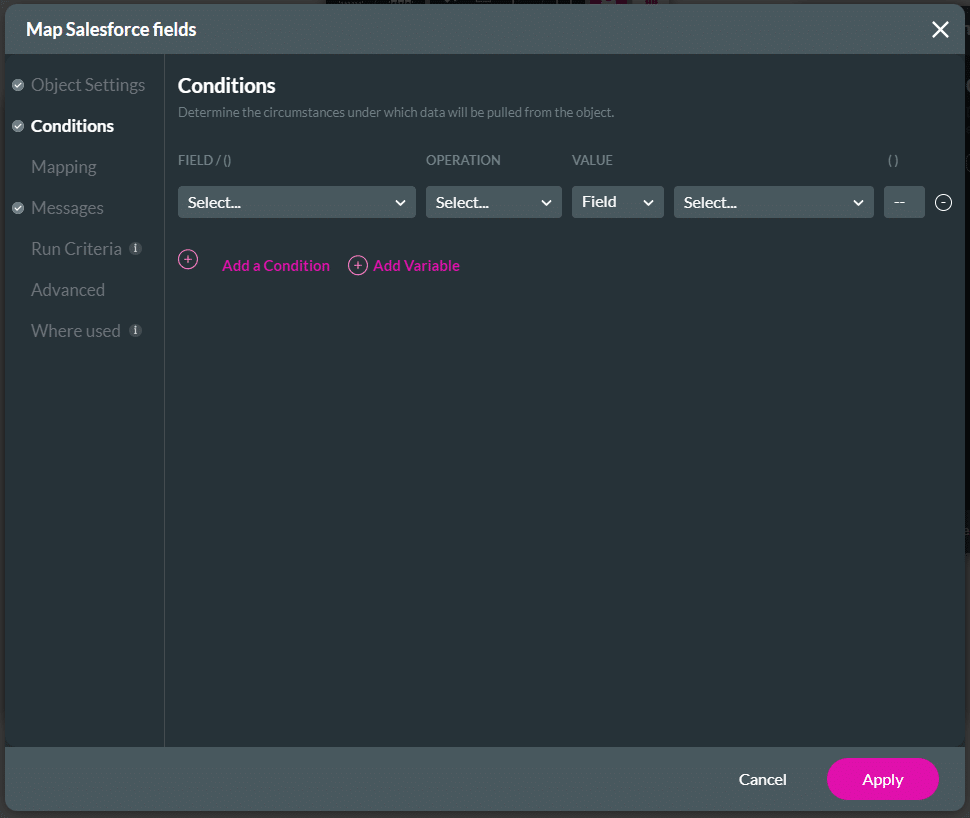
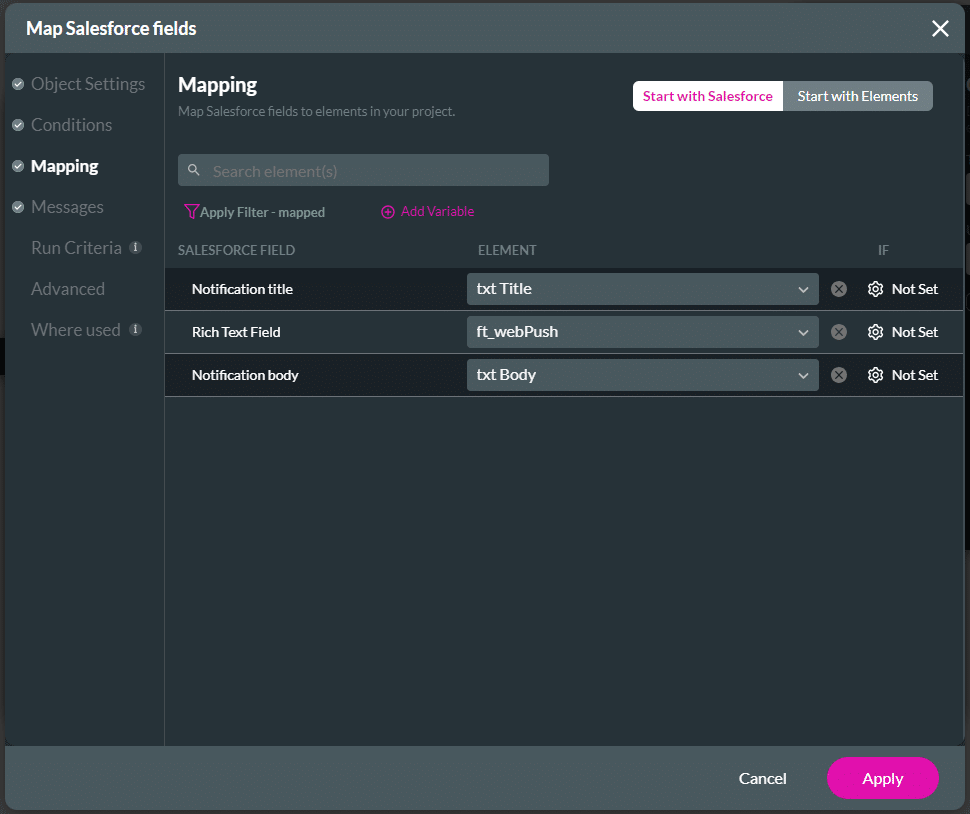
- Map the necessary fields.
- Make sure that you map ft-webPush to a text field in the Salesforce object that can hold at least 1500 characters.
- Click the Apply button.
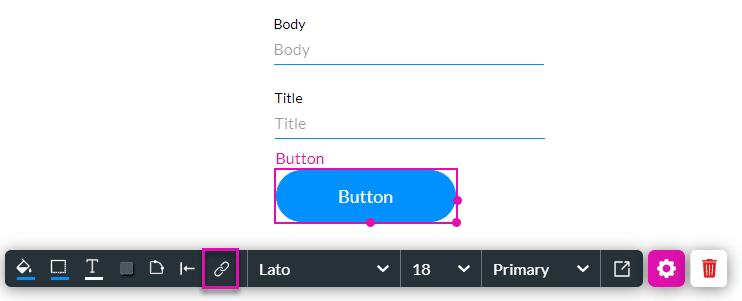
- Configure an On Click Action on an element, for instance, a button.
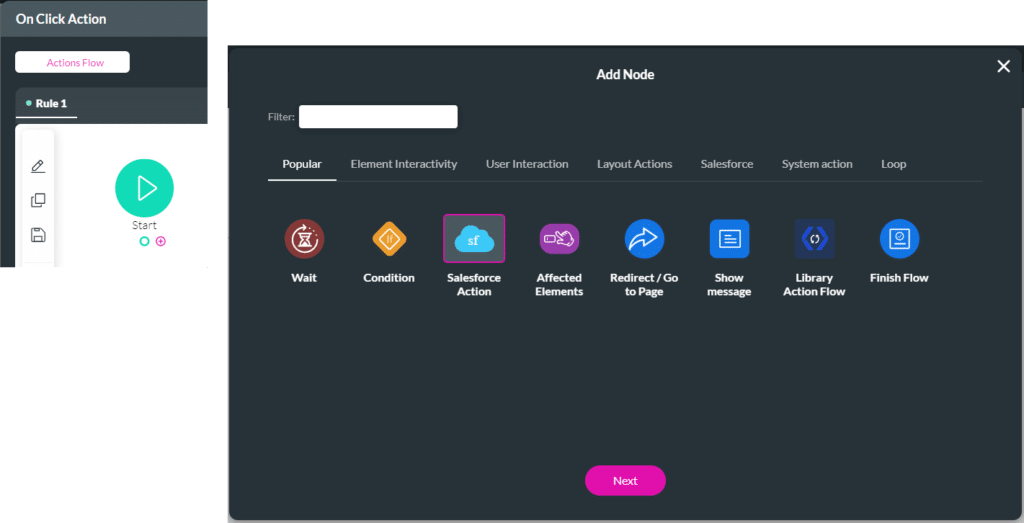
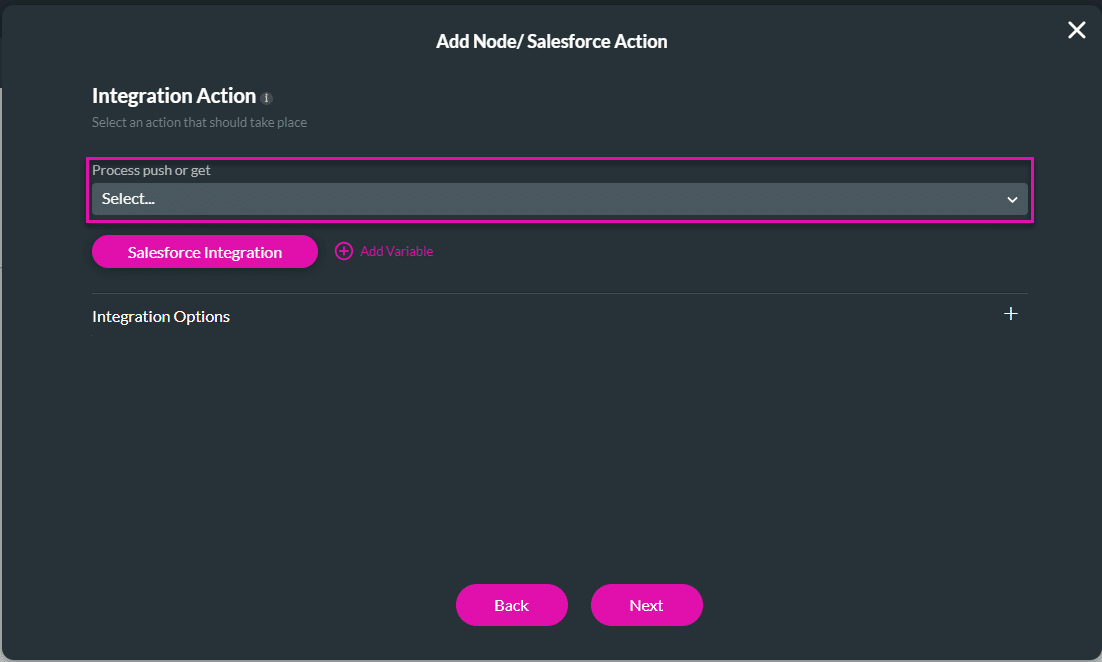
- Click the + icon next to Start and select Salesforce Action.
- Click the Next button.
- Use the drop-down list to select the process puch action and click the Next button.
- Type a tag if necessary and click the Insert button.
Create a Flow in Salesforce
In order to trigger the push notification, you need to run a Flow automation in Salesforce. Follow the steps below to see how a Flow example was set up.
- Browse to your Salesforce account and click the Setup Gear icon.
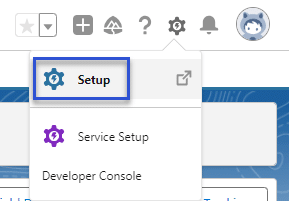
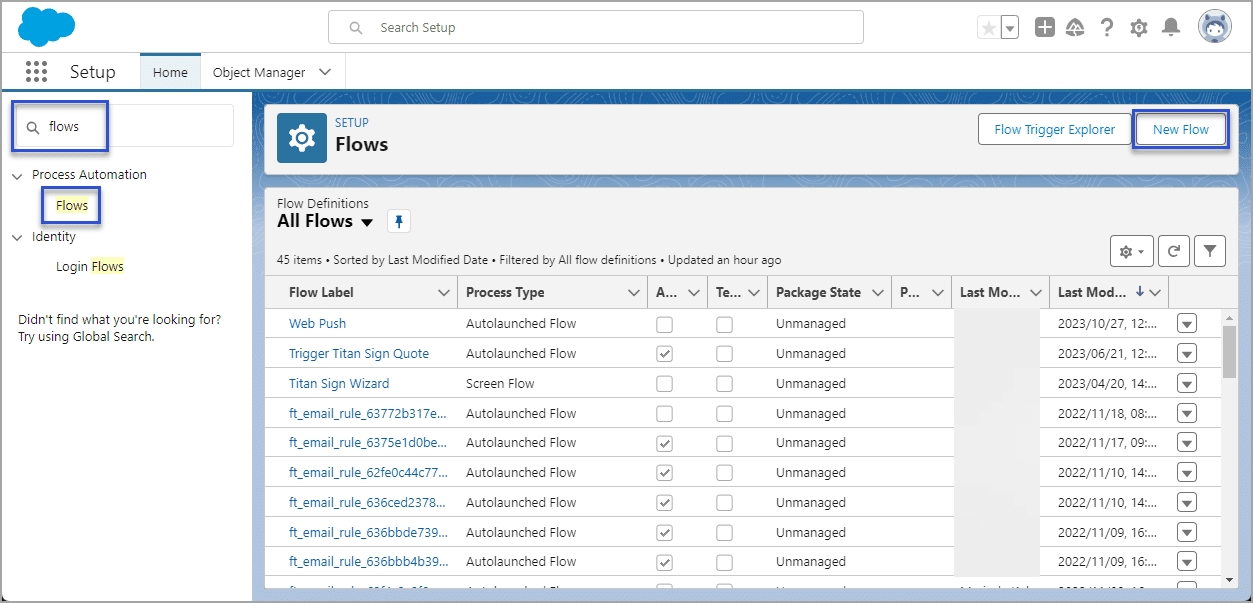
- Search for ‘flow” and click the Flows Process Automation option.
- Click the New Flow button in the top right of the screen.
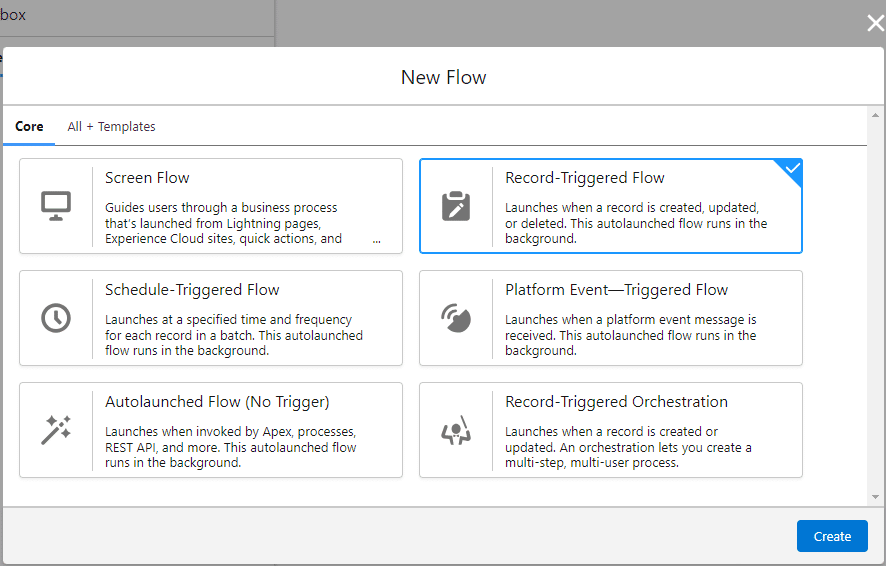
- Select an option to create a new Flow, for instance, Record-Triggered Flow.
- Click the Create button.
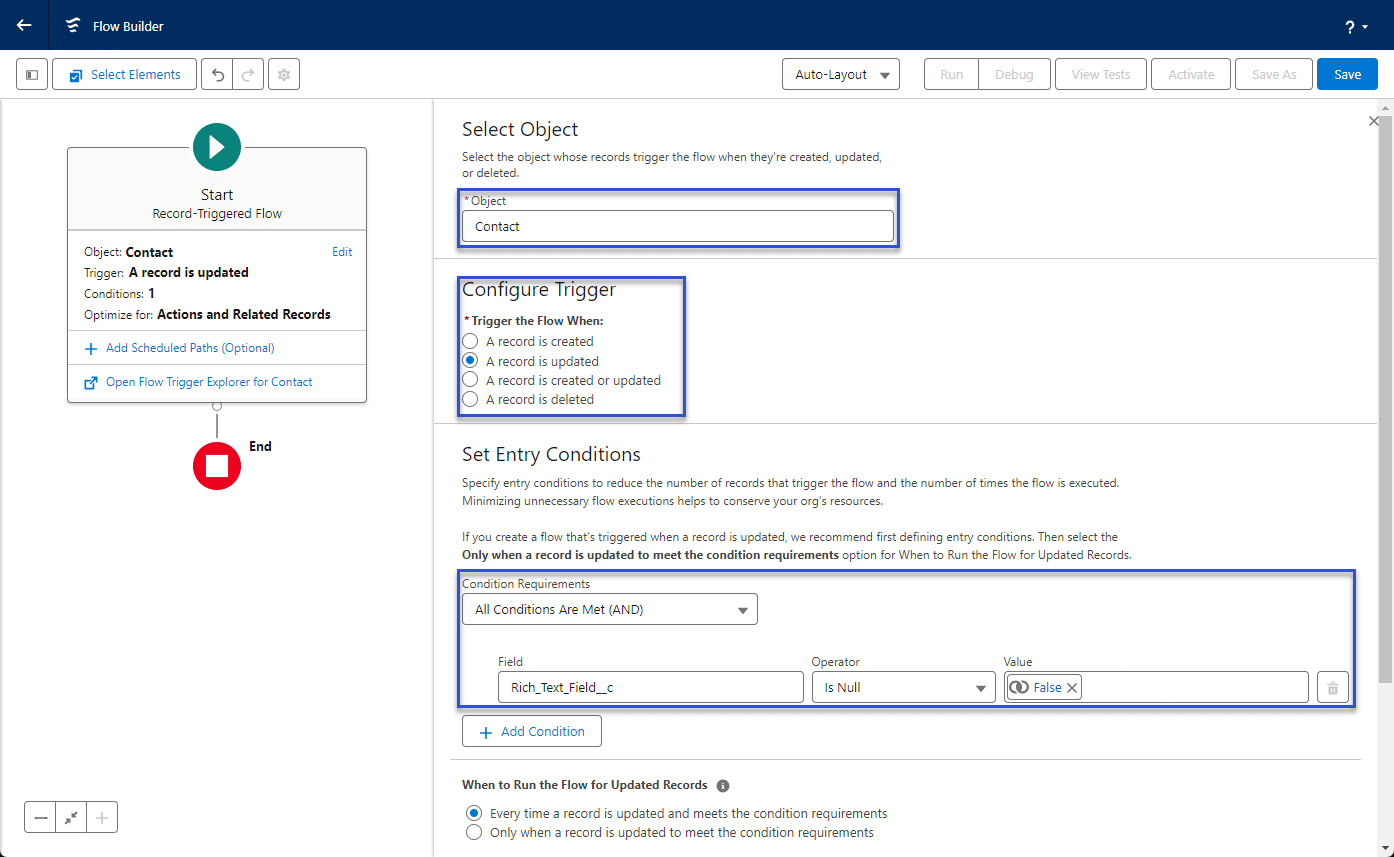
- Use the drop-down list to select an object.
- Select a radio button to configure the trigger, for instance, Trigger the Flow When a record is updated.
- Configure a condition.
- Click the + icon to add an element.
- Click the Action option.
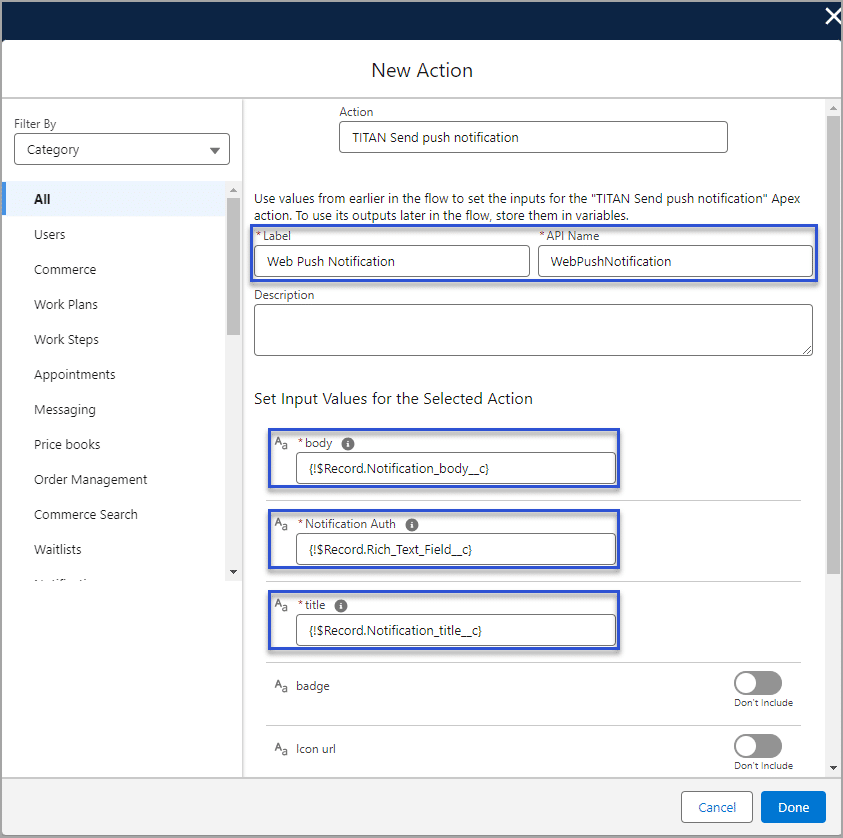
- Search for “push” and click the TITAN Send push notification option.

- Type a label. The API name is completed automatically.
- Set the input values for the selected action:
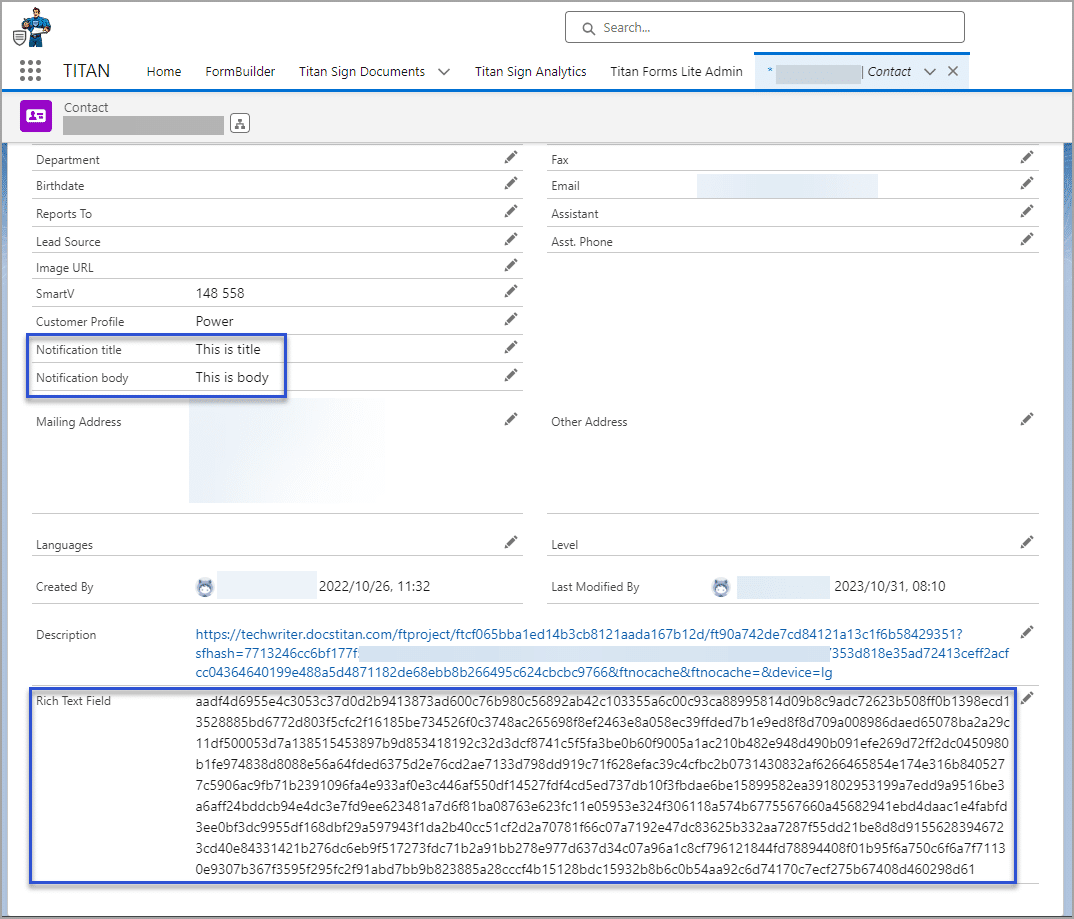
- Body: This is what will appear in the notification.
- Notification Auth: This is the custom field where the hash value will be stored.
- Title: This will appear in the notification.
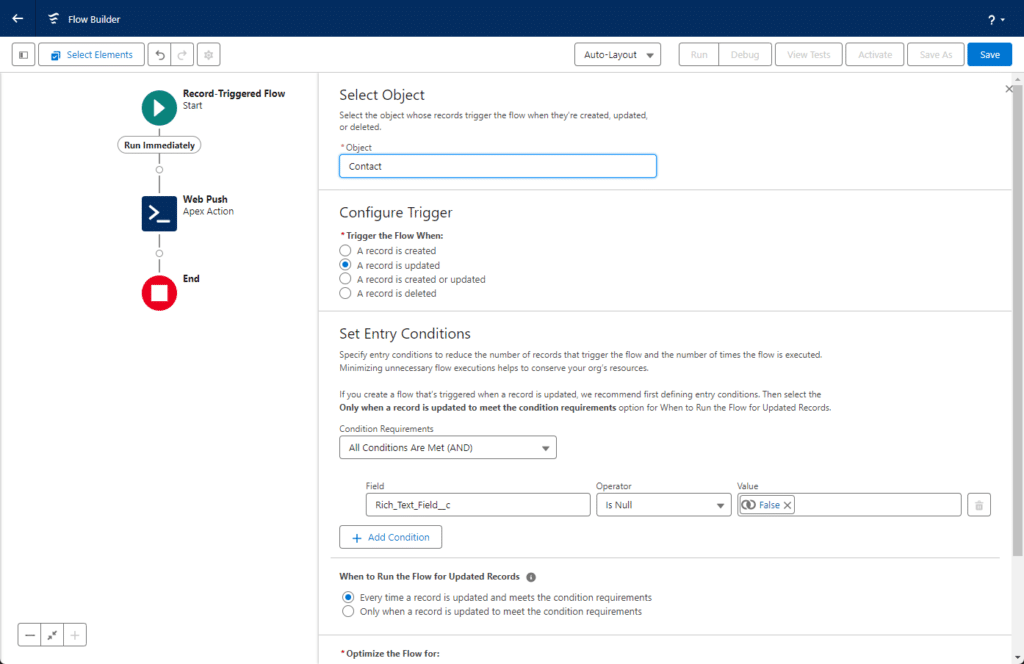
- Click the Done button.
- Click the Save button.
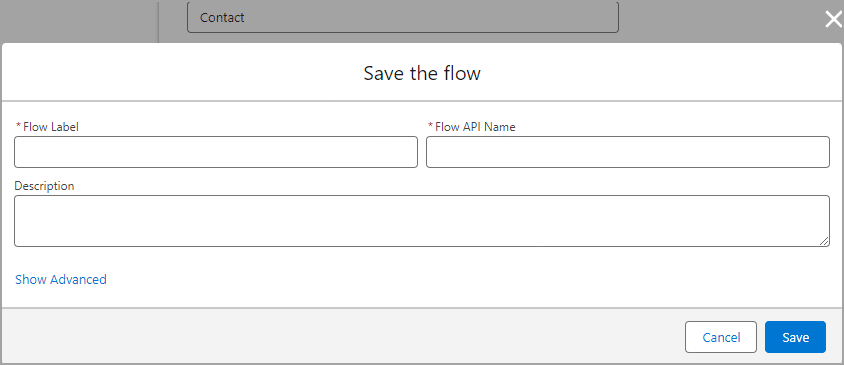
- Type a Flow label and click the Save button. The Flow API Name is added automatically.
- Click the Activate button.

- Browse to the Titan Web project.
- Save and Preview the project.
When the user makes changes, the Salesforce field is updated with the hash value, the Salesforce Flow is triggered and a web push notification is sent.
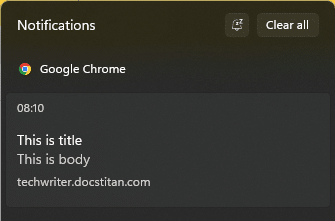
This is an example of the notification:
Also, look at how to Configure Salesforce Integration with Platform Events.