

Salesforce Action in Titan Flow
Business Background
Adding a Salesforce action in Titan Flow gives your business the edge by syncing data bidirectionally with Salesforce in real time to streamline workflows.
Titan Solution
Admins can configure Salesforce actions easily in Titan Flow with no code. Set conditions, mappings, variables, and more with a few clicks!
How to Video
Coming soon!
How to Guide
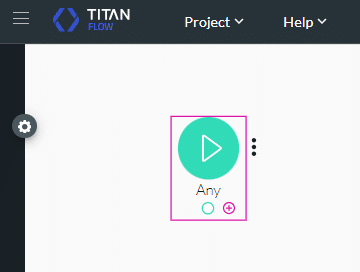
- Click the + icon next to Start. The Add Node screen opens.
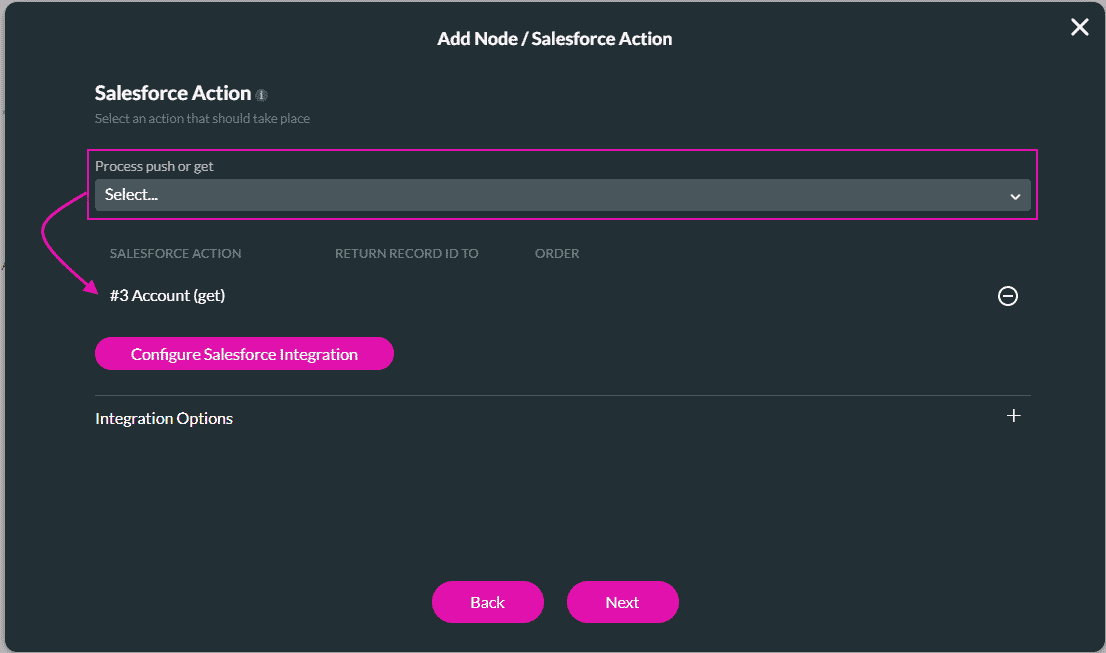
- Click the Salesforce Action option and click the Next button. The Add Node/Salesforce Action screen opens.

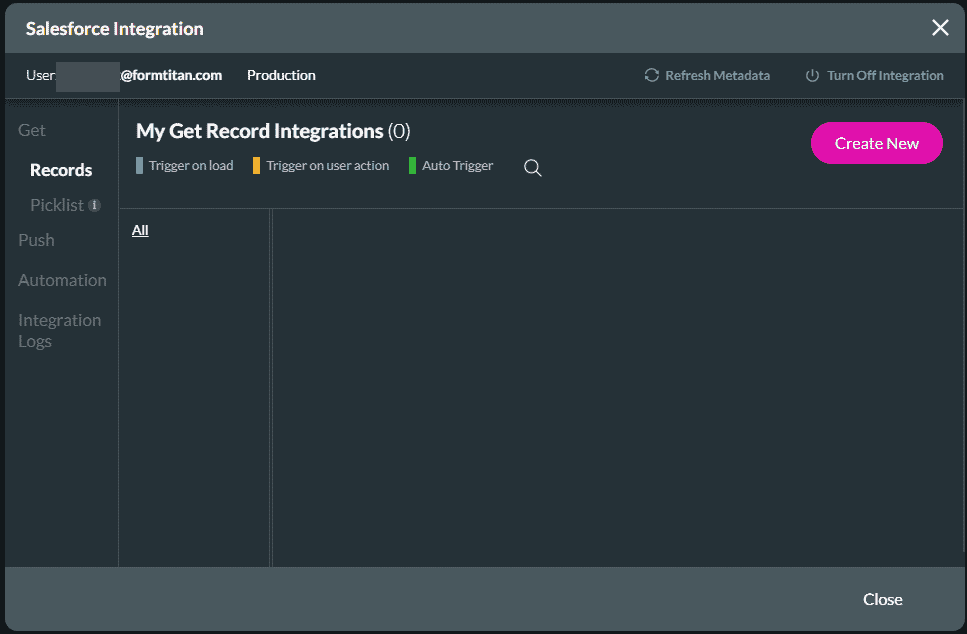
- Click the Configure Salesforce Integration button. The Salesforce Integration screen opens.

- Click the Create New button. The Map Salesforce fields screen opens.
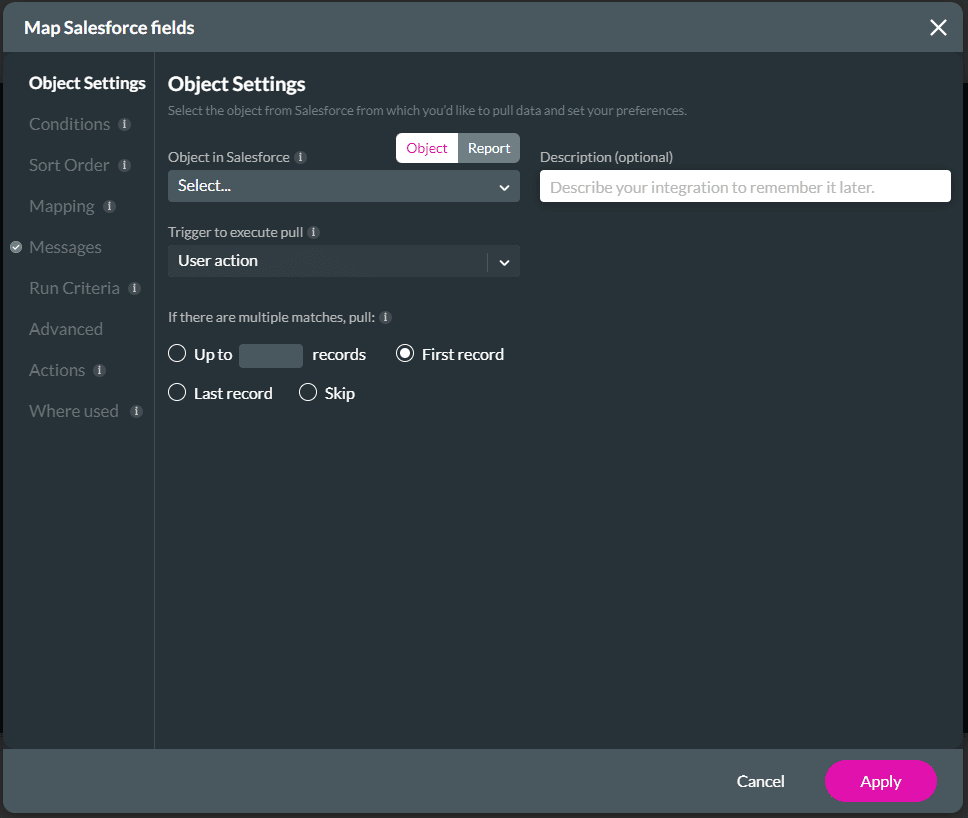
- Select the Object from Salesforce from the drop-down list.
- Select the Trigger to execute pull from the drop-down list.
- If there are multiple matches, set the pull as follows:
- Up to number of records
- First record, last record, or skip.
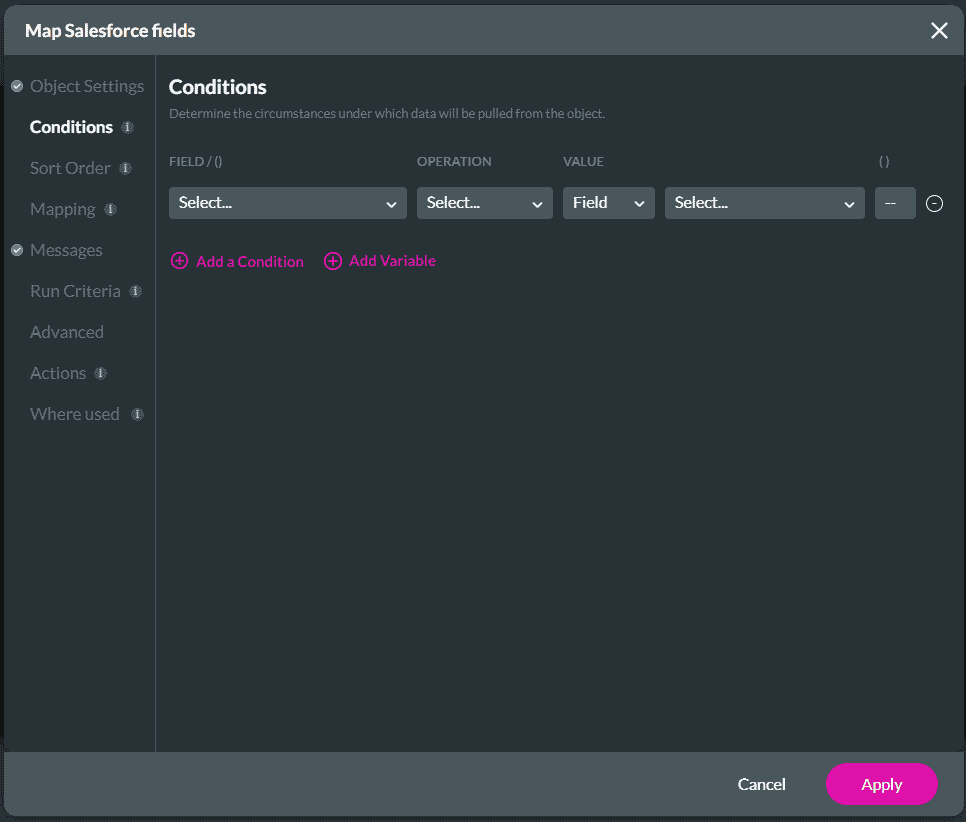
- Under Conditions, set a condition using the drop-down lists.
- If necessary, click the Add a Condition option to add a condition.
- If necessary, click the Add a Variable option to add a variable.
- Under Sort Order, set the sort order.
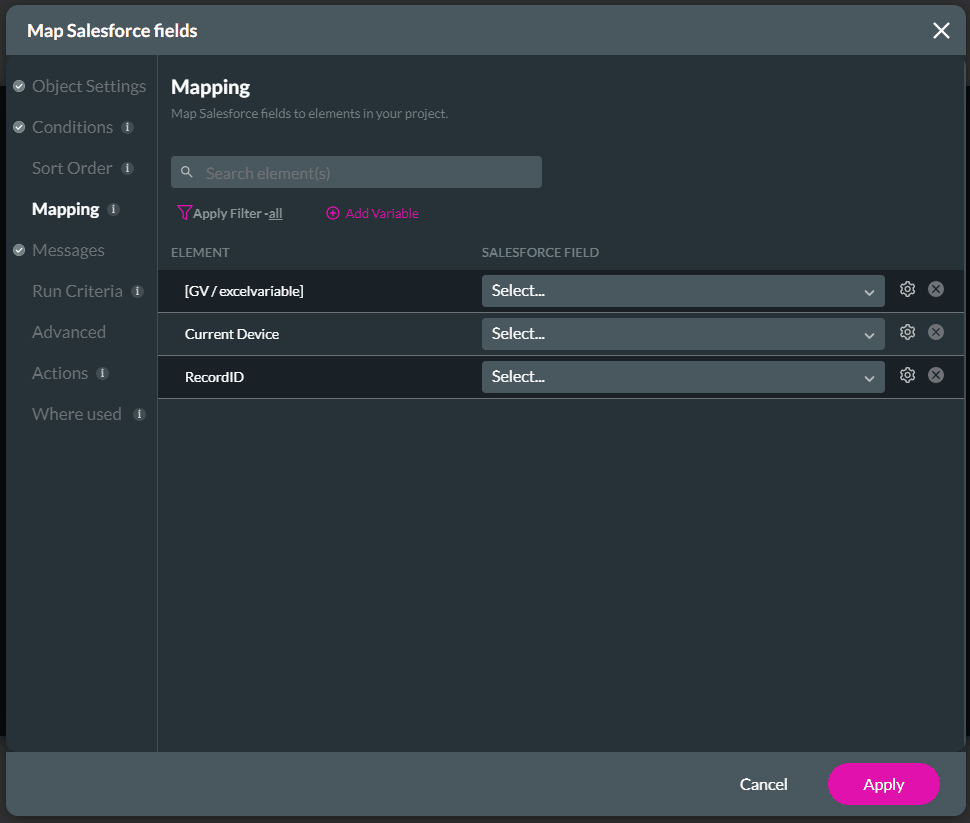
- Under Mapping, map the Salesforce fields to your elements.
- Under Messages, create the messages that will appear to inform your user about states like errors and loading.
- Under Run Criteria, create the run criteria. The pull integration will run if these conditions are true.
- Under Advanced, specify any further actions for how you would like to pull data from Salesforce.
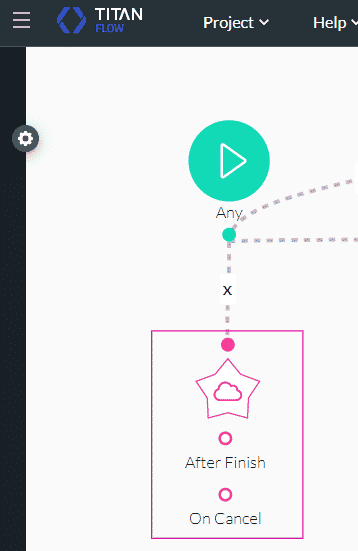
- Under Actions, add the actions that will be executed during the integration or after it is finished. You can set actions as follows:
- During integration
- After Finish
- On cancel
- Click the Apply button.
- On the Salesforce Integration screen, click the Close button.
- Select the Salesforce action you created from the drop-down list.
- Click the Next button.
- Add a tag name, if necessary, and click the Insert button.
The Salesforce action is added to the Flow canvas. You can set After Finish and On Cancel actions.
Interested in Titan and Salesforce? Read up on our Forms for Salesforce.
Hidden Title
Was this information helpful?
Let us know so we can improve!
Need more help?
Book Demo