

Interactive Images
Business Background
Interactive images allow users to interact with them in various ways beyond just viewing them. They can enhance user engagement, provide a more immersive experience, and convey information more effectively than static images. Interactive images are commonly used in websites, educational materials, digital publications, and presentations to make content more dynamic and engaging.
Titan Solution
With Titan Web, the interactive image allows users to mark positions on an image to indicate specific locations.
This can be used by medical teams to map pain points on a human body image, car leasing or rental companies to map damage to a returned vehicle, or by a safety inspector surveying a room or facility.
How to Video
Coming soon!
How to Guide
In this example, multiple marks can be added to the interactive image, and therefore the following were done:
- Add an interactive image
- Configure a repeat autofit container
- Multiple marks on the interactive image are linked to the autofit container, where a description can be added or an option selected from a drop-down list. The marks can now be represented as data in Salesforce.
- Configure interactivity
- Configure what must happen when a mark is added or removed.
Add an interactive image
- Click the + icon to open the list of elements.
- Select the Media option and drag-and-drop the interactive image to the canvas.
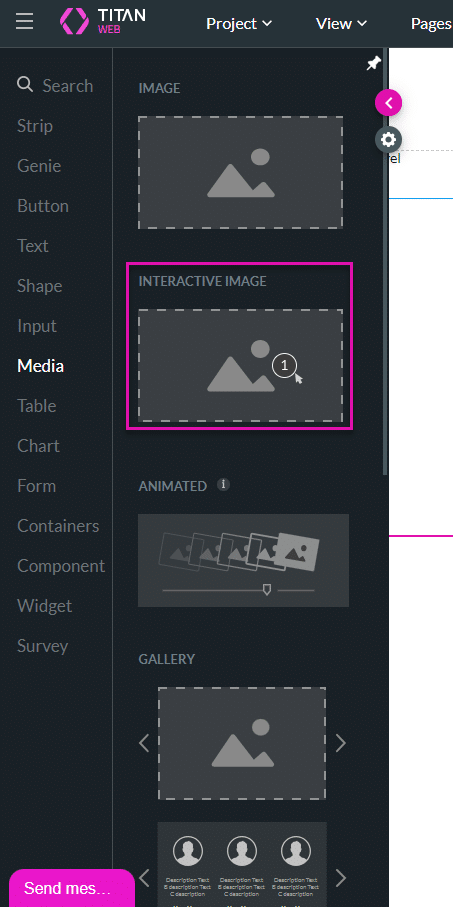
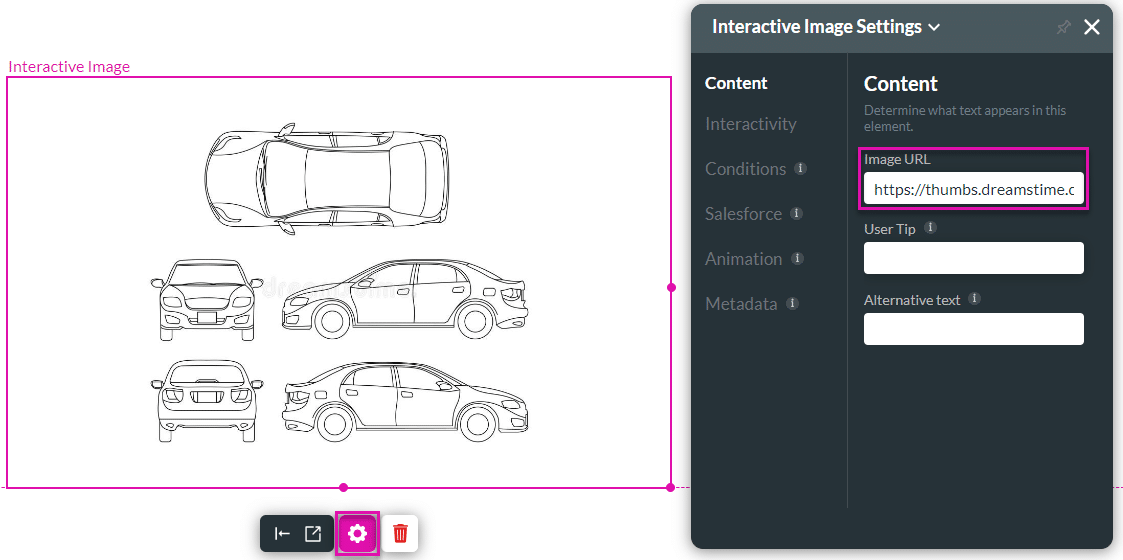
- Click the Gear icon to open the Settings screen.
- Paste the public image URL in the image URL field.
- Add a user tip and alternative text, if necessary.
Configure a repeat autofit container
- Click the + icon to open the element list.
- Click the Containers option and drag-and-drop a repeat autofit container to the canvas.
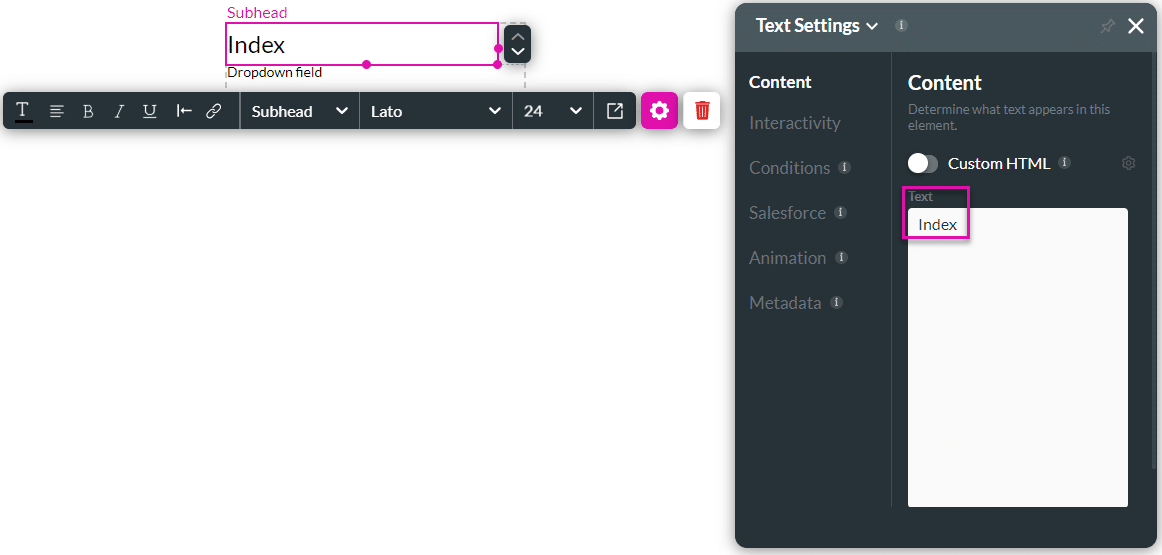
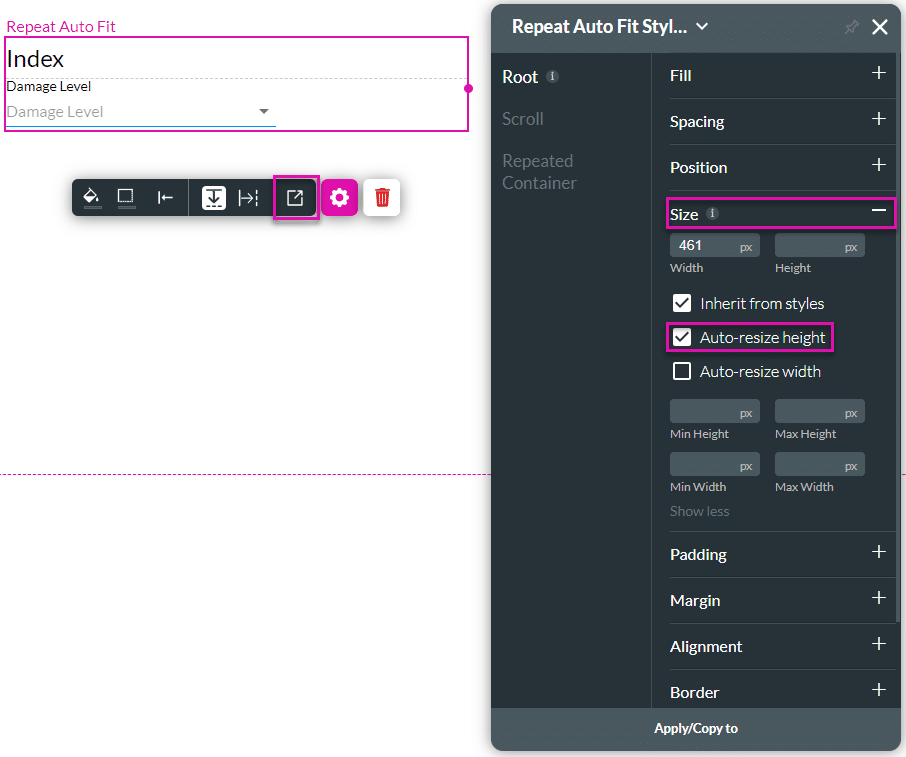
- Add the elements to the autofit container. In this example, the following were added:
- A text element, for instance, a subhead.
- A drop-down input element.
- Change the text for the subhead, for example, “Index”.
- Change the drop-down list’s label and/or placeholder. In this example, it is “Damage Level”.
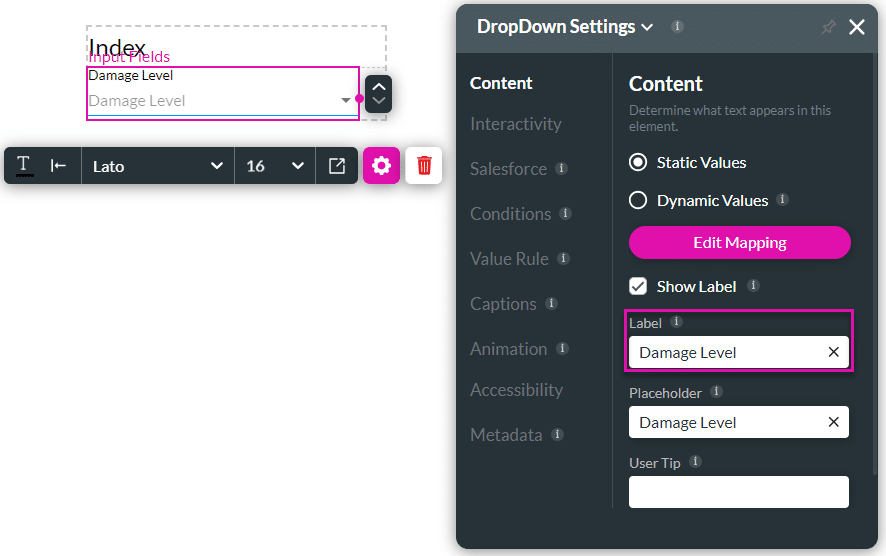
- Configure static or dynamic values for the drop-down list. In this example, static values are added.
- Click the repeat autofit container’s Gear icon and click the Custom variables Gear icon. The Custom Variables screen opens.
- Click the String option.
- Click the Add a String Variable option. A line is added.
- Add a name in the field and click the Configure button.
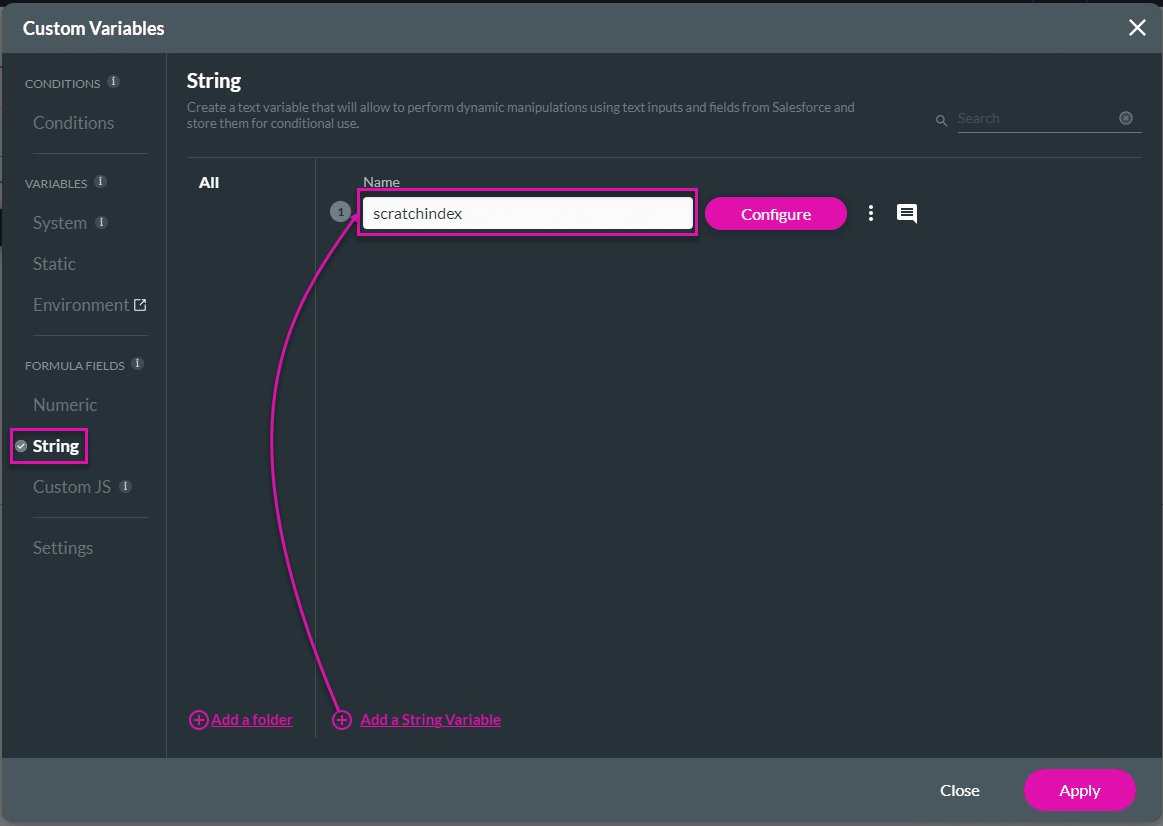
- Type the required text (such as “Damage #”) and use the drop-down list to select a field.
- Use the drop-down list to map to the repeat autofit container and click the Apply button.

- Click the Apply button on the Custom Variables screen.
- Click the Style icon for the repeat autofit container.
- Click the Size option and click the Auto-resize height checkbox. This will ensure that the autofit container changes height as more fields are added.
Configure interactivity
- Click the interactive image element’s Gear icon to open the Settings screen.
- Select Interactivity and do the following as necessary:
- Hide Onload
- Allow Delete: the user will be allowed to delete marks on the image.
- Allow Move: the user will be allowed to move marks on the image.
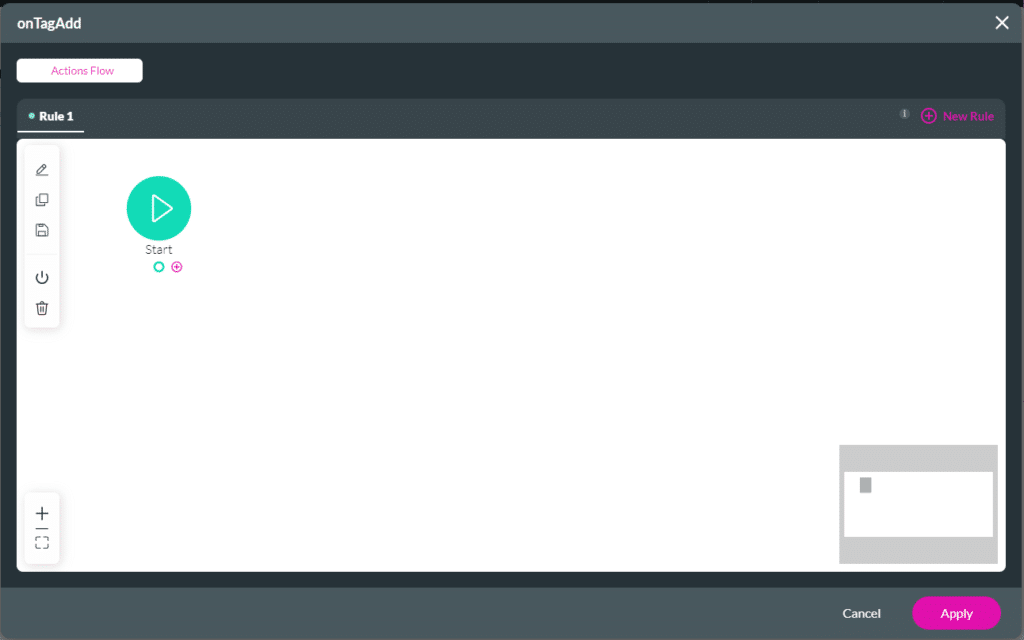
- Click the Add Mark Action button to configure an action that will run when a mark is added to the interactive image. The OnTagAdd screen opens.

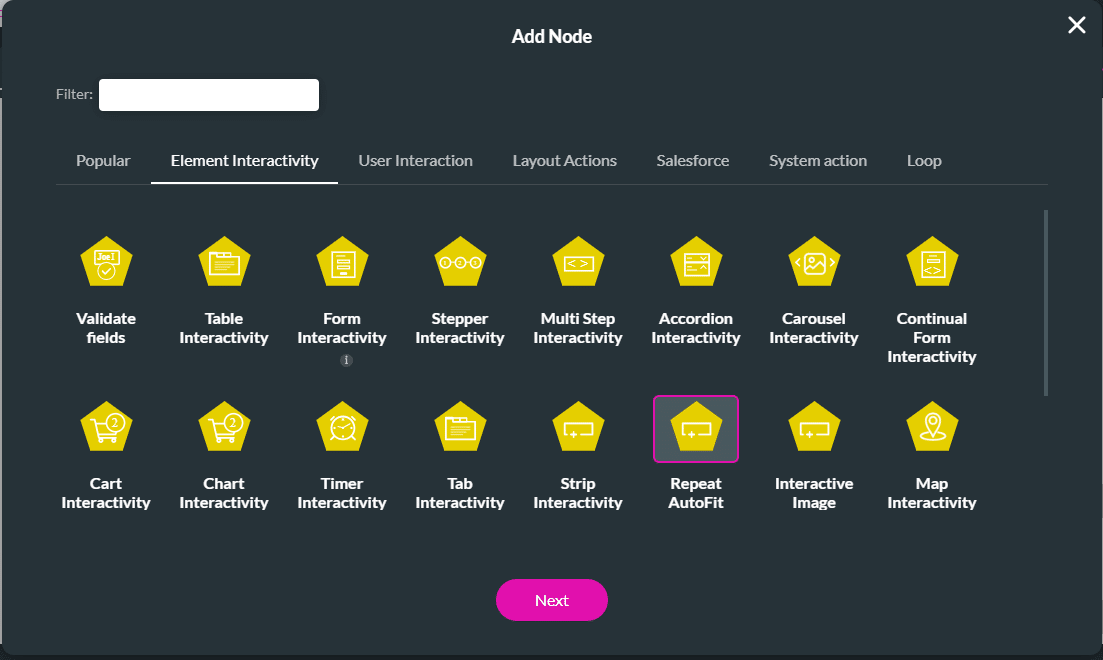
- Hover with the mouse pointer over the Start node and click the + icon. The Add Node screen opens.
- Under Element Interactivity, select the Repeat AutoFit option and click the Next button. The Add Node/Repeat AutoFit Interactivity screen opens.
- Select the repeat autofit container from the drop-down list.
- Select the Insert radio button and click the Next button.
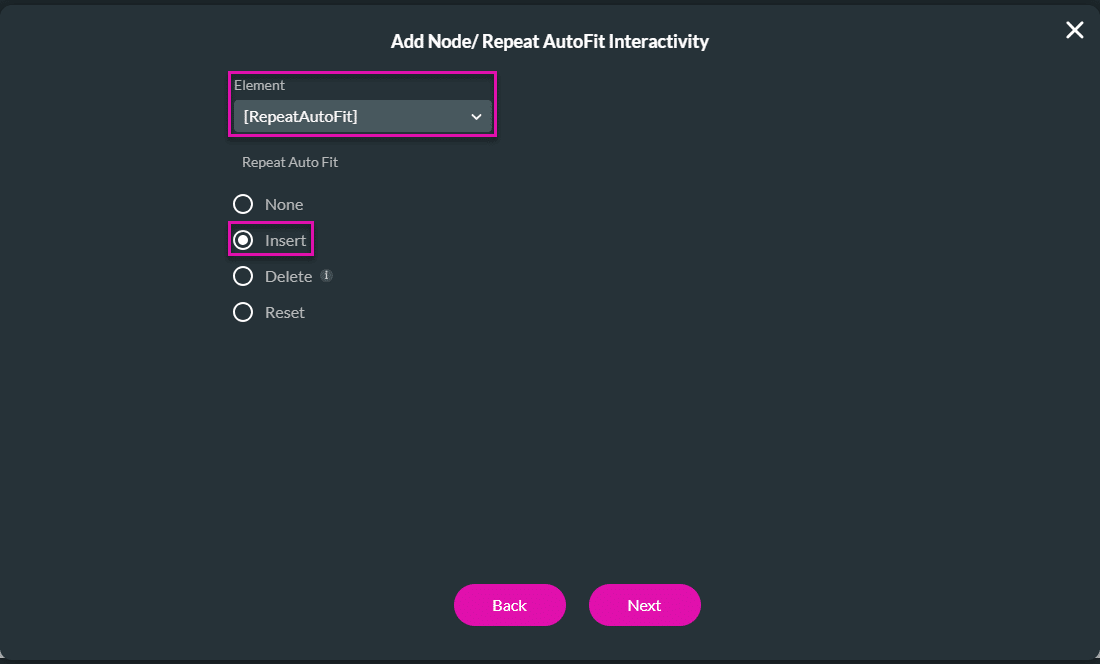
- Edit the tag if necessary and click the Insert button. The node is added to the screen.
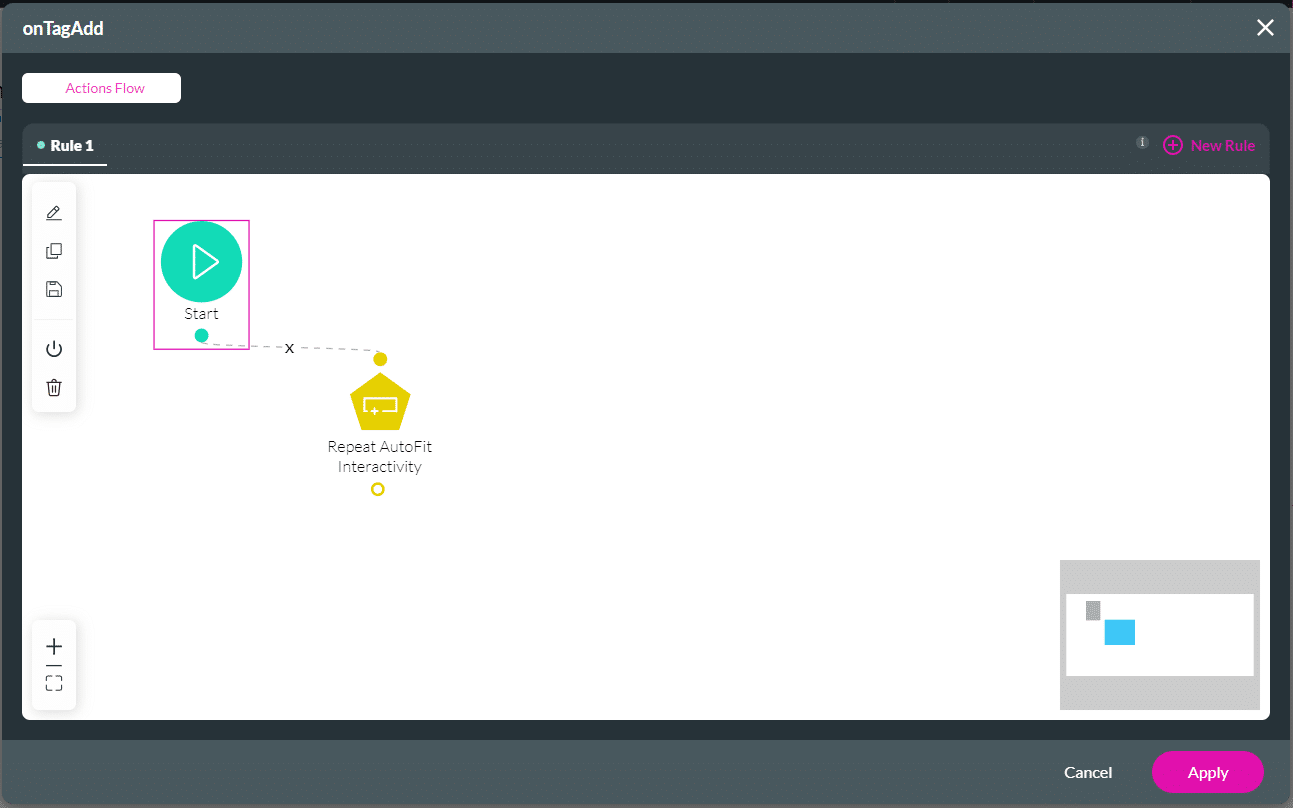
- Click the Apply button.
- Click the Remove Mark Action button to configure an action that will run when a mark is removed from the interactive image.
- Hover with the mouse pointer over the Start node and click the + icon. The Add Node screen opens.
- Under Element Interactivity, select the Repeat AutoFit option and click the Next button. The Add Node/Repeat AutoFit Interactivity screen opens.
- Select the repeat autofit container from the drop-down list.
- Select the Delete radio button.
- Use the Delete index drop-down list to select the Current Index option.
- Click the Next button.

- Edit the tag if necessary and click the Insert button. The node is added to the screen.
- Click the Apply button.
- Save and Preview the project.
When the user clicks on the interactive image, a mark is added, and the repeat autofit container opens. The user can select the damage level from the drop-down list. When they click on another place on the interactive image, this process is repeated.