

Edit Mapping
Business Background
Change the mapping of the power table after you have added it to the Web project.
How to Video
Video Coming Soon!
How to Guide
The Edit Mapping option is available for power table elements.
- Click the expand (+) icon next to the settings icon in Titan Web. A list of elements will show.
- Select the Table option from the list.
- Drag and drop the Power Table element to the canvas.
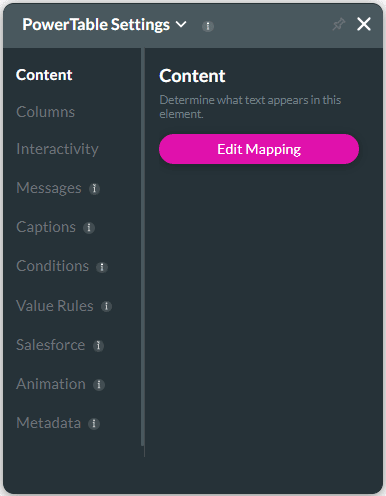
- Click the Power Table settings Gear icon. The setting screen opens. The Content option is the default window.
- Click the Edit Mapping button.
Note:
This is the same screen as the Mapping screen when you added the power table to the canvas. It shows the column/s that you added to the power table. It lets you change the mapping that you configured initially.
The Salesforce Configuration screen opens on the Mapping step.

- Use the drop-down list to change the initial column, or select the Add a Column option to add more columns.

- Make the changes as necessary. You can drag and drop the columns to change the order.
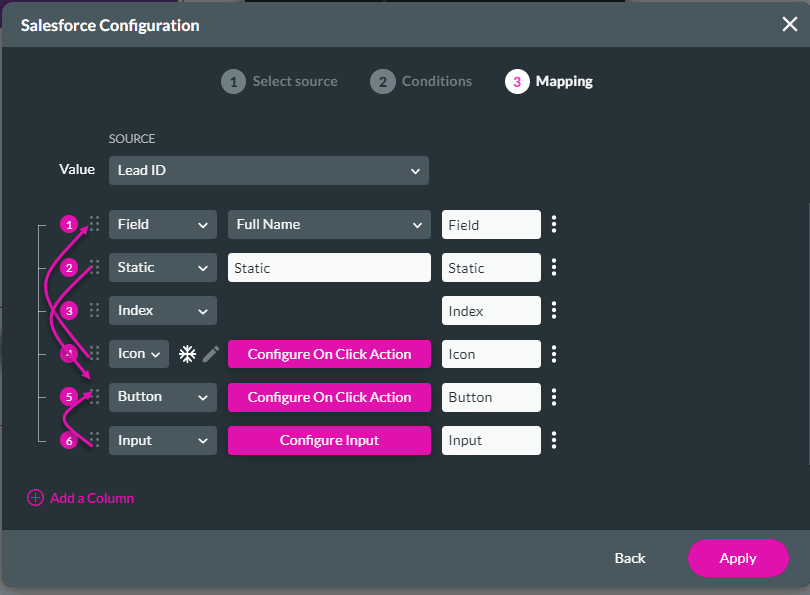
- Select Apply.
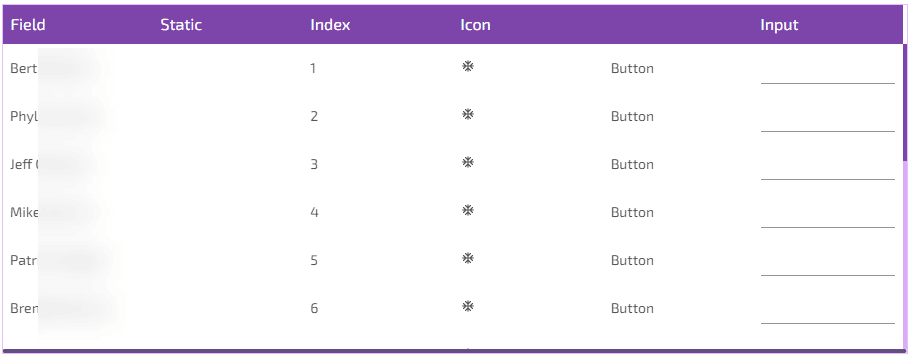
- Save and Preview the project.
The power table has the columns as you configured them.
Hidden Title
Was this information helpful?
Let us know so we can improve!
Need more help?
Book Demo