

Input Type Column in Power Tables
Business Background
Add an input type column to the power table to allow end users to enter static text. Then, you can add a button element to push the input element’s contents to Salesforce.
How to Guide
Note:
Prerequisite:
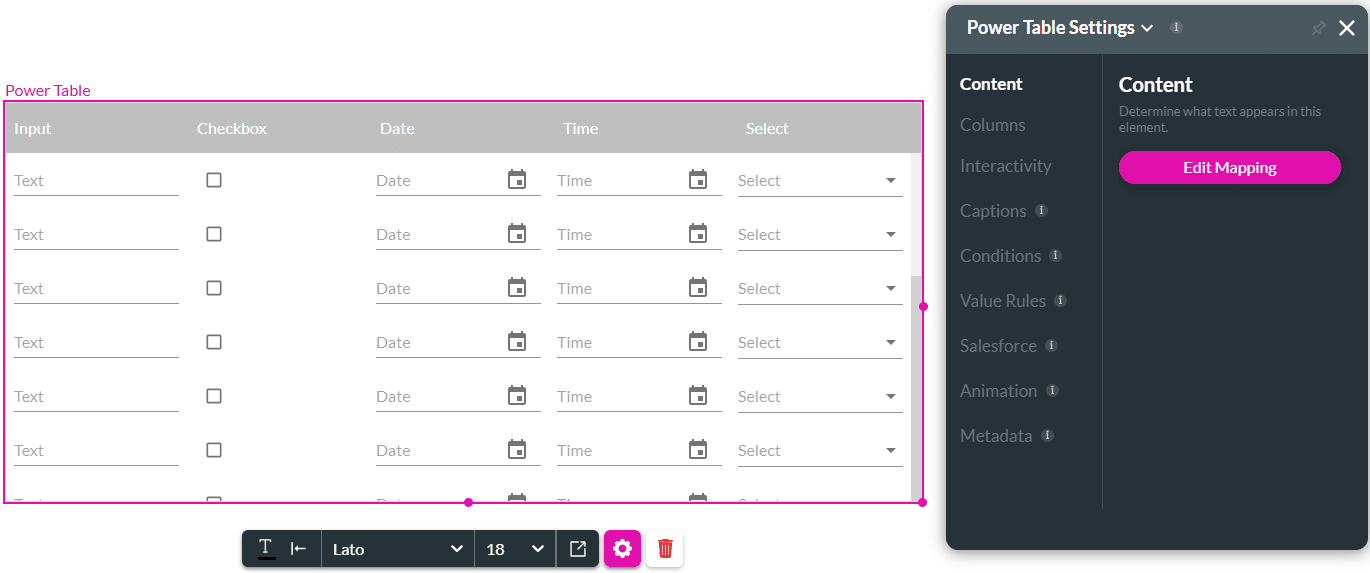
Add a power table to the Web project.
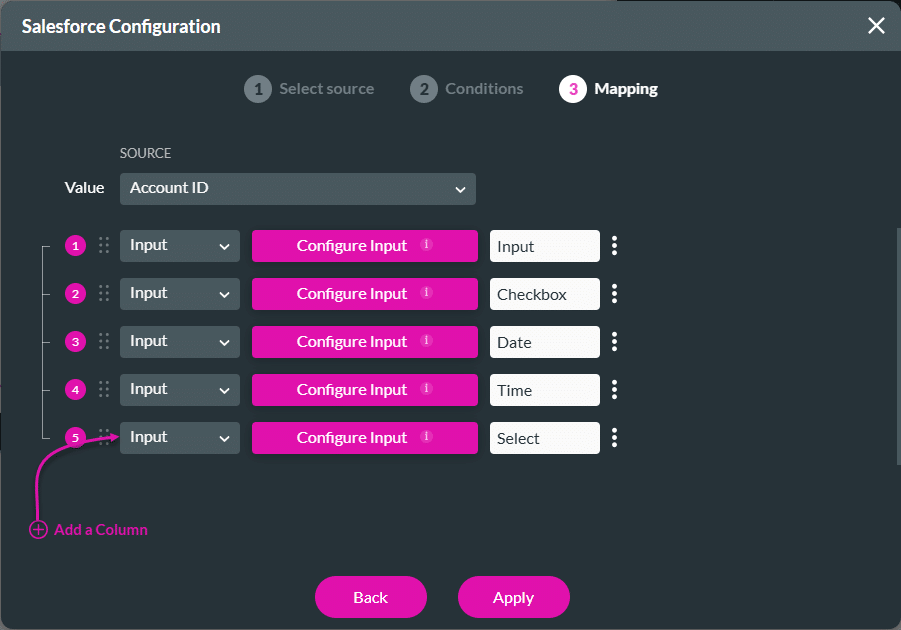
- On the Mapping screen, add a column.
- Select the drop-down list and select the Input option.
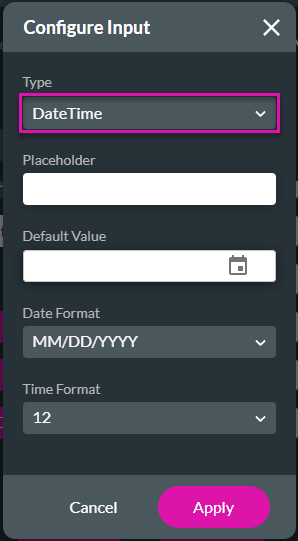
- Click the Configure Input button. The Configure Input screen opens.
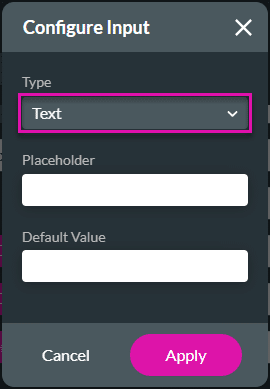
- Use the drop-down list and select one of the following:
- Use the drop-down list and select one of the following: Text, Text Area, or Currency.
- Add the Placeholder and Default Value.
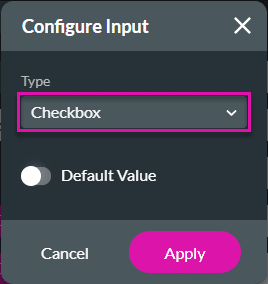
- Alternatively, use the drop-down list and select Checkbox.
- Use the toggle switch to set the Default Value.
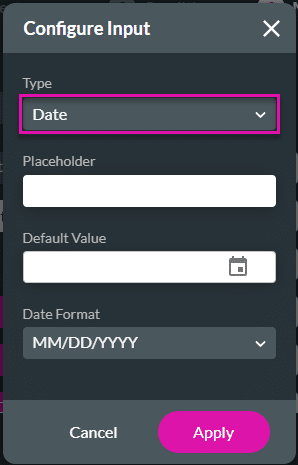
- Alternatively, use the drop-down list and select Date.
- Add the Placeholder and Default Value.
- Use the drop-down list and select the Date Format.
- Alternatively, use the drop-down list and select Time.
- Add the Placeholder and Default Value.
- Use the drop-down list and select the Time Format.

- Alternatively, use the drop-down list and select DateTime.
- Add the Placeholder and Default Value.
- Use the drop-down list and select the Date Format.
- Use the drop-down list and select the Time Format.
- Alternatively, use the drop-down list and select Select or Multi Select.
- Add the Placeholder.
- Use the drop-down list and select an option from the List Mapping.

- Click the Apply button.
- Type a column name if necessary. The input type is added to the column where you configured it.

- Save and Preview the project.
Note:
When a user changes information in the power table and there is a Salesforce Push, only the lines where the input was changed will be created or updated in Salesforce.
Hidden Title
Was this information helpful?
Let us know so we can improve!
Need more help?
Book Demo