

Salesforce Document Generation with Sign Sections
Business Background
You may need a Salesforce document generated to send it to an unknown number of signers, for instance, all the contacts linked to an account.
Titan Solution
The Titan Word add-in has a feature where you can add a signer section, configure as many input fields and signatures as you need, and send the document to an unknown number of signers.
This simple setup saves time and effort, and Titan will ensure that all the signers with email addresses receive the document to sign.
- Trigger the signing process in Salesforce.
How to Video
Coming soon.
How to Guide
Prerequisites:
- Create the document in MS Word using the Titan Word add-in.
- Configure the document in Titan Sign.
- Make sure that the FT Document Generate button has been added to your Salesforce object, for instance, Accounts. Refer to Customize Detail Page Buttons in Salesforce.
- Sign in to Salesforce.
- Browse to the object that you used to configure in the Titan Sign builder, for instance, Accounts and select the account from which you want to generate the document.
- Select the FT Generate Document button.
- The Titan Document Generation for Salesforce screen opens.

- Click on the Sign icon. There is a message “Processing your request, please wait…” that changes to “Good Job! Your request was submitted successfully.”

The first signer on the object will receive an email like this:
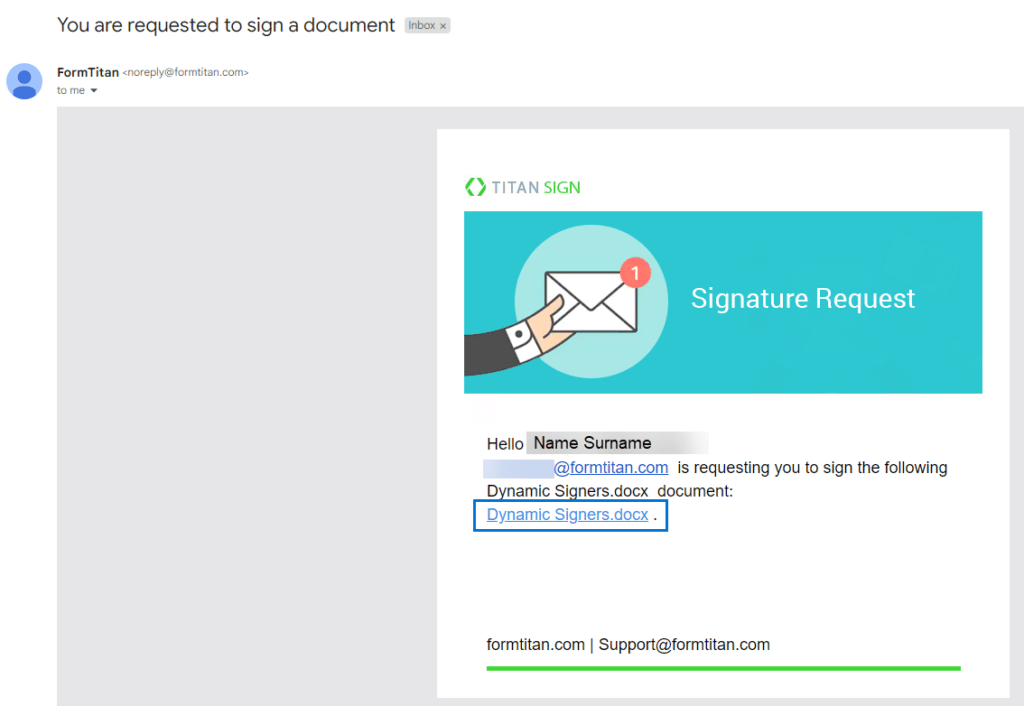
The first signer must click on the link in the email to open the document.
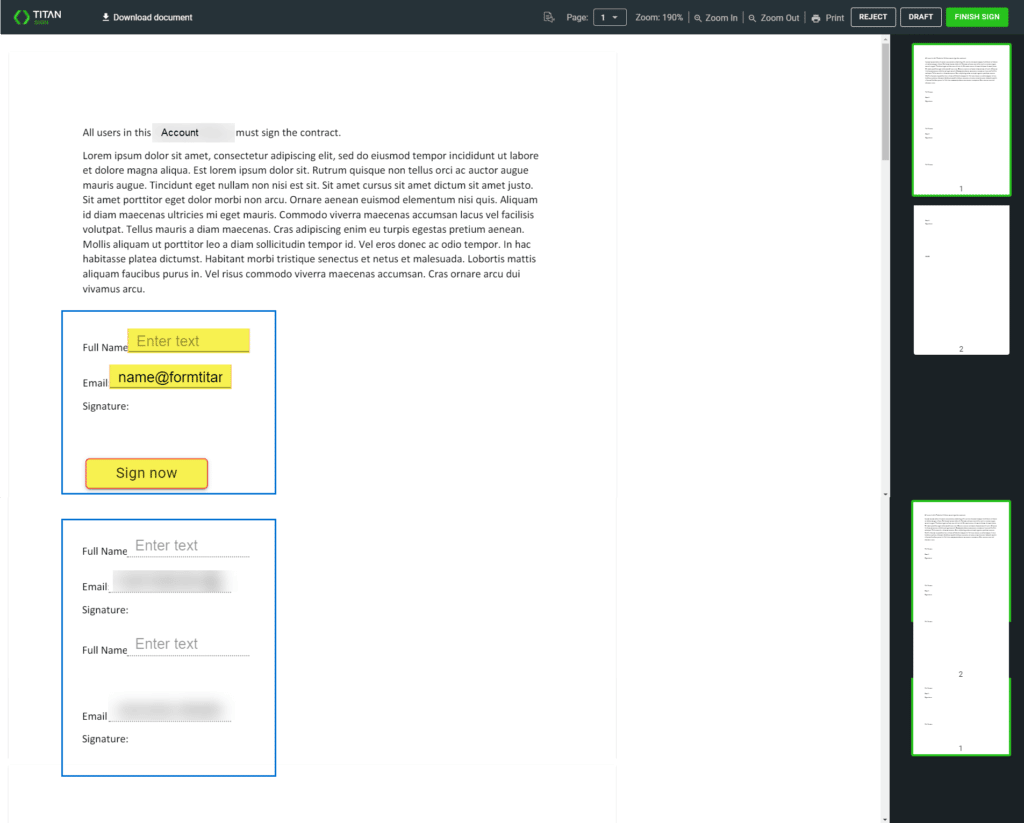
This signer must complete the interactive fields and sign the document. They will also see the fields that the subsequent signers have to complete. These fields are not editable for this signer. If multiple sign sections were added, the signer will see these sections as well.
The first signer must click on the Finish Sign button (top right of the screen). A message “Thank you for signing the document” will be shown.
You can do the following with a document.

Toolbar option top right of screen
- Zoom in and out
- Reject the document
- Save the document as a draft
- The word “Draft” will be added as a watermark to the document.
- The owner will receive an email that the document was saved as a draft.
- Finish the signing process
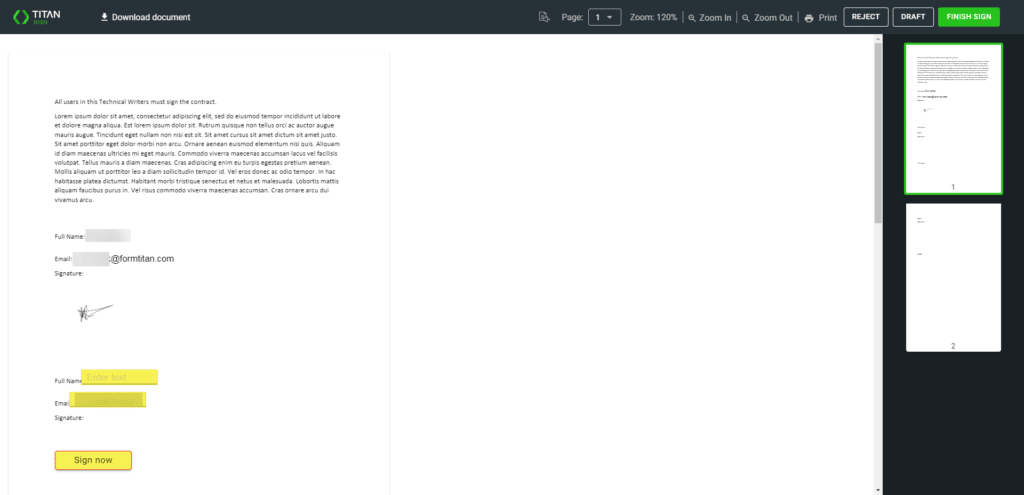
The second signer in the account will receive the email to sign the document. When the second signer opens the document via the link in the email, they will see the first signer’s details and signature (these are read-only), and the interactive fields they must complete.
This signer must complete the interactive fields and sign the document.
The second signer must click on the Finish Sign button (top right of the screen). A message “Thank you for signing the document” will be shown.
This process is followed until all the signer linked to the account have completed the interactive fields and signed the document.
- After each signer has signed the document, the signer receives an email with the subject line: “Thank you for signing the XXXX.docx – YYYY-MM-DD” unless the text was changed using the Titan Sign project builder.
- After each signer has signed the document, the owner receives an email with the subject line: “Your document XXXX.docx – YYYY-MM-DD has been signed” unless the text was changed using the Titan Sign builder. The status of the process is also shown as: “Status: Incomplete.” The owner can view or download the signed document.
- When all the signers have signed the document, the owner receives an email with the subject line: “Your document XXXX.docx – YYYY-MM-DD has been signed” unless the text was changed using the Titan Sign builder. The status of the process is shown as “Status: Complete.” The owner can view or download the signed document.
- When all the signers have signed the document, each signer receives an email with the subject line: “The document signing process for XXXX.docx – YYYY-MM-DD was completed” unless the text was changed using the Titan Sign builder.
- A copy of the signed document is attached.
If you are interested, check out our Salesforce document generation article for a comparison of the 10 best tools in the market.