

Dynamic Signers in MS Word
Business Background
You can add dynamic signers to your MS Word templates in a sign section. You can dynamically assign signers to form fields rather than statically defining them in advance. This ensures greater flexibility in managing form workflows, as signers can be added, removed, or replaced on-the-fly as needed. This will enable you to send the document to an unknown number of signers.
Titan Solution
Dynamic signers can be assigned based on a variety of criteria, such as user roles, form field values, or other custom conditions. This allows for complex approval workflows to be easily managed and tracked within the Titan Docs platform. In addition, there is a complete audit trail of all document activities, including who has viewed, edited, or signed the document, as well as any comments or annotations made by users.
The Titan Word add-in has a feature where you can add a signer section to a section, configure as many input fields and signatures as you need, and send the document to an unknown number of signers.
There are two scenarios where you can use dynamic signers.
- You may need to send a document to an unknown number of dynamic signers, for instance, specific contacts linked to an account. That means there will be a signer or multiple signers in each section. These signers are the same in all the sign sections.
- Or you may want to send a document to different dynamic signers. These can be the contacts liked to different accounts. That means there will be a signer or multiple signers in each of the sections, but these signers are different in all the sign sections.
This simple setup saves time and effort, and Titan will ensure that all the signers with email addresses receive the document to sign.
Titan gives you the functionality to sort the signers. You can also add conditions that will let you send the document to a specific subset of signers that meet the specified criteria.
How to Guide
You can add these to the footers in a Word document as well.
Add a section
You must add a section to the template. Everything in the section will repeat the number of times that there are results in Salesforce or per your condition.
Prerequisite:
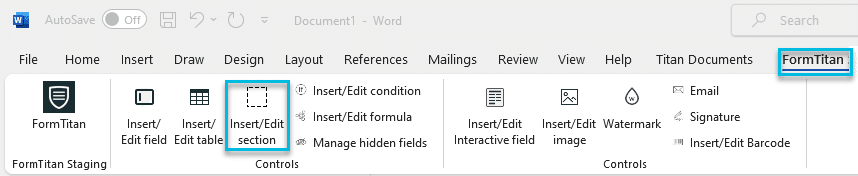
- Make sure you are signed into the Form Titan add-in for Word.
- Prepare a document, for instance, a contract.
- Click the Insert/Edit section option. The Insert Section screen opens.
- Use the drop-down list to select the object, for instance, Account.
- Add a comment in the field. This is mandatory.
- Click the Insert button.

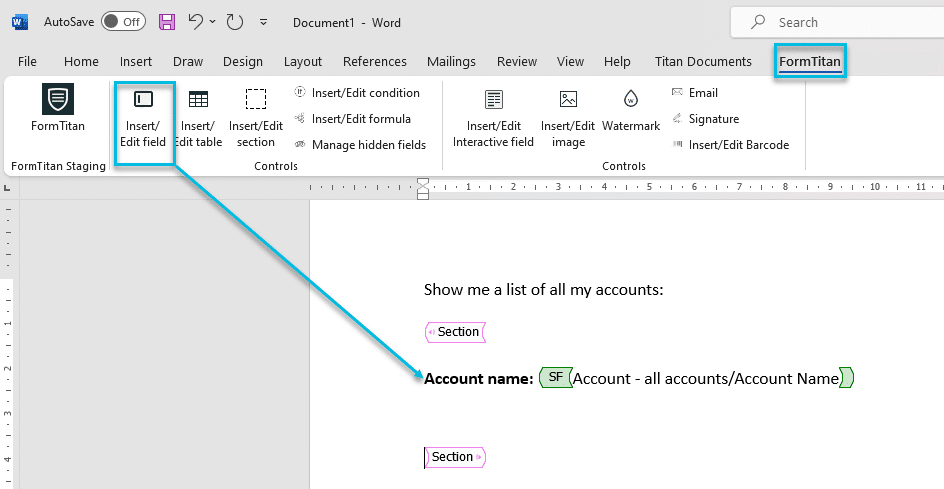
- Click the Insert/Edit field option. The object and comment that you configured in the previous step are shown automatically.
- Use the drop-down list to select the field.
- Click the Insert button.
- Click the Insert/Edit section option. The Insert Section screen opens.

Dynamic Signers
In this example, the document is sent to an unknown number of contacts linked to an account in Salesforce.
- Click the Dynamic Signers Section checkbox. The screen changes.
- Select the object from where the dynamic signer must be configured.
- Add a comment and click the Save button.

A SignSection is added to the document. You have to add at least one signature field to a sign section.
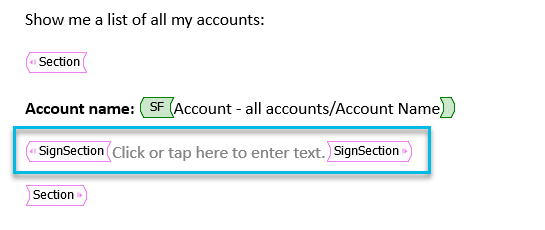
The interactive and/or signature fields in the Sign Section will be repeated for each contact linked to the account when the document is configured in Titan Sign, and each contact will have to complete the fields and sign the document.

When you add an empty interactive field, the signer must complete the field. The field is editable.
When you add an interactive field linked to a Salesforce field, the field is automatically populated with data. The field is editable.
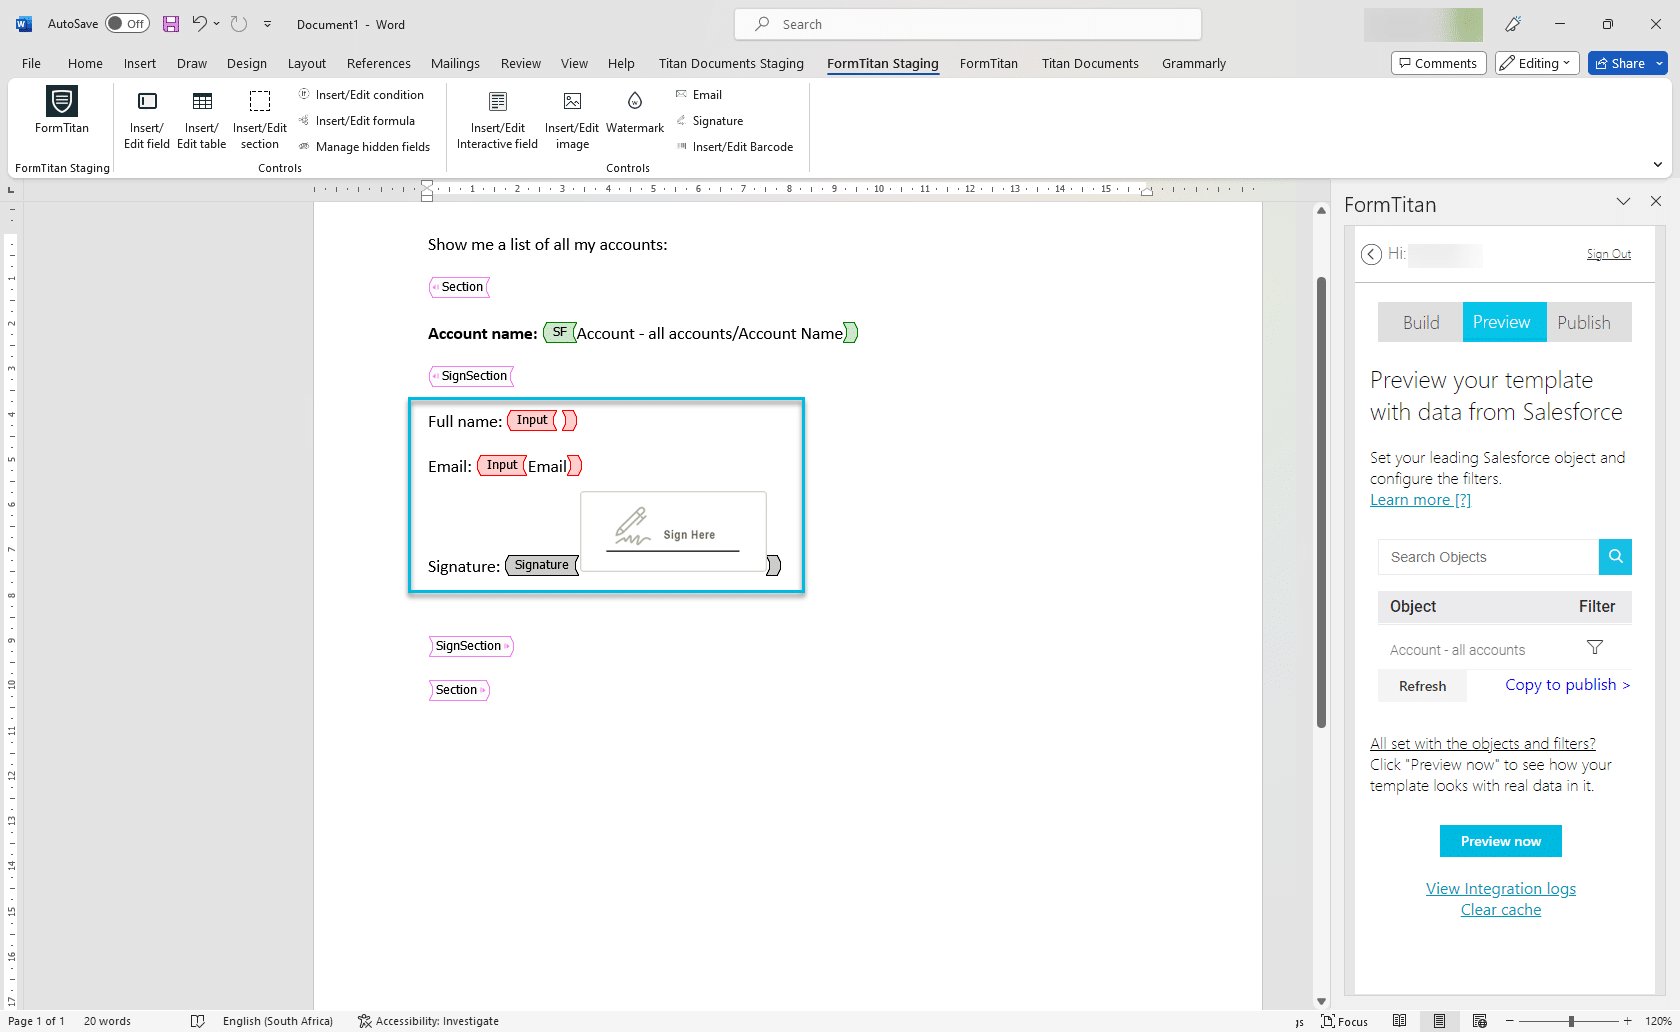
- Add input fields to the document. In this example, the following fields are added:
- Full Name (interactive input field – empty field)
- Email (interactive input field – select field)
- Signature

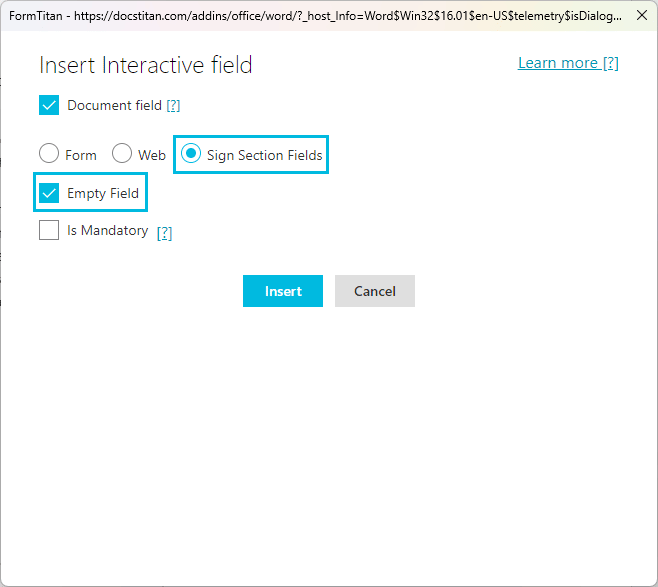
- Add an empty interactive field next to Full Name:
- Select the Insert/Edit Interactive field option on the toolbar. The Insert Interactive field screen opens.
- Select the Sign Sections Fields radio button.
- Select the Empty Field checkbox.
- Select the Is Mandatory checkbox to mark the field as mandatory and click on the Insert button.
- Add an interactive field next to Email that will get the email address from Salesforce (the user will be able to edit this field):
- Select the Insert/Edit Interactive field option on the toolbar. The Insert Interactive field screen opens.
- Select the Sign Sections Fields radio button.
- Do not click in the Empty Field checkbox.
- Select the Sign Email field from the drop-down list.
- Select the Is Mandatory checkbox to mark the field as mandatory and click on the Insert button.

- Add a signature field. You can add multiple signature fields:
- Select the Signature option on the toolbar. The Insert Signature screen opens.
- Select the Simple radio button and click on the Insert button.

The fields are added to the document:
You can add multiple sign sections using different objects in each section.
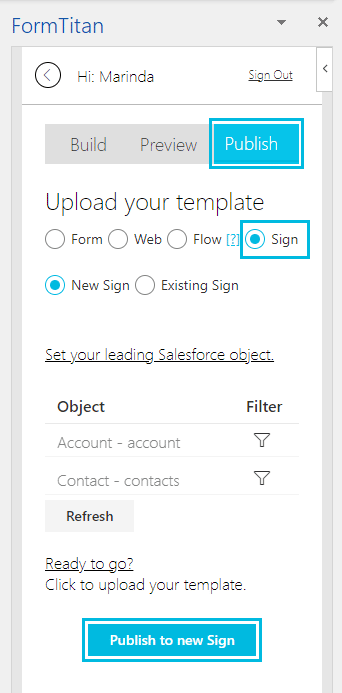
- Select the Publish button.
- Use the radio button to select the Sign option and click the Publish to new Sign button.
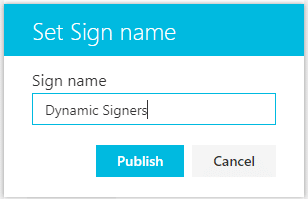
- Add a name for the document in the Set Sign name field and select the Publish button.
A message “Uploading Document” is shown and changes when the document is uploaded successfully.
- Select the OK button to complete the process.
- Set up the document with sign sections in Titan Sign.
The same two signers sign in each section.
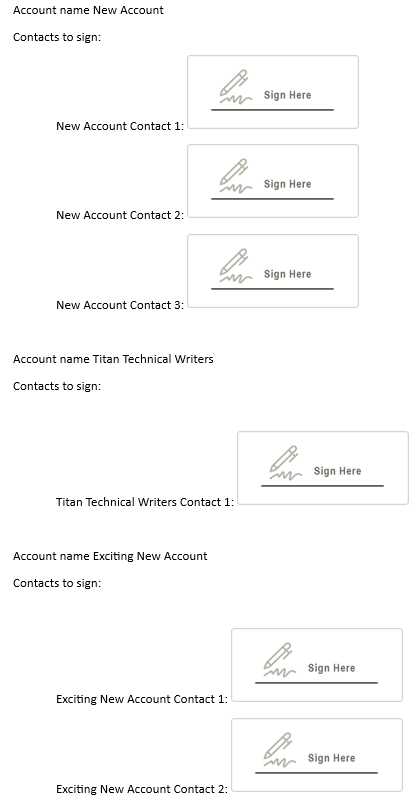
Different Dynamic Signers
In this example, the document is sent to an unknown number of contacts linked to different accounts in Salesforce. The sign section is dependent on the object selected for the parent section.
Prerequisite:
- Click the Dynamic Signers Section checkbox.
- Click the Different Dynamic Signers checkbox.
- Select the object from where the different dynamic signers must be configured.
- Add a comment and click the Insert button.

A SignSection is added to the document. You have to add at least one signature field to a sign section.
- Repeat the steps as described in the Dynamic Signer Section.
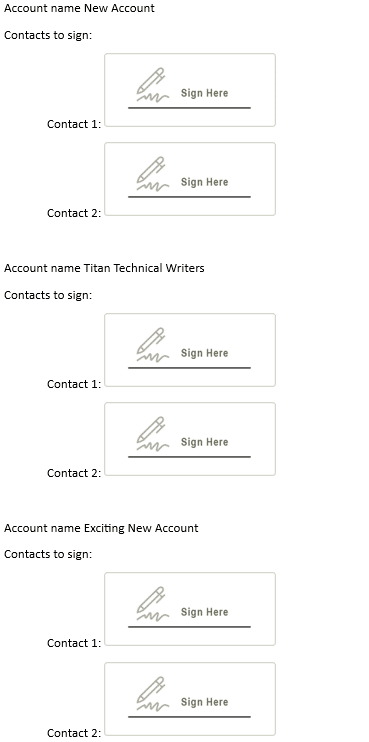
The result is that there are different signers sign in each section. Each signer is specific to its parent index.
Use the sign sections in Titan Sign.
You can also use two sign sections.