
Table/Section in Word template from Submissions
Business Background
Import multiple records into your Word document in a section or table format. The data imported into the Word document is pulled from multiple repeated strips in your Submissions.
Titan Solution
- Titan grants users access to insert fields that are not required to be saved in Salesforce as a record.
- Titan provides the option to bring repeated submission data to a table and section in an easy-to-read format.
How to Video
Video Coming Soon!
How to Guide
- Make sure that you have created Submissions
You can import multiple records into your Word document as follows:
- Insert/Edit a Section; or
- Insert/Edit a Table.
- Configure the filter of the submission (mandatory)
Ensure you have installed and signed in to the Titan Word add-in.
Insert/Edit a Section
- Select the Insert/Edit Section option. The Choose provider screen opens.
- Choose the provider you wish to use.
- Salesforce.
- The data has to be in Salesforce.
- Titan Web project
- The document generation is run from the live Web project.
- Titan Submissions
- The data from the Web project is saved to Submissions, and then the document is generated. This also lets you generate the document offline.
- Salesforce.

In this example, a submission is selected.
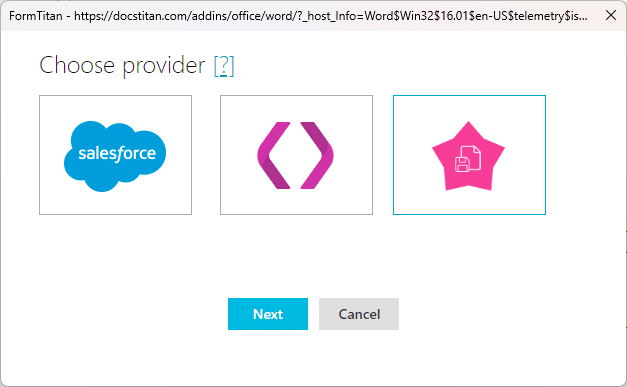
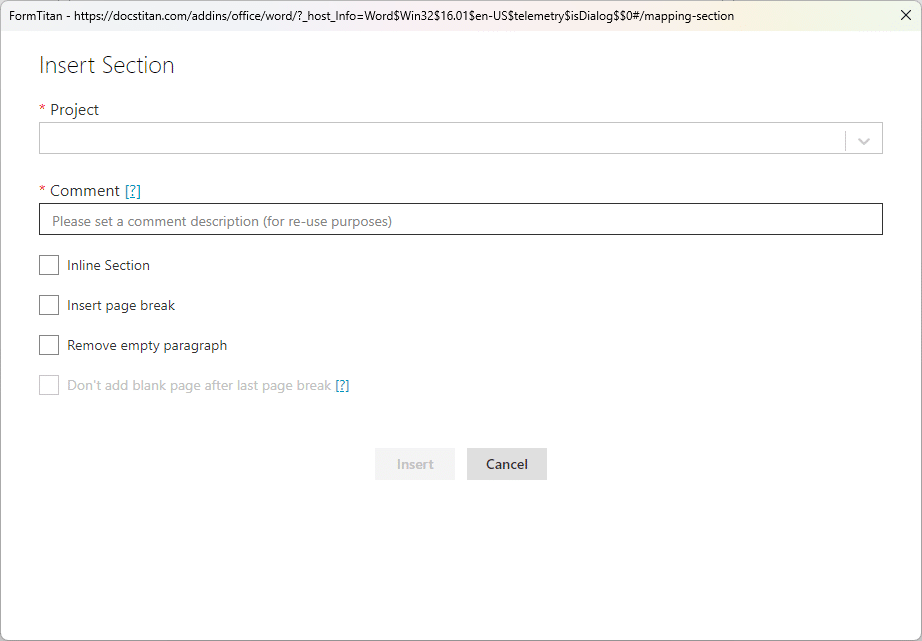
- Select the Next button. The Insert Section screen opens.
- Configure the following mandatory fields:
- Project: This is the Titan Project the content will be pulled from.
- Comment: Add a comment description. This will assist with re-use purposes.
- After the configuration is completed, select the Insert button.
The section displays in your Word document.

Configure the filter of the submission
Insert/Edit a Table
Take note of die fields you added to the submission configuration. You will need the exact field names for the table.
- Select the Insert/Edit Table option. The Insert Table Screen opens.
- Set up the table:
- Select the Submission radio button.
- Configure the following mandatory fields:
- Project: This is the Titan Project the content will be pulled from.
- Comment: Add a comment description. This will assist with re-use purposes.
- Configure the following fields if necessary:
- Data row index
- Header row index
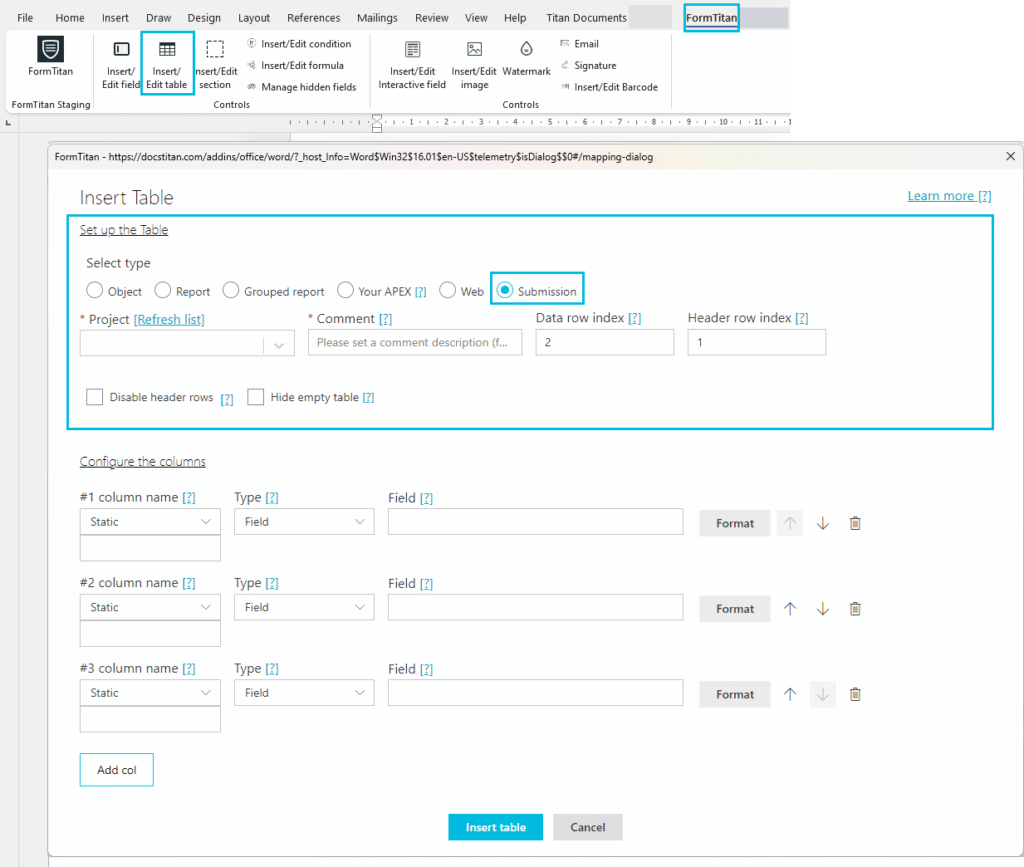
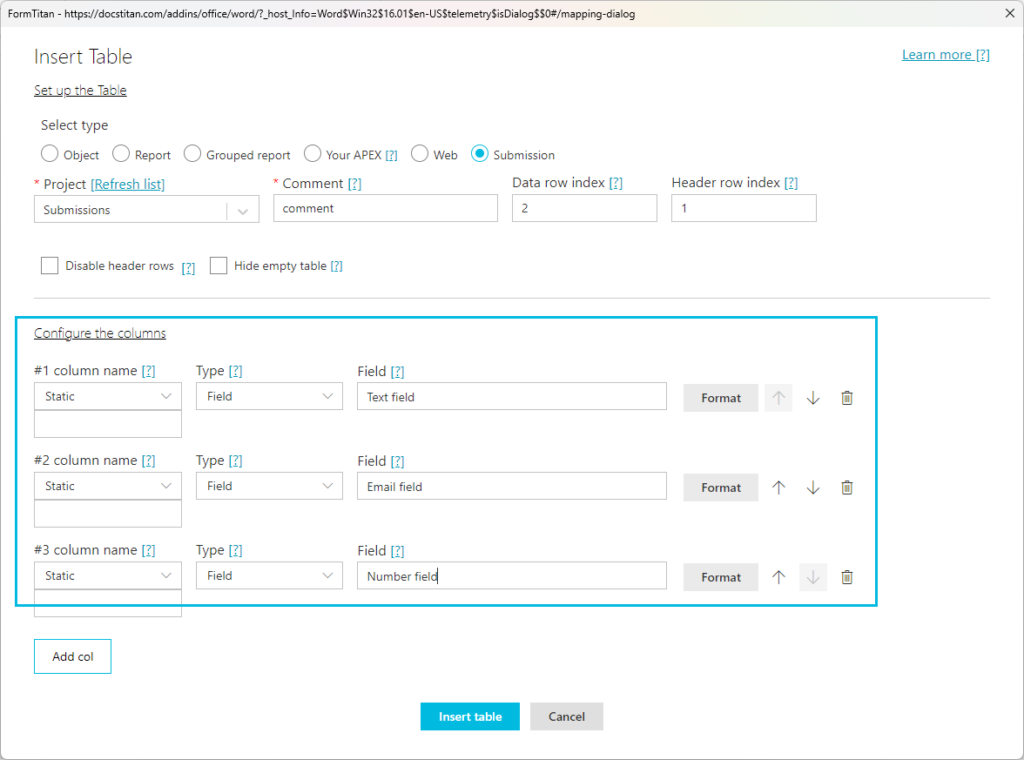
- Set up the columns:
- Column name. This is the column name that will be shown on the table.
- Use the drop-down list to select Static or Dynamic.
- Type: Use the drop-down list to select a type.
- Add a field. These are the exact field names that you added in the submission configuration. The fields are case-sensitive.
- Use the Add col button to add more columns.
- Configure the columns as in step 3.
- Column name. This is the column name that will be shown on the table.
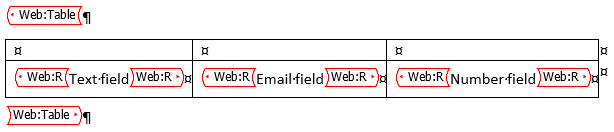
- Select the Insert table button.
The table displays in your Word document.
Configure the filter of the submission
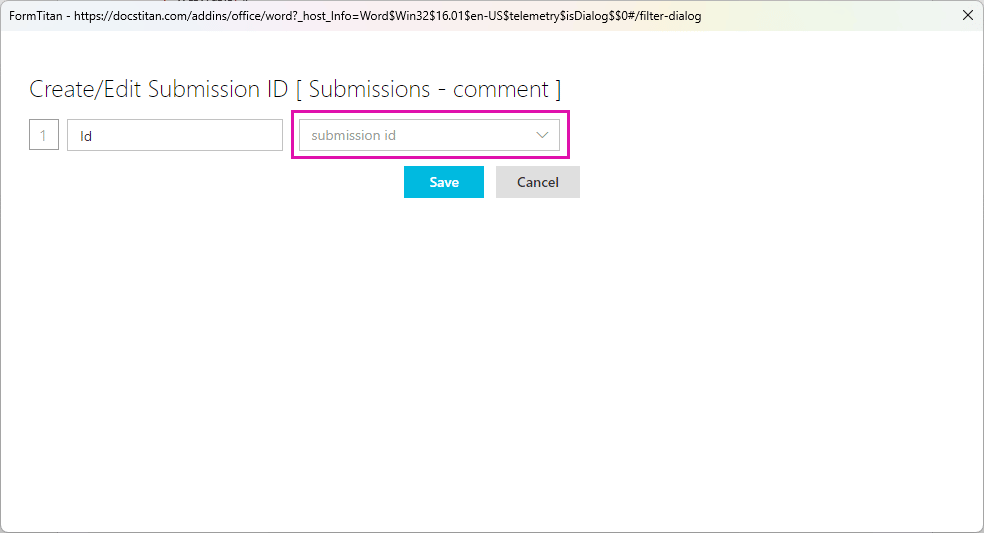
Before previewing or publishing the template, you must configure the filter of the section/table to use the correct submissionID.
The system has to know which submissionID it must bring back from the Submissions. You can use a hidden field in the Word add-in template that will hold the submission ID or you can brin it from a previous Get that you created in the template.
When you use a another Get, make sure that Get is listed above the Get you are configuring.

- Under Preview or Publish, select the filter icon next to the object you created.
- Use the drop-down list to select the ID and select the Save button.