

Virus Scan
Business Background
It is crucial to do a virus scan when files are uploaded to your website. This ensures that any files uploaded by users do not contain viruses or malware that could infect other users’ devices or compromise their security. Virus scans also prevent infected files from being stored on the web server, which could otherwise lead to the entire website being compromised or used to distribute malware.
Titan Solution
Titan Flow offers added protection and lets you scan file uploads to prevent the acceptance of contaminated files. You can add conditions to specify when and where you want files to be scanned.
If you have a Titan Web project that uploads files and wants to push them to Google Drive or Salesforce, you can now run a virus scan on the files in Titan Flow. The virus scan checks that the file extension is correct and that there are no malware or viruses.
When the virus scan runs, one of three things can happen:
- No viruses are found, and the file(s) are pushed to Salesforce or the file storage option that you configured.
- Some viruses are found, and those are removed from the file upload element. You can configure actions for the clean files.
- All the files contain viruses. You can configure actions for the file upload failure.
How to Guide
Prerequisite:
Add a file upload element to the Web project.
In this example, we have an upload file element and buttons for uploading the file to Titan Web or Titan Flow.
Prerequisites:
-
- Click the + icon to open the list of elements.
- Select the Input option from the list and drag the File Upload element to the canvas.
- Select the Button option and drag a Button element to the canvas.
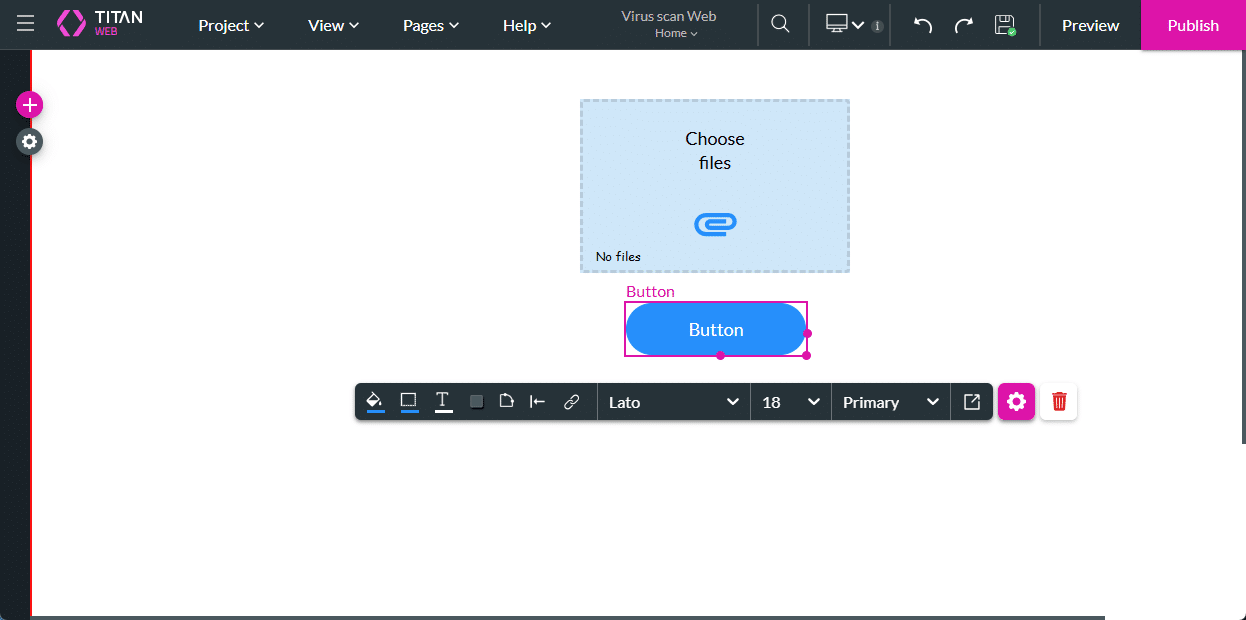
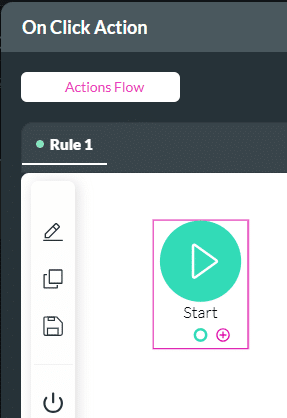
- Click the On Click Action icon on the button element. The On Click Action screen opens.

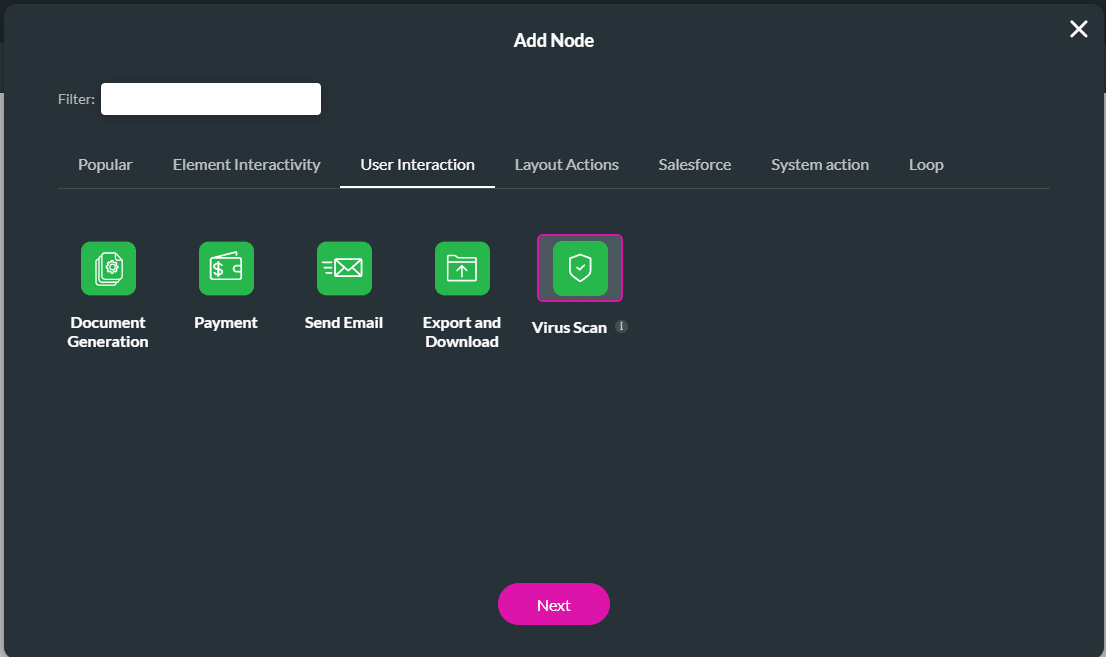
- Click the + icon to add a node. The Add Node screen opens.
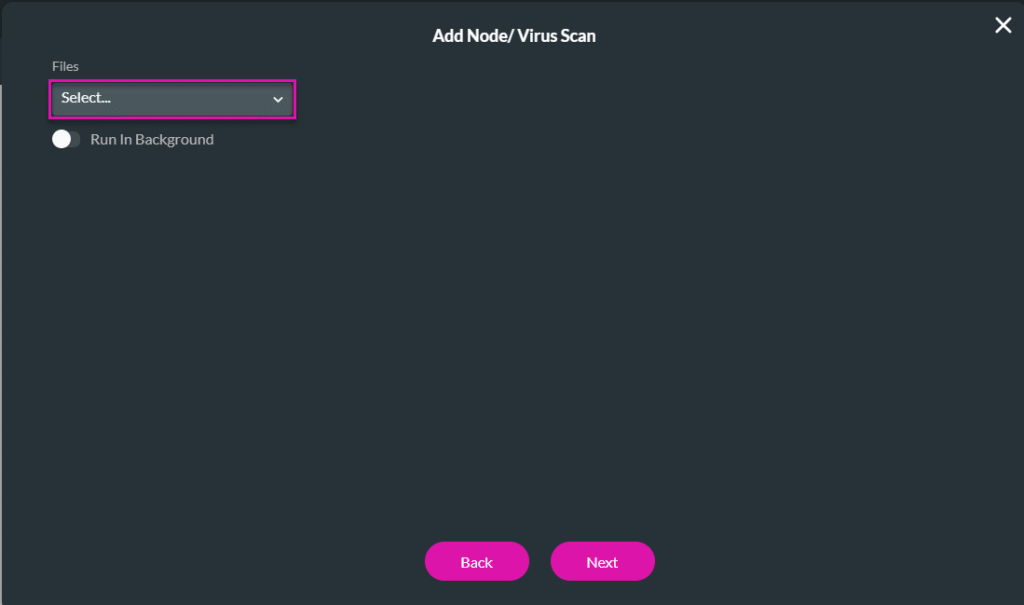
- Under User Interaction, select the Virus Scan option and click the Next button. The Add Node/Virus Scan screen opens.
- Use the Files drop-down list to select the files variable(s).
- If necessary, use the toggle switch to enable Run in Background.
- Click the Next button.
- If necessary, add a tag and click the Insert button. The node is added to the On Click Action screen.
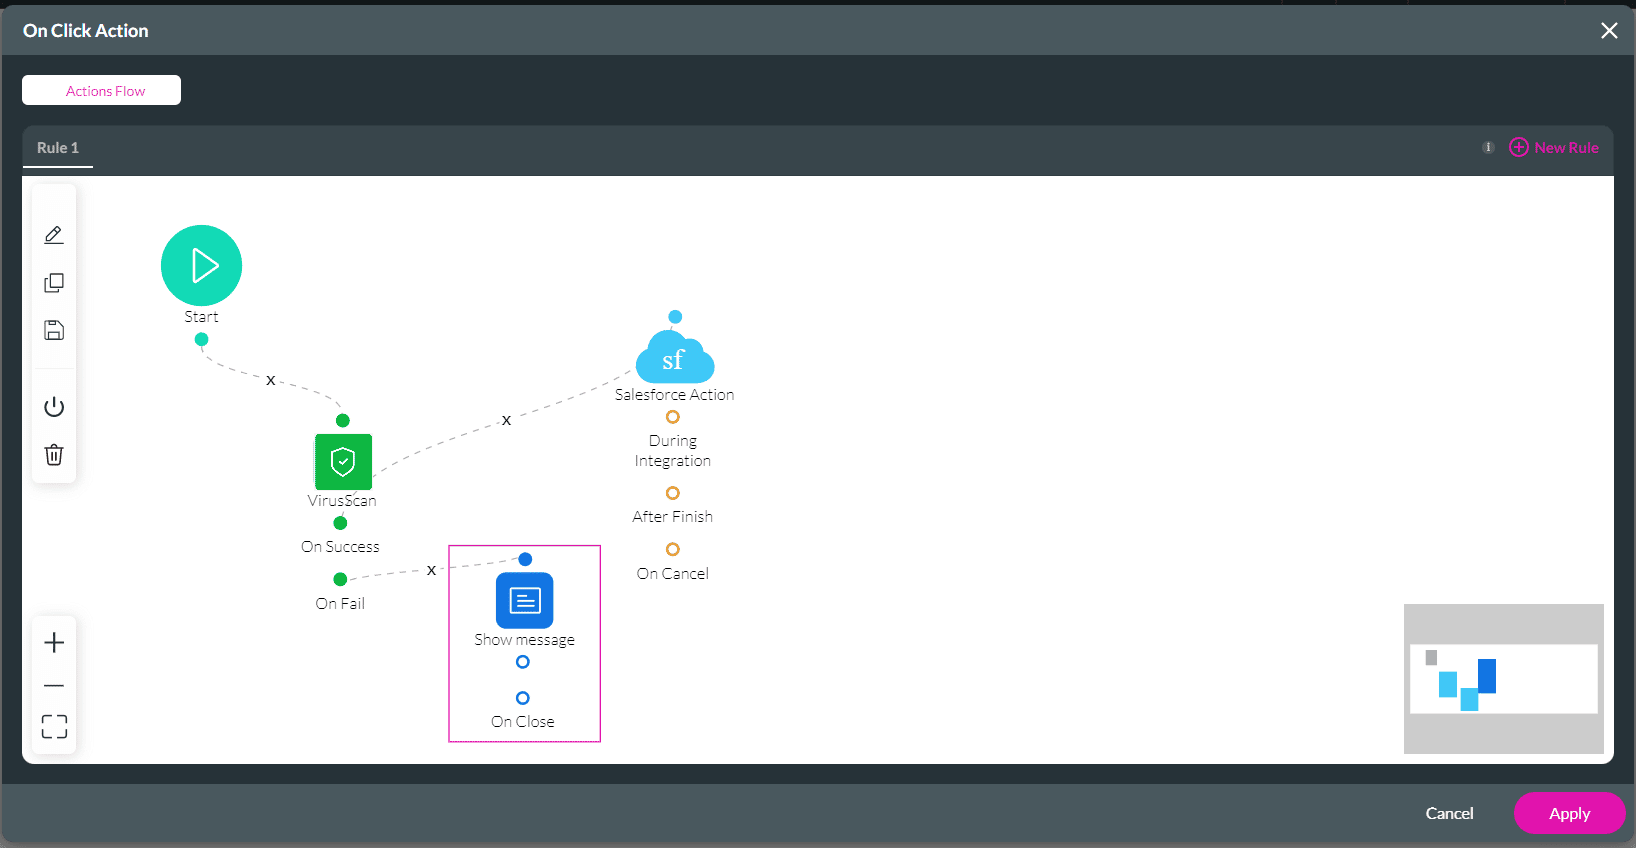
- Add an action On Success, for instance, push to Salesforce or Google Drive.
- Add action(s) On Partial Success, for instance, pushing the clean files to Salesforce or Google Drive, and configuring an email message warning the user that some file(s) contain a virus.
- Add an action On Fail, for instance, an email message warning the user that the file contains a virus.
Create a Virus Scan in Titan Flow.