User Access Token
Business Background
A user access token is a credential that allows a user to authenticate and interact securely with an API or application. It is typically a string of characters that an authentication server issues when a user logs in or grants permissions to an app.
Titan Solution
Tokens are valuable when it comes to controlling access to your Titan Web project. With secure Titan-generated access tokens, you can permit users to access certain projects for a specific timeframe. When a token has been enabled, the project will only be accessible with a valid token passed in the URL.
How to Video
- 00:07 A short intro to user access token.
- 0:11 What happens when you enable the user access token?
- 1:43 Configure Token.
- 4:14 Enable API.
- 8:53 In order to view the published project, pass the token into the URL of your Titan project, where “parameter name”=[Token].
How to Guide
- Click the Gear icon below the + icon in Titan Web. The Project settings screen opens.

- Select the User Access option and use the toggle switch to enable the Token.
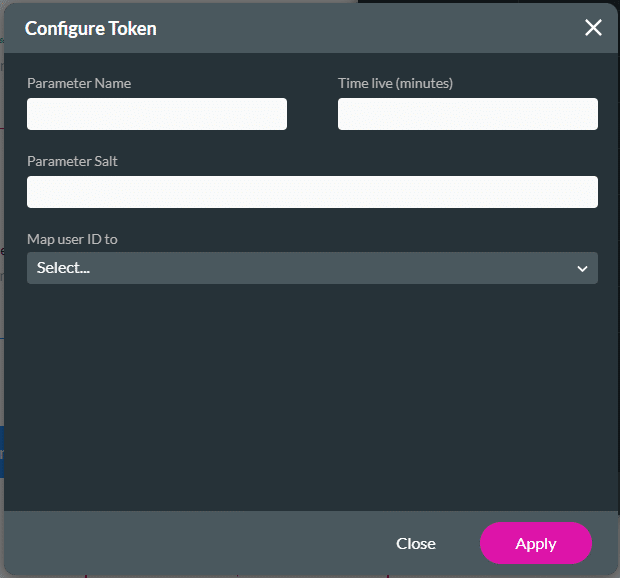
- Click the Token Gear icon. The Configure Token screen opens.

Ensure that your API option under settings is enabled to allow access and that the submissions option is selected to allow submissions. For more information, visit the Titan API page and learn how to enable Titan API access
- Configure and define the Token.
- Type the Parameter Name in the field. Define the name of the token. This will be used to identify the project in the URL.
- Type the Time live (minutes) in the field.
- Set a limit for the duration for which the token will stay valid. This is an API token.
- Type the Parameter Salt in the field.
- Create random data that can safeguard passwords.
- This parameter should get the same value as configured in your project for the token encryption.
- Map User ID from the drop-down.
- Use this parameter if you need to pass an identifier from your server to the Titan project. In the example, the Title is selected:

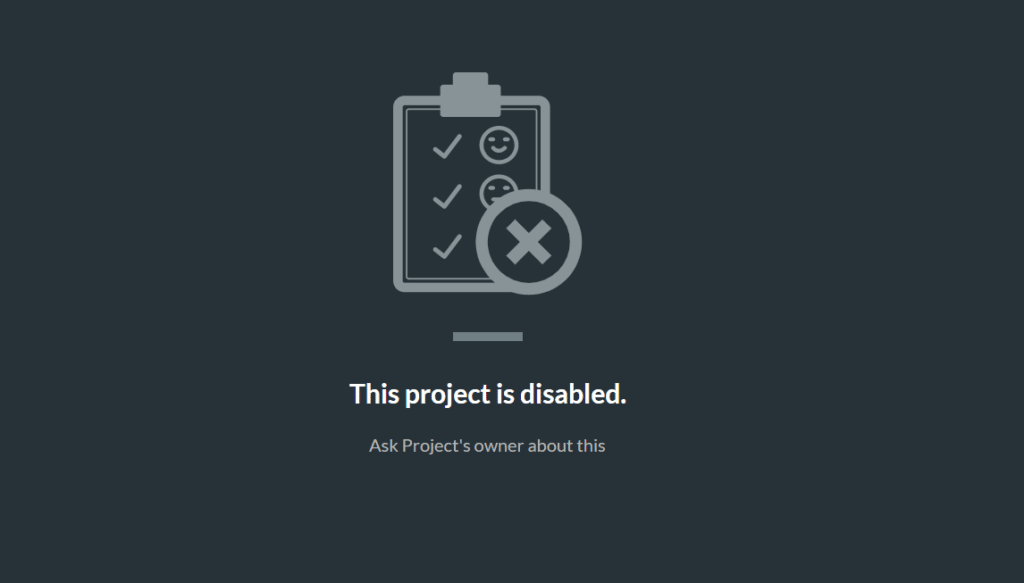
- Click the Apply button when all the items are configured. Once the Token is configured, it will be impossible to view this published project without passing the token’s parameter:

- To view the published project, pass the token to the URL of your Titan project, where “parameter name”=[Token].

