

SmartV Layout
Business Background
Determine the layout of the log in, verification and/or registration page for a SmartV web project. You can add images and/or logos in a number of ways to make your pages unique and in line with your company branding.
How to Video
Coming soon.
How to Guide
- Browse to the Log In, Verification or Registration screen. In this example, the Log In screen is used.
Path:
Browse to the log in screen: Pages > SmartV > Log In

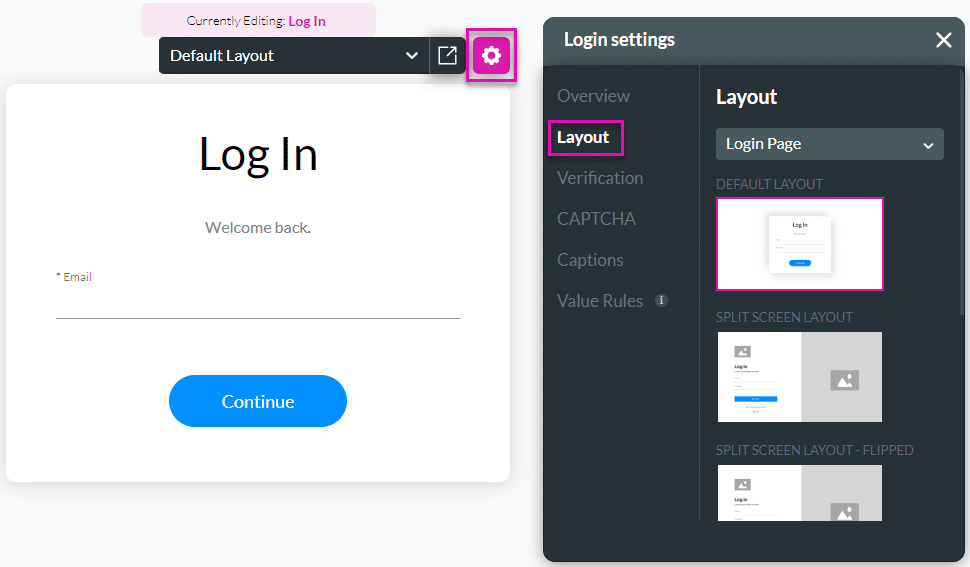
- Click the Log In screen Gear icon. The Login Settings screen opens.
- Click the Layout option.
Note:
You can use the drop-down list to select a different SmartV screen.

- Select one of the options:
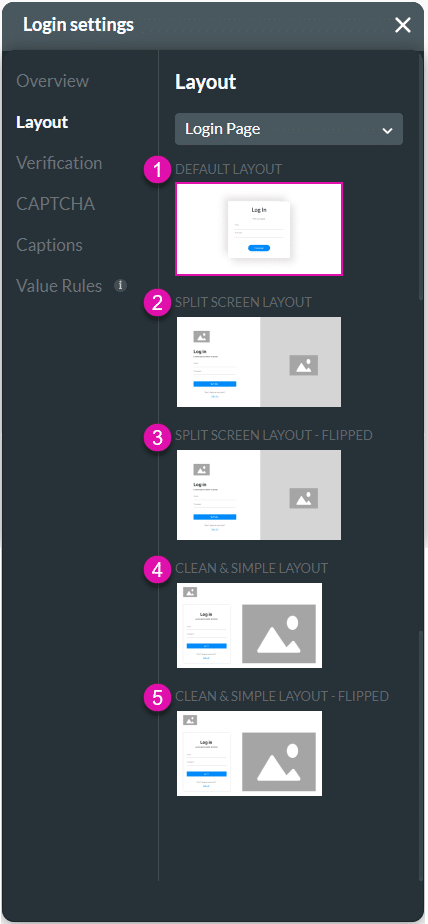
The different layouts look as follows:
Default Layout:

Note:
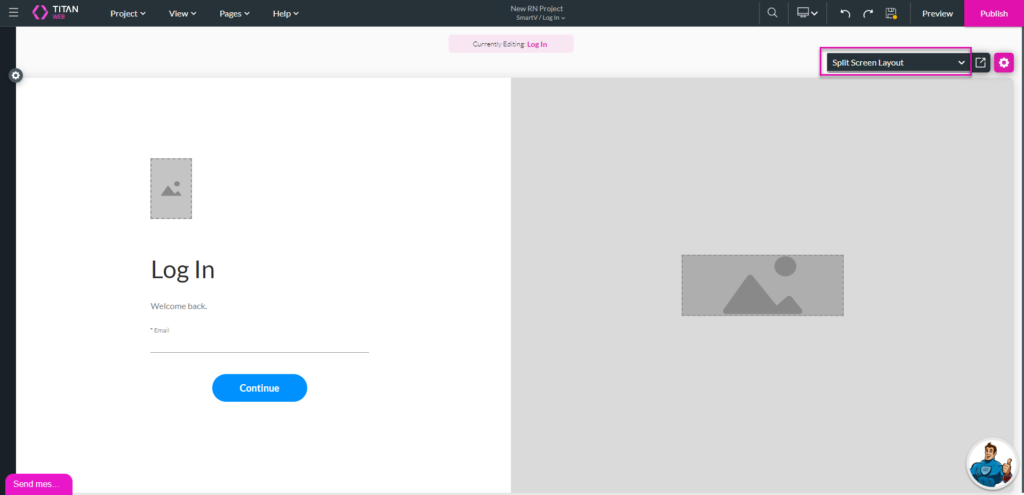
You can use the drop-down list to select the different layouts. The drop-down list is available on all the different layout options.

Split Screen Layout:
Split Screen Layout – Flipped:

Clean and Simple Layout:

Clean and Simple Layout – Flipped:

Configure a layout
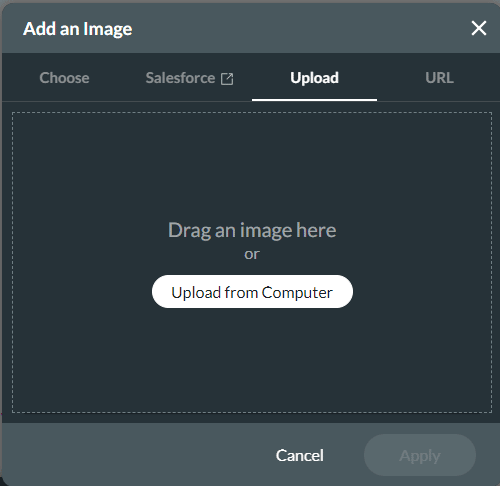
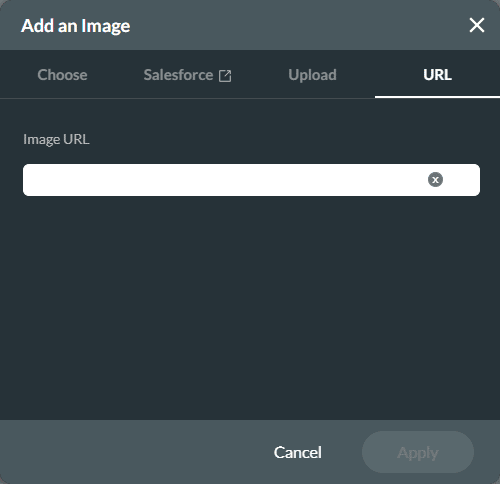
- Click in the image field. The Add an Image option opens.
- Select one of the following options:
- Choose a previously uploaded image.
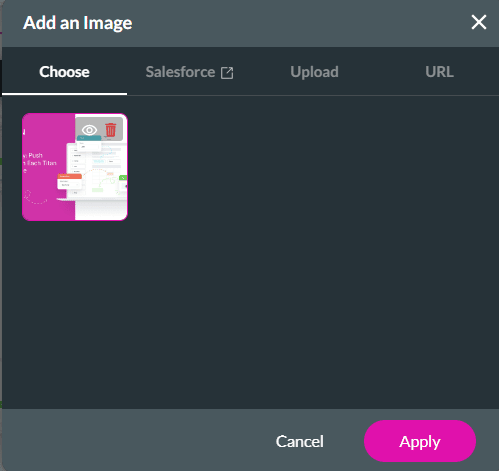
- Select the Salesforce option to use a specific record. Configure the Salesforce integration.

- Upload a new image.
- Insert an image URL.
- Click the Apply button to confirm the new image selection.
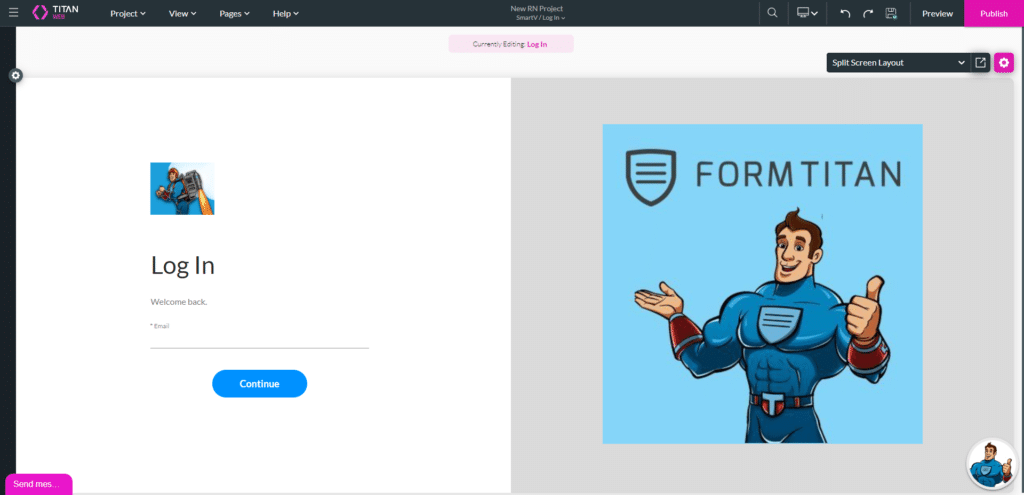
- Click the Save and Preview buttons.
The images are shown on the Log In screen.

Hidden Title
Was this information helpful?
Let us know so we can improve!
Need more help?
Book Demo