

Prefix and Suffix in Power Tables
Business Background
Use the Prefix and Suffix options to add non-editable text to the power table column.
How to Guide
Note:
Prerequisite:
Configure a power table to the Web project.
- Click the Power Table element Gear icon. The Power Table Settings screen opens.
- Select the Columns option and click the column Gear icon of the column where you want to add a prefix and/or suffix. The Column Settings screen opens.

- Type the Prefix text in the field, for instance, $.
- Type the Suffix text in the field, for instance, “estimated.”
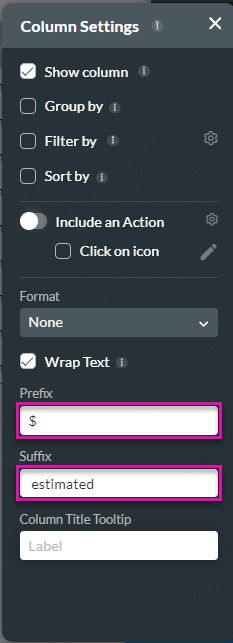
- Click the X icon to close the Column Settings screen. The prefix and suffix are added to the column’s contents.
- Save and Preview the project.
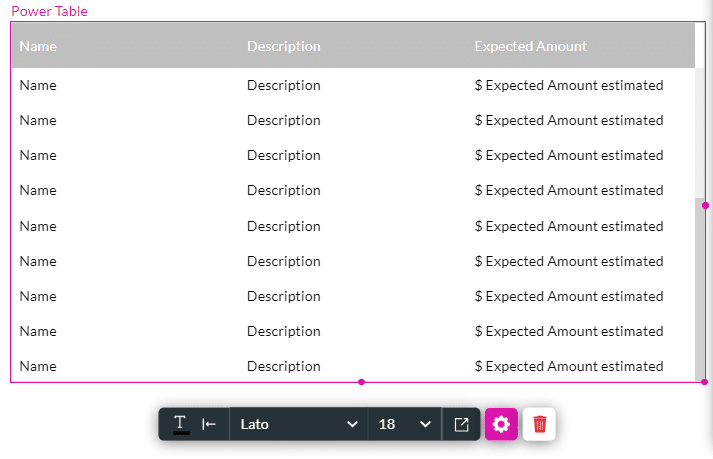
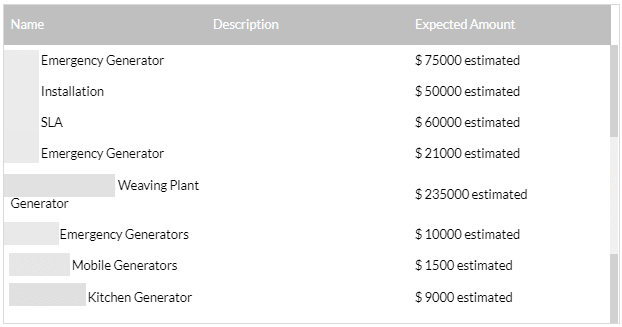
The prefix and suffix are shown in the column.
Hidden Title
Was this information helpful?
Let us know so we can improve!
Need more help?
Book Demo