Configure a Form
Business Background
Add structured forms to your project that will enable you to add input or text fields to cells in a few clicks. You can design the form, add conditional logic, or merge cells in a row to suit your requirements.
Titan Solution
Add a Titan Web form element in a few simple clicks.
How to Guide
You can also do the following:
Insert a form
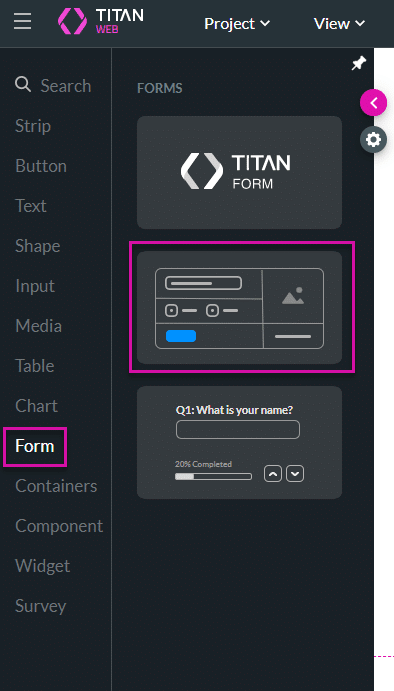
- Click the + button to open the list of elements.
- Click the Form option in the list.
- Click-and-drag the Form element to the canvas.
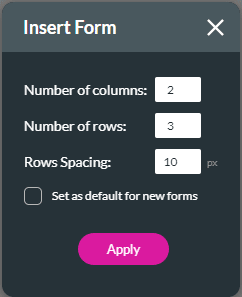
- Change the following if you do not want to use the default values:
- Number of columns: the default is 2.
- Number of rows: the default is 3.
- Row spacing: the default is 10 pixels.
- If you made any changes, use the checkbox to set these settings as default for new forms if necessary.
- Click the Apply button. The form is added to the canvas.
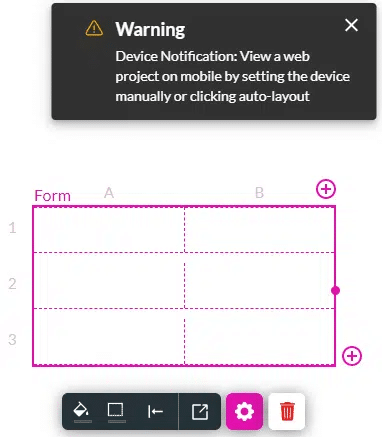
You will see the warning message: “Device Notification: View a web project on mobile by setting the device manually or clicking auto-layout”.
Learn more about device layouts.
This message is shown if the form has two or more columns. On a mobile device (where the width of the device is smaller), the contents of each cell in the second column (per row) is moved under the contents of the cell in the first column and only one column is shown.
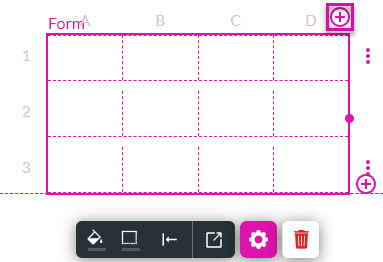
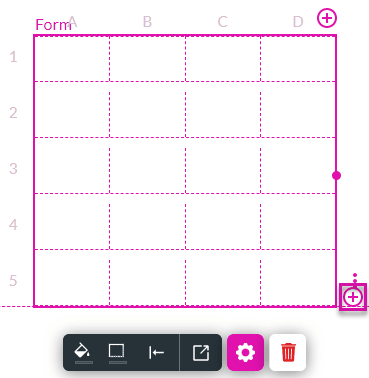
Rows are numbered from 1 onwards, and columns are labeled from A onwards.
You can drag the table bigger if necessary by using the table handle on the right.

Add and edit columns
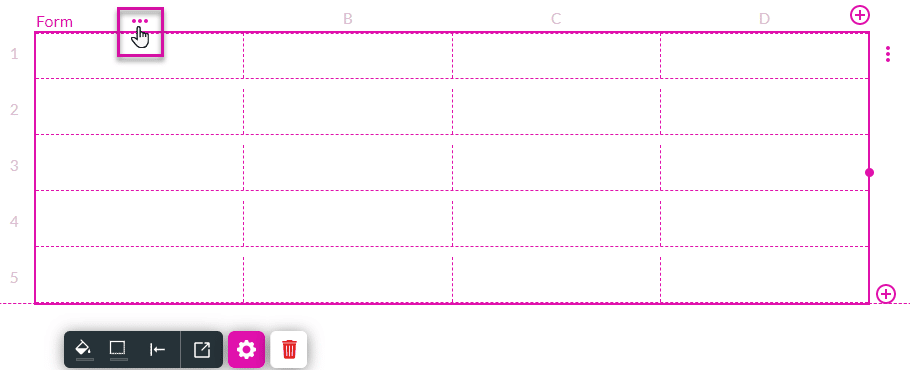
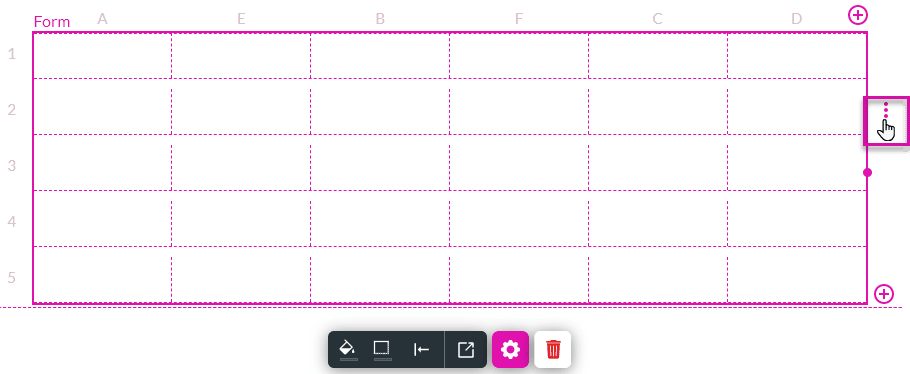
- Click the + icon next to the columns to add more columns.
- Hover with the mouse pointer on a column to show the Kebab icon.
- Click the Kebab icon to open the context menu. The column is greyed out.
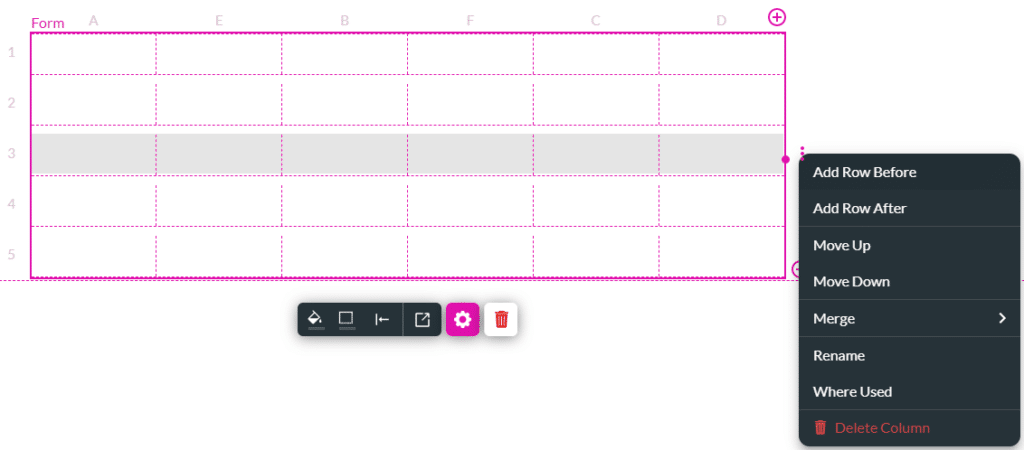
- Use the pop-up menu to do the following:
- Add a column before the selected column.
- Add a column after the selected column.
- Move the selected column to the left (if applicable. This option is not shown if the first column was selected.)
- Move the selected column to the right (if applicable. This option is not shown if the last column was selected.)
- Rename the column.
- Click this option to open the Rename Column Name pop-up and change the name of the column.
- Alternatively, rename the column on the Layer List.
- Delete the column by clicking on this option.
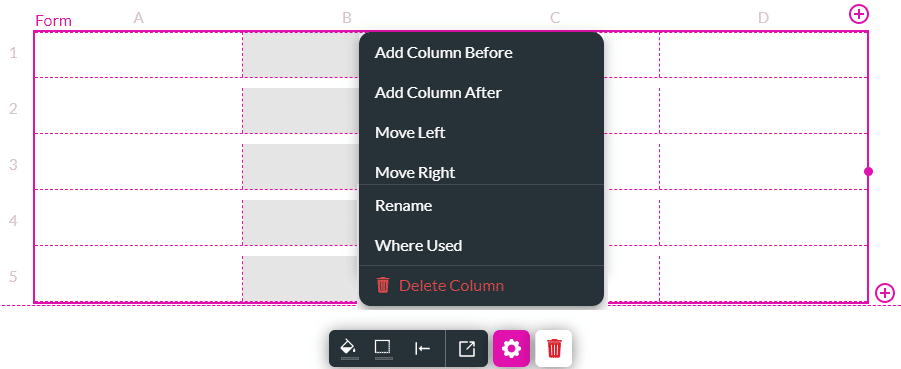
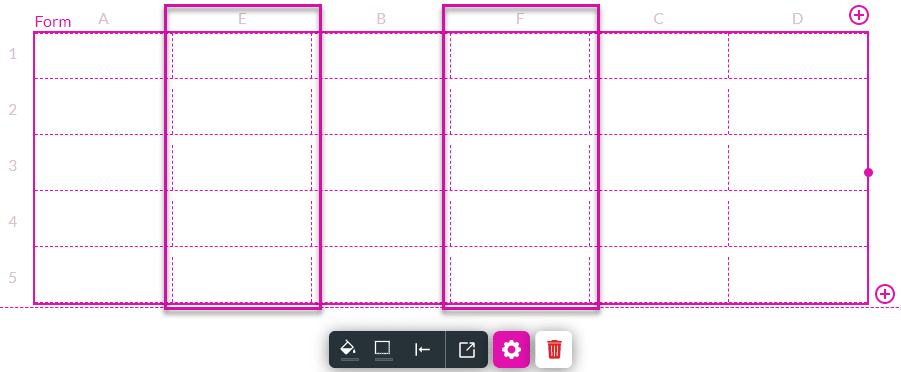
In this example, a column was added to the left of column B (called column E) and to the right of column B (called column F).
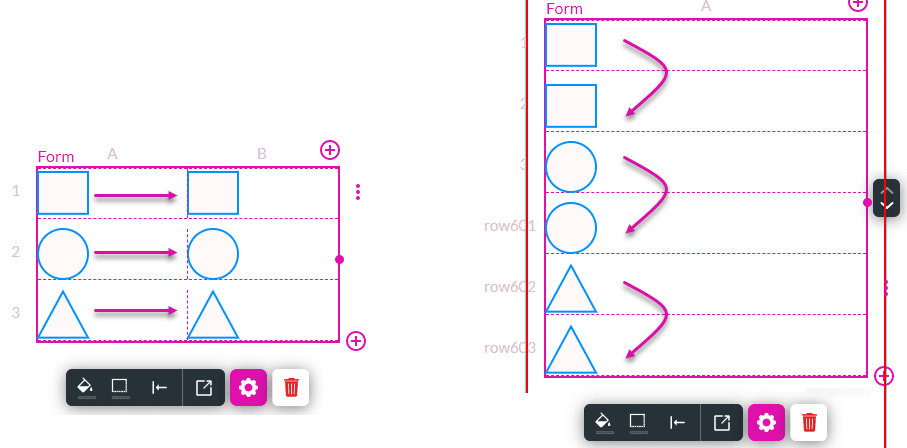
Add and edit rows
- Click the + icon next to the rows to add more rows.
- Hover with the mouse pointer on a row to show the Kebab icon.
- Click the Kebab icon to open the context menu.
- Use the pop-up menu to do the following:
- Add a row before the selected row.
- Add a row after the selected row.
- Move the selected row up (if applicable. This option is not shown if the first row was selected.)
- Move the selected row down (if applicable. This option is not shown if the last row was selected.)
- Merge rows.
- Rename the row.
- Click this option to open the Rename Row Name pop-up and change the name of the row.
- Alternatively, rename the row on the Layer List.
- Where used.
- Delete the row by clicking on this option.
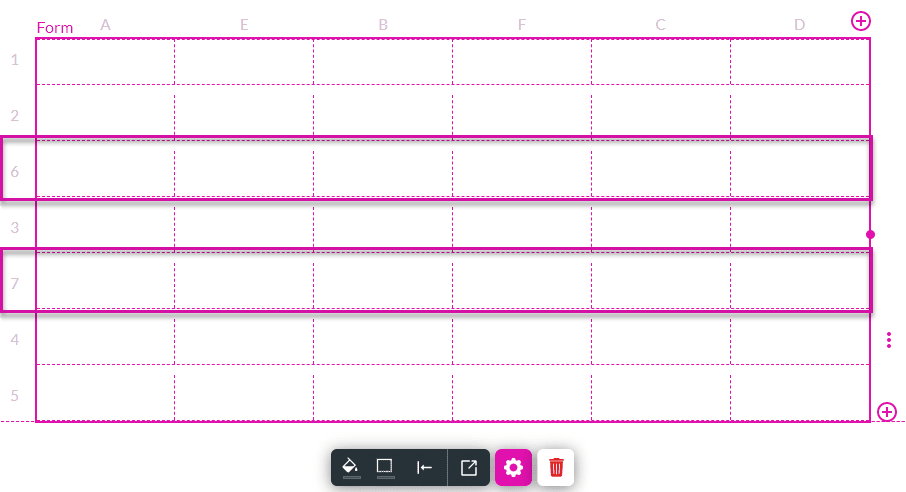
In this example, a row was added above row 3 (called row 6) and below row 3 (called row 7).