

Form Element – Is Changed and Reset Changed State Flag
Business Background
Show a message when elements on a form change.
Titan Solution
You can use conditional logic to show a message when the contents of input elements on the form change. You can use it with any conditional logic.
How to Guide
Learn more about the different types of form interactivity.
Prerequisite:
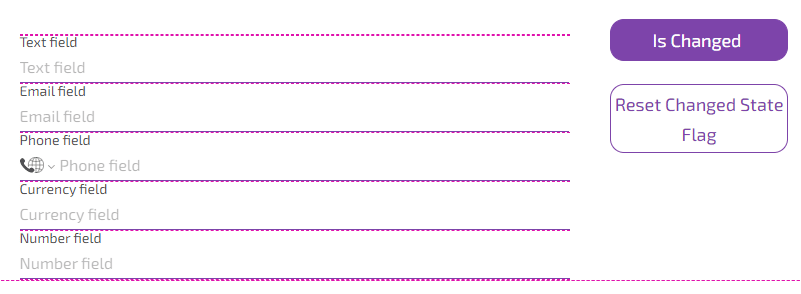
Add a form and populate it with elements.
Alternatively, use the Titan Genie to configure a form.
The following two radio buttons on the Form Interactivity screen are described:
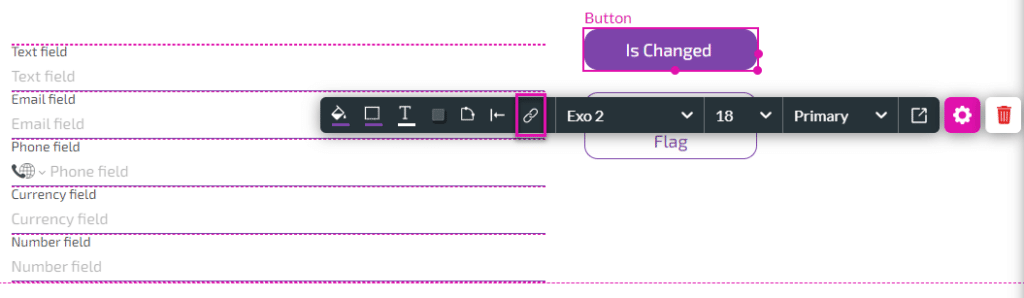
In this example, two buttons were also added to demonstrate the Form Interactivity added to each button’s On Click Action.
Is changed option
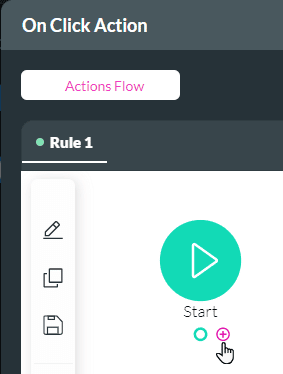
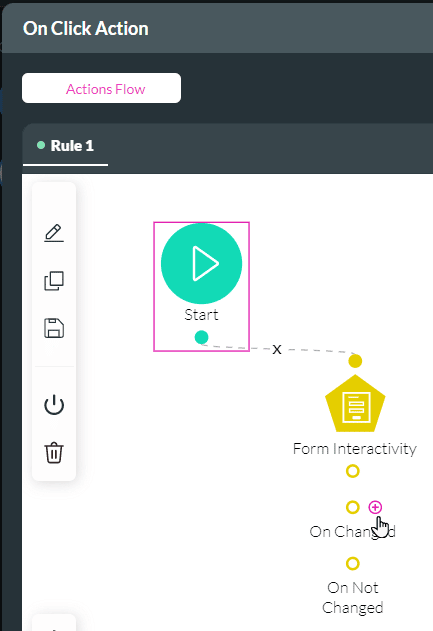
- Click the On Click Action icon. The On Click Action screen opens.
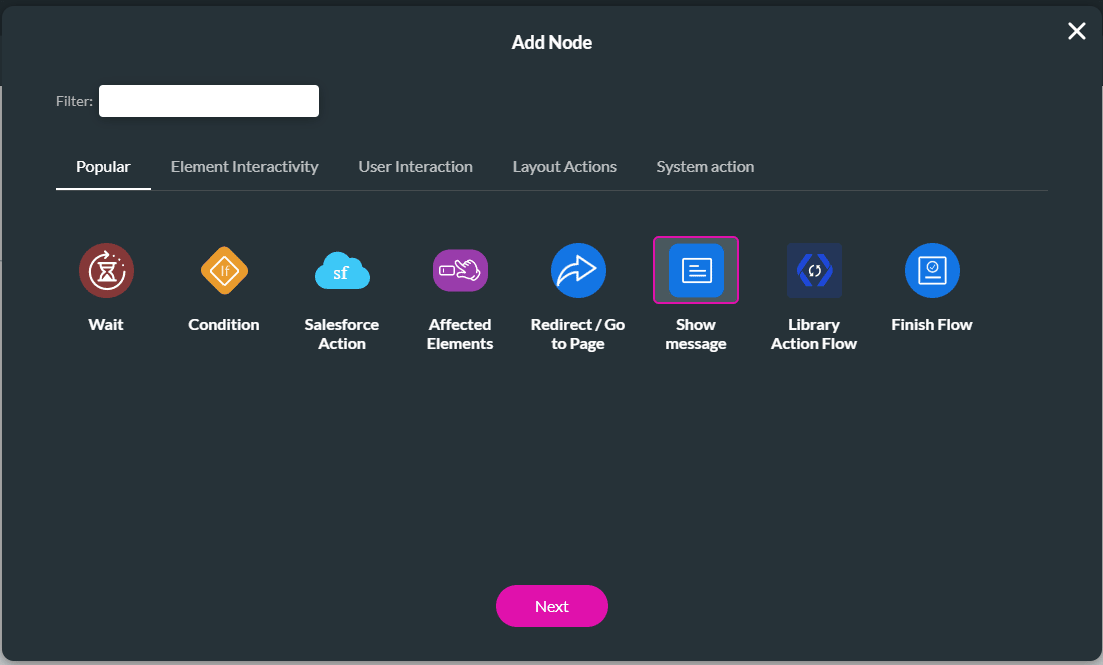
- Click the + icon. The Add Node screen opens.
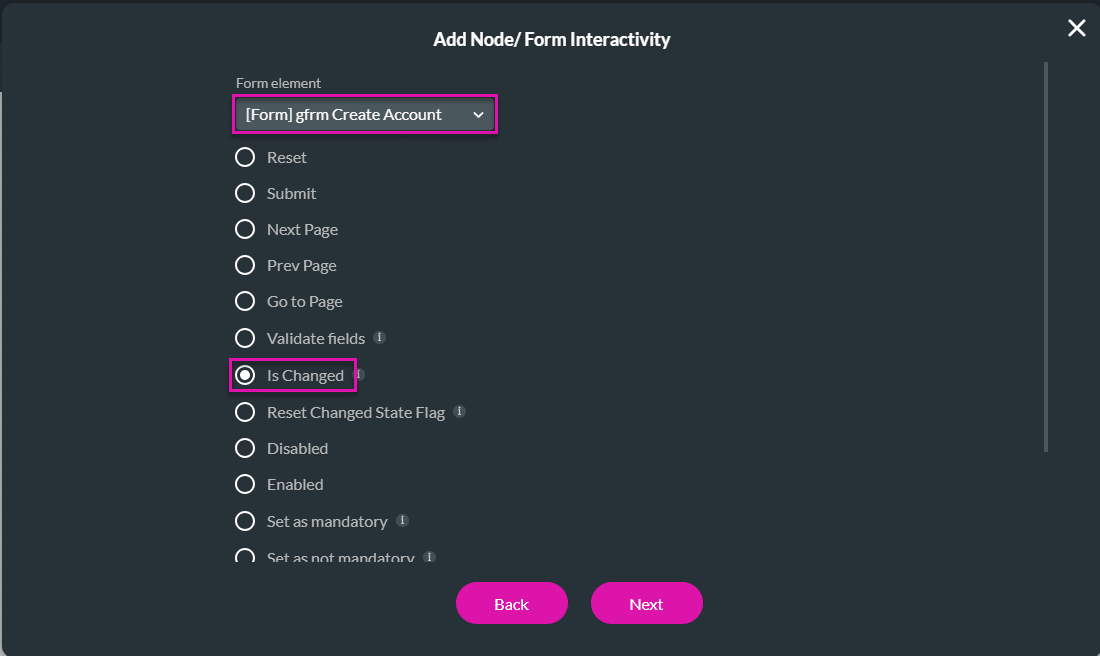
- Under Element Interactivity, select the Form Interactivity option and click the Next button. The Add Node/Form Interactivity screen opens.

- Use the Form element drop-down list to select the form. This is the name of the form.
- Click the Is Changed radio button and click the Next button. The Form Interactivity node is added to the On Click Action screen.
- Add a tag if necessary and click the Insert button.
- Click the + icon next to the On Changed option. The Add Node screen opens.
- Select the Show message option and click the Next button.
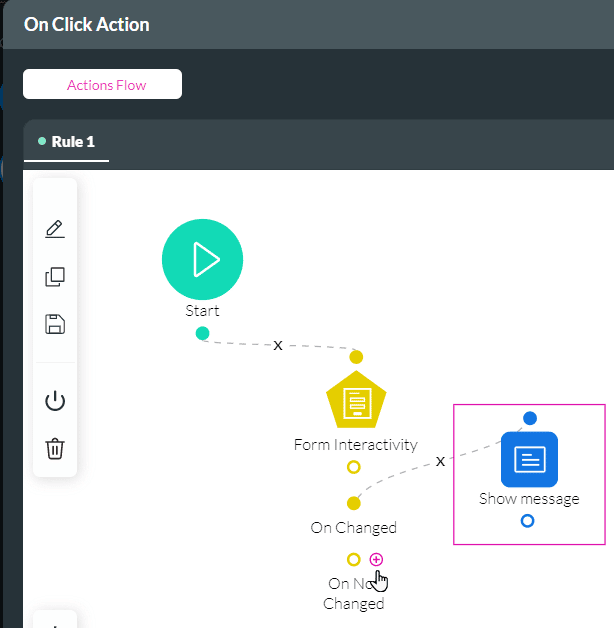
- Add a message, for instance, “Is changed”, and click the Next button. The Show message node is added to the Form Interactivity node on the On Click Action screen
- Add a tag if necessary and click the Insert button.
- Click the + icon next to the On Not Changed option. The Add Node screen opens.
- Select the Show message option and click the Next button.
- Add a message, for instance, “Is not changed”, and click the Next button.
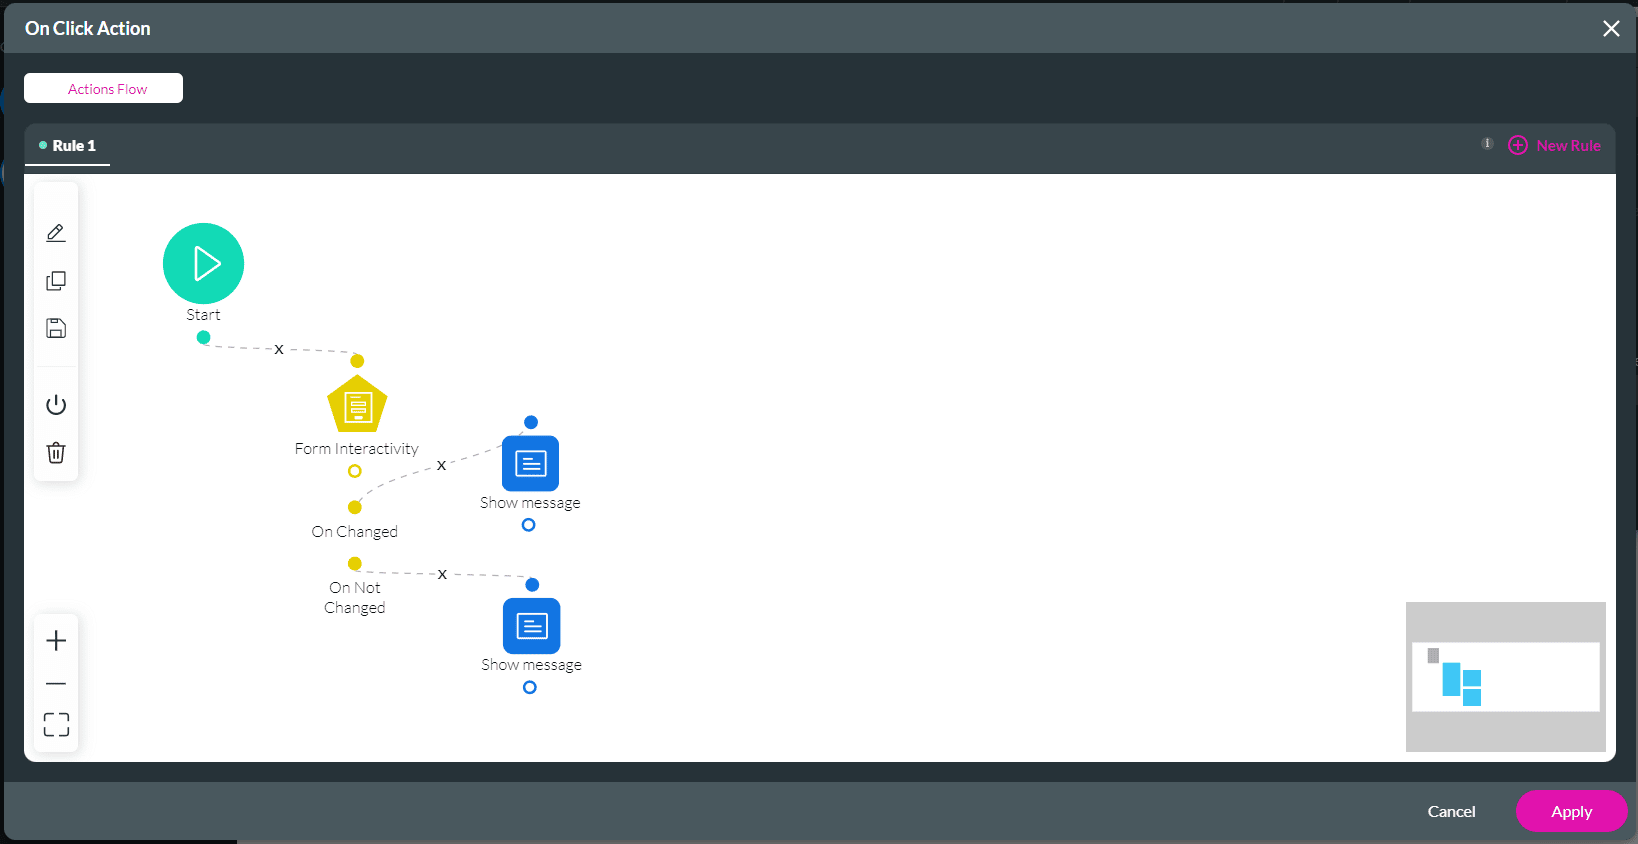
- Add a tag if necessary and click the Insert button. The Show message node is added to the Form Interactivity node on the On Click Action screen
- Click the Apply button.
- Save and Preview the project.
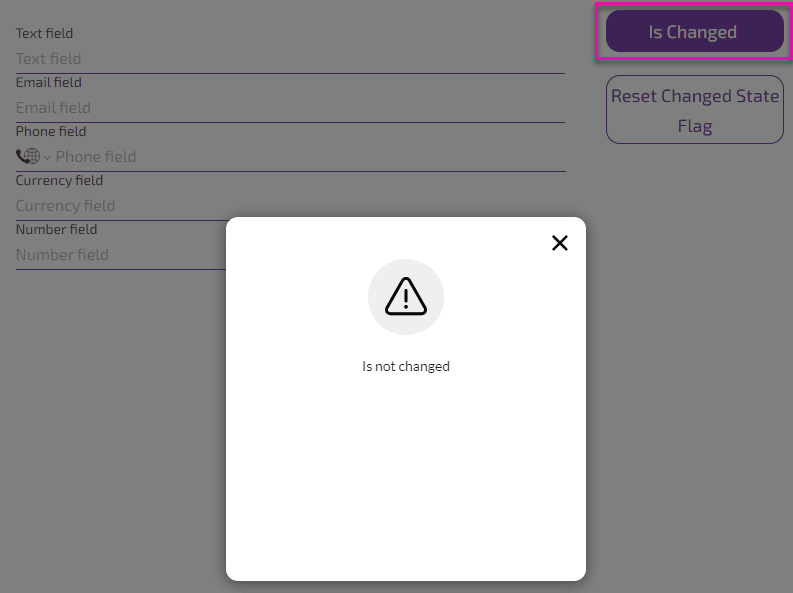
When no changes are made to the form and a user clicks the Is Changed button, the “Is not changed” message will appear.
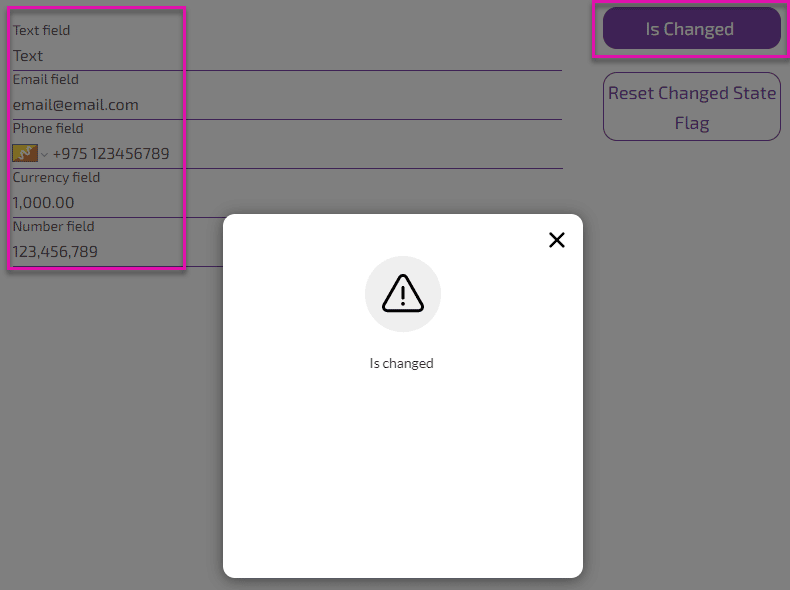
If changes were made to the form, and a user clicks the “Is Changed” button, the “Is changed” message will appear.
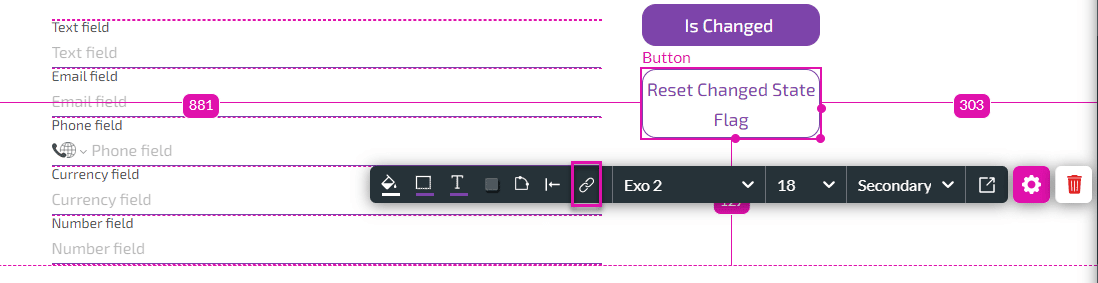
Reset Changed State Flag
- Click the On Click Action icon. The On Click Action screen opens.
- Click the + icon. The Add Node screen opens.
- Under Element Interactivity, select the Form Interactivity option and click the Next button. The Add Node/Form Interactivity screen opens.
- Use the Form element drop-down list to select the form. This is the name of the form.
- Click the Reset Changed State Flag radio button and click the Next button. The Form Interactivity node is added to the On Click Action screen.

- Add a tag if necessary and click the Insert button.
Learn more about the different types of form interactivity.