

Flow – Web Submission
Business Background
You can store submissions of your form in an external storage service, not in Salesforce.
Titan Solution
Pass submissions from a Titan Web project to a Titan Flow project without saving the data in Salesforce. The data is saved to a zip file, and you can save it externally, for example, on Google Drive or an FTP site.
How to Guide
Note:
Prerequisite:
- Create a Titan Flow project that has a input variable for a file.
- You can configure different actions in the Flow project for the submission, for instance, the submission sent to a cloud server or it can be emailed. The recipient will receive a zip folder.
- Create a custom variable in the Flow project.
- Click the + icon to open the list of elements.
- Drag-and-drop the Button element to the canvas.
- In this example, the action will be invoked from a button.
- Click the On Click action icon for the button. The On Click action screen opens.

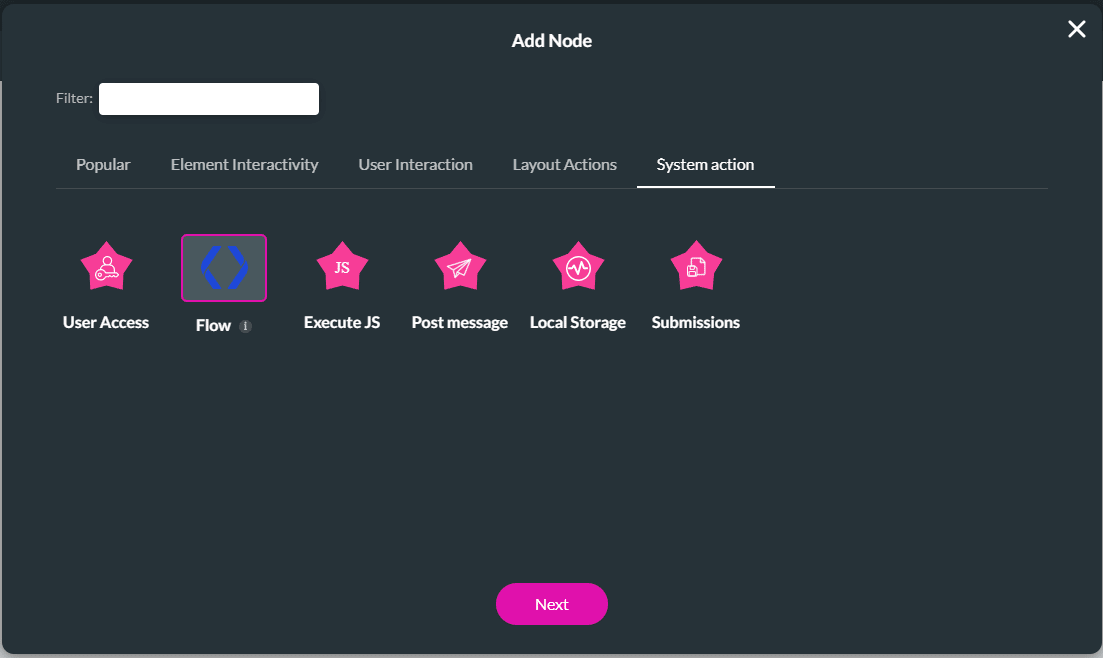
- Click the + icon next to Start. The Add Node screen opens.

- Under System Actions, select the Flow option and click the Next button. The Add Node/Flow screen opens.
- Select the Flow project you created from the drop-down list. This Flow will be activated.
- Click the Configure Parameters button. The Configure Parameters screen opens.

- Use the drop-down list and select the Web Submission option to configure the Field parameter for the file variable that you set up in Flow.
- Click the Gear icon next to Web Submission.

- Use the What would you like to store? drop-down list to select one of the options (they are similar to these options):
- On Page
- From Strip
- Field
- Field Group
- Click the checkbox to skip empty values.
- Click the Apply button.

- Click the Apply button on the Configure Parameters screen.
- Click the Next button on the Add Node screen.
- If necessary, type a unique name in the Tag field and click the Insert button.
- Click the Apply button.

The Flow will be invoked when the user completes the input fields and clicks the button.
Hidden Title
Was this information helpful?
Let us know so we can improve!
Need more help?
Book Demo