Drawer
Business Background
Personalize your web projects with a drawer that is shown when a header is added to the project.
A drawer on a web page serves several purposes. Its key purpose is to provide secondary navigation. Drawers are commonly used for side menus, allowing users to access navigation links without disrupting the main content or clattering the header.
You can change the title, add a logo, or edit the buttons on the drawer.
Titan Solution
Titan lets you personalize your web projects with a custom drawer in a few clicks, with no coding required. Add a custom title or logo to differentiate the drawer from others.
This drawer is different from the drawer container that can be added to the canvas. These drawers are flexible containers where you can add many different Titan Web elements.
How to Guide
Prerequisite:
You must include a header in the project. The drawer will be managed from the header.
- Click the Pages drop-down arrow to open the list.
- Click the Gear icon next to the Manage Menus option. The Site Menus screen opens.

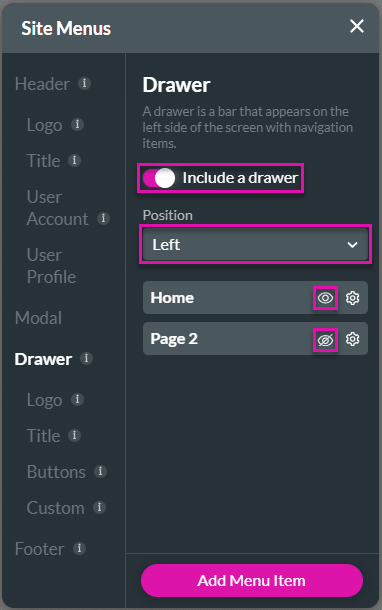
- Select the Drawer option and then use the toggle switch to include a drawer.
- Use the drop-down list to select the position of the drawer in terms of the page layout. The options are as follows:
- Left
- Right
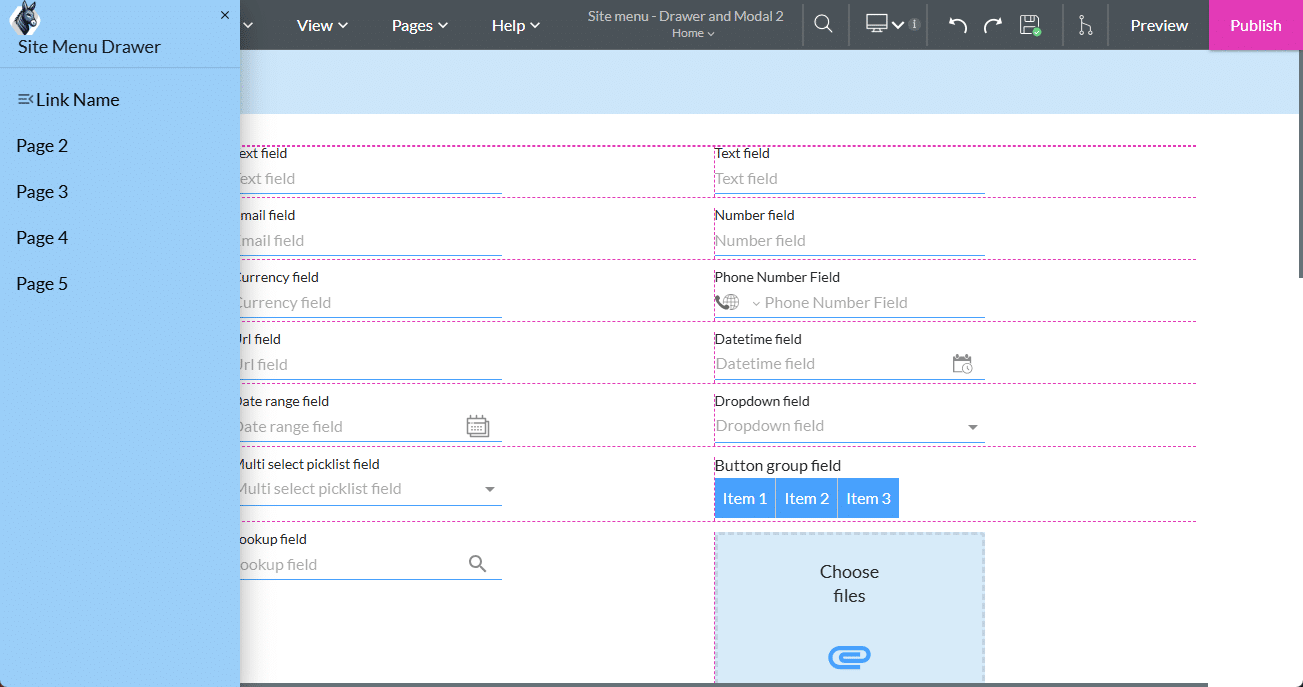
- Click the View icon to show or hide the drawer on different pages.
- In this example, Page 2 will not be visible in the drawer.
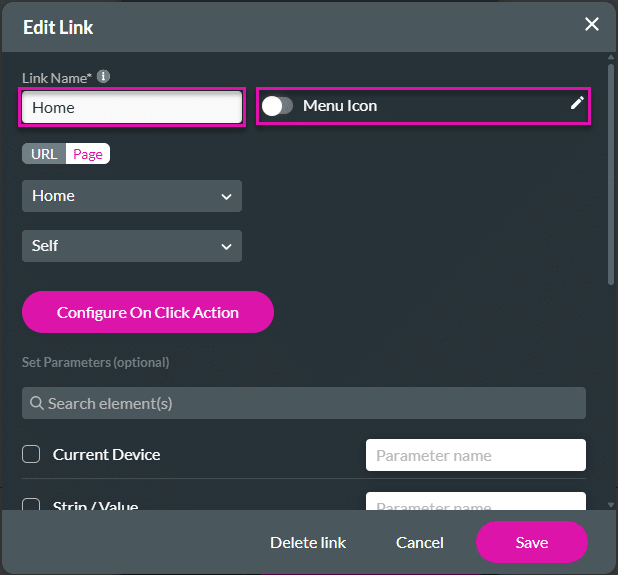
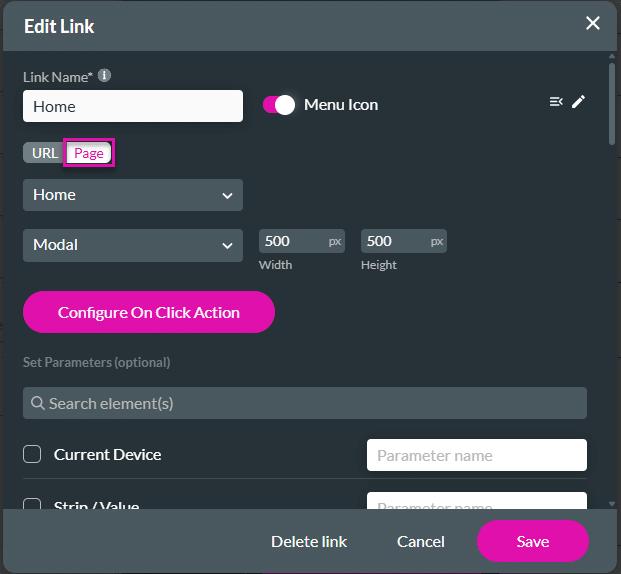
- Click the Settings icon to open the Edit Link screen. This is optional.

- If necessary, do the following:
- Change the link name. This is the name of the link on the drawer that will open either a URL or a page.
- Use the toggle switch to add a menu icon next to the link in the drawer, then click the Edit icon to add it. The Select Icon screen opens.
- Search for and add an icon from one of the types:
- Material UI
- Ionicons
- Custom
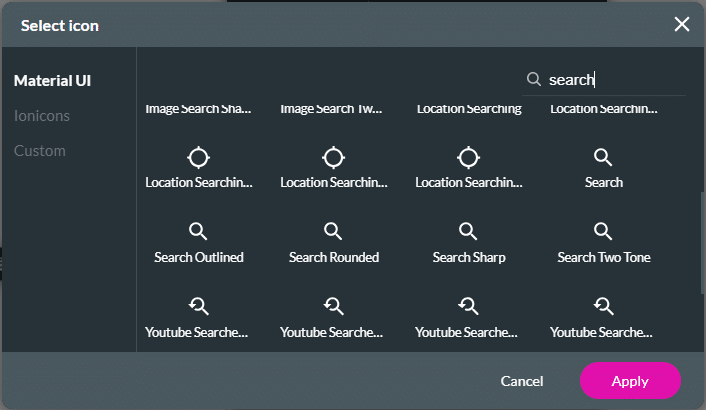
- Click the Apply button. The icon is changed.
- Configure the Page settings. This is the page that the link will redirect to.
- Alternatively, click the URL button and configure the custom URL settings. This is the URL that the link will redirect to.
- Use the drop-down list to select a project page or add the URL to the field.
- Use the drop-down list to select how the page or URL must open. The options are as follows:
- Self: Redirects within the current browser tab or window where the redirection was initiated.
- Modal: Opens the redirected content in a modal dialog or pop-up window within the same browser tab or window.
- Type the width and height.
- Parent: Redirects from a modal to the parent page.
- Blank: Opens the redirected content in a new browser tab or window.
- Click the button to configure on-click actions.
- Check the necessary boxes to set parameters, such as passing data to parameters on a different page.
- Type the parameter name from the destination page in the field.
- For any redirect in Titan, data (parameters) can be passed from the current page to the new page.
- Click the Save button.
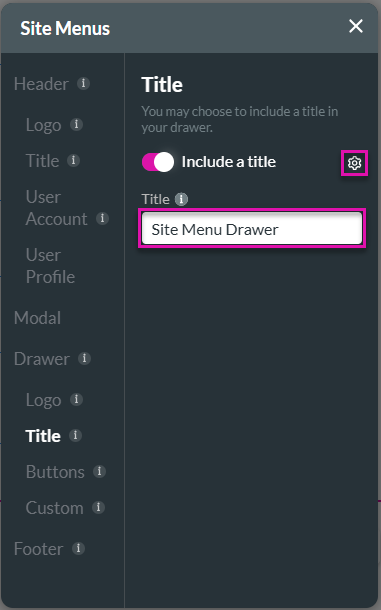
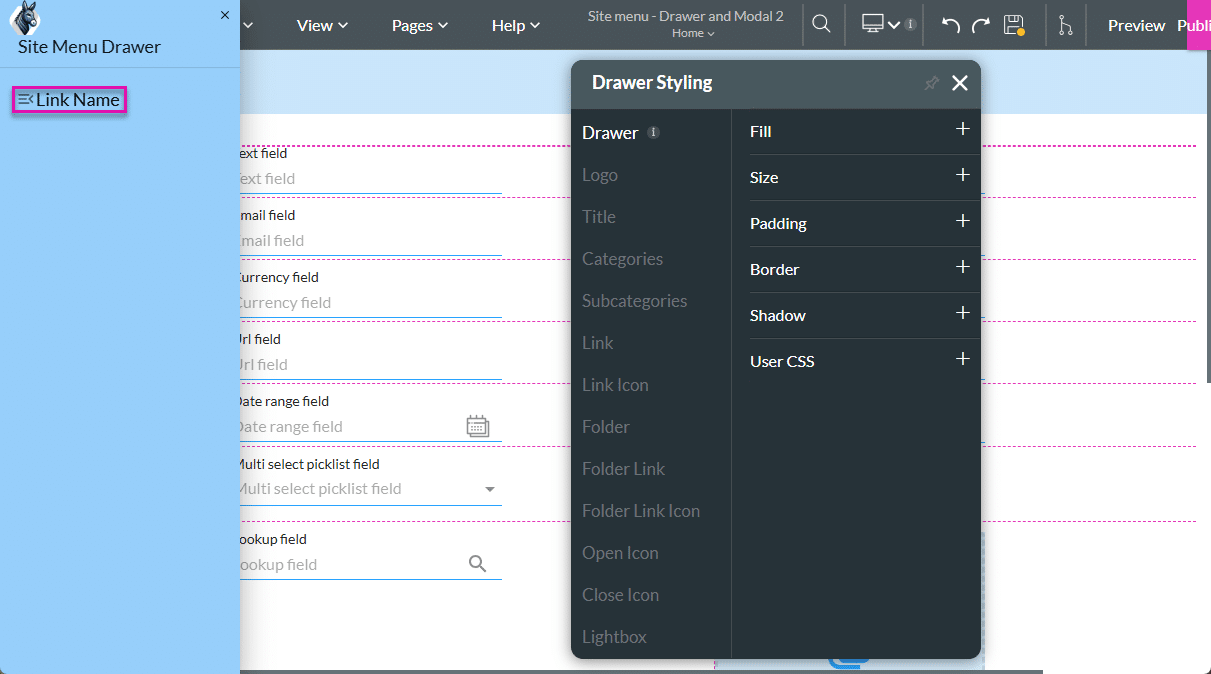
- Click the Title option, and use the toggle switch to include a title.

- Type a title in the field.
- If necessary, use the Gear icon next to the Include a title toggle switch to configure an On Click Action.
You can add a drawer container by selecting the Custom option, then clicking the Add Drawer button.
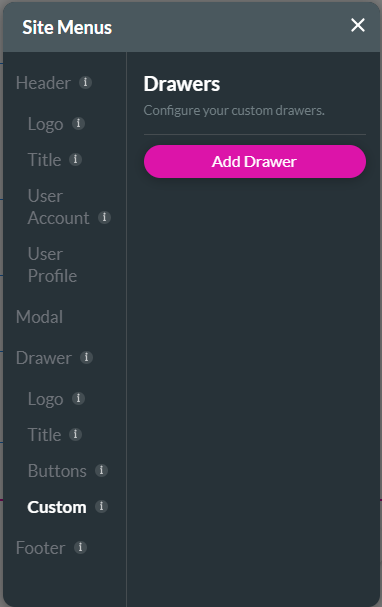
You can give the drawer a unique name.
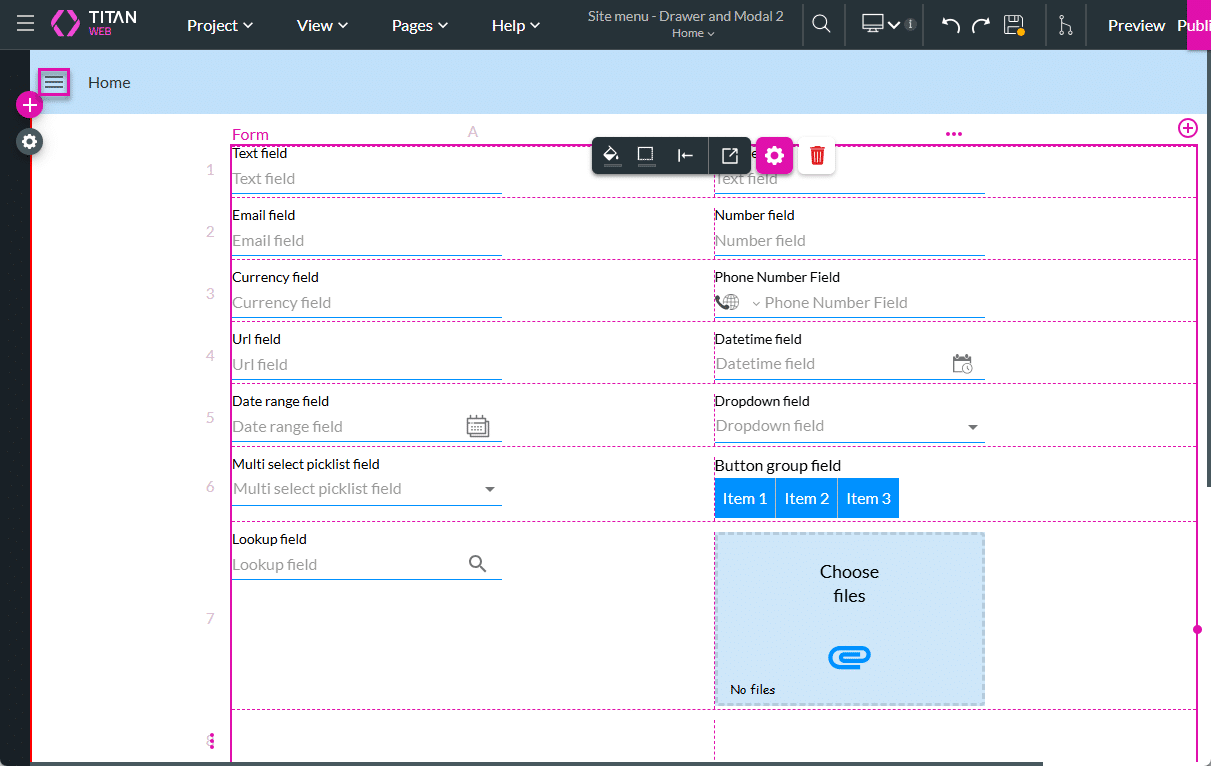
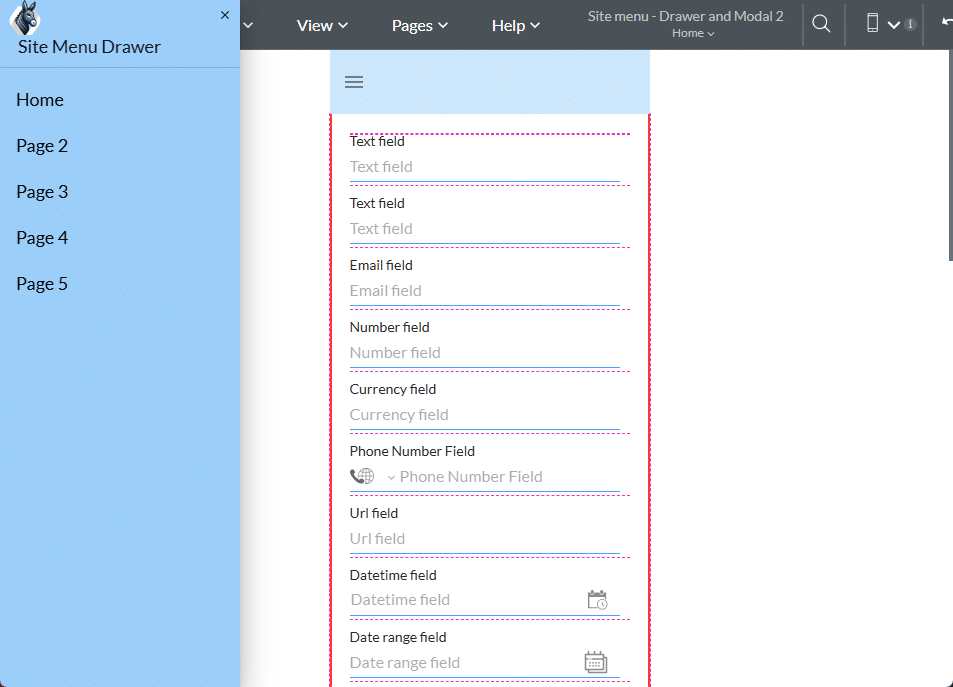
When the user clicks the Open icon, the drawer is shown with the logo, title, and Close icon as configured. If a link is added, the page or URL will open when the option is clicked.
On a project with multiple pages, you can add the navigation links to these pages in the drawer:
For small mobile device layouts, a drawer is added by default when a header is added to the project, whether the drawer was enabled or not.