

DocGen Settings
Business Background
Use DocGen Settings to design the layout of the interactive fields in your document. Control the setting for each field, such as dimensions, font, color, and the positioning of the interactive elements and margins.
How to Video
- 0:02 An introduction to DocGen Settings.
- 0:37 We show you how to edit your Input Fields.
- 0:47 Navigate to your Index Settings.
- 1:02 Learn how to make style changes to your document.
- 1:23 Discover more about the Interactive Margin.
- 1:54 We show you how to apply different styles to each input field.
- 5:30 Preview the updated project.
How to Guide
Note:
This function is available for Titan Web interactive fields in Word documents.
Set input field on Titan Web and use the Insert/Edit Interactive fields in Word to adjust and design the layout.
In Titan Web
- Add all the necessary elements.
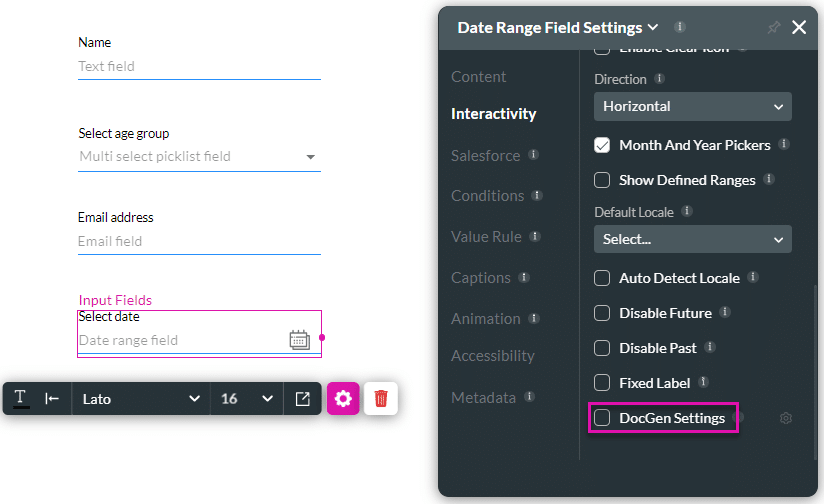
- Click the Gear icon of the elements that you want to use in the Word template. The element settings screen opens.
- Select the Interactivity option from the list.
- Click in the DocGen Settings checkbox.
In Word add-on
- Navigate to the Word document and sign in to the Titan Word add-in.
- Click the Insert/Edit Interactive fields option. The Insert Interactive fields screen opens.

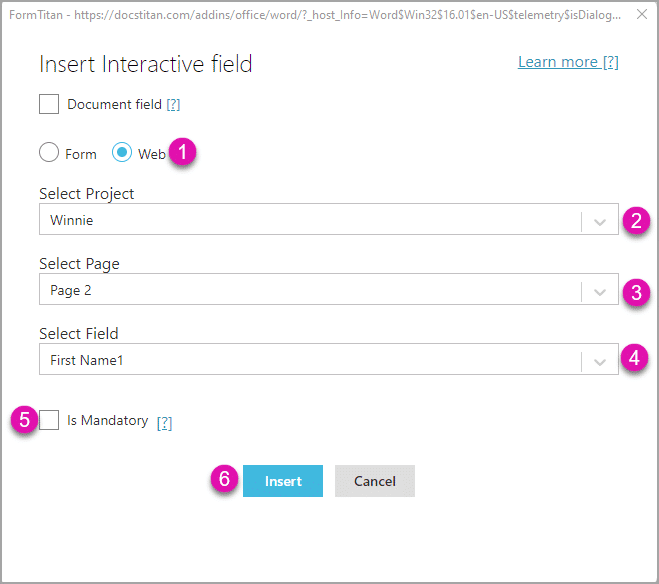
- Set the Insert Interactive fields as follows:
- Select the Form or Web radio button to select a project. This article shows the options for the Web project.
- Use the Select Project drop-down list to choose the project you want to interact with. This is the Web project where you added the interactive elements.
- Use the Select Page drop-down list to choose the page that contains the input fields in the Web project.
- Use the Select field drop-down list to choose the input field in the Web project.
- Click the Mandatory checkbox to make your interactive fields mandatory in the Word preview window.
- This is optional.
- Click the Insert button.
In Web project
- Navigate to the Web project to adjust the input fields.
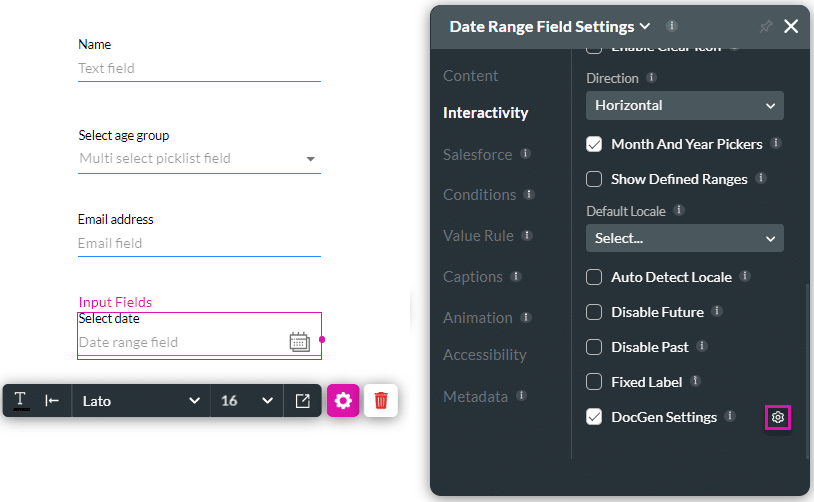
- Click the Gear icon of the elements that you want to use in the Word template. The element settings screen opens.
- Select the Interactivity option from the list.
- Click the DocGen Settings checkbox.
- Click the Gear icon next to DocGen Settings. The Input DocGen Settings screen opens.
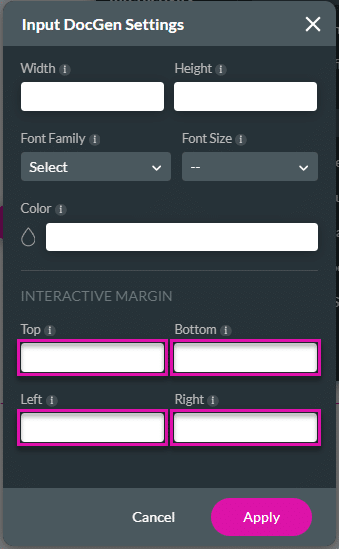
- Do as follows to set Input DocGen Settings:
- Set the width and the height to adjust the width and height of the element.
- Select the font family from the drop-down list to change the font.
- Select the font size from the drop-down list to change the size.
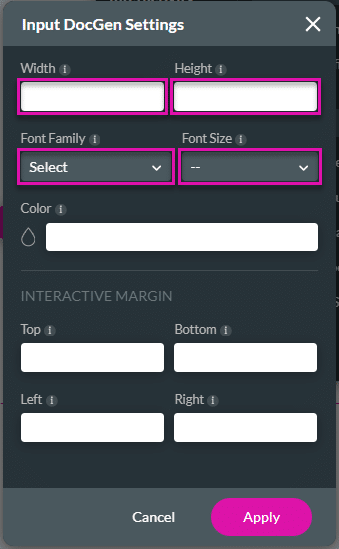
- Click the color selector to select a color. The color selector screen opens.
- Select a color and click away from the color selector.

- Set the interactive margin as follows:
- Set the Top to adjust the value of the top of the element. This is the position of the element 20 pixels from the top of the page.
- Set the Bottom to adjust the value of the bottom of the element.
- Set the Left to adjust the value of the left side of the element. This is the position of the element at 20 pixels from the left of the page.
- Set the Right to adjust the value of the right side of the element.
- Click the Apply button. The input fields will be adjusted in the document.
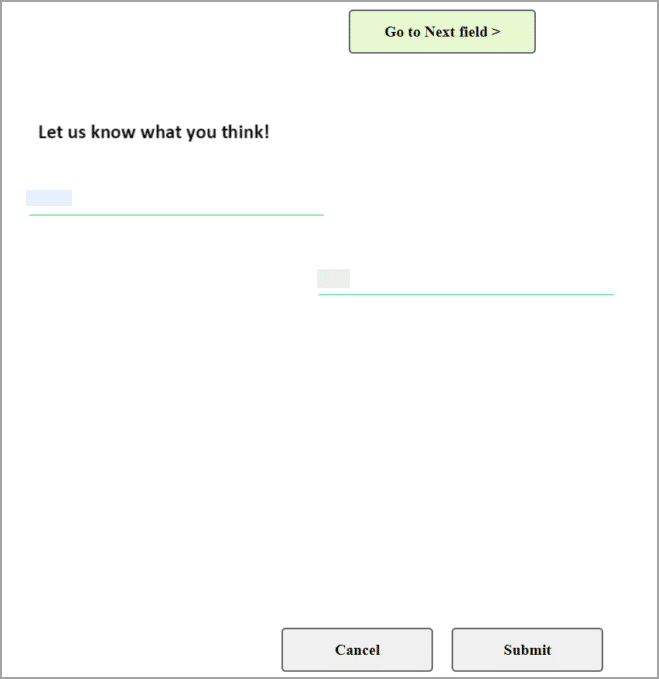
See the example below.
Hidden Title
Was this information helpful?
Let us know so we can improve!
Need more help?
Book Demo