

Default Locale
Business Background
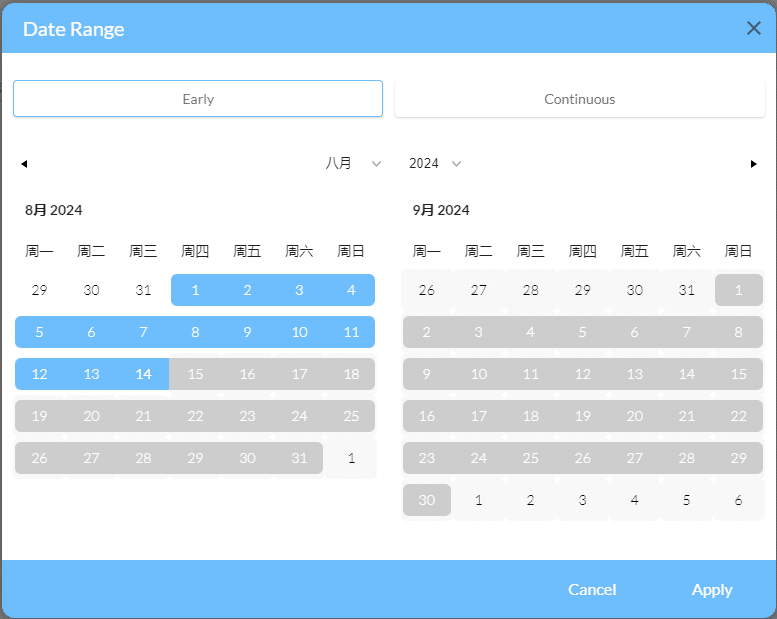
Use the Default Locale function to auto-translate inputs into the selected locale. This option is available for the following elements: Date Range, Date, Time, and Date Time.
You can also set the Default Locale for the Scheduling widget.
How to Video
- 0:02 An introduction to setting up Locale.
- 0:19 Navigate to Index Settings.
- 0:29 We show you how to use the Locale setting.
- 0:38 Preview the updated project.
How to Guide
- Click the + icon to open the list of elements.
- Select the Input option from the list.
- Click-and-drag the Date Range element to the canvas.
- Click the Date Range element settings Gear icon. The Date Range Settings screen opens.
- Select the Interactivity option.
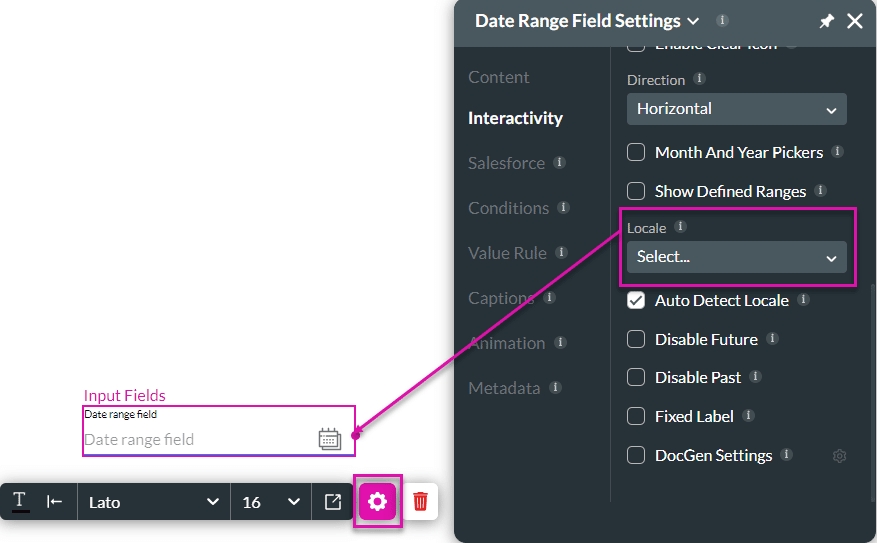
- Select the Locale option from the drop-down list. The language of the element changes to the locale you selected.
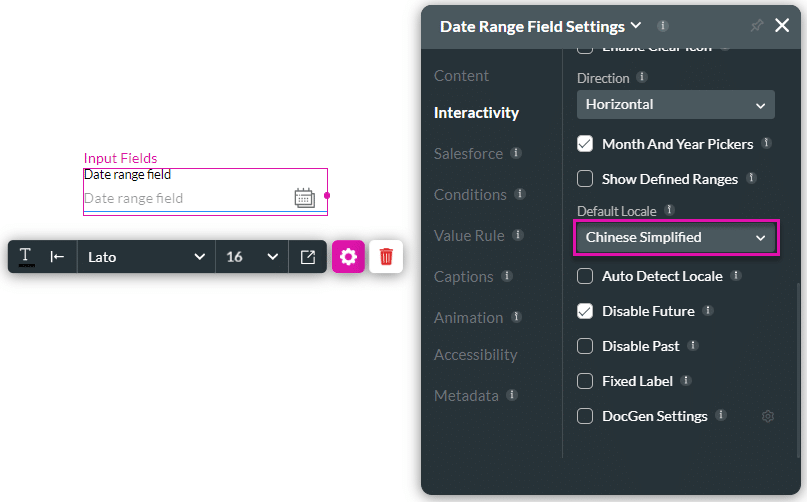
See the example below.
Hidden Title
Was this information helpful?
Let us know so we can improve!
Need more help?
Book Demo