

Barcode Generator Widget
Business Background
A barcode is a machine-readable code consisting of numbers and parallel lines of varying width, while a QR code is an array of black and white squares.
Titan Solution
You can configure the barcode/QR code widget to satisfy your business needs with just a few clicks, without any coding.
- Titan supports barcode 128, a high-density linear barcode symbology defined in ISO/IEC 15417:2007. It can generate alphanumeric or numeric-only barcodes representing all 128 ASCII code characters (numbers, upper-case/lower-case letters, symbols, and control codes).
- Barcode 128 is commonly used for shipping labels, ID cards, USPS applications, and some medical applications.
- A barcode stores information in a line (in the horizontal direction), while a QR code stores information two-dimensionally: in both horizontal and vertical directions. Therefore, a QR code shows substantially more information than a barcode.
How to Guide
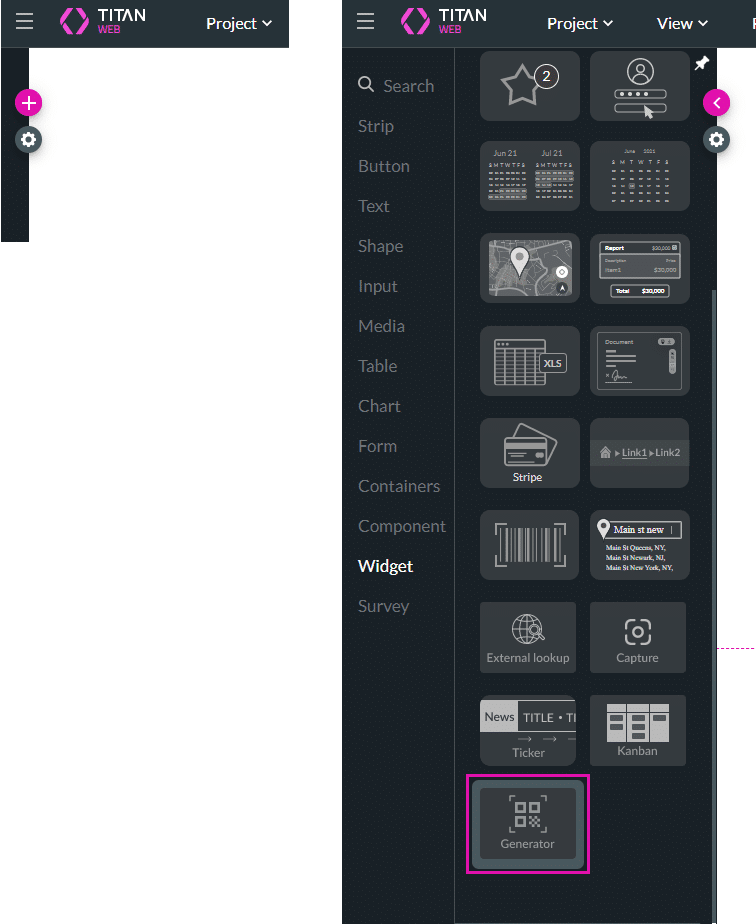
- Click the + icon to add an element.
- Under Widgets, drag the Generator widget to the canvas.
- Use one of the following methods to configure the widget.
- Use a Salesforce Get
- Use an Affected Element
Use a Salesforce Get
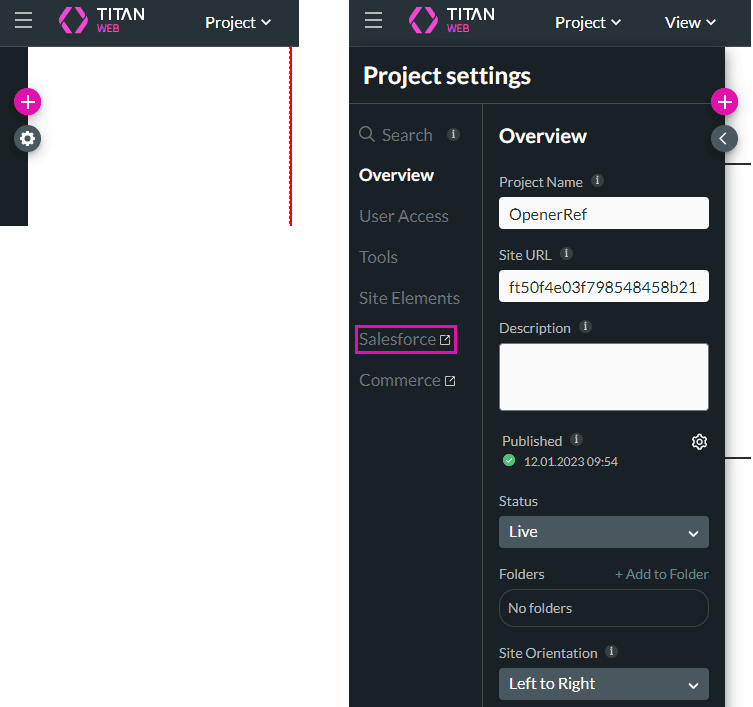
- Use the Gear icon to open the Project settings.
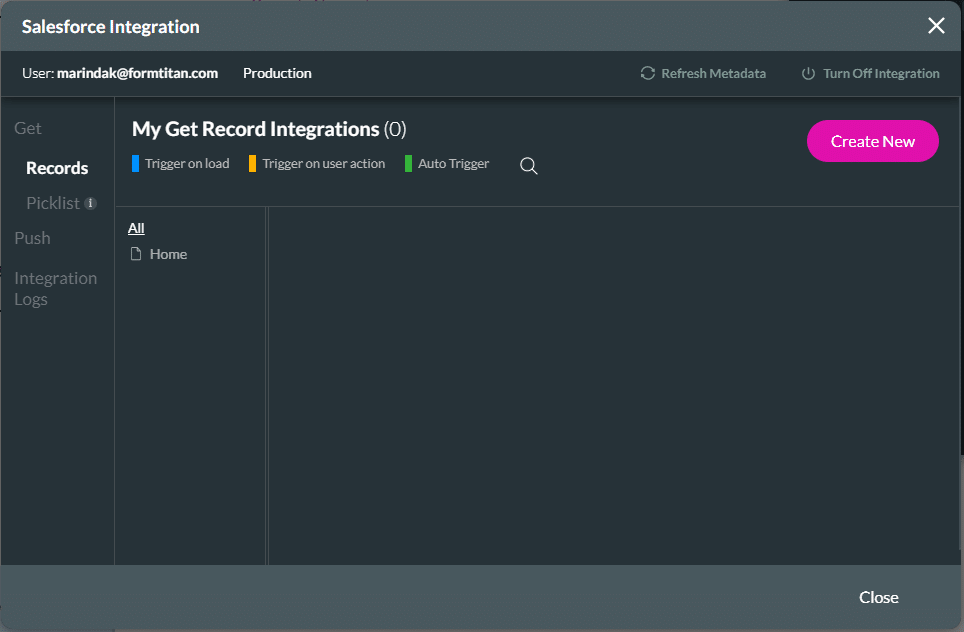
- Select the Salesforce option. The Salesforce integration screen opens.
- Configure a Get integration.
- Under Mapping, use the drop-down list to select a Salesforce field for the Generator element and click the Apply button.
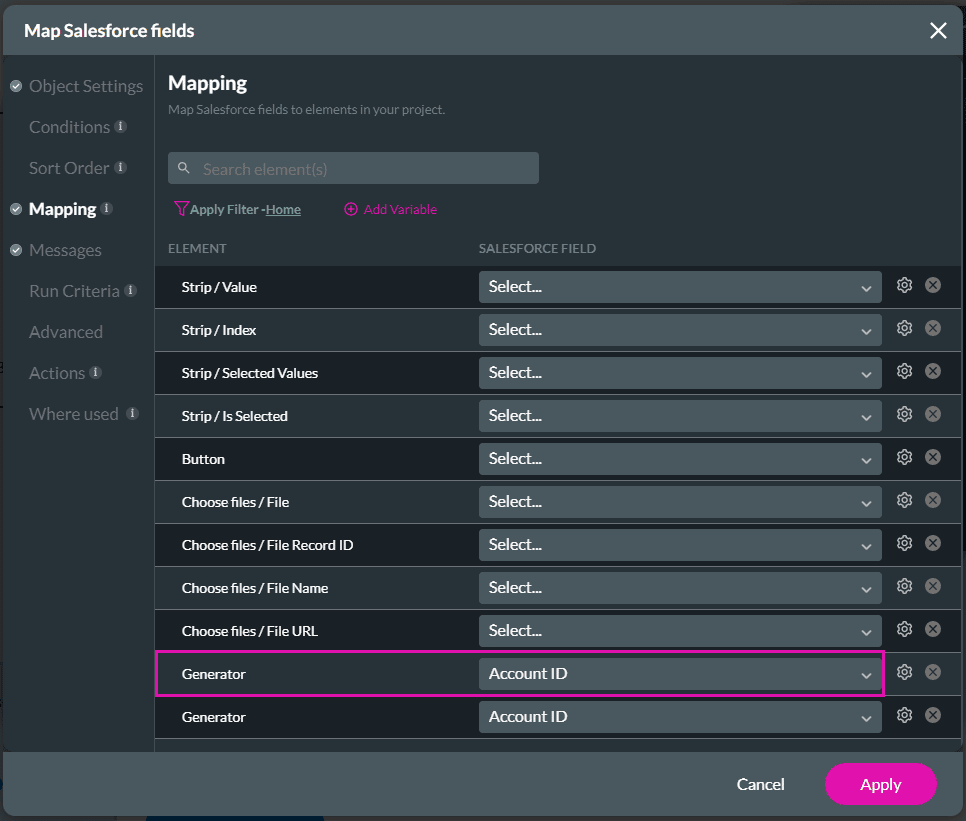
- Click the Close button.
- Save and Preview the project.
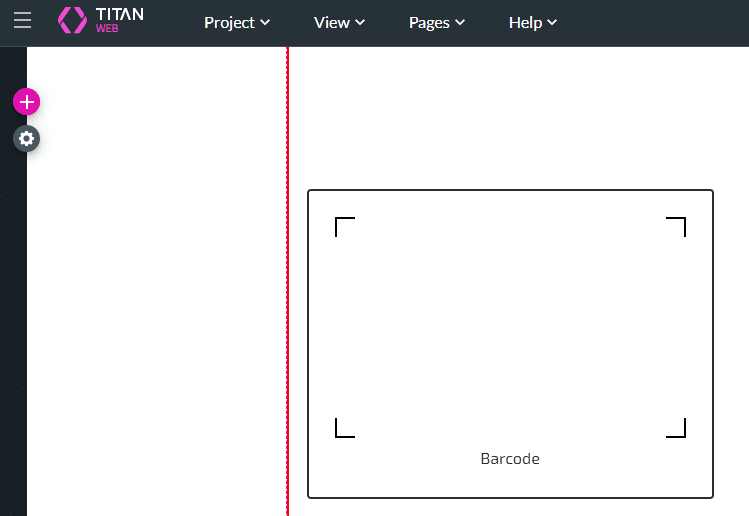
The barcode or QR is shown when the page opens.

Use an Affected Element
In this example, the generator is added as an affected element action.
- Add a button to the project.
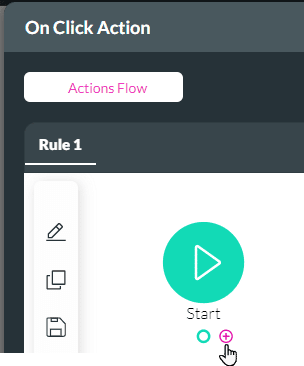
- Click the On Click Action icon. The On Click action screen opens.

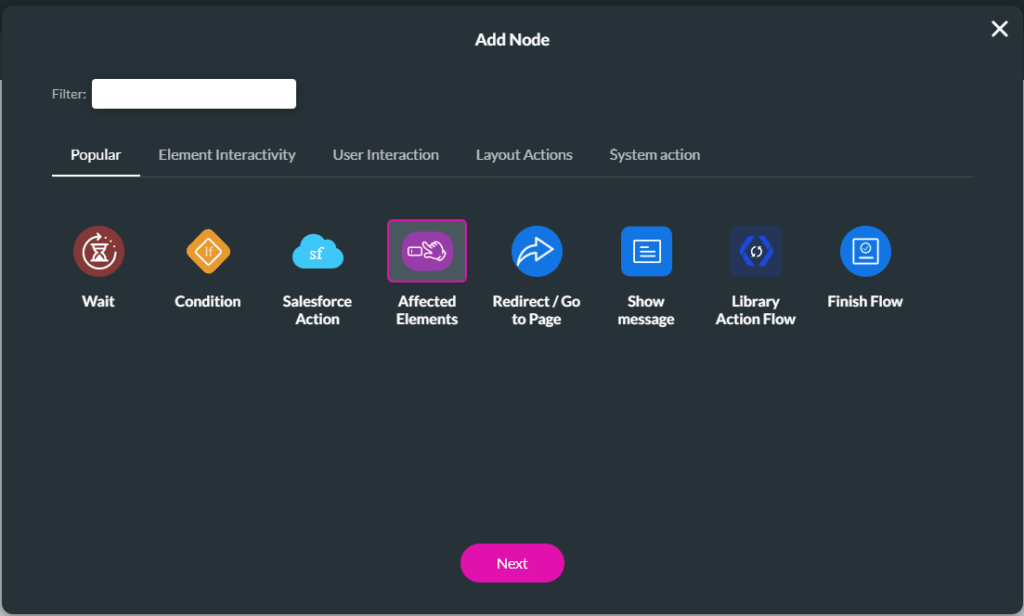
- Click the + icon. The Add Node screen opens.
- Select the Affected Elements option and click the Next button. The Add Node/ Affected Elements screen opens.
- If necessary, search for the Generator element and click the Barcode Generator checkbox.

- Use the Action drop-down list to select one of the following:
- Set value. This is a static value that you must add to the field.
- Add a ULR in the following format: www.websitename.com.

- Set value from: The value is set from another element that you must also select.
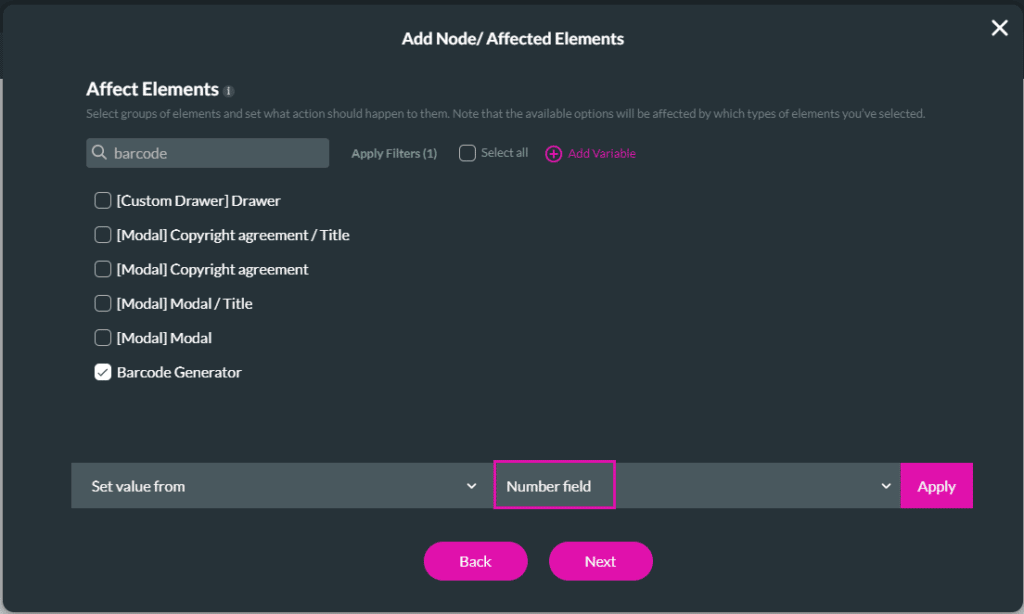
- Click the Apply button.
- Insert a tag if necessary and click the Insert button.
- Save and Preview the project.
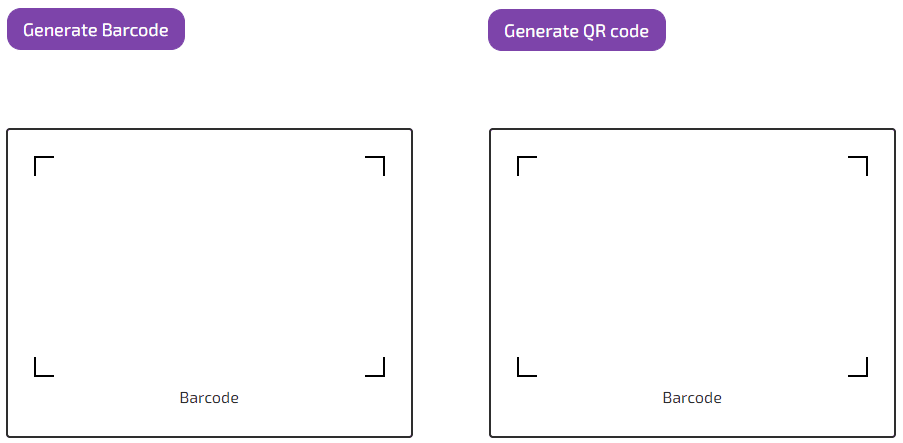
When the user opens the webpage, the barcode element is empty.
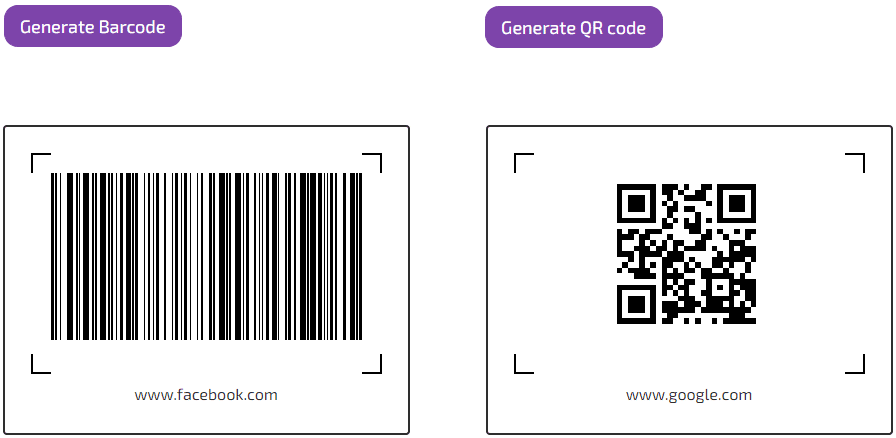
When the user clicks on the button, the barcode or QR code is generated:
Hidden Title
Was this information helpful?
Let us know so we can improve!
Need more help?
Book Demo