

Distribute Surveys using Salesforce List View
Business Background
Distribute a survey from the Salesforce List View using Titan Survey in just a few clicks.
Titan Solution
- Distributing a survey from a Salesforce List View is an easy way to send surveys to a filtered list of end-users.
- With Titan Survey, use a list you have already created in Salesforce, and trigger your survey to be sent to everyone on this list.
- Users can send to list views with data pulled directly from Salesforce, and all survey information is synced straight back to Salesforce, ensuring complete automation for your surveys.
How to Video
Use Titan Survey to easily create web or email surveys for Salesforce. In this video we will show you how to publish a survey from Salesforce List View with Titan Web Survey.
- 0:18 Publish using Survey List View: Learn how to use a published survey from Salesforce List View.
- 1:23 Create a Salesforce List View: We show you how to create a List View in Salesforce. Learn how to add filters to see specific data on your list.
- 2:33 Create List View Titan: Learn how to create a List View in Titan. You can filter your List View according to your customers.
- 2:41 Configure items: We show you how to add conditions, such as your Last Name.
- 2:54 Choose Content: Choose content, such as an Email Template or Custom Email.
- 3:33 View Survey Email: Learn how to view the survey link in your email and view the List View in Salesforce on responses.
How to Guide
Note:
Prerequisite:
- In Titan, create a new Web Survey project or Email Survey project.
- Add question and/or information slides.
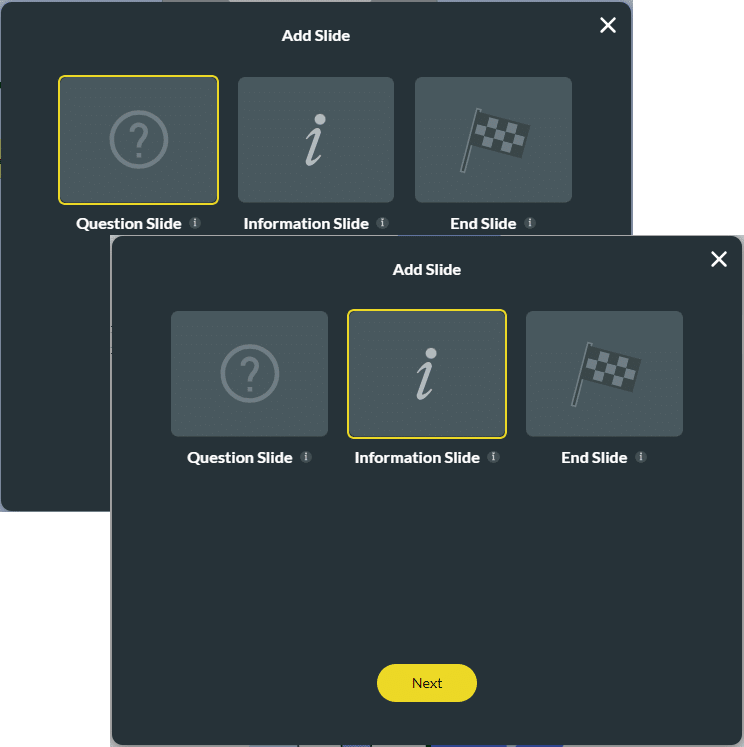
- Once your survey is complete, click the Publish button and select the List View option.

- Select an Object in Salesforce from the drop-down list. The survey records will be linked to this object.
- Select the List View from the drop-down list.
- This is the list view, with its specific filters, linked to the object you selected in the previous step.
- Select the Record ID options from the drop-down list.
- This is the record ID linked to the object you selected in step 4. Titan will take each survey taker’s responses and link them to the object using the record ID.
- A survey taker’s responses are linked to the object using a look-up field that uses the record ID.
- Select the email from the drop-down list.
- Click the Next button.

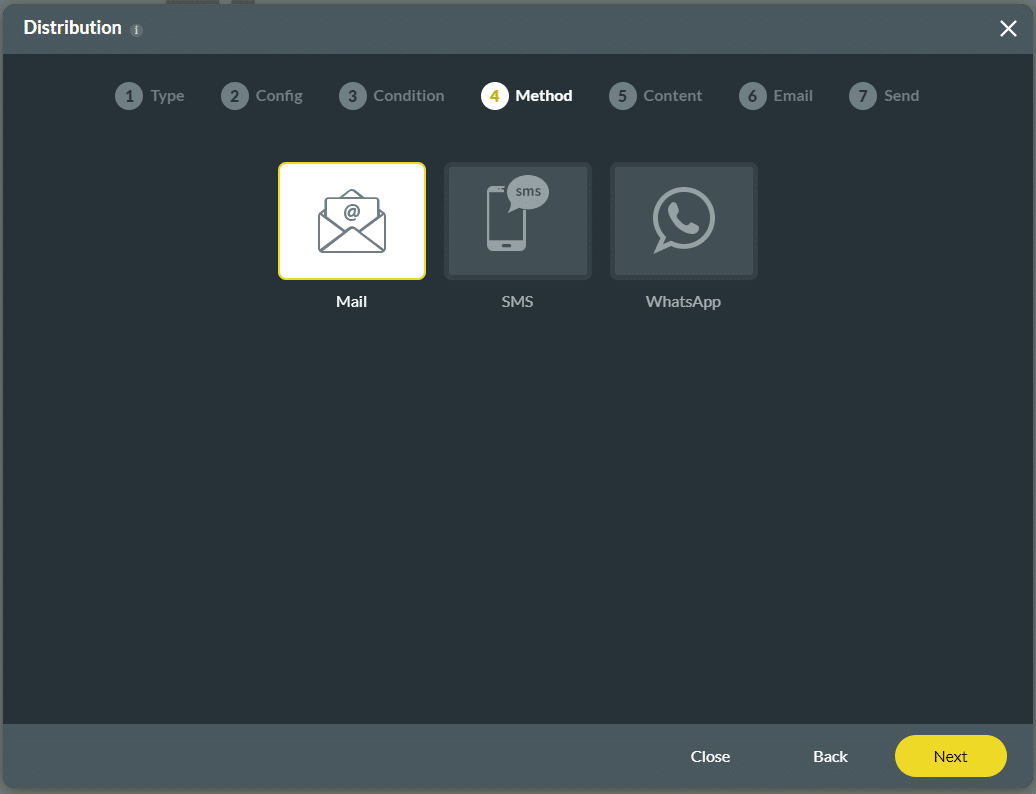
- Click the Mail option and then the Next button. You can select either an email template or create a custom email.
- If required, use the Email template.
- Select the Organization Email Template from the drop-down list. This template was configured in Salesforce.
- Choose Email from the drop-down list.
- The options in the drop-down list are linked to the object you selected in Salesforce in step 4.
- This is the email of the customer who will receive the survey.
- Choose the From Email Address from the drop-down list. For more information on this email address in Salesforce, click here.

- As an alternative, click Custom Email.
- Choose the From Email Address from the drop-down list. For more information on this email address in Salesforce, click here.
- Choose Email from the drop-down list. The options in the drop-down list are linked to the object you selected in Salesforce in step 4. This is the email of the customer who will receive the survey.
- Type a subject in the Subject line. This field is mandatory.
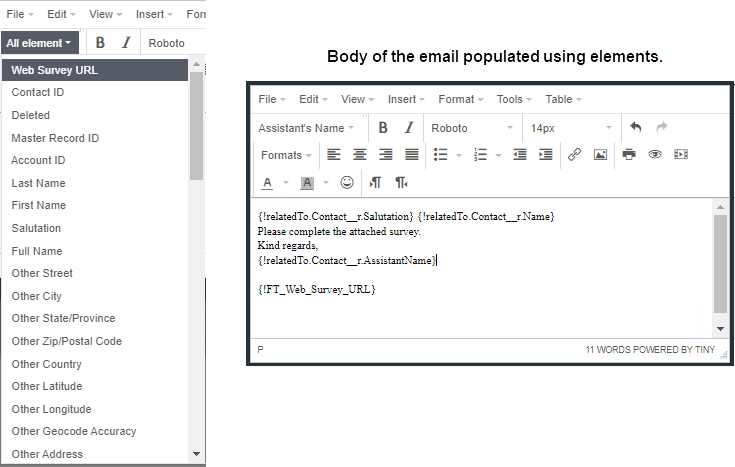
- Type a body in the Body of the email.
- Click the Next button.
Note:
The Survey URL is added by default. You can add more elements by clicking on the All Elements (Merged field) option.

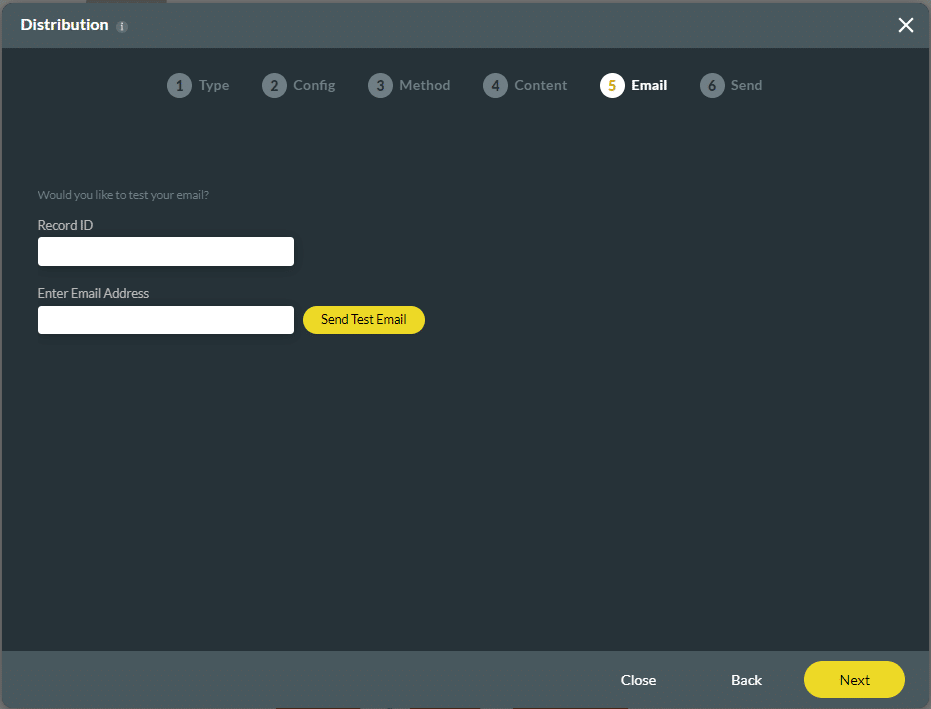
- Send a test email, if required.
- Add a Record ID in the field.
- Enter your email address in the field. This is the email recipient who will receive the test email.
- Click the Send Test Email button.
- Click the Next button.
- Type the survey results’ recipient in the field.
- This person will receive a summary of the results of the survey. For instance: “Number of takers inserted: X Number of takers failed: N The batch Apex job processed Y batches with Z failures.”
- Type a comment in the field.
- This is mandatory. The comment is saved in Salesforce, and you can view it later.
- You can later redistribute the survey with the help of the comment. Click here for more information on the redistribution of the survey.
- Select a scheduled date or send the survey now.
- Click here for more information on how to schedule a date for a survey.
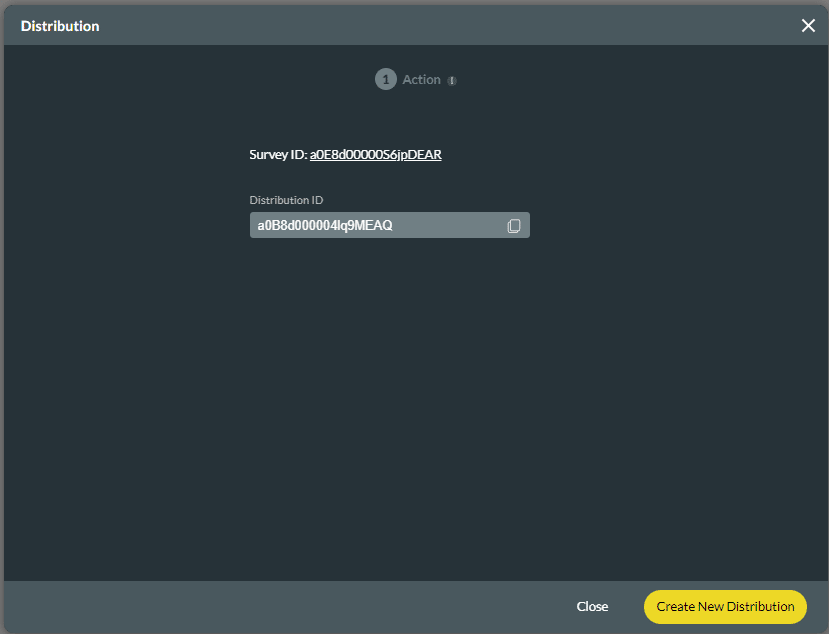
- Click the Click to Send button. After a few moments, the Distribution screen opens. It shows the Survey ID and the Distribution ID.

- Click the Close button.
Interested in the Titan/Salesforce Integration? Try Titan Forms for Salesforce or Surveys for Salesforce.
Hidden Title
Was this information helpful?
Let us know so we can improve!
Need more help?
Book Demo