

Finish Slide
Business Background
Configure the Finish Slide to customize the final slide of your email survey, according to business needs, with a single click.
Titan Solution
The Finish Slide is automatically added to all surveys. The Finish Slide has a range of different pre-designed layouts, and enables you to configure actions, such as direct users to specific pages, for example a “Thank you” screen. Adjust your finish slide as desired by editing text, changing the header and font, adding media, and much more.
How to Video
Use Titan Survey to easily create web or email surveys for Salesforce. In this video, we will show you how to add the Email finish slide in Titan Survey.
- 0:12 Finish slide: Learn more about how to add an email survey finish slide.
- 0:36 Add or modify the text: We show you how to add or modify the text, images, titles, descriptions, and much more. You can also use the font type and specify the font size.
- 0:56 Enable Again button: You can use the Again button to reset the survey to allow the user to take it again.
- 1:05 Set the Captions: We show you how to set captions such as the Start button, Back button, and Submit button.
- 1:18 Survey Navigation: Learn how to use the Enable Back button to browse back to the previous questions.
- 1:27 Set Survey Styles: You can set the survey style such as font type, button position, and content width.
- 1:45 Preview the finish slide: We show you how to preview the finish slide after survey completion.
- 2:03 Remove or Add finish slide: We show you how to remove and add the finish slide.
How to Guide
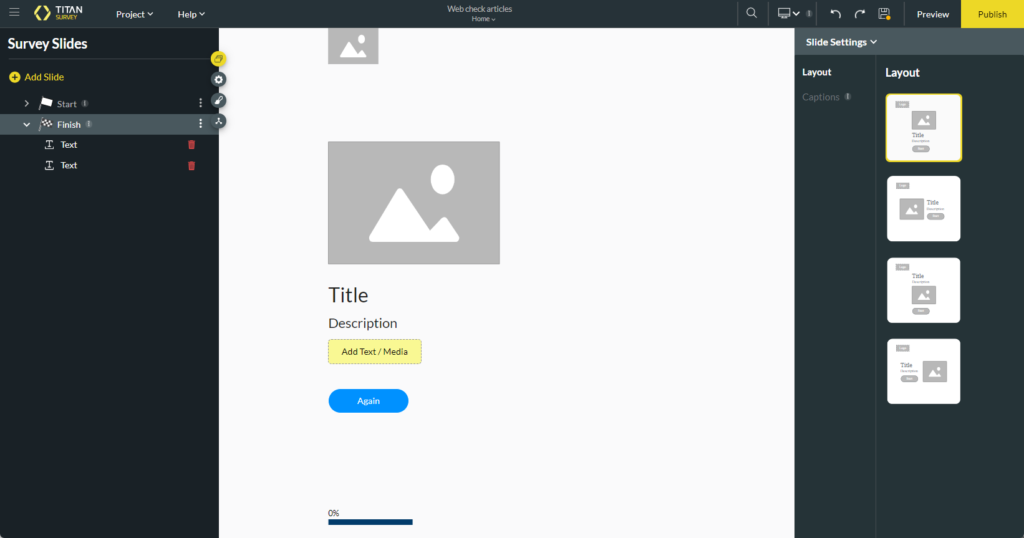
- Create a new Web Survey The Finish Slide is added automatically.
- Select a layout from the layout list.
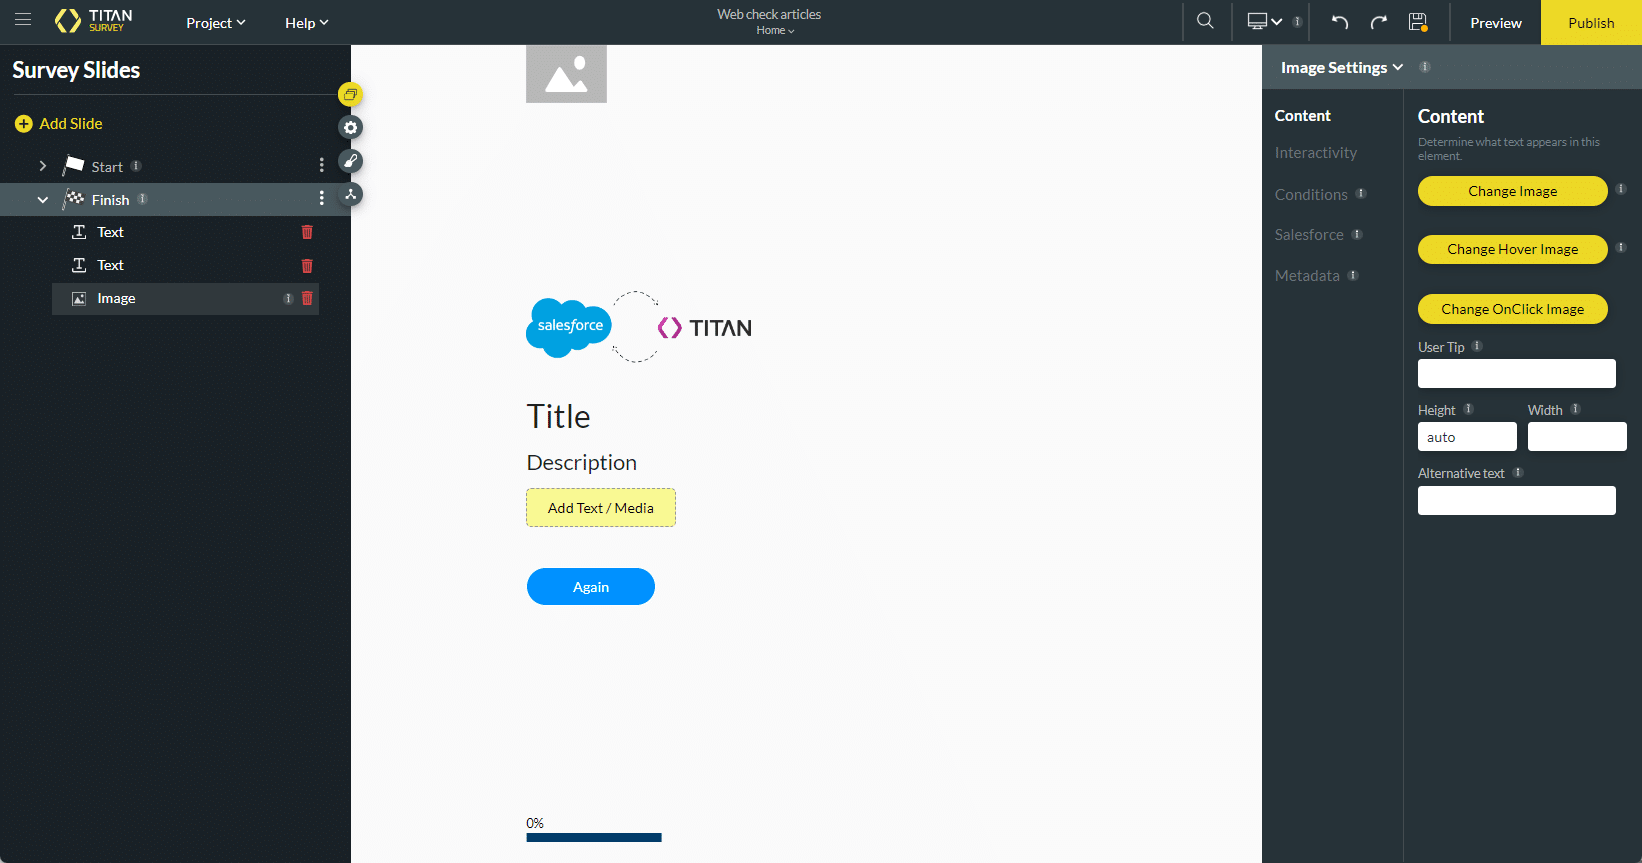
- Click the Image placeholder. The Add an Image screen opens.
- Do one of the following:
- Choose an image that you have uploaded before.
- Configure a Salesforce integration to get an image from Salesforce.
- Upload an image from your computer.
- Paste an image URL.
- Click the Apply button.

- Click the Change Image option to change the image. The Add an Image screen opens.
- Click the Change Hover Image option to change the image when a user hovers over it. The Add an Image screen opens.
- Click the Change OnClick Image option to change the image when a user clicks it. The Add an Image screen opens.
- If necessary, add a user tip and change the Height and Width of the image.
- Add Alternative text to improve the accessibility of your survey.
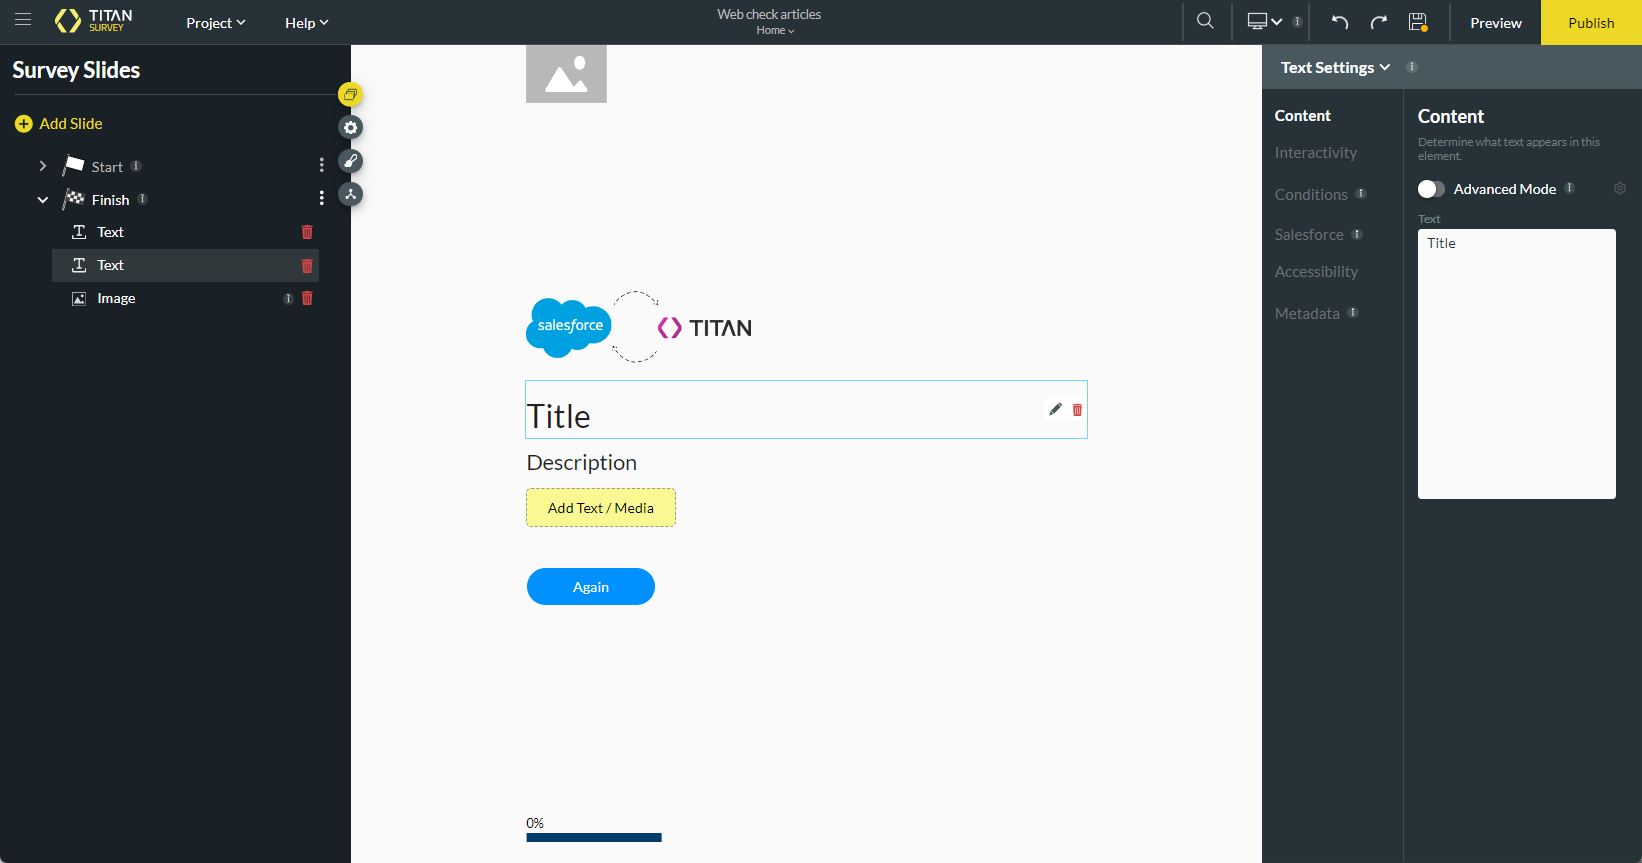
- Click the Title option to add a title.
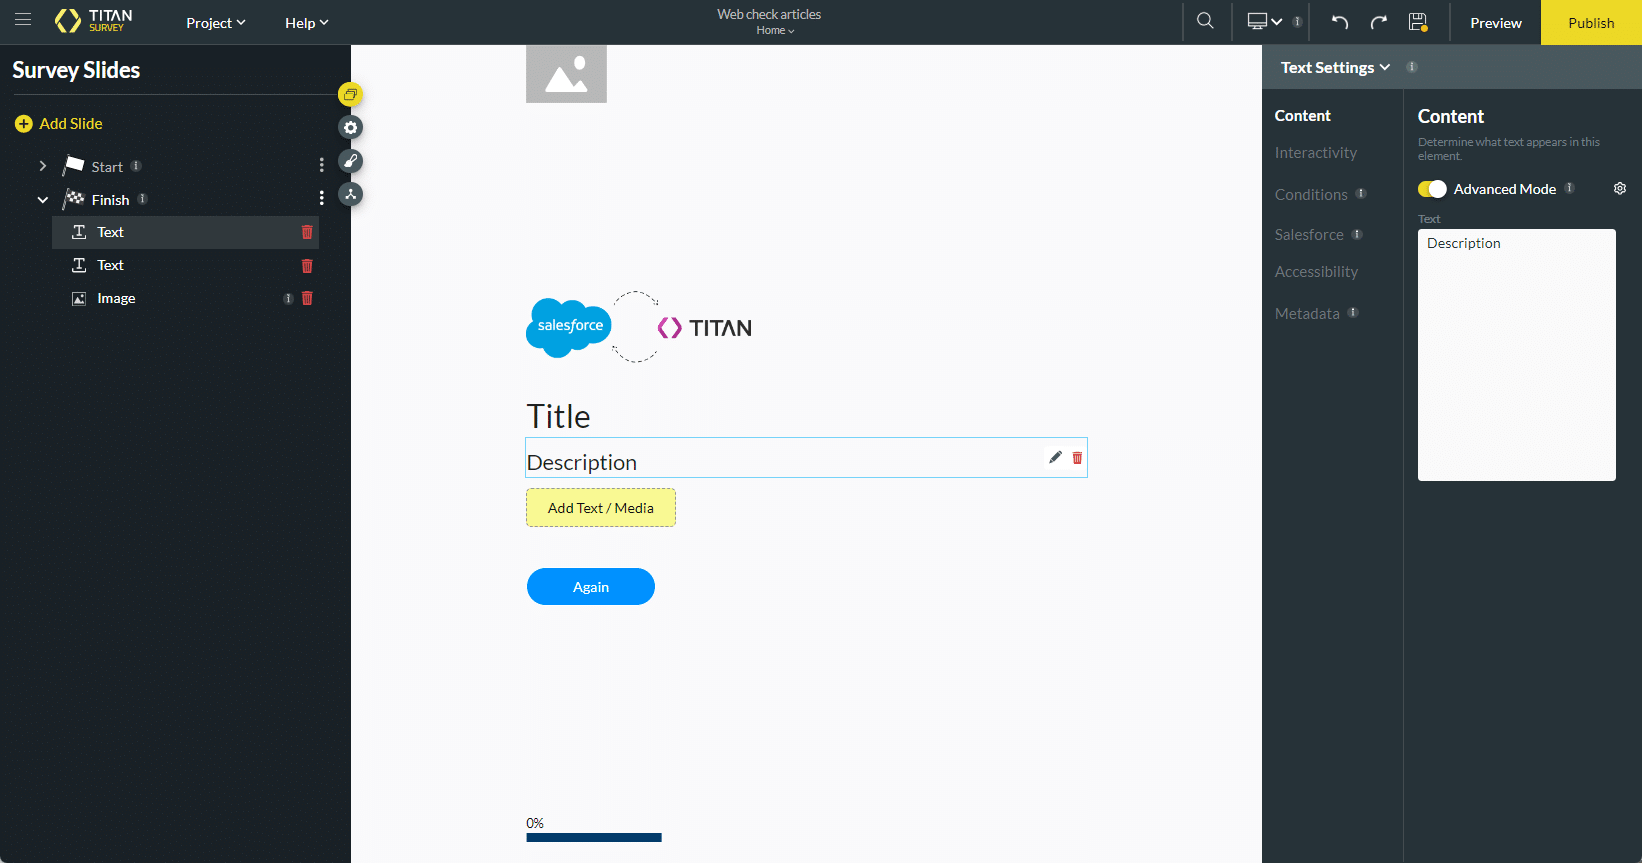
- Click the Description option to add a description.
- Enable the Advanced toggle switch and click the Gear icon to add Custom HTML.
- The Custom HTML screen opens.
- This option is available for both the title and the description.
- Click the Apply button on the Custom HTML screen.
You can add more than one finish slide. For more information on how to Add Multiple Finish Slides.
You can have a different On Finish Action for each Finish Slide.