

Trigger Titan Flow in Titan Sign
Business Background
Send a document to different signers and add actions to the signing process with a titan flow and no code.
Titan Solution
Titan lets you trigger a Titan Flow in a Titan Sign project to add pre-configured actions to a signing process.
How to Video
Video Coming Soon!
How to Guide
Note:
Prerequisites:
- Make sure that you have configured a Titan Flow project.
- Make sure that the Titan Flow project has the following variables:
- Project Settings > Tools > Custom Variables Gear icon
- Static variable: record ID
- File variable
- Project Settings > Tools > Custom Variables Gear icon
- Configure the necessary Flow actions. In this example, we used an email action (send an email with the signed file attached) and a Salesforce action that will create a file attachment.
- Publish the Titan Flow project.
- Open the Titan Sign document project.
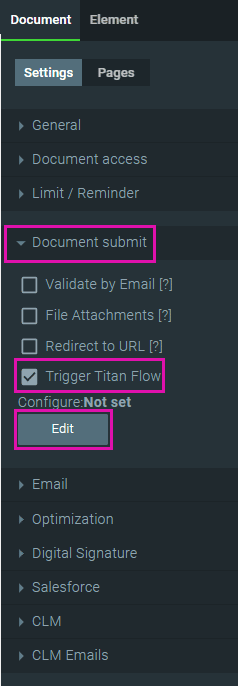
- Under the Document submit option, click in the Trigger Titan Flow checkbox. The status is “Not set.”
- Click on the Edit button. The Trigger Flow screen opens.
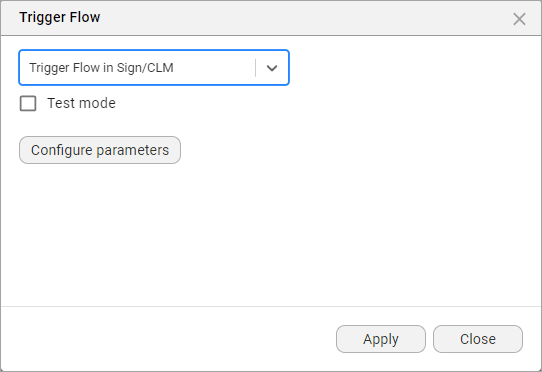
- Select the Titan Flow project from the drop-down list.
- Click on the Configure parameters button. The Configure parameters screen opens.
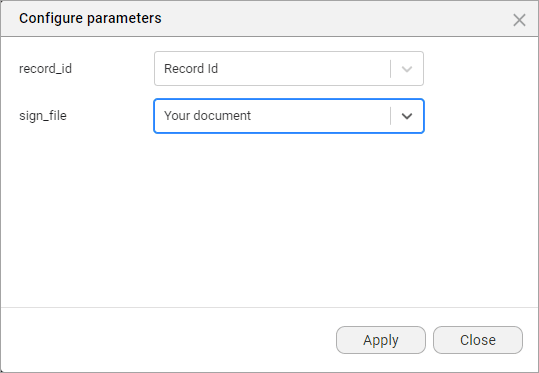
- Use the drop-down lists to select the parameters and click on the Apply button. The status is now “Set.”
- Save the Sign project.
Note:
Make sure you add the necessary user permissions for this project. Click here for more information.
- Open Salesforce and browse to the object where you have configured the FT Generate Document button.

- Click on the FT Generate Document button.

- Click on the Sign icon next to the document you used in the Titan Sign project. A message is shown: “Processing your request, please wait …”
The signers you configured in the Titan Sign project will receive a document to sign. In this example, the sender will receive the email that was configured in the Titan Flow project, and the Salesforce object will be updated with the signed document.
Hidden Title
Was this information helpful?
Let us know so we can improve!
Need more help?
Book Demo