

Edit Online Before CLM
Business Background
Use the FT Generate Document functionality in Salesforce or a Salesforce Flow to trigger CLM and signing processes. In addition, the Salesforce user can now edit the document online before starting the collaboration and approval process.
Titan Solution
Titan lets you edit the document online from Salesforce before sending the document for the CLM process. You can, for instance, add or change text, add images or tables, or change the font family or color.
The changes are not made to the template but only to the edited document version.
How to Guide
There are two methods to do this:
- Use the FT Generate Document Button
- Use a Salesforce Flow
Use the FT Generate Document Button
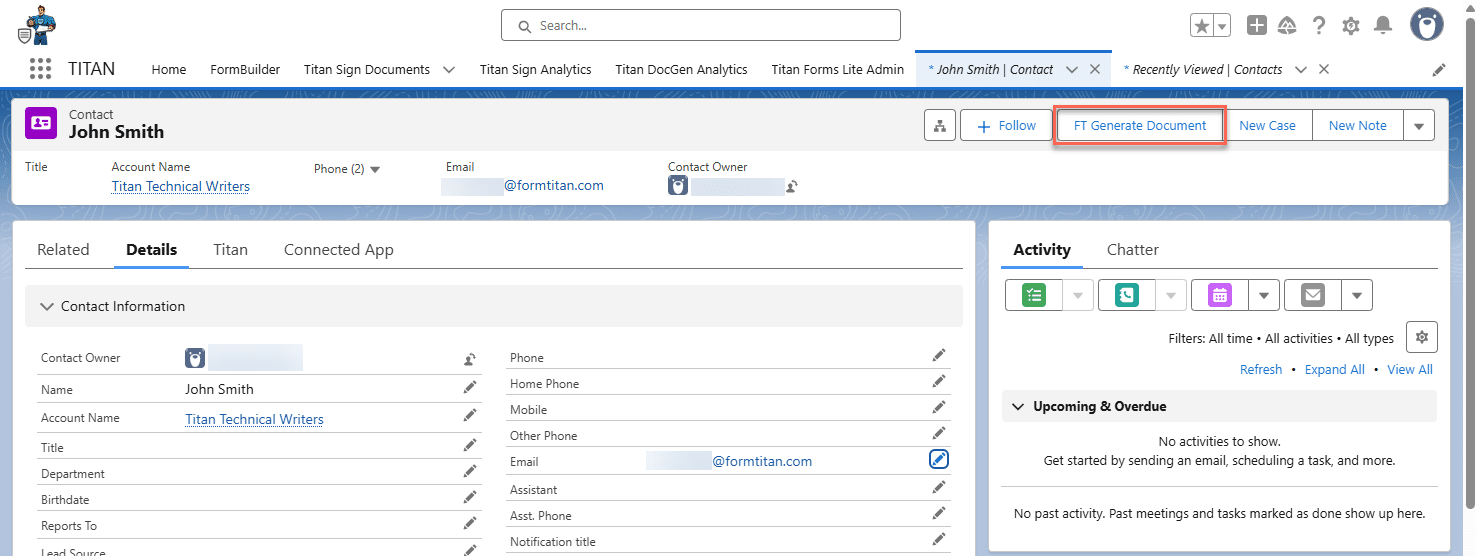
- In Salesforce, open the record where you added the FT Generate Document button.
- In this example, the button was added to a contact.
- The edited document will be sent to the first collaborator in the CLM process.
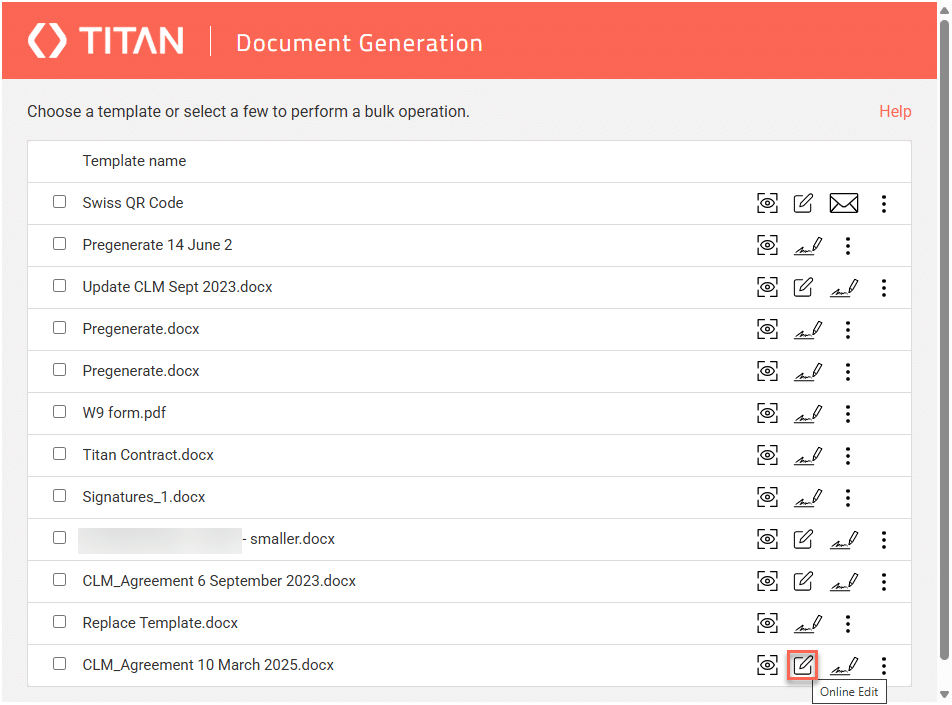
- Click the FT Generate Document button. The Titan Document Generation modal opens.
- Click the Edit icon next to the CLM template you want to edit. The document is generated, bringing all the dynamic data to it. The Titan document editor opens.
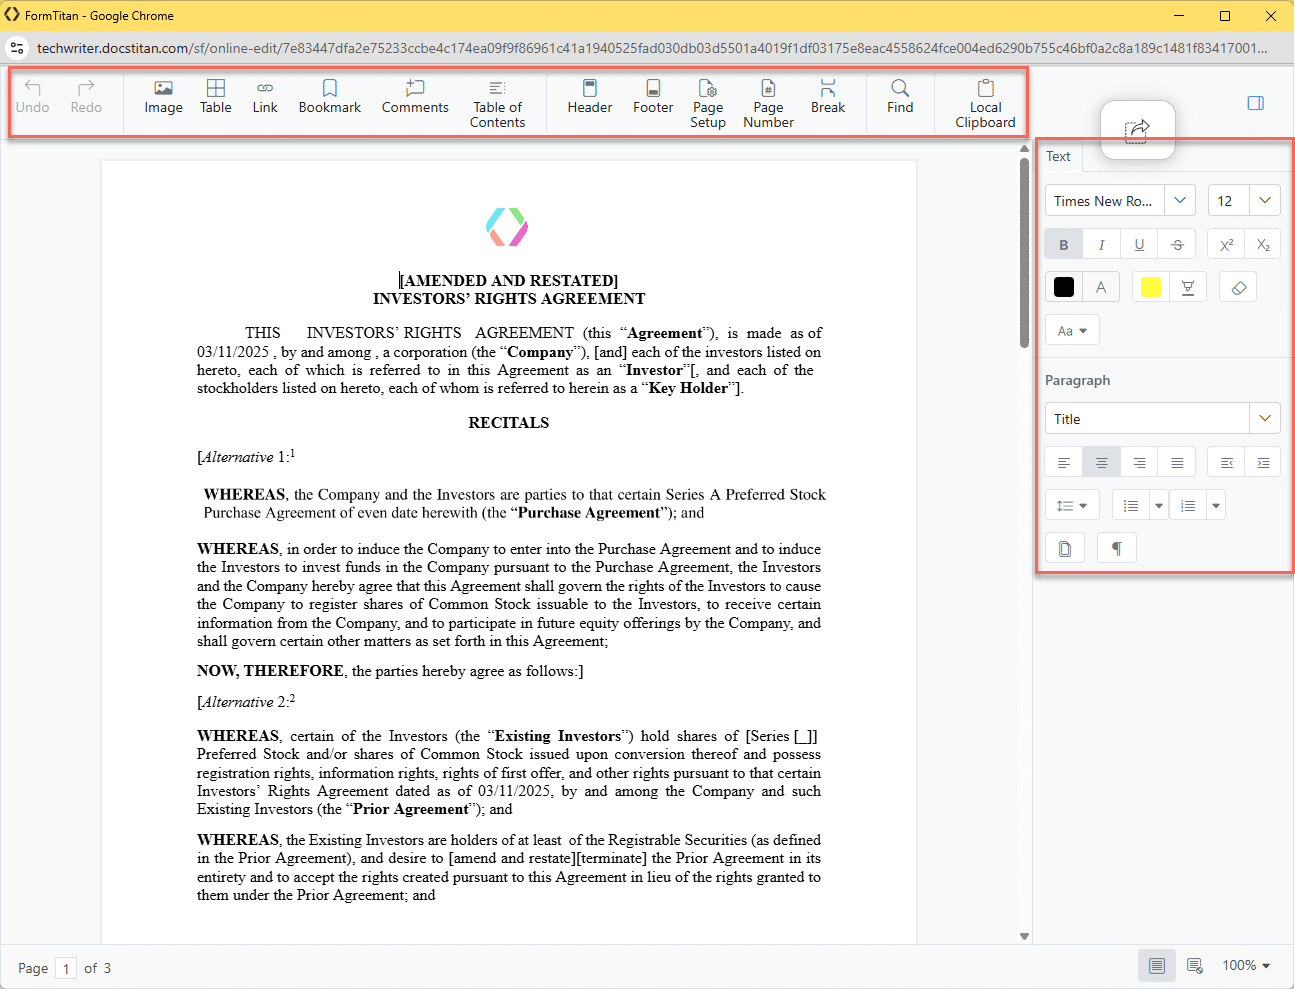
- Use the options at the top and right to change the document.
- Add images, tables, links, bookmarks, etc.
- Change the text or paragraph formatting using multiple options.
None of the changes are being tracked (or redlined).
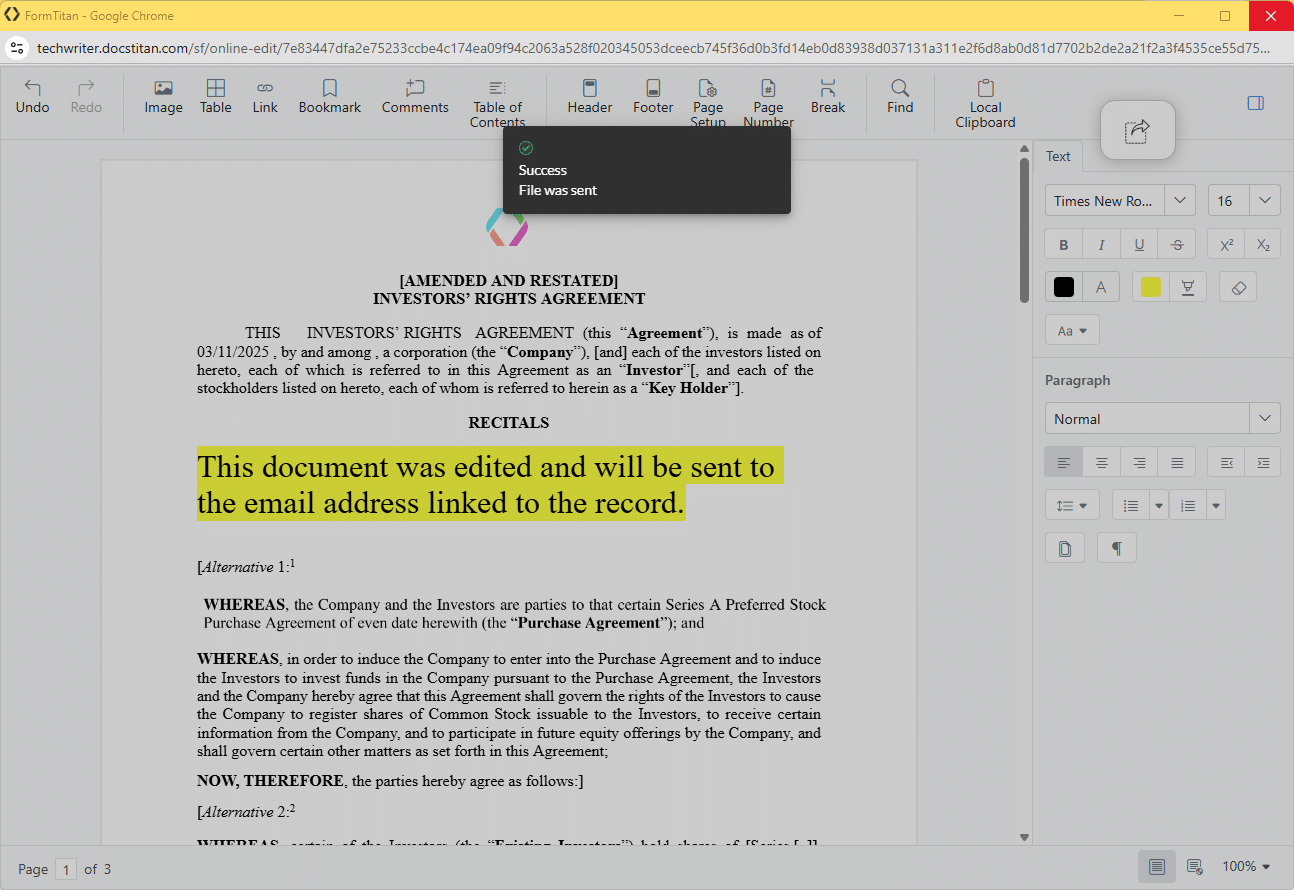
- Use the Send/Confirm icon in the top right corner to send the edited document to the email address linked to the first collaborator in the CLM process.
- The page becomes greyed out, and no further changes can be made.
- The CLM process starts.

- Click the Close icon at the top right of the modal to close the page.
- The collaborator will receive an email with a URL that opens the updated document.
- The collaborator can edit the document. All changes are tracked as part of the regular CLM process.
Use a Salesforce Flow
Prerequisite:
Make sure that you have text area field (with lenght of 1024 or more) that can hold the Instant URL on the record. You will need the API of this field to configure the flow.
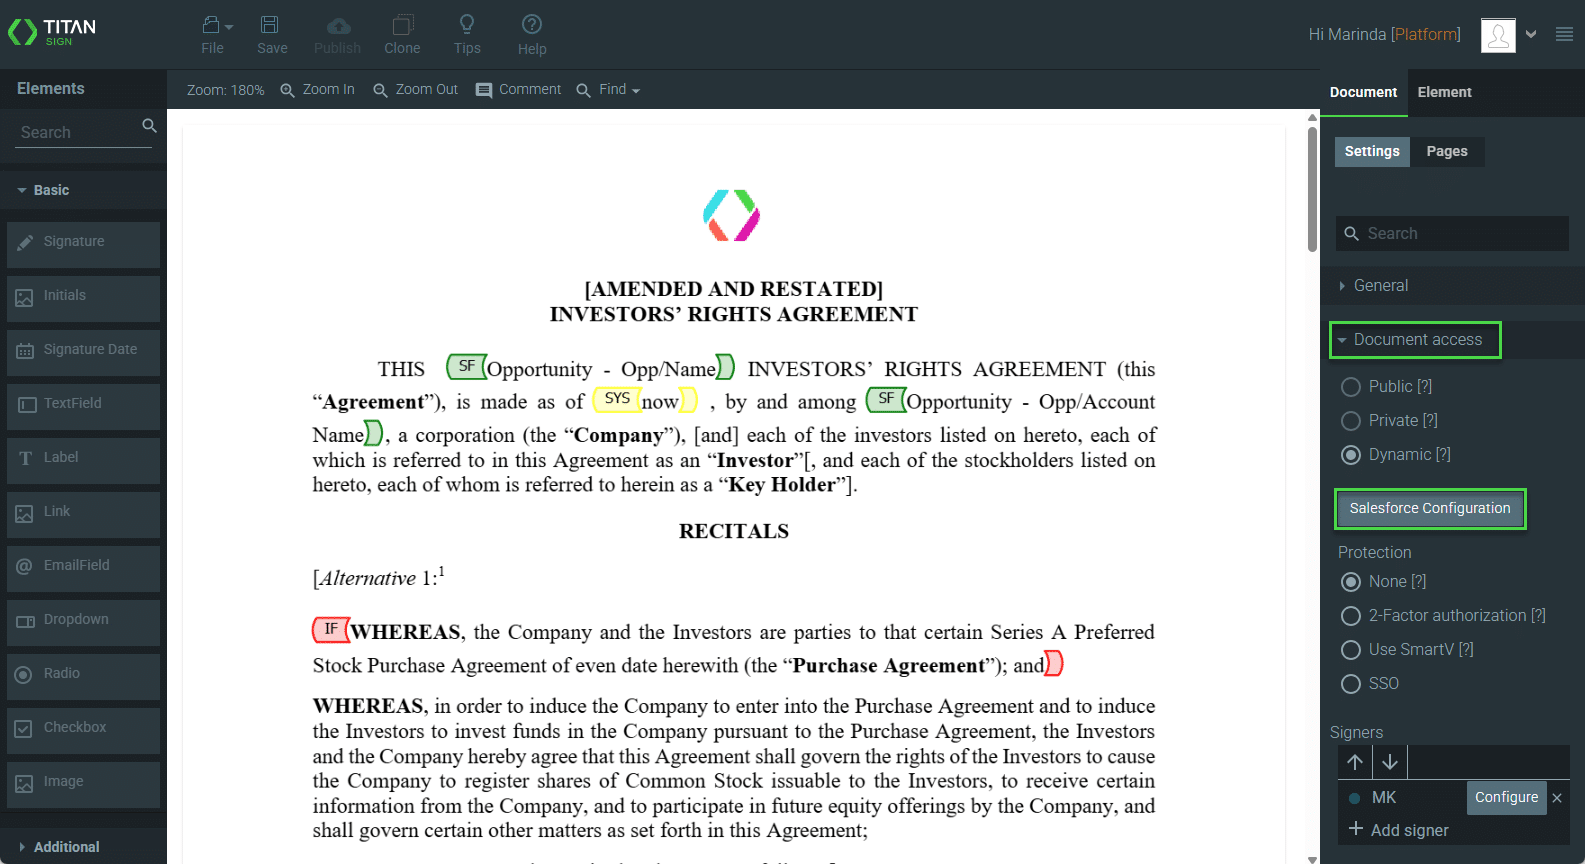
- In Titan Sign, expand the Document Access option.
- Click the Salesforce Configuration button.
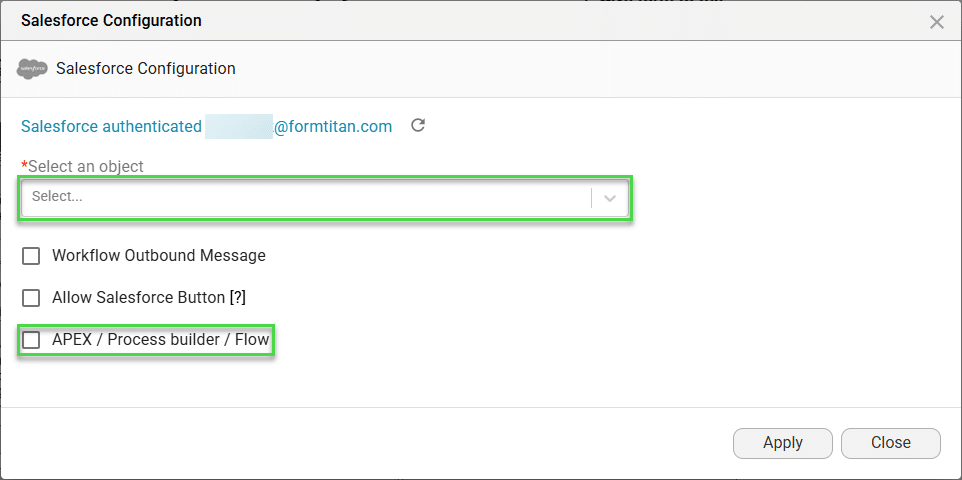
- Use the drop-down list to select the Salesforce object.
- Click the following checkbox:
- APEX/Process builder/Flow
- Click in this checkbox if you want to initiate the project from an APEX, Process builder, or Flow.
- APEX/Process builder/Flow
- Scroll down and click the Enable Online Edit (Flow/Apex) checkbox. The Salesforce user will be able to edit the document.
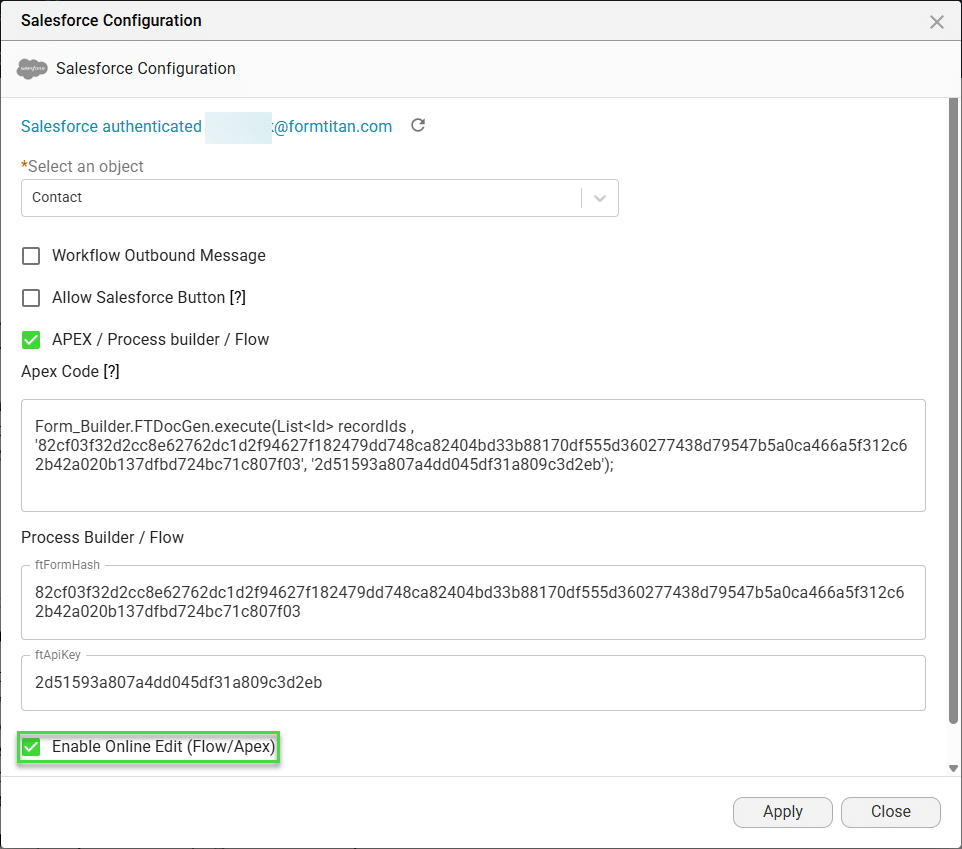
Take note of the ftFromHash. You will need it to create the flow in Salesforce.
- Click the Apply button.
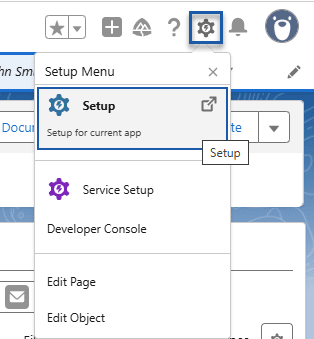
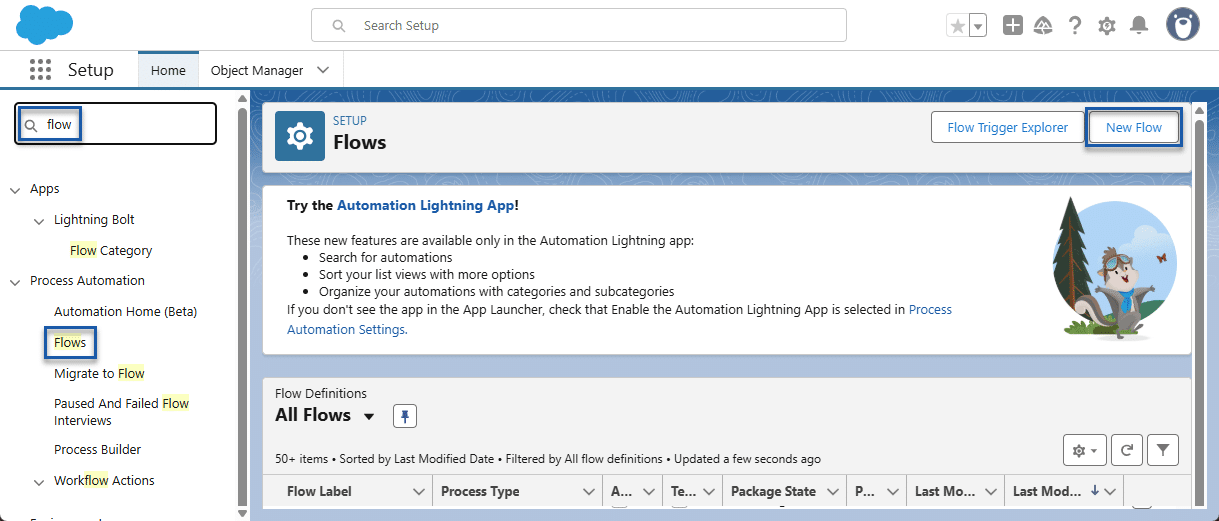
- In Salesforce, click the Gear icon and then click the Setup option.
- Search for “flow” and click the Flows option.
- Click the New Flow button.
You can create a flow to suit your business needs. The process described here is only one example of how to do it.
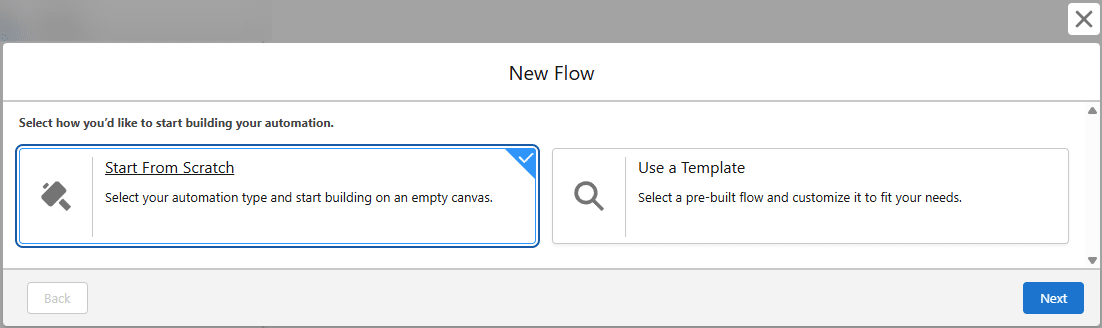
- Select a new flow option.
- In this example, the Start from Scratch option was used.
- Click the Next button.
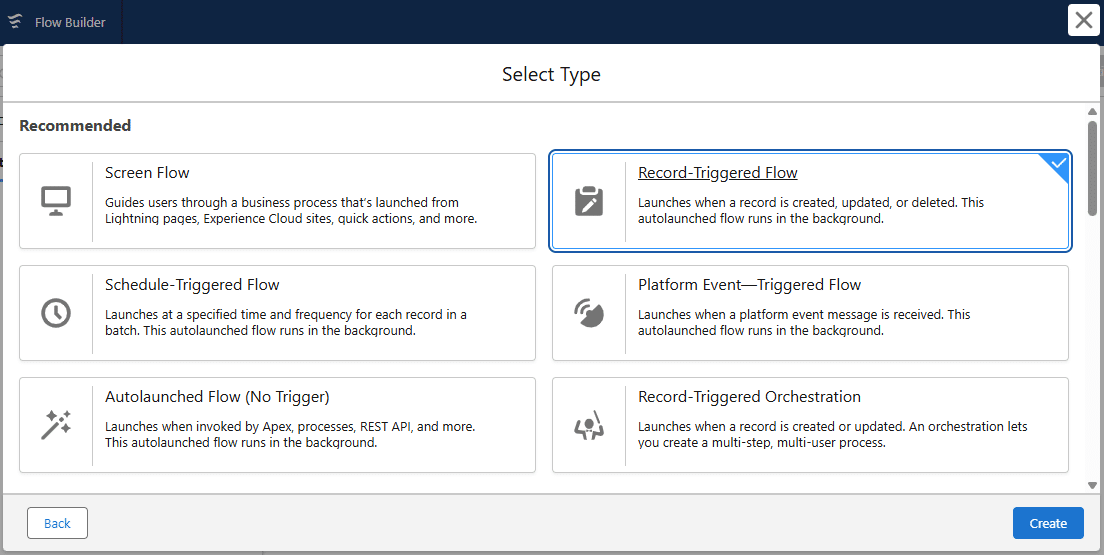
- Select a type.
- In this example, the Record-Triggered Flow option was used.
- Click the Next button.
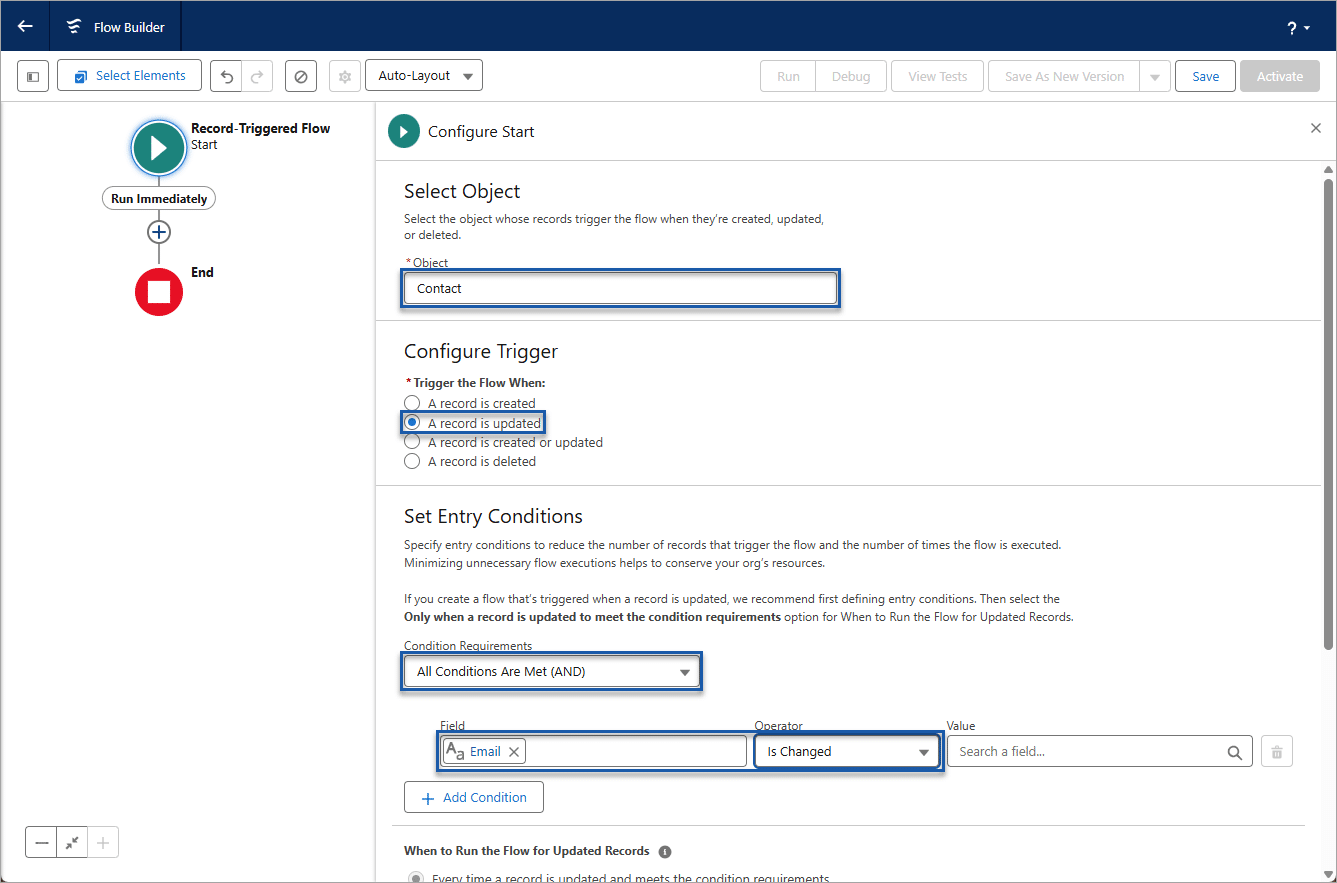
- Do the following as per your requirements:
- Use the drop-down list to select the object.
- Use a radio button to select the trigger.
- Use the drop-down list to select the condition requirements.
- In this example, the flow will be triggered when the email on a contact is changed.
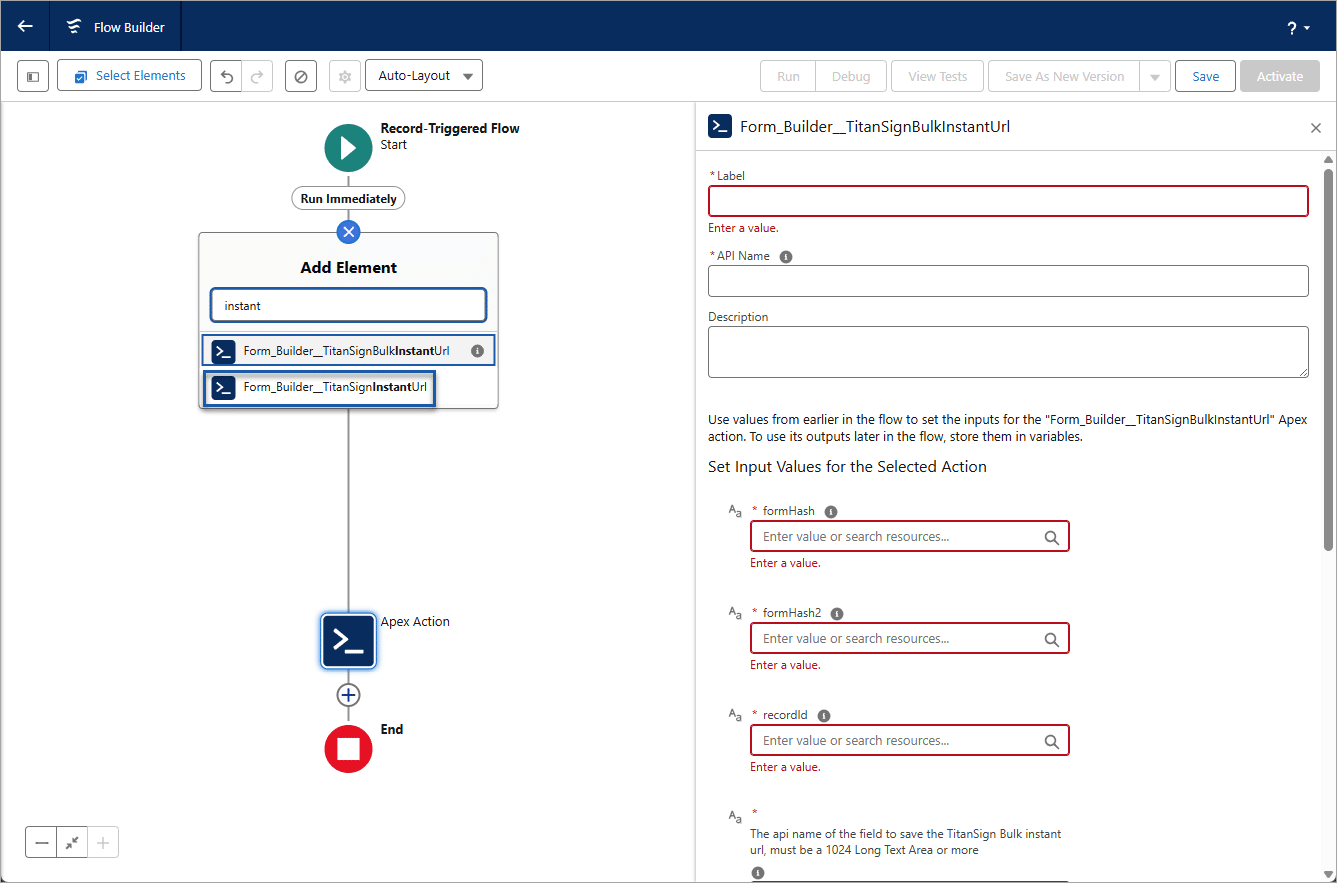
- Click the + icon on the left of the screen to add an element.
- Search for “instant” and select the FormBuilder_TitanSignInstantUrl option.
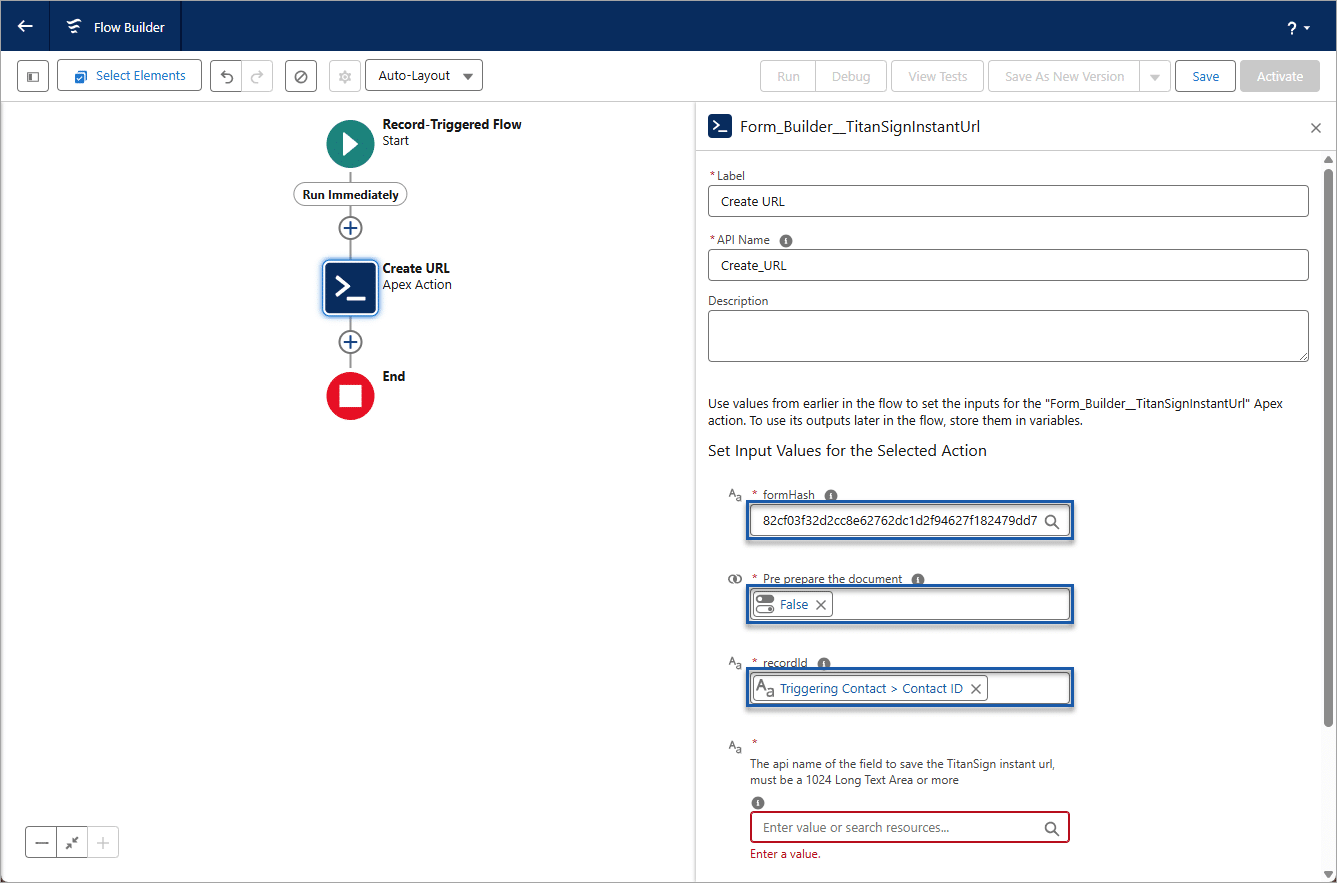
- Type a label.
- The API Name is completed automatically.
- Both these fields are mandatory.
- In Titan, copy the ftFormHash, and paste it into the field.
- Click in the Pre prepare the document field.
- In this example, the False option was selected.
- Click in the recordID field and add the parent record ID.
- In this example, the TriggeringContact was selected.
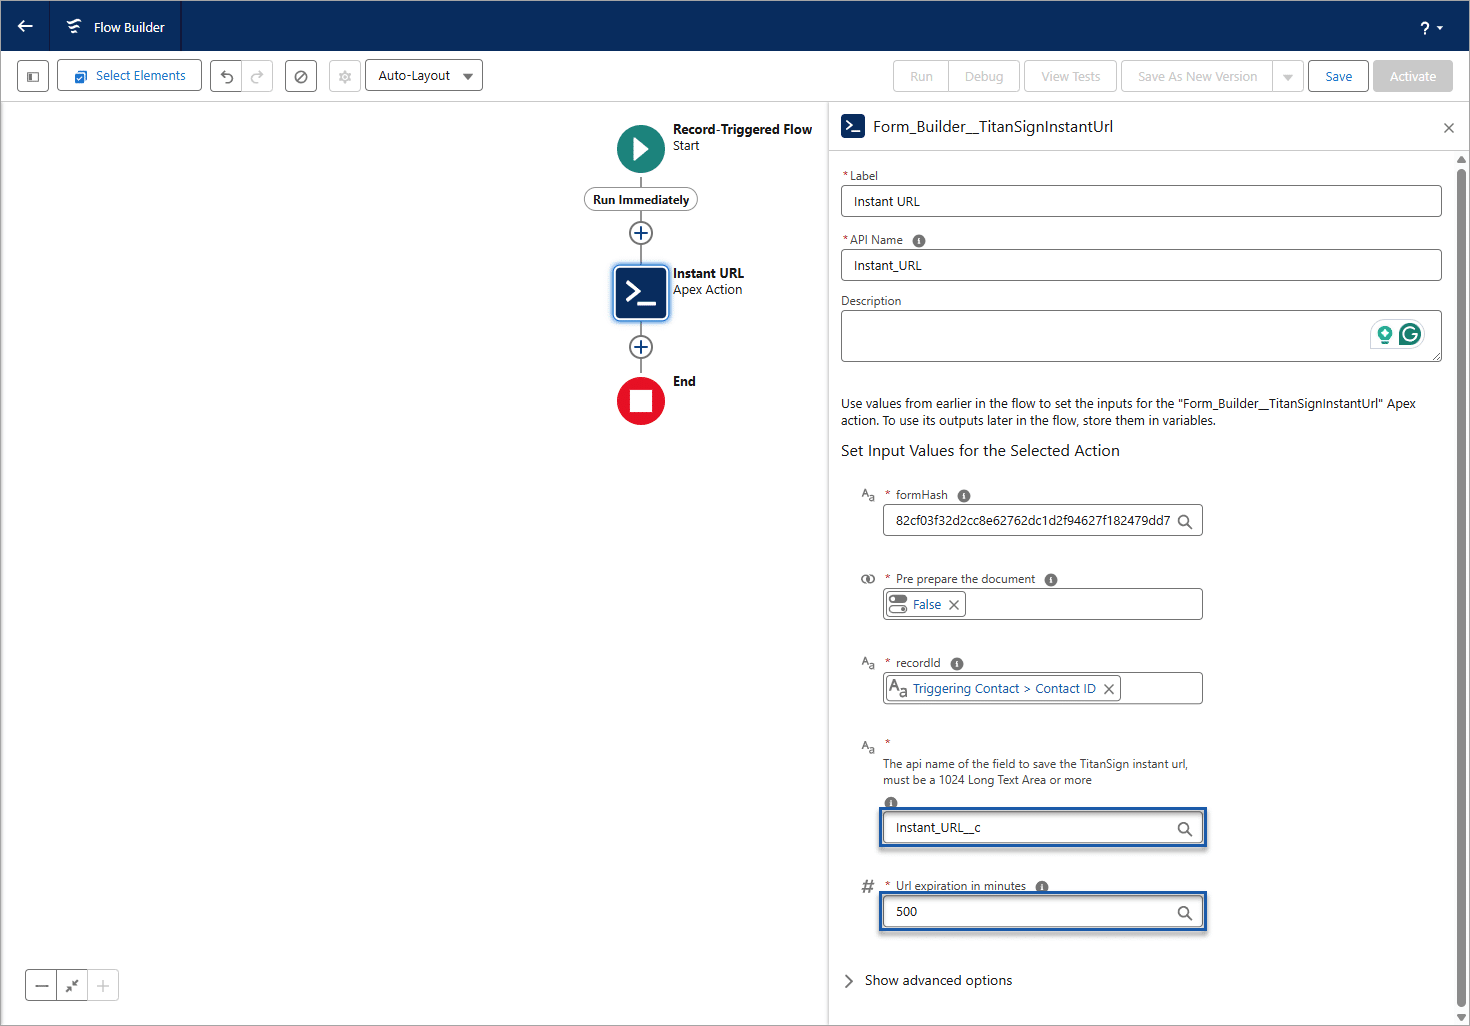
- Copy the API name of the field that will hold the instant URL and paste it into the field labeled The API name of the field that will hold the TitanSign instant URL, which must be a 1024 Long Text Area or more.
- Type the number of minutes after which the URL will expire.
- Click the Save button.
When the triggering event occurs on the record, the Instant URL field will be populated.
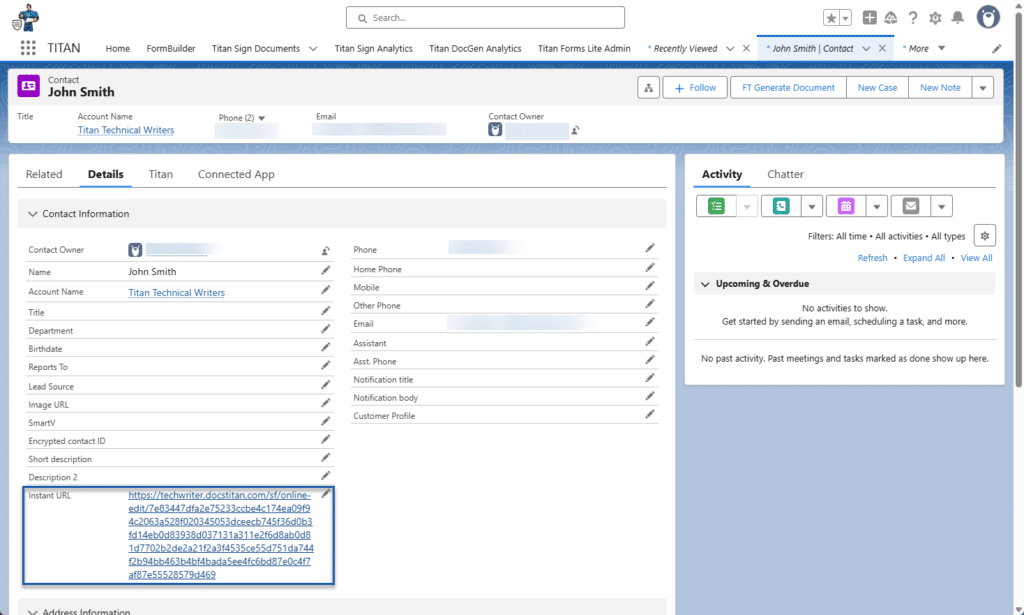
When a user clicks the URL, the document opens and it can be edited.
- Edit the contents of the documents as required.
- Use the options at the top and right to change the document if necessary.
- Add images, tables, links, bookmarks, etc.
- Change the text or paragraph formatting using multiple options.
- Use the Send/Confirm icon in the top right corner to send the edited document to the email address linked to the first collaborator in the CLM process.
- The page becomes greyed out, and no further changes can be made.
- The CLM process starts.
- Click the Close icon at the top right of the modal to close the page.
- The collaborator will receive an email with a URL that opens the updated document.
- The collaborator can edit the document. All changes are tracked as part of the regular CLM process.