

Email Header and Footer for Templates
Business Background
Now you can ensure consistency on your email headers and footers across all Titan Sign projects. Add images and/or text to suit your business branding.
Titan Solution
Configure the header and footer for your emails in Titan Sgn in one place. Please note that unless you change the header and footer, the default Titan images are used.
You can also configure standard email content using the Titan Wizard. You can also change the content in each individual Sign project.
How to Guide
Do the following one-time setup:
Titan Sign Email Header Settings
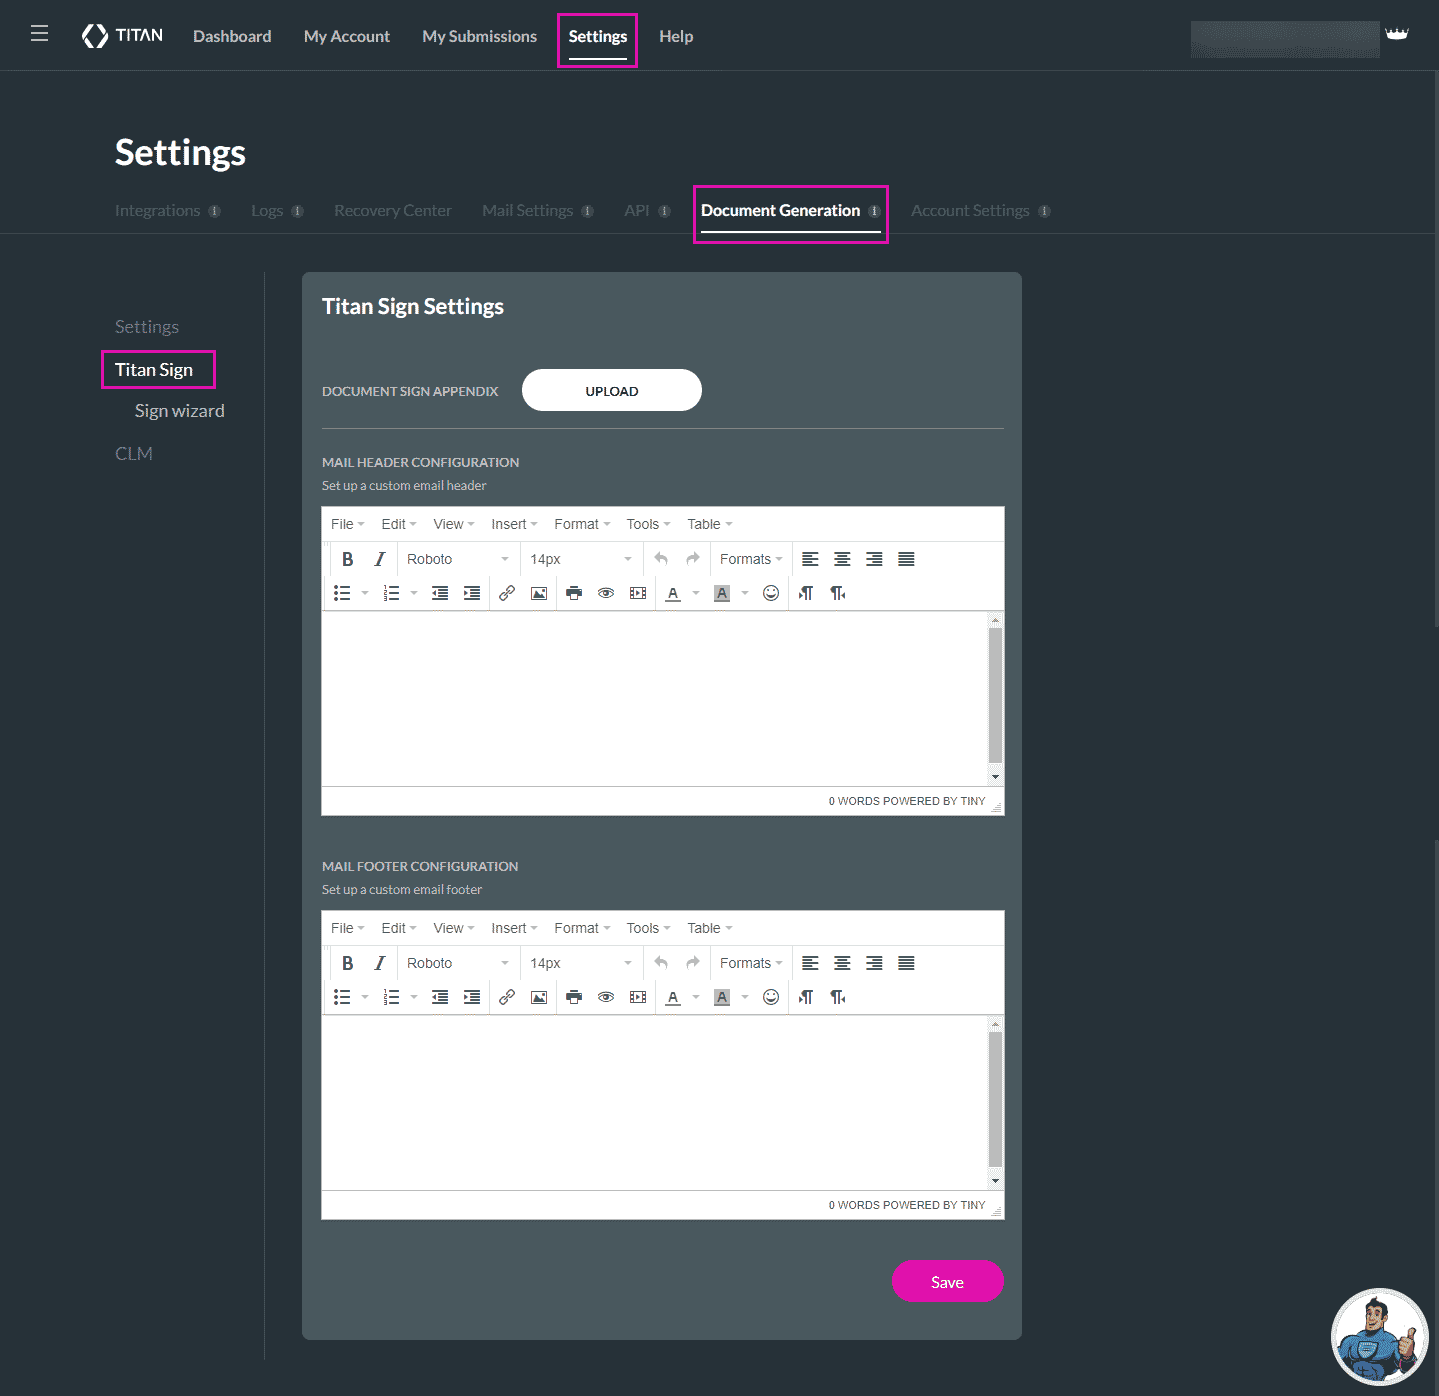
Configure the header and/or footer that will be used in all the emails for all your Titan Sign projects.
Titan Dashboard > Settings > Document Generation > Titan Sign
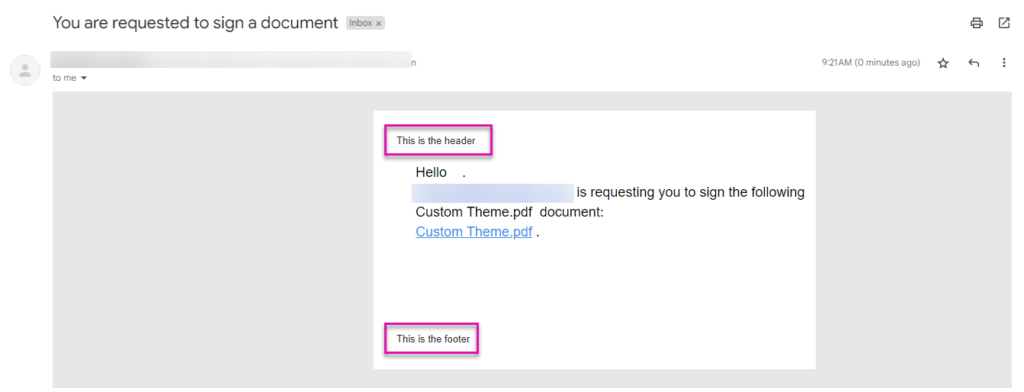
- Define the Email header using the Rich Text editor. You can add a logo or text and format it using the formatting options in the Rich Text editor.
- Define the Email footer using the Rich Text editor. You can add a logo or text (such as copyright information) and format it using the formatting options in the Rich Text editor.
- Click on the Save button.
If you want an empty header and footer with no information, just place a blank character (push the spacebar once) and click the Save button. The email will look as follows:
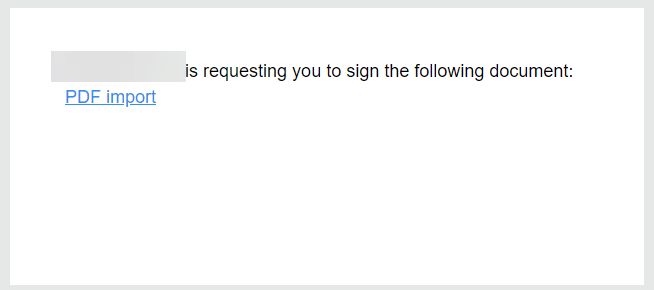
This header and footer will be displayed on all your Sign projects.
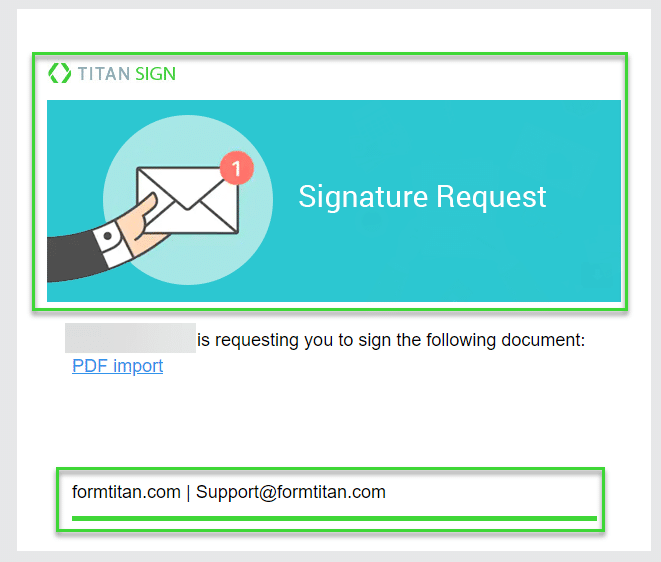
If you don’t configure a header and footer, the default Titan header and footer are used:
Titan Wizard Email Settings
Configure the content (body) that will be used in all the emails for all your Titan Sign projects when you use the Titan Sign Wizard.
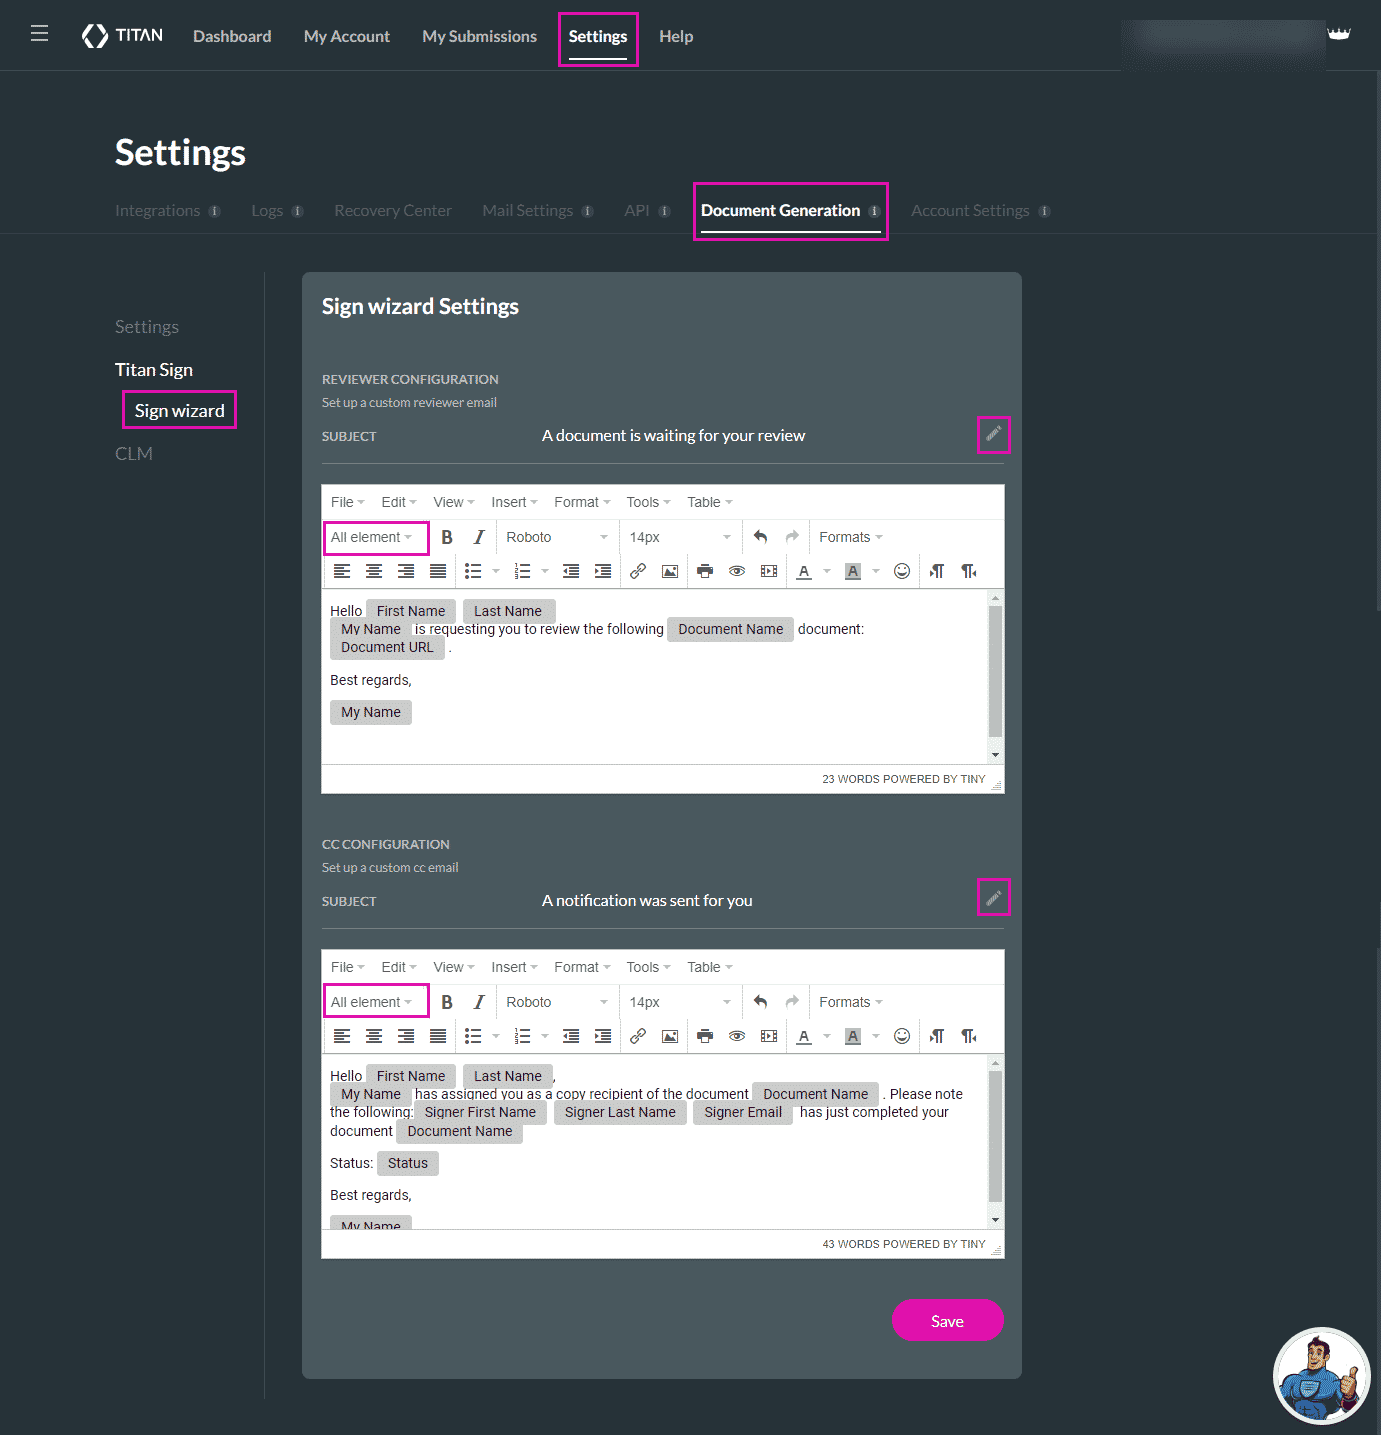
Titan Dashboard > Settings > Document Generation > Titan Wizard
- Set up a custom reviewer email.
- Click the Edit icon to change the subject line.
- Use the All element drop-down list to add interactive elements.
- Set up a custom CC email if necessary. You can change the subject line and the body.
- Click on the Save button.
For dynamic Word documents, create a Titan Sign Word project.
For static PDF documents, create a Titan Sign PDF project.