

Configure Reject Emails
Business Background
A signer or collaborator could reject a document. You can configure the recipients that need to be informed when a document has been rejected.
Titan Solution
Titan Sign lets you configure who needs to be informed when a document has been rejected. You can select signers and/or collaborators already configured in the builder and/or add other recipients.
The owner of the project will receive an email by default.
How to Guide
- Create a new Titan Sign project, or open an existing project.
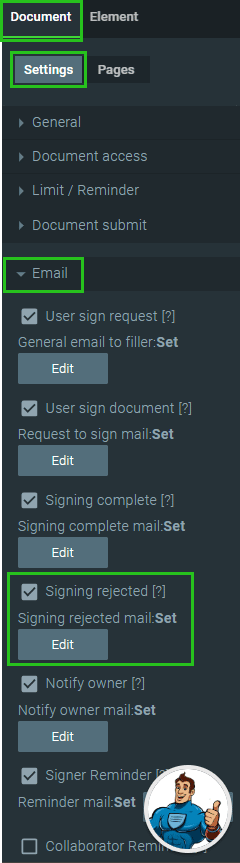
- Click the Document tab and make sure that the Settings tab is open.
- Click Email to open the drop-down options.
- Make sure that Signing rejected has been set.
- If it hasn’t been set, click the Edit button. The Custom Message screen opens. A standardized message has been added but you can edit it.
- Use this screen to create a custom subject and email message. You can drag-and-drop elements from the bottom of the screen to the subject and the message content.

- As an alternative, use the HTML toggle switch to create a new custom message using the Rich Text Editor.

- Click the All elements drop-down arrow to open the list.
- Click the Apply button.
- Under Email, scroll down until you see the option Reject Email Recipient.
- Click in the Reject Email Recipient checkbox to enable the option.

The Configure button is added. The status is “Not set.”
- Click the Configure button.

- Do one or both of the following:
- Click a checkbox to add the recipient to the list of recipients that will receive an email if a signer or collaborator rejects the document. You can add multiple recipients.
- Type additional email addresses in the field. These recipients will also receive an email if a signer or collaborator rejects the document. You can add multiple recipients. Make sure that you use a comma or a semicolon to separate each address.

- Click the Apply button. The Configure status changes to “Set.”

- Save the project.
Hidden Title
Was this information helpful?
Let us know so we can improve!
Need more help?
Book Demo