

Titan Loop for Web
Business Background
Sometimes you may have a collection of items that you want to evaluate one by one. A loop is a series of instructions repeated until a specific condition is reached. You can create an action for each item in a list; for instance, change the rows in a table. You can create, update, or delete a number of records at once.
Titan Solution
- With Titan, you can add a loop to your Web project.
- You can evaluate a list of items one by one, for instance, a repeat strip, a variable, or the rows in a power table, and add an action to the evaluation.
How to Guide
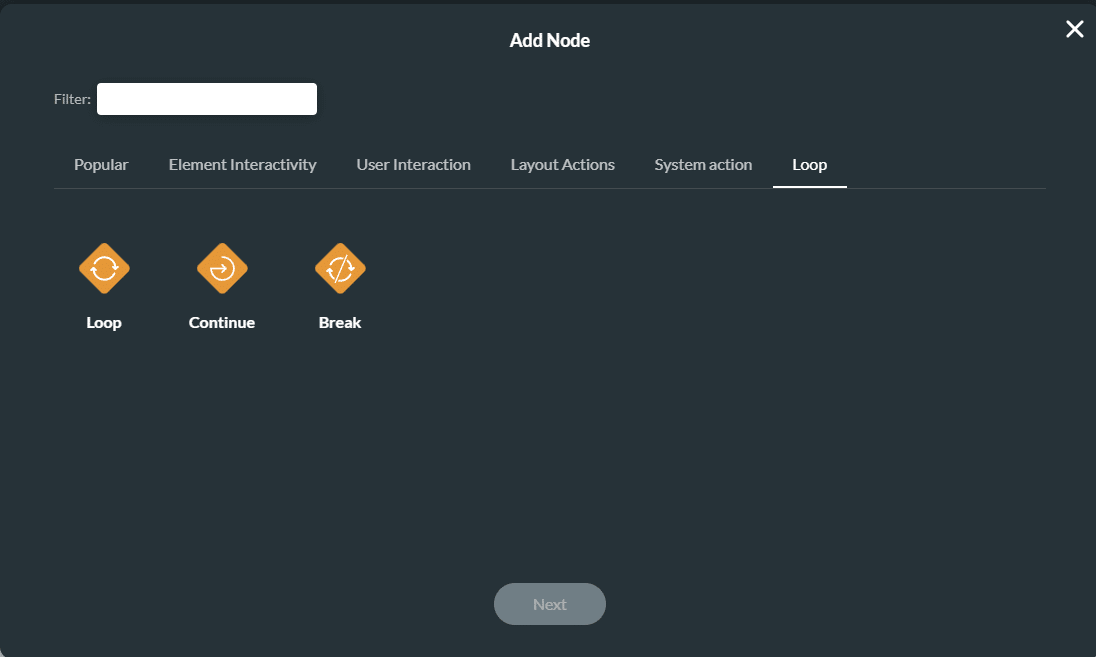
The following options are available:
- Loop: evaluate each item in a list.
- Continue: after one item is evaluated and the action is executed, continue with the next item.
- Break: stop the Loop process.
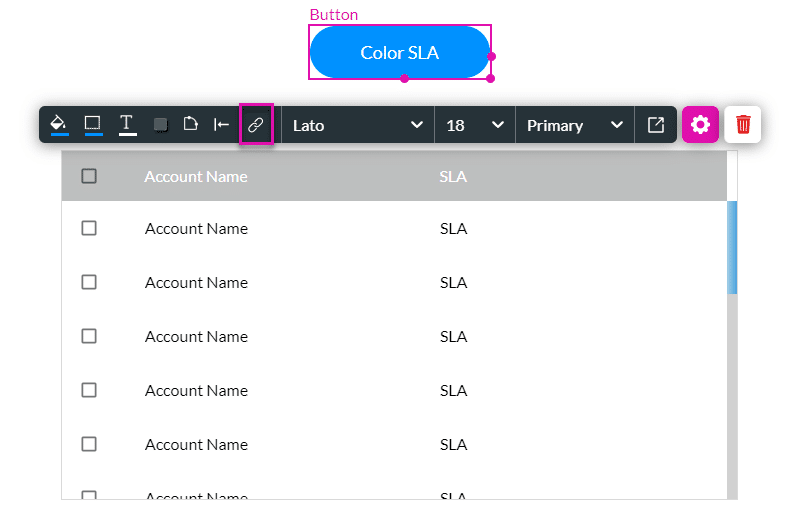
- Open a Web project. In this example, we added a power table and a button.
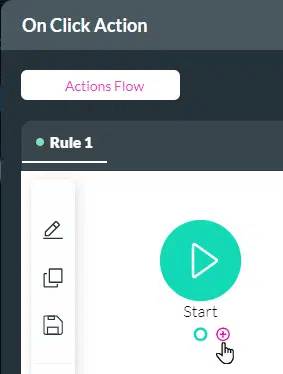
- Click the On Click icon to configure an action for the button.
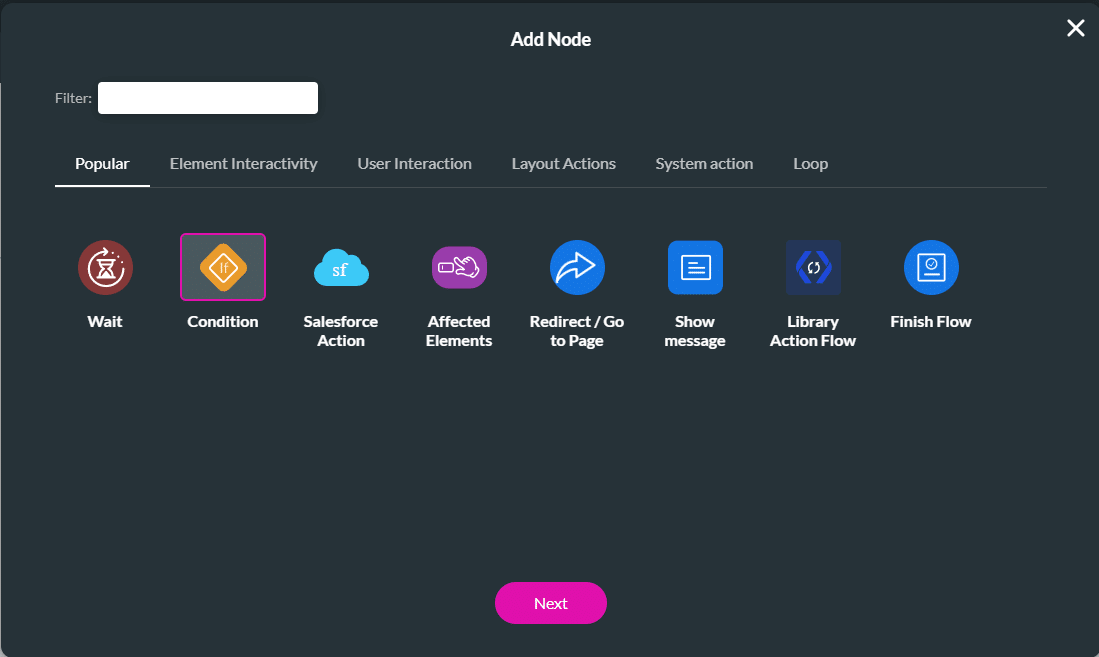
- Click the + icon. The Add Node screen opens.
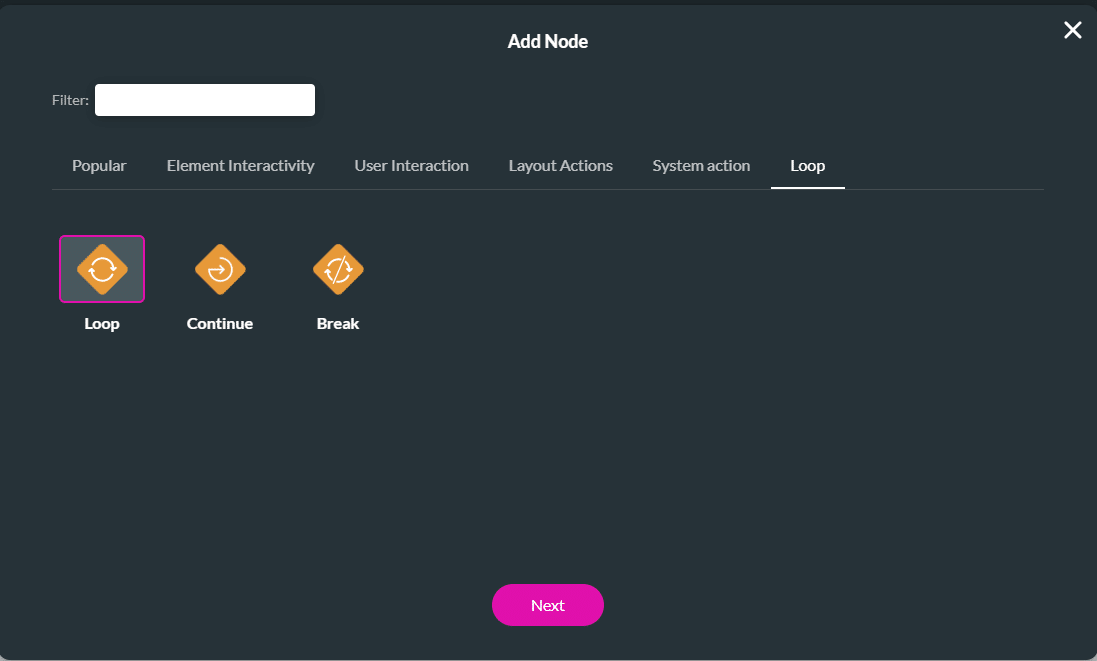
- Under Loop, click the Loop option and the Next button.
- Select the power table from the Loop on Element drop-down list and click the Next button.
- Add a tag if necessary and click the Insert button.

- Click the + icon to add a condition For Each loop. The Add Node screen opens.

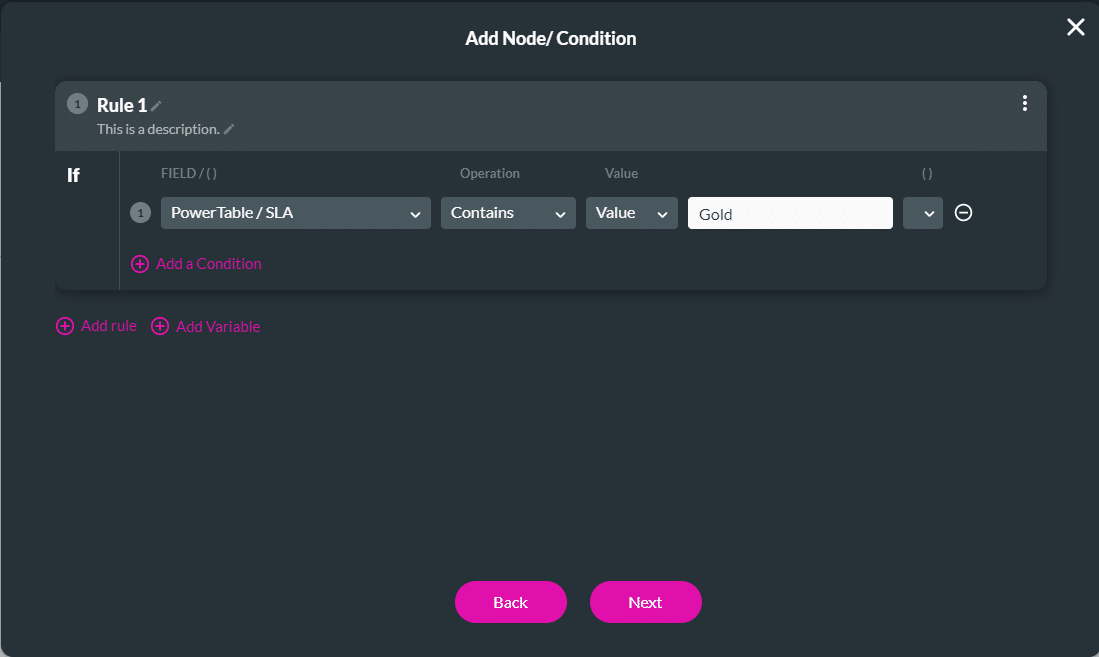
- Click the Condition option and click the Next button.
- Configure a condition and click the Next button.
- Add a tag if necessary and click the Insert button.
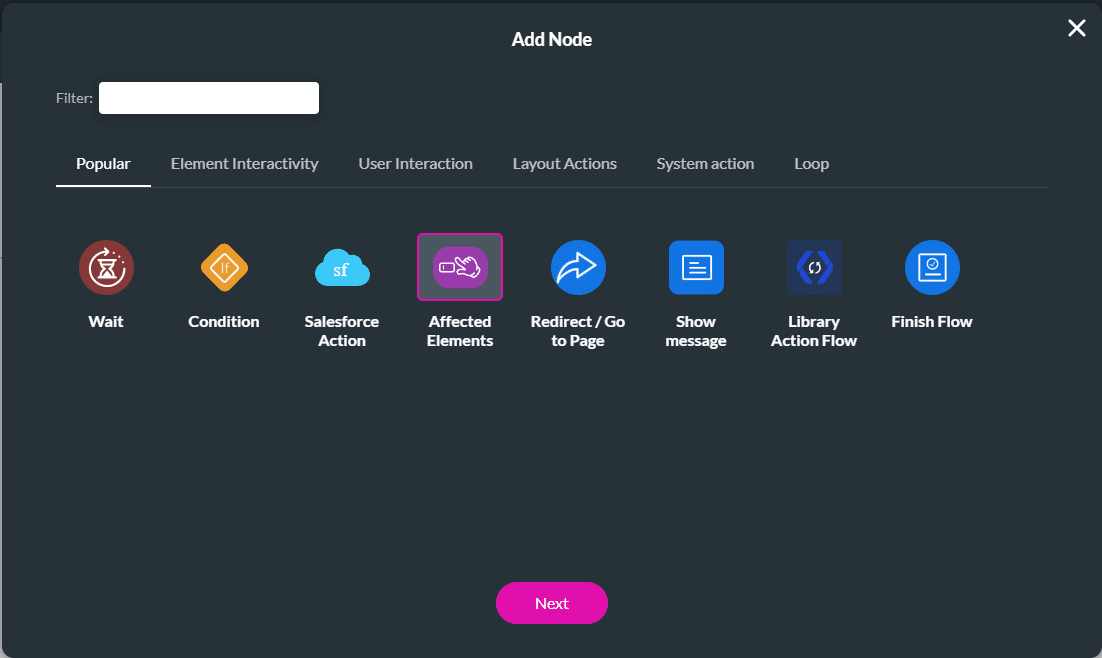
- Click the + icon to add a “then” condition. In this example, table interactivity is added.

- Click the Affected Elements option and click the Next button.
- Select the Power Table/Row Style option by clicking the checkbox.
- Use the drop-down list and select the Set background color option.
- Select a color and click the Apply button.
- Click the Next button.
- Add a tag if necessary and click the Insert button.

- Click the + icon of the Affected Elements node. The Add Node screen opens.

- Under Loop, click the Loop Continue option.
- Click the + icon of the Condition’s Else option.
- Under Loop, click the Loop Continue option.
- Click the + icon of the Loop’s On Finish option.

- Click the Show message option and add a message.
- Click the Next button, add a tag if necessary, and click the Insert button.

- Save and Preview the project. You will see the accounts that have Gold status.

- Click the button. All the rows are evaluated, and the rows corresponding to the Loop conditions are changed.

Learn more about Titan for Salesforce.
Hidden Title
Was this information helpful?
Let us know so we can improve!
Need more help?
Book Demo