Text Review Widget with Data from Affected Elements
Business Background
The text review widget simplifies version control and text revisions, saving time and reducing errors by clearly showing what’s changed between the two versions. Users can quickly view, accept, or revert edits, ensuring that only approved changes are incorporated before in-line editing begins. This streamlined approach keeps teams aligned on the most current content, enabling efficient decision-making and better collaboration. Ultimately, it enhances productivity, improves content accuracy, and supports agile workflows, making it a powerful tool for businesses, prioritizing precision and efficiency in document management.
Titan Solution
Use the text review widget to review, accept, or revert edits to text. A new draft can be saved, and the number of edits will be displayed.
The text review widget is not available by default. Please contact Titan Support for more information.
How to Guide
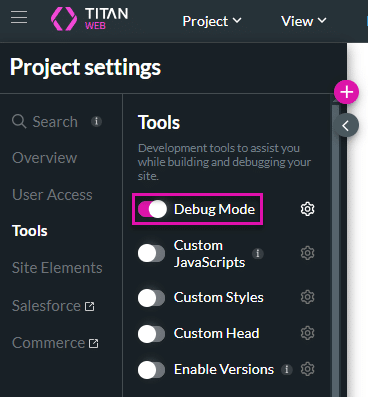
The Debug Mode is enabled for this example.
Project settings > Tools > Debug Mode.
Configure the widget
You can compare the contents of different input fields.
- Click the + icon to open the list of elements.
- Under Input, drag-and-drop two text input fields to the canvas.
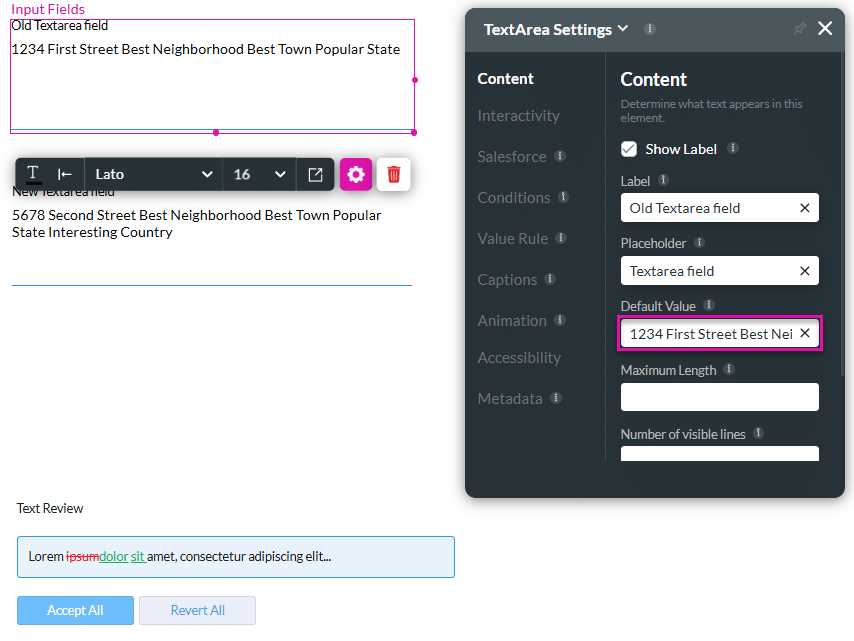
- In this example, they are named as follows:
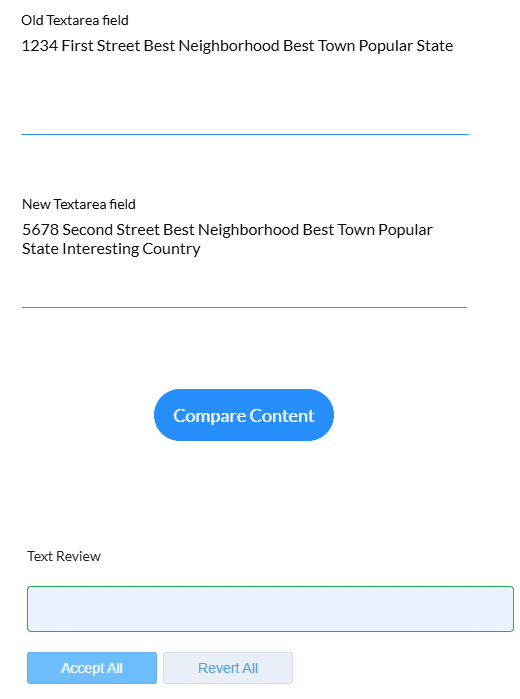
- txa Old Textarea field
- txa New Textarea field
- In this example, they are named as follows:
- Add the different versions of the text to the Default value fields. In this example, we put the text as a default value for the fields to simplify the demonstration.
- Alternatively, add different variable values or paste the text in the text input fields.
- Under the Widget option, scroll down and drag-and-drop the Text Review widget to the canvas.
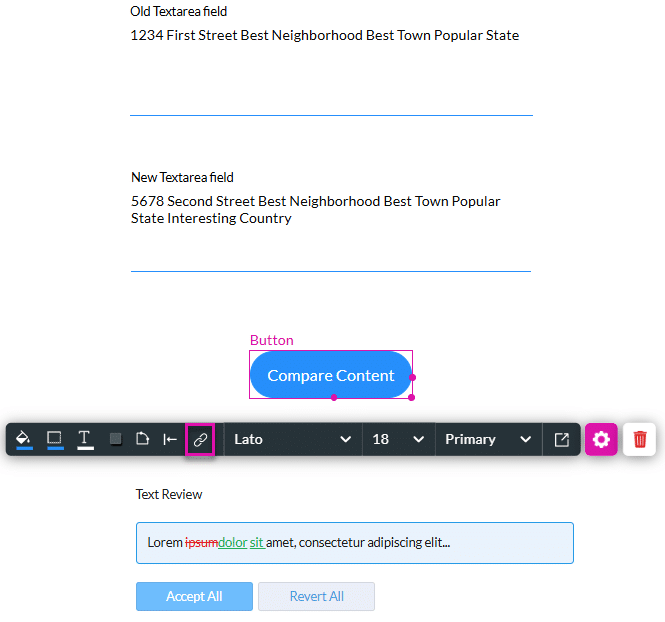
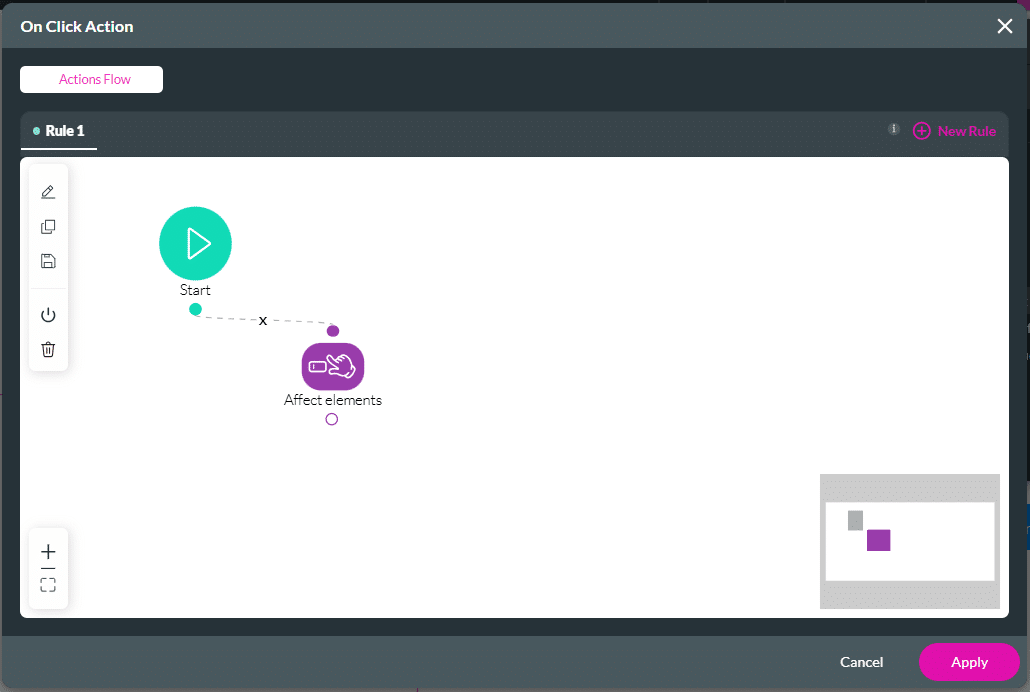
- Add a button element to the canvas and click the On Click Action icon.
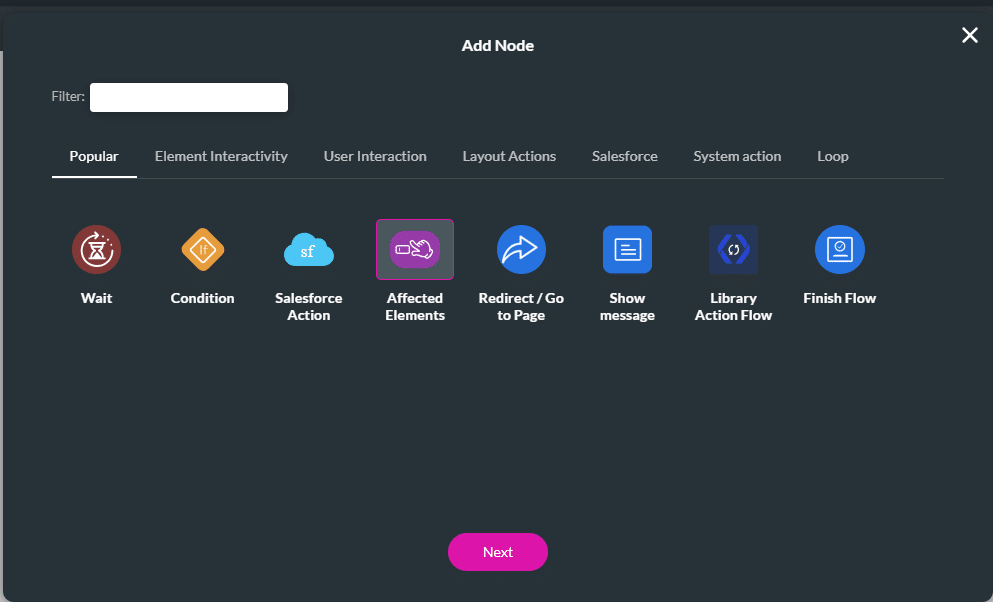
- Click the + icon next to the Start node to open the Add Node screen.
- Click the Affected Elements option and then click the Next button. The Add Node/Affected Elements screen opens.
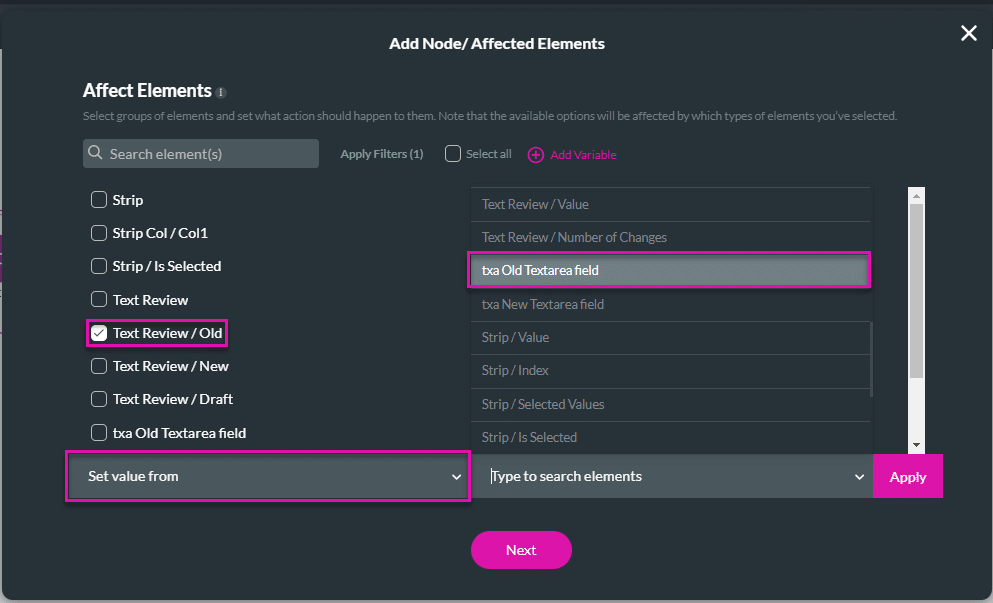
- Click the Text Review/Old checkbox.
- Use the drop-down list to select the “Set value from” option.
- Use the drop-down list to select the txa Old Textarea field option and click the Apply button. “Set value from txa Old Textarea” is added.
- Deselect the Text Review/Old checkbox and click the Text Review/New checkbox.
- Use the drop-down list to select the “Set value from” option.
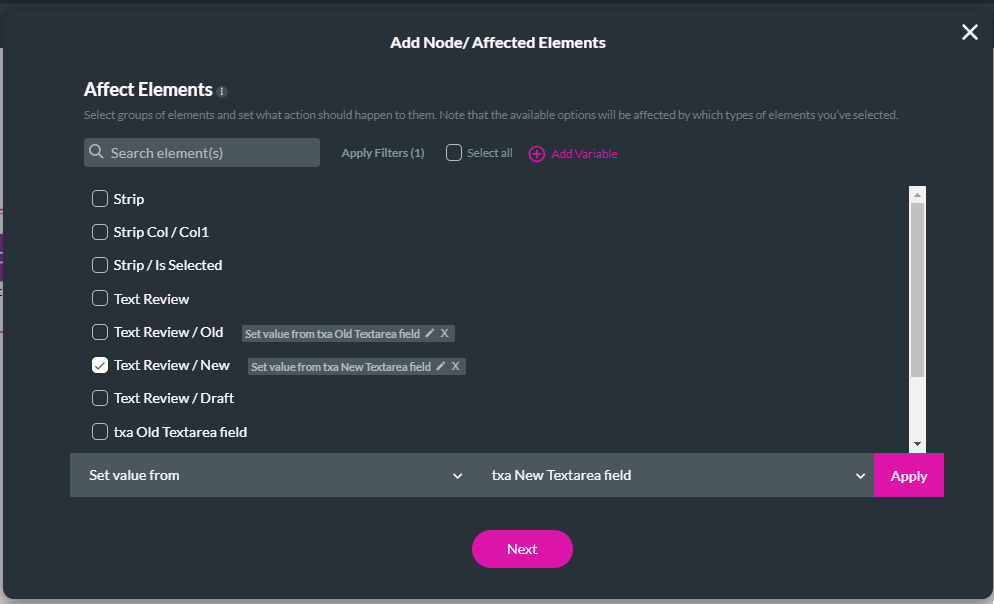
- Use the drop-down list to select the txa New Textarea field option and click the Apply button.
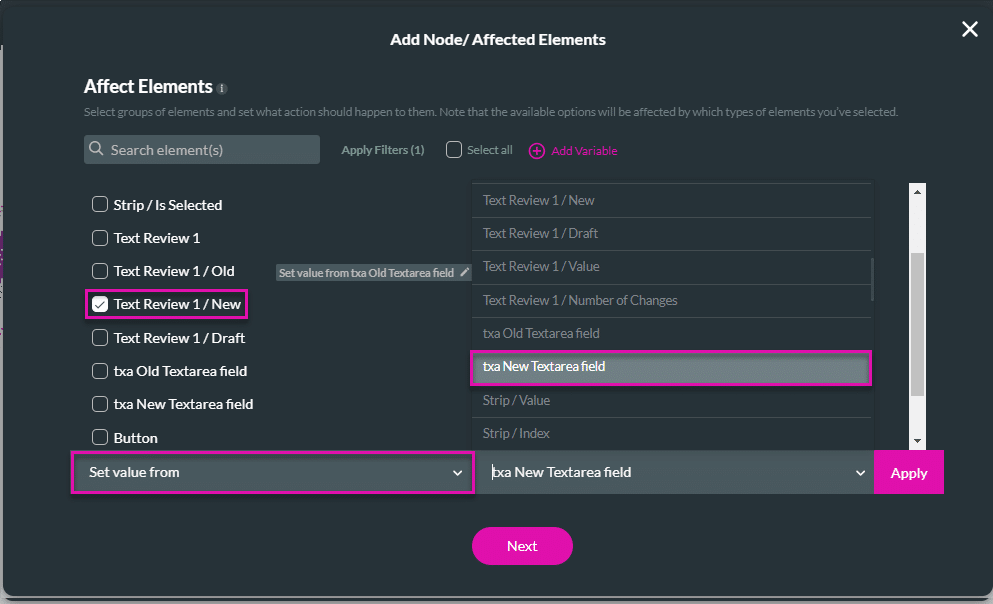
- Click the Next button.
- If necessary, change the tag and click the Insert button. The Affected Element node is added to the On Click Action screen.
- Click the Apply button.
- Save and Preview the Project.
- Click the Compare Content button.
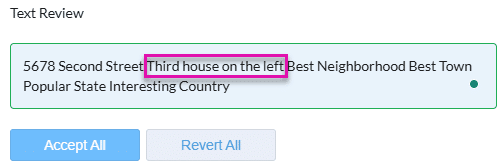
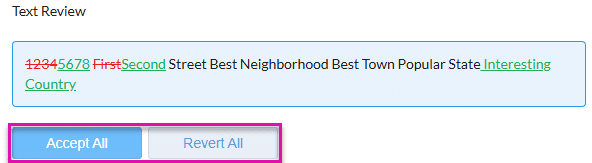
The Salesforce fields are compared, and the changes are indicated.
- The old text is in red and crossed out.
- The new text is in green and underlined.
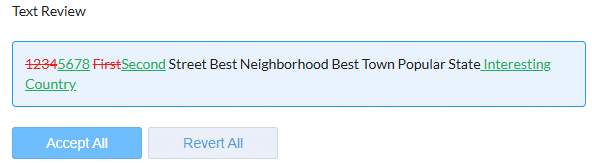
Each change can be accepted or reverted individually by clicking on a change and then clicking the required button.
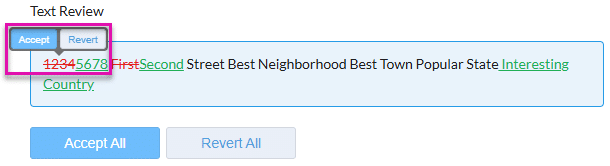
Alternatively, clicking the widget’s default buttons can accept or revert all changes.
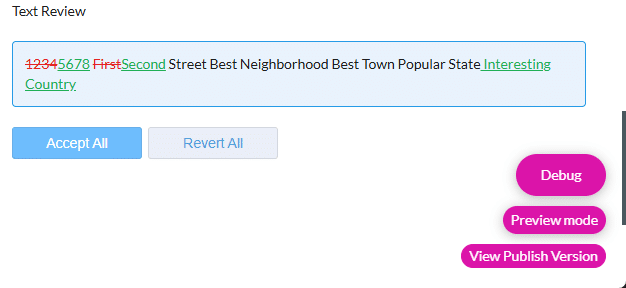
You can view the changes by clicking the Debug button on the project preview page.
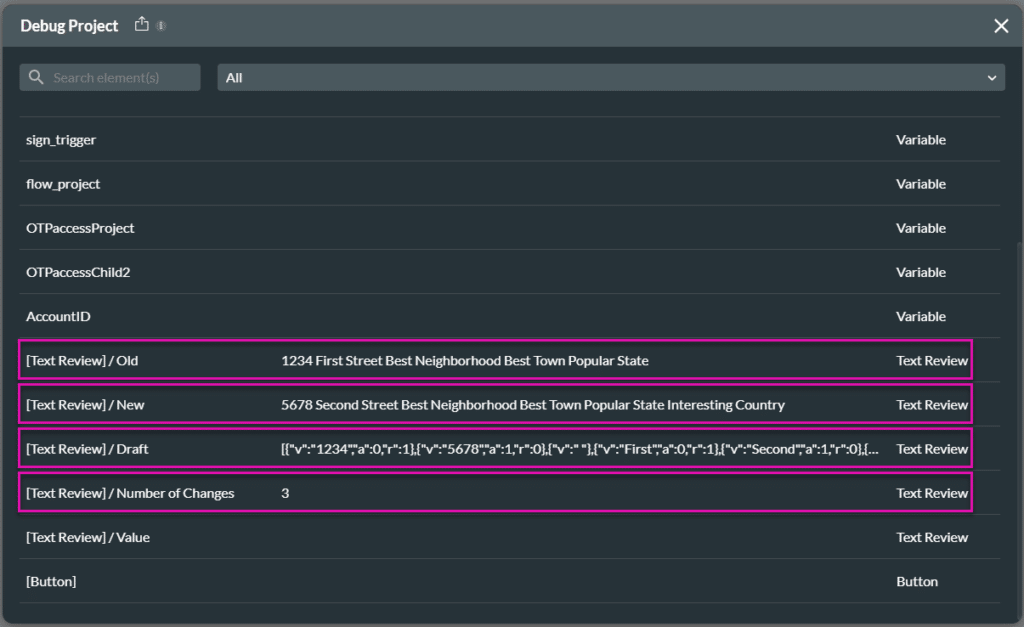
The old, new, and draft text and the number of changes are shown.
When all the changes are accepted and/or reverted, the [Text Review]/Value will be updated.
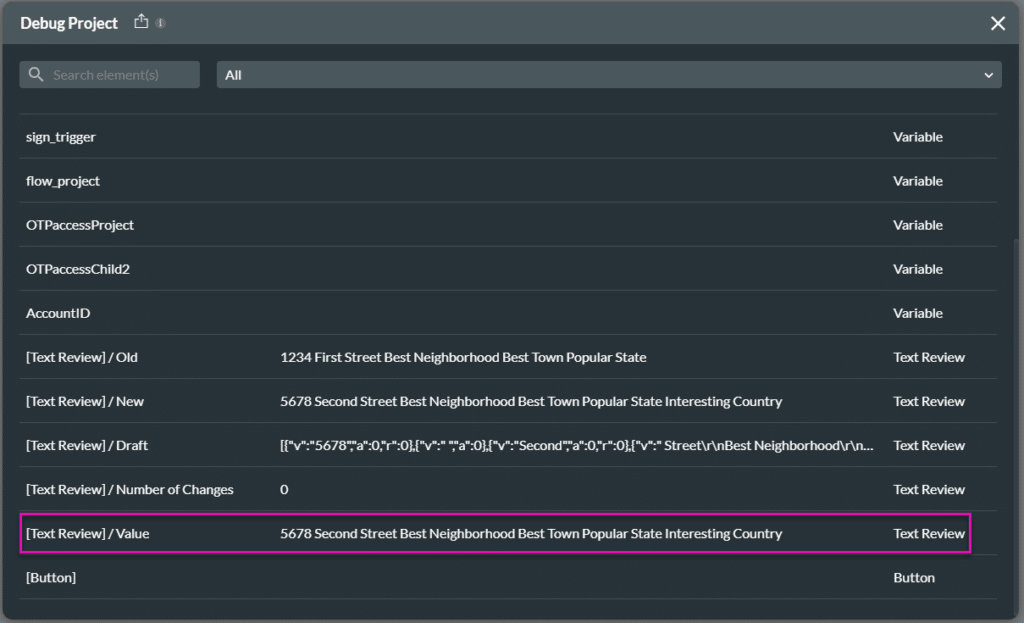
After all the changes are accepted and/or reverted, you can add additional text to the text review widget. By adding a button with a Salesforce on-click integration action, you can push this change to Salesforce to update the field. Make sure to map the [Text Review]/Value in the Salesforce Push.