

Stripe Payments
Business Background
Do you want to add payment types to your Web project? Now you can add Stripe as one of the payment options to configure payments into your platform or marketplace and integrate the payment with your Salesforce.
Stripe is a global payment processing platform that enables businesses to accept online payments through credit/debit cards, bank transfers, wallets (Apple Pay, Google Pay), Buy Now Pay Later (BNPL) services, and many local payment methods. It supports one-time and recurring billing. It uses advanced encryption and tokenization to protect payment data.
Titan Solution
To enhance the user experience on your website, add Stripe as a payment option. You can seamlessly integrate Stripe payments with your Salesforce account.
You can add the following:
- Different currencies
- Recurring payments
You can configure different actions on payment:
- Send an email
- Redirect the user to another internal or external page
- Push payment data to Salesforce
How to Guide
Prerequisite:
- Select the Stripe option. The Payment Configuration > Payment Method screen opens.

- Set up the following:
Payment Method
- Use the drop-down list to select a currency. This is a list of the currencies that Stripe supports. The options are:
- Dollars
- Euros
- CHF Francs
- Australian Dollar
- Canadian Dollar
- Israeli New Shekel
- Pound Sterling
- New Zealand Dollar
- Dynamic
You can select “Dynamic” to give the end-user the option to add a currency type not listed.

Add the dynamic value as a variable. The string must be as follows, for instance:
- ILS
- USD
- EUR
- GBP
Stripe will reject any other values. Please refer to the API for more information on different currencies.
- Use a radio button to select one of the following:
- Single Payment: Only a single payment will be deducted.
- Recurring payment: A recurring payment is an automatic payment charged to a customer’s credit/debit card each time the payment is due until the customer notifies the vendor. Merchants must first get permission from the consumer; for instance, for membership fees.
- Token: A token number is stored in Salesforce for later use. This token can be used later to charge the credit card without having the actual card details. A payment is not created when the token is generated.
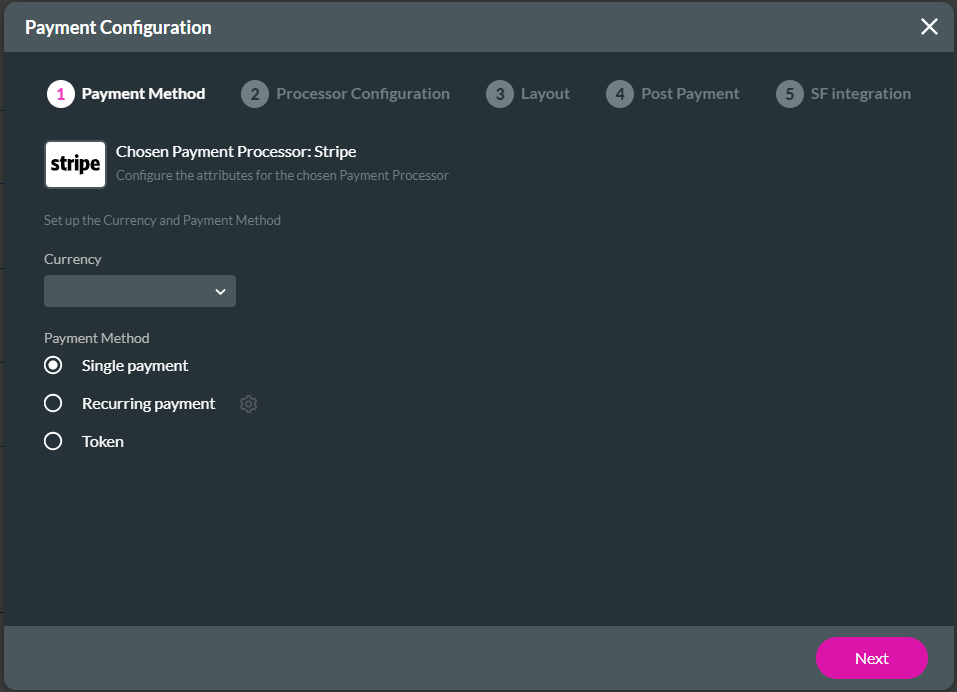
- If using Recurring payments, click the Gear icon. The Configure Recurring Settings screen opens.
- Select the payment period using a radio button:
- Daily: the recurring payment will be made every day.
- Weekly
- Monthly: this is the default option.
- Yearly
- Select the number of charges using a radio button. This is the number of recurring payments that the user will make.
- Unlimited
- Limited
- Add the total charges in the field.
- Use the drop-down list to select the following:
- Static: Add a number in the field.
- Field: Use the drop-down list to select a field.
The Published Webhook URL is necessary for triggering recurring payments in Titan after the initial payment through Stripe.
A webhook is an HTTP endpoint that receives events from Stripe. Refer to the Stripe documentation to use the webhook to trigger recurring payments.
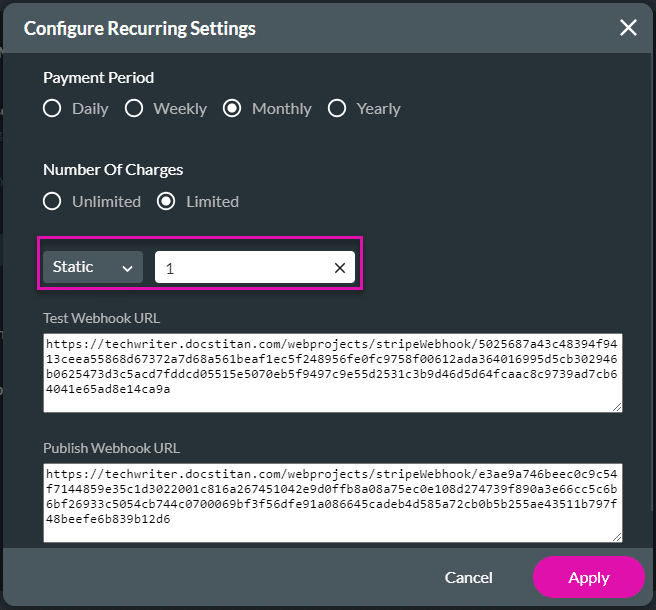
- Click the Apply button.
- Click the Next button. The Payment Configuration > Processor Configuration screen opens.
Processor Configuration
Configure the following as necessary:
Required
- For the Required processor configuration, do the following:
- Type the Secret Key and the Public Key in the fields.
- These are mandatory fields and both are validated for valid keys.
- Make sure that you do not paste the secret key in the public field.
- Use the Dynamic description toggle switch as follows to describe what the payment is for:
- Leave the toggle switch in the default position (off) and add a description in the field.
- Alternatively, switch the Dynamic description on and use the drop-down list to select a description.
- Set strong customer authentication by using the Use SCA toggle switch.
- Use the toggle switch to enable idempotent requests.
- Idempotency is used to safely retry requests to avoid performing the same operation twice.
- You can create or update an object using an idempotency key so that, in case of a connection error, you can safely repeat the request without the risk of creating a duplicate object or performing the update twice.
- Use the drop-down list to select the map customer option. You should have added the option as a variable.
- Type the Secret Key and the Public Key in the fields.

Structured Parameters
- Click the Structured Parameters option.
- Use the toggle switch to enable the structured parameters.
- Use the Field or Static options to add parameters.
- Use the drop-down list to select a Field parameter.
- Type a Static parameter in the field.

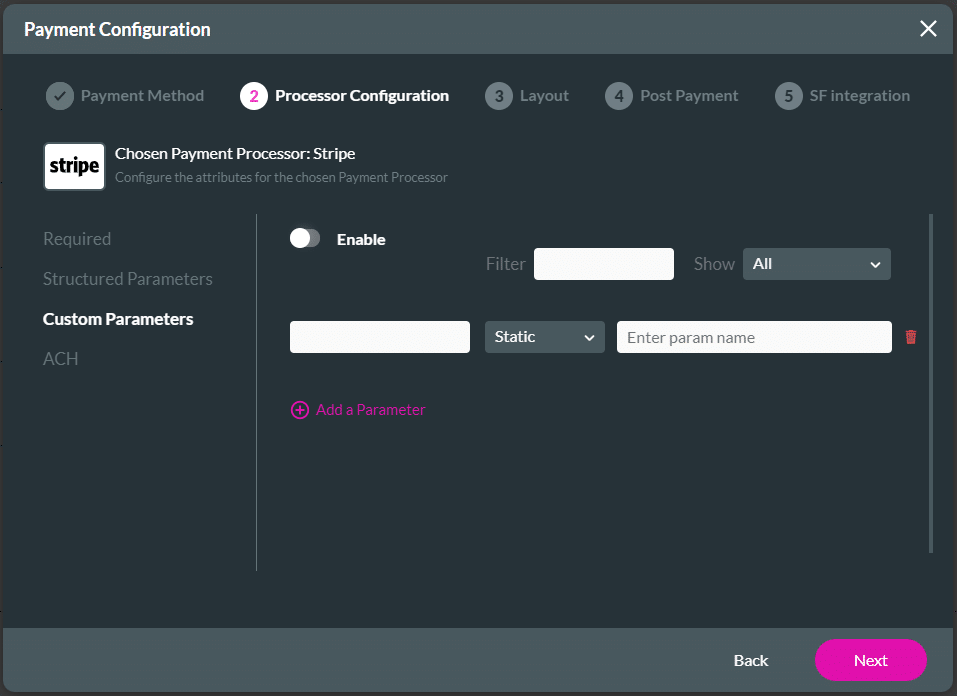
Custom Parameters
- Click the Custom Parameters option.
- Use the toggle switch to enable the custom parameters.
- Complete the fields.
- Use the Field or Static options to add parameters.
- Use the drop-down list to select a Field parameter.
- Type a Static parameter in the field.
- Use the Add a Parameter option to add more parameters.
ACH
- Click the ACH option.
- ACH lets you accept payments from customers with a US bank account.
- Use the toggle switch to enable ACH.
- Use the toggle switch to enable Allow ACH Bank Transfer.

- Use the toggle switch to enable Allow Plaid. (Plaid and Stripe have joined forces to provide effortless money transfers, eliminating the need to manually deal with account or routing numbers.)
- Type the Plaid Secret Key and the Plaid Client ID in the fields. These are mandatory fields.
- Use the drop-down list to select the Plaid environment. The options are:
- Production
- Development
- Sandbox
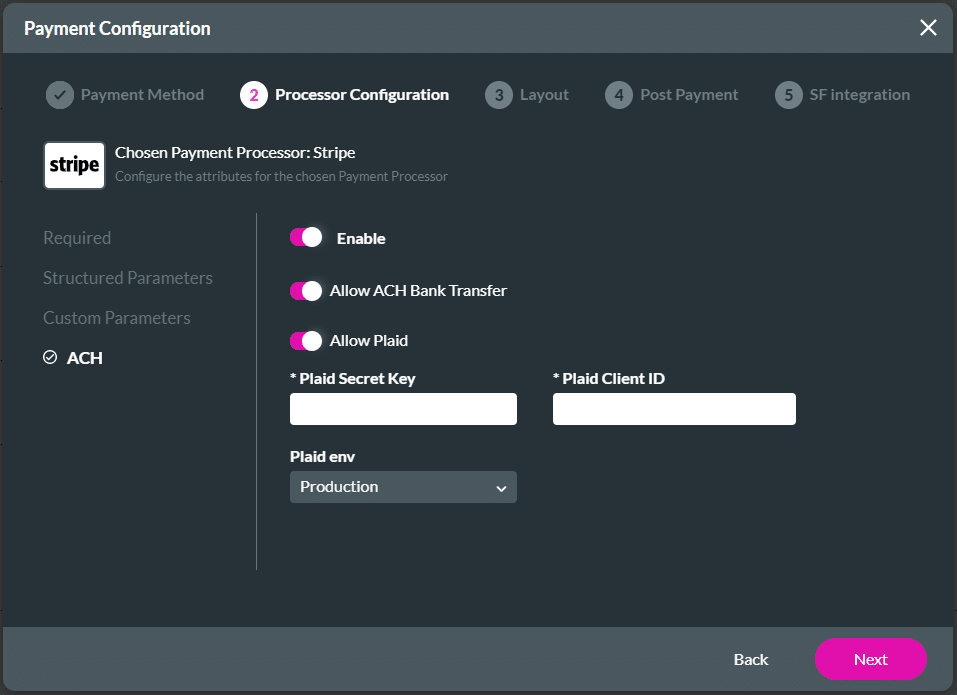
- Click the Next button. The Payment Configuration > Layout screen opens.
Layout
- Add a label in the field.
- This is mandatory.
- This description will appear on the Configure Project Payments Settings screen under the My Payments list.
- Add a preloader message in the field.
- This is mandatory.
- Use the drop-down list to select the amount.
- This is mandatory.
- You must have added the amount as an input element or variable on your project.
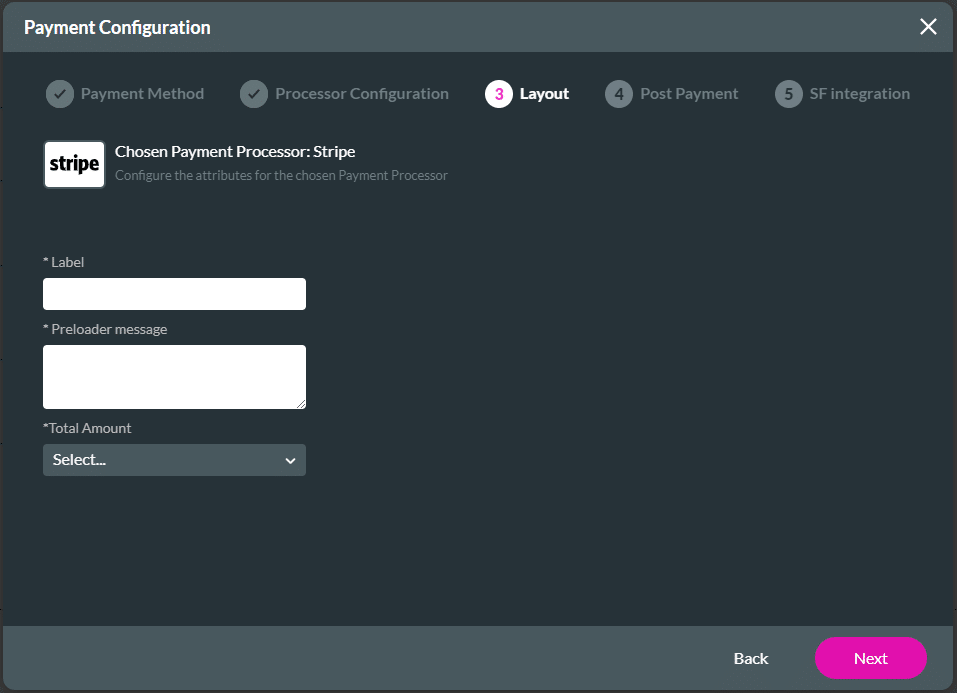
- Click the Next button. The Payment Configuration > Post Payment screen opens.
Post Payment
Post-payment actions are not mandatory.
You can do the following:
- Send an email.
- Redirect the user to an internal and/or external link when the payment processing has finished.
- Redirect the user to an internal and/or external link when the payment processing has failed.
- To send an email, use the toggle switch to switch on the option.
- You can configure an email that will be sent when the transaction has been processed.
- Select the configured email.

- Select the Redirect on Success option, if necessary
- Use the toggle switch to switch on a redirect action on success action.
- Configure an External redirection.

- Configure an Internal redirection.

- Select the Redirect on Failure option, if necessary
- Use the toggle switch to switch on a redirect action on failure action.
- Click the Next button. The Payment Configuration > SF Integration opens.