

Set up Translations
Business Background
Your clients may speak various languages, and your products should suit these business needs.
Titan Solution
Add translations to elements on your Web projects.
How to Guide
You can set up translations in your Web project for the following:
You can also bulk translate a project.
- On Project Settings, select the Tools option.
- Use the toggle switch to enable translations.
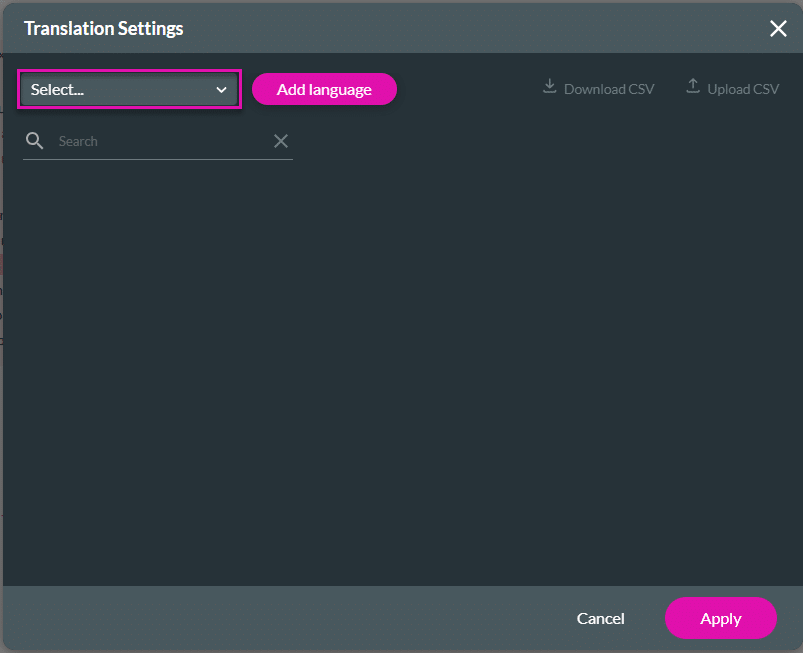
- Click the Gear icon. The Translation Settings screen opens.

- Use the drop-down arrow to open the list and select a language.
- Click the Add language button.
Translate Pages
- Click the Pages option.
- Expand the list and click the page where you want to add translations.
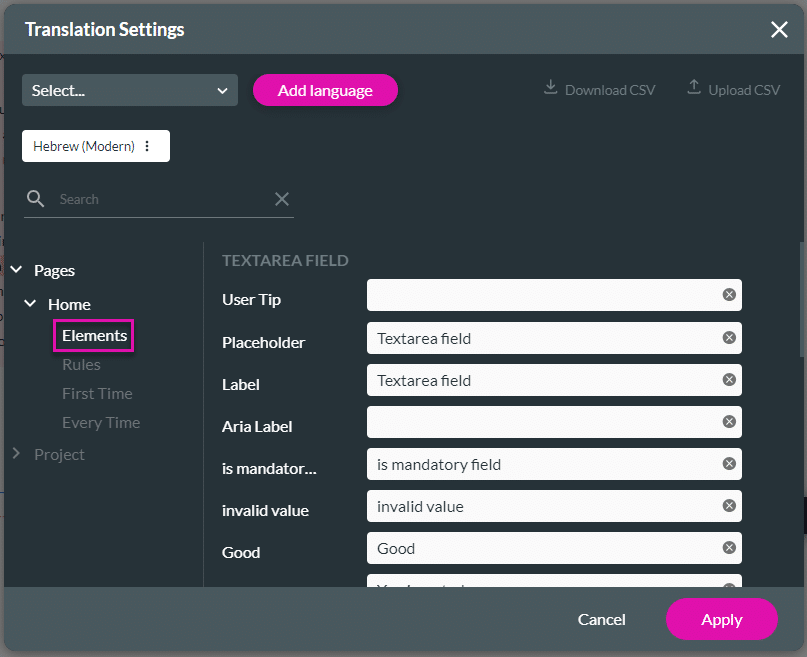
- Type the name of an element or part of the name in the Search field, and only elements corresponding to the search will be shown.

- Use the fields to add translations for elements, rules, first time and every time.
Translate Project
- Click the Project option. The list contains the Captions option and any other options that you configured, for instance:
- Header/Footer
- Drawer/Modal
- Click an option, for instance, Header/Footer.
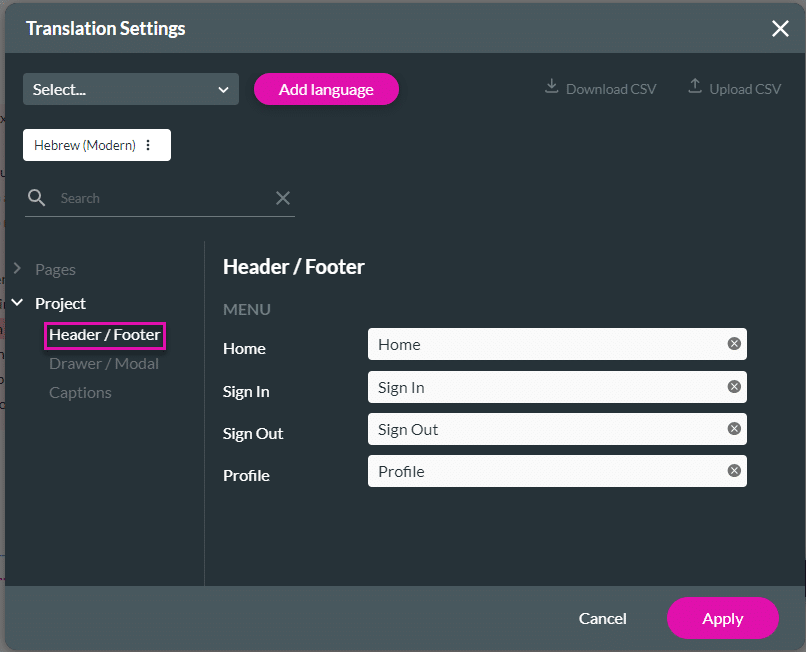
- Use the fields to add translations.
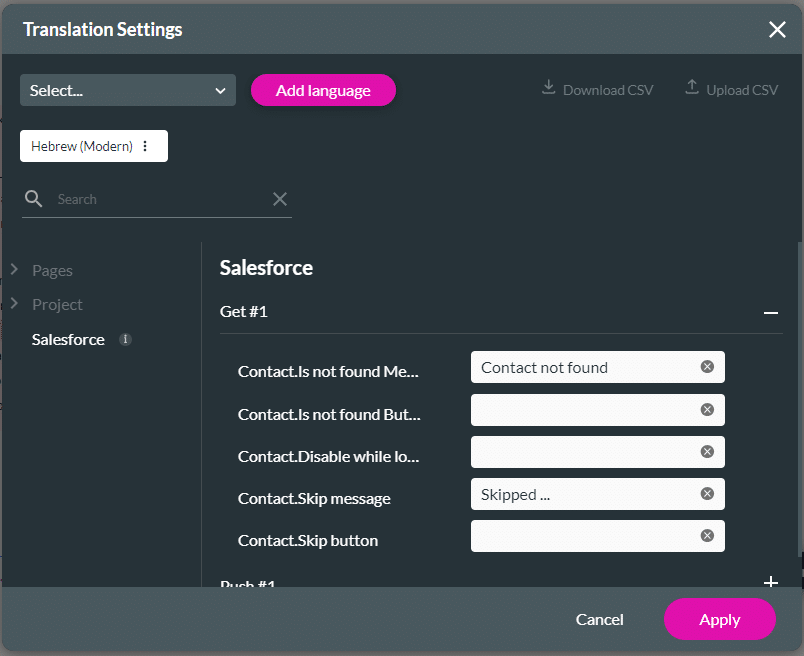
Translate Salesforce
The Salesforce option is available if you have configured a Salesforce Get or Push on the project.
- Click the Salesforce option. The list contains the Push and Get Salesforce integrations you configured.
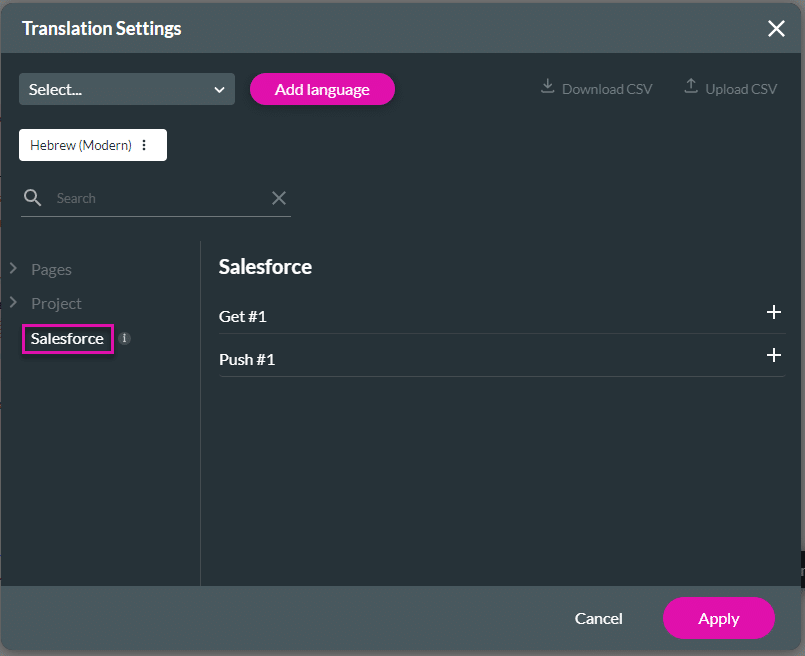
- Click an option, for instance, a Get.
- Use the fields to add translations.
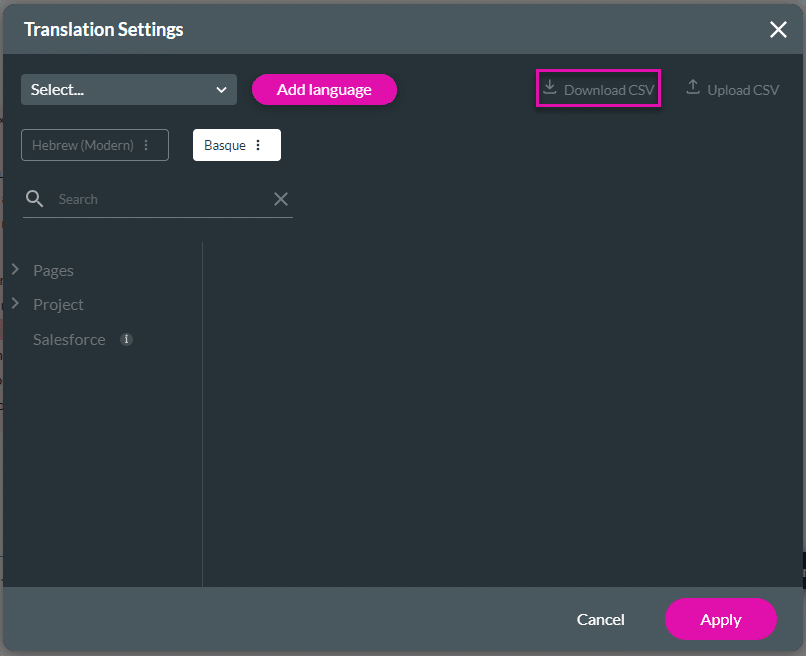
Bulk Translate
- Use the drop-down arrow to open the list and select a language.
- Click the Add language button. Repeat this for all the languages you need.
- Click the Download CSV option. A CSV file is downloaded that you can open with Excel.
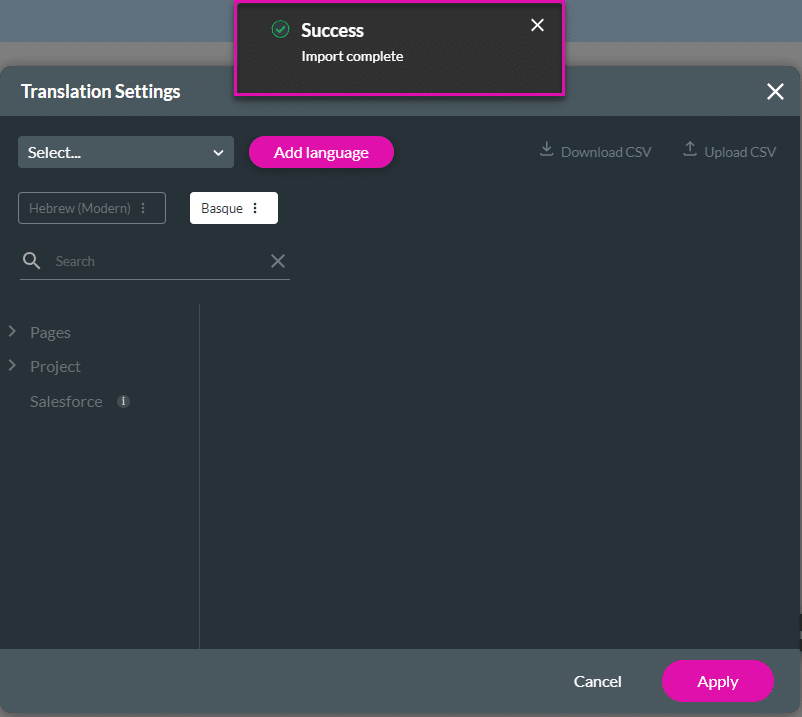
- Add the translations in the Value column of the file.

- Save the file.
- In Titan Web, click the Upload CSV option.

The message is shown:
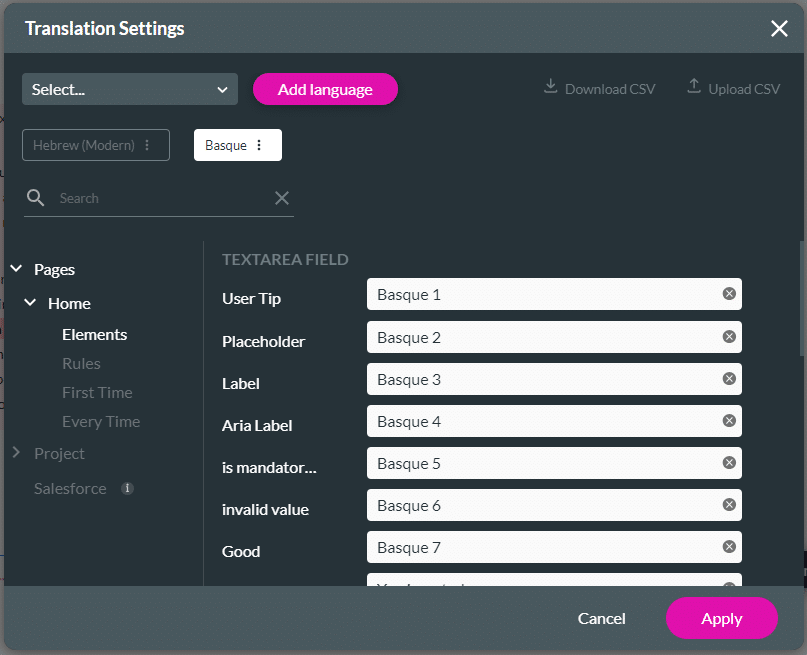
- Browse to the fields that you changed. The fields are updated with the changes you made in the Excel file.
Learn more about Titan’s native integration with the Salesforce Experience Cloud.
Create custom Salesforce forms, collect data, and automate processes with our drag-and-drop form builder.
Easily design, deploy, and measure custom web applications directly from Salesforce using Titan’s drag-and-drop web page builder.
Hidden Title
Was this information helpful?
Let us know so we can improve!
Need more help?
Book Demo