

Ranking – Affect Elements’ Conditions
Business Background
Affect the items of the ranking element by configuring conditions in your project. You can hide or show the values from the ranking list.
How to Guide
Configure conditions to affect the ranking elements’ items.
Note:
Prerequisites:
Add a ranking element to your Web or Survey project.
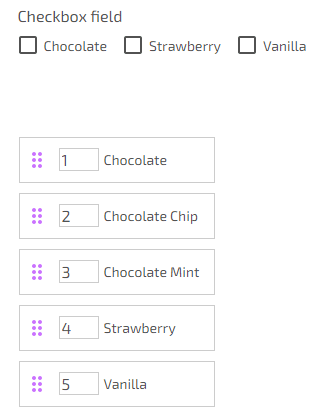
In this example, a checkbox element is added, and the condition that affects the ranking element is added to the checkbox element.
If the user selects the checkbox “Chocolate,” only the chocolate-related options will be shown in the ranking list in this example. The user can then rank the chocolate-related options.
- Click the checkbox element’s Gear icon. The Checkbox Settings screen opens.
- Select the Conditions option and click the Configure Conditions button. The Set Conditions screen opens, and a conditions node is added automatically.

- Click the Condition node’s Kebab icon.
- Edit the Edit option. The Edit Node screen opens.

- For this example, the following was configured:
- Checkbox/Value > Equals > Value > key 1
- This condition will be applied if the user selects the first checkbox (in this example, “Chocolate”).

- If necessary, click the Next button, add a tag, and select the Insert button.
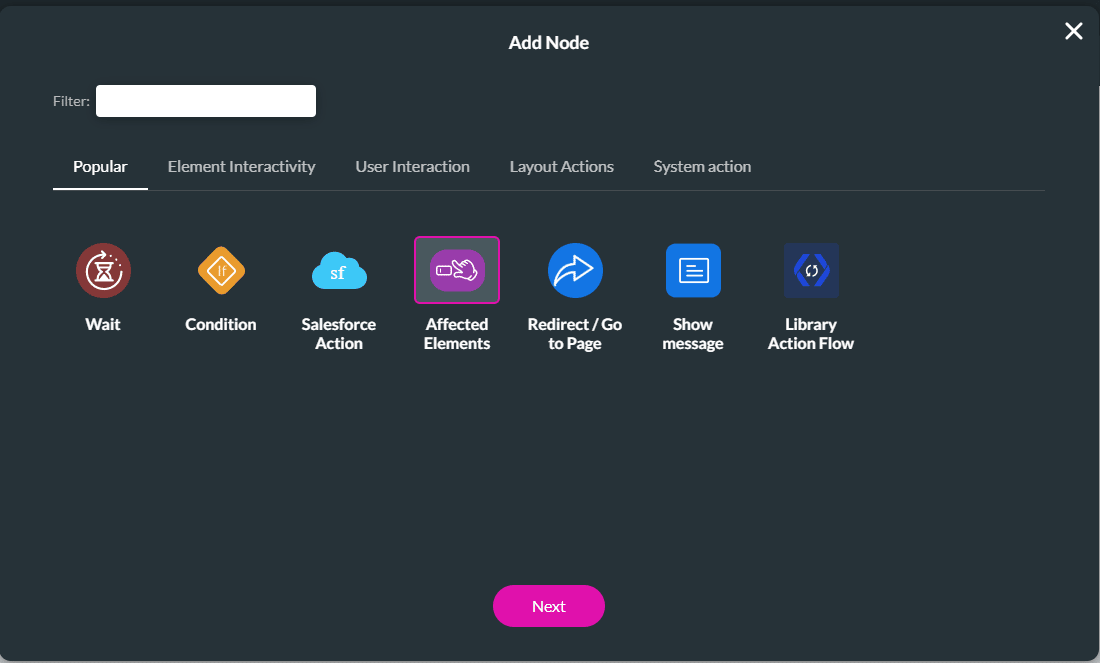
- Click the + icon next to the condition. The Add Node screen opens.
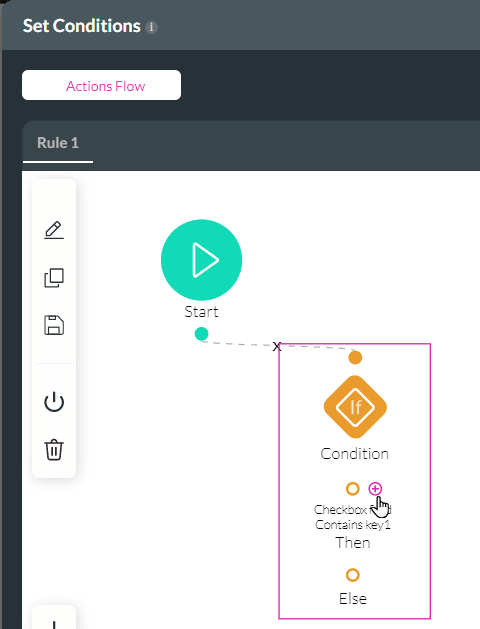
- Click the Affect Elements option and then click the Next button. The Add Node/Affected Elements screen opens.
- Search for the “ranking” element.
- Click the checkbox next to the ranking element that you want to affect. In this example, the three chocolate-related options are selected to show.
- Use the drop-down list to select an action for the affected ranking element. In this example, Show was used.
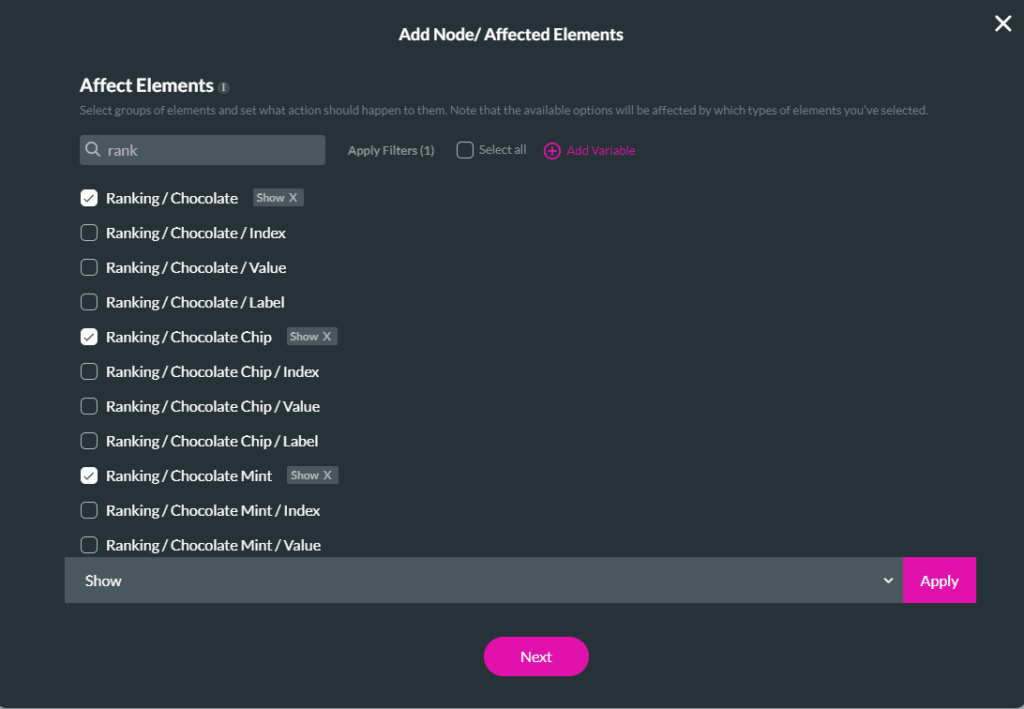
- Click the Apply button. The action is added to the ranking item.
- Click the checkbox next to the ranking element that you want to affect. In this example, two options are selected to be hidden.
- Use the drop-down list to select an action for the affected ranking element. In this example, Hide was selected.

- Click the Next button.
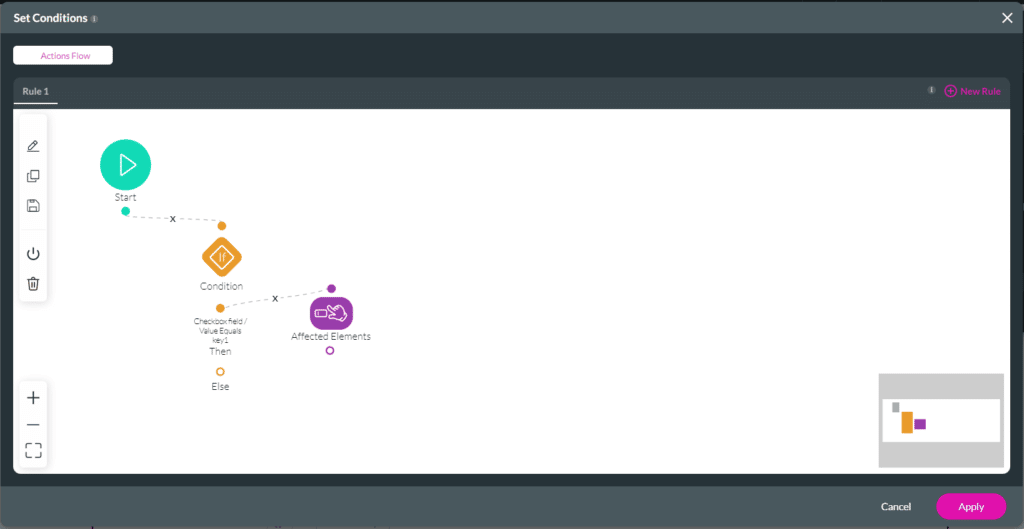
- If necessary, add a tag and click the Insert button. The Affected Element node is added to the Set Conditions screen.
- Click the Apply button.
- Save and Preview the project.
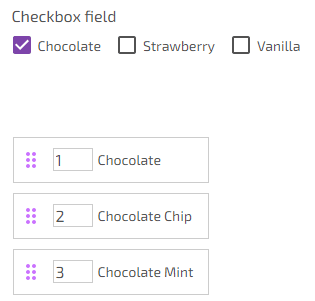
If the user selects the “Chocolate” checkbox, only the chocolate-related items are shown:
Hidden Title
Was this information helpful?
Let us know so we can improve!
Need more help?
Book Demo